Major Milestone!

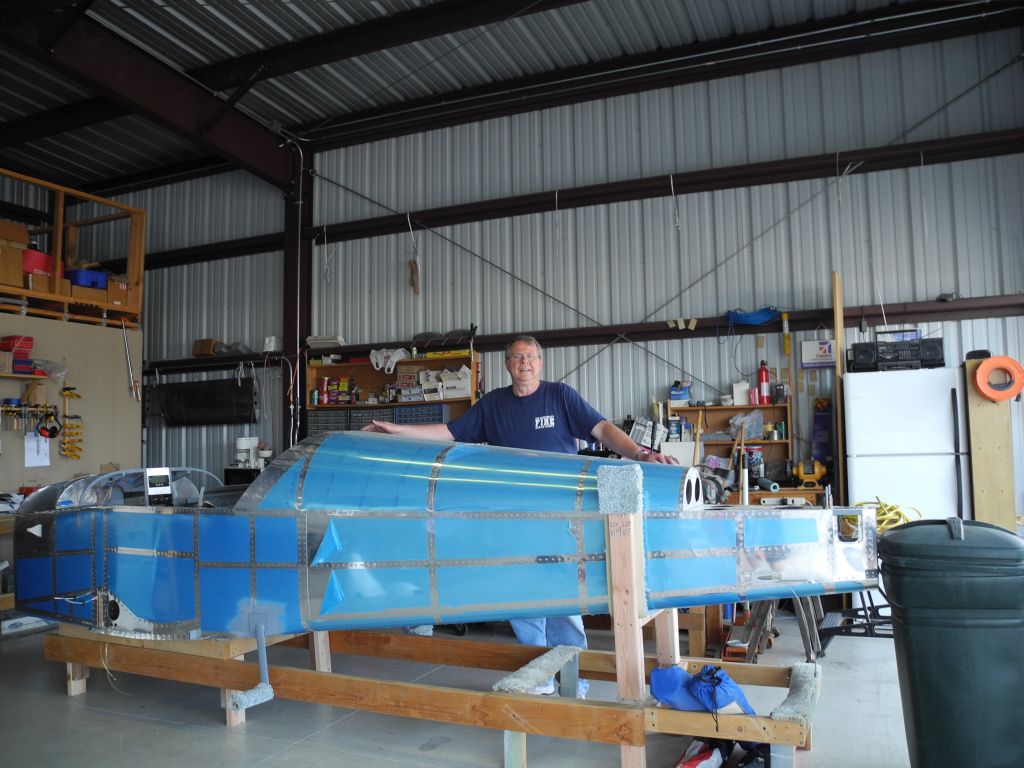
This has been a BIG week-end for us. We have finally built a stand to allow us to attach the motor mount, wings and landing gear. The fuselage stand was a re-purposed stand we had used before the rotisserie, and part of the wing stand. Here is a BIG hint: never throw out old lumber. You will be needing it again.  Here is what the new stand looks like:

new_stand

Also, for the first time, we were able to sit in the fuse and make airplane noises! Wow. I still have chills!
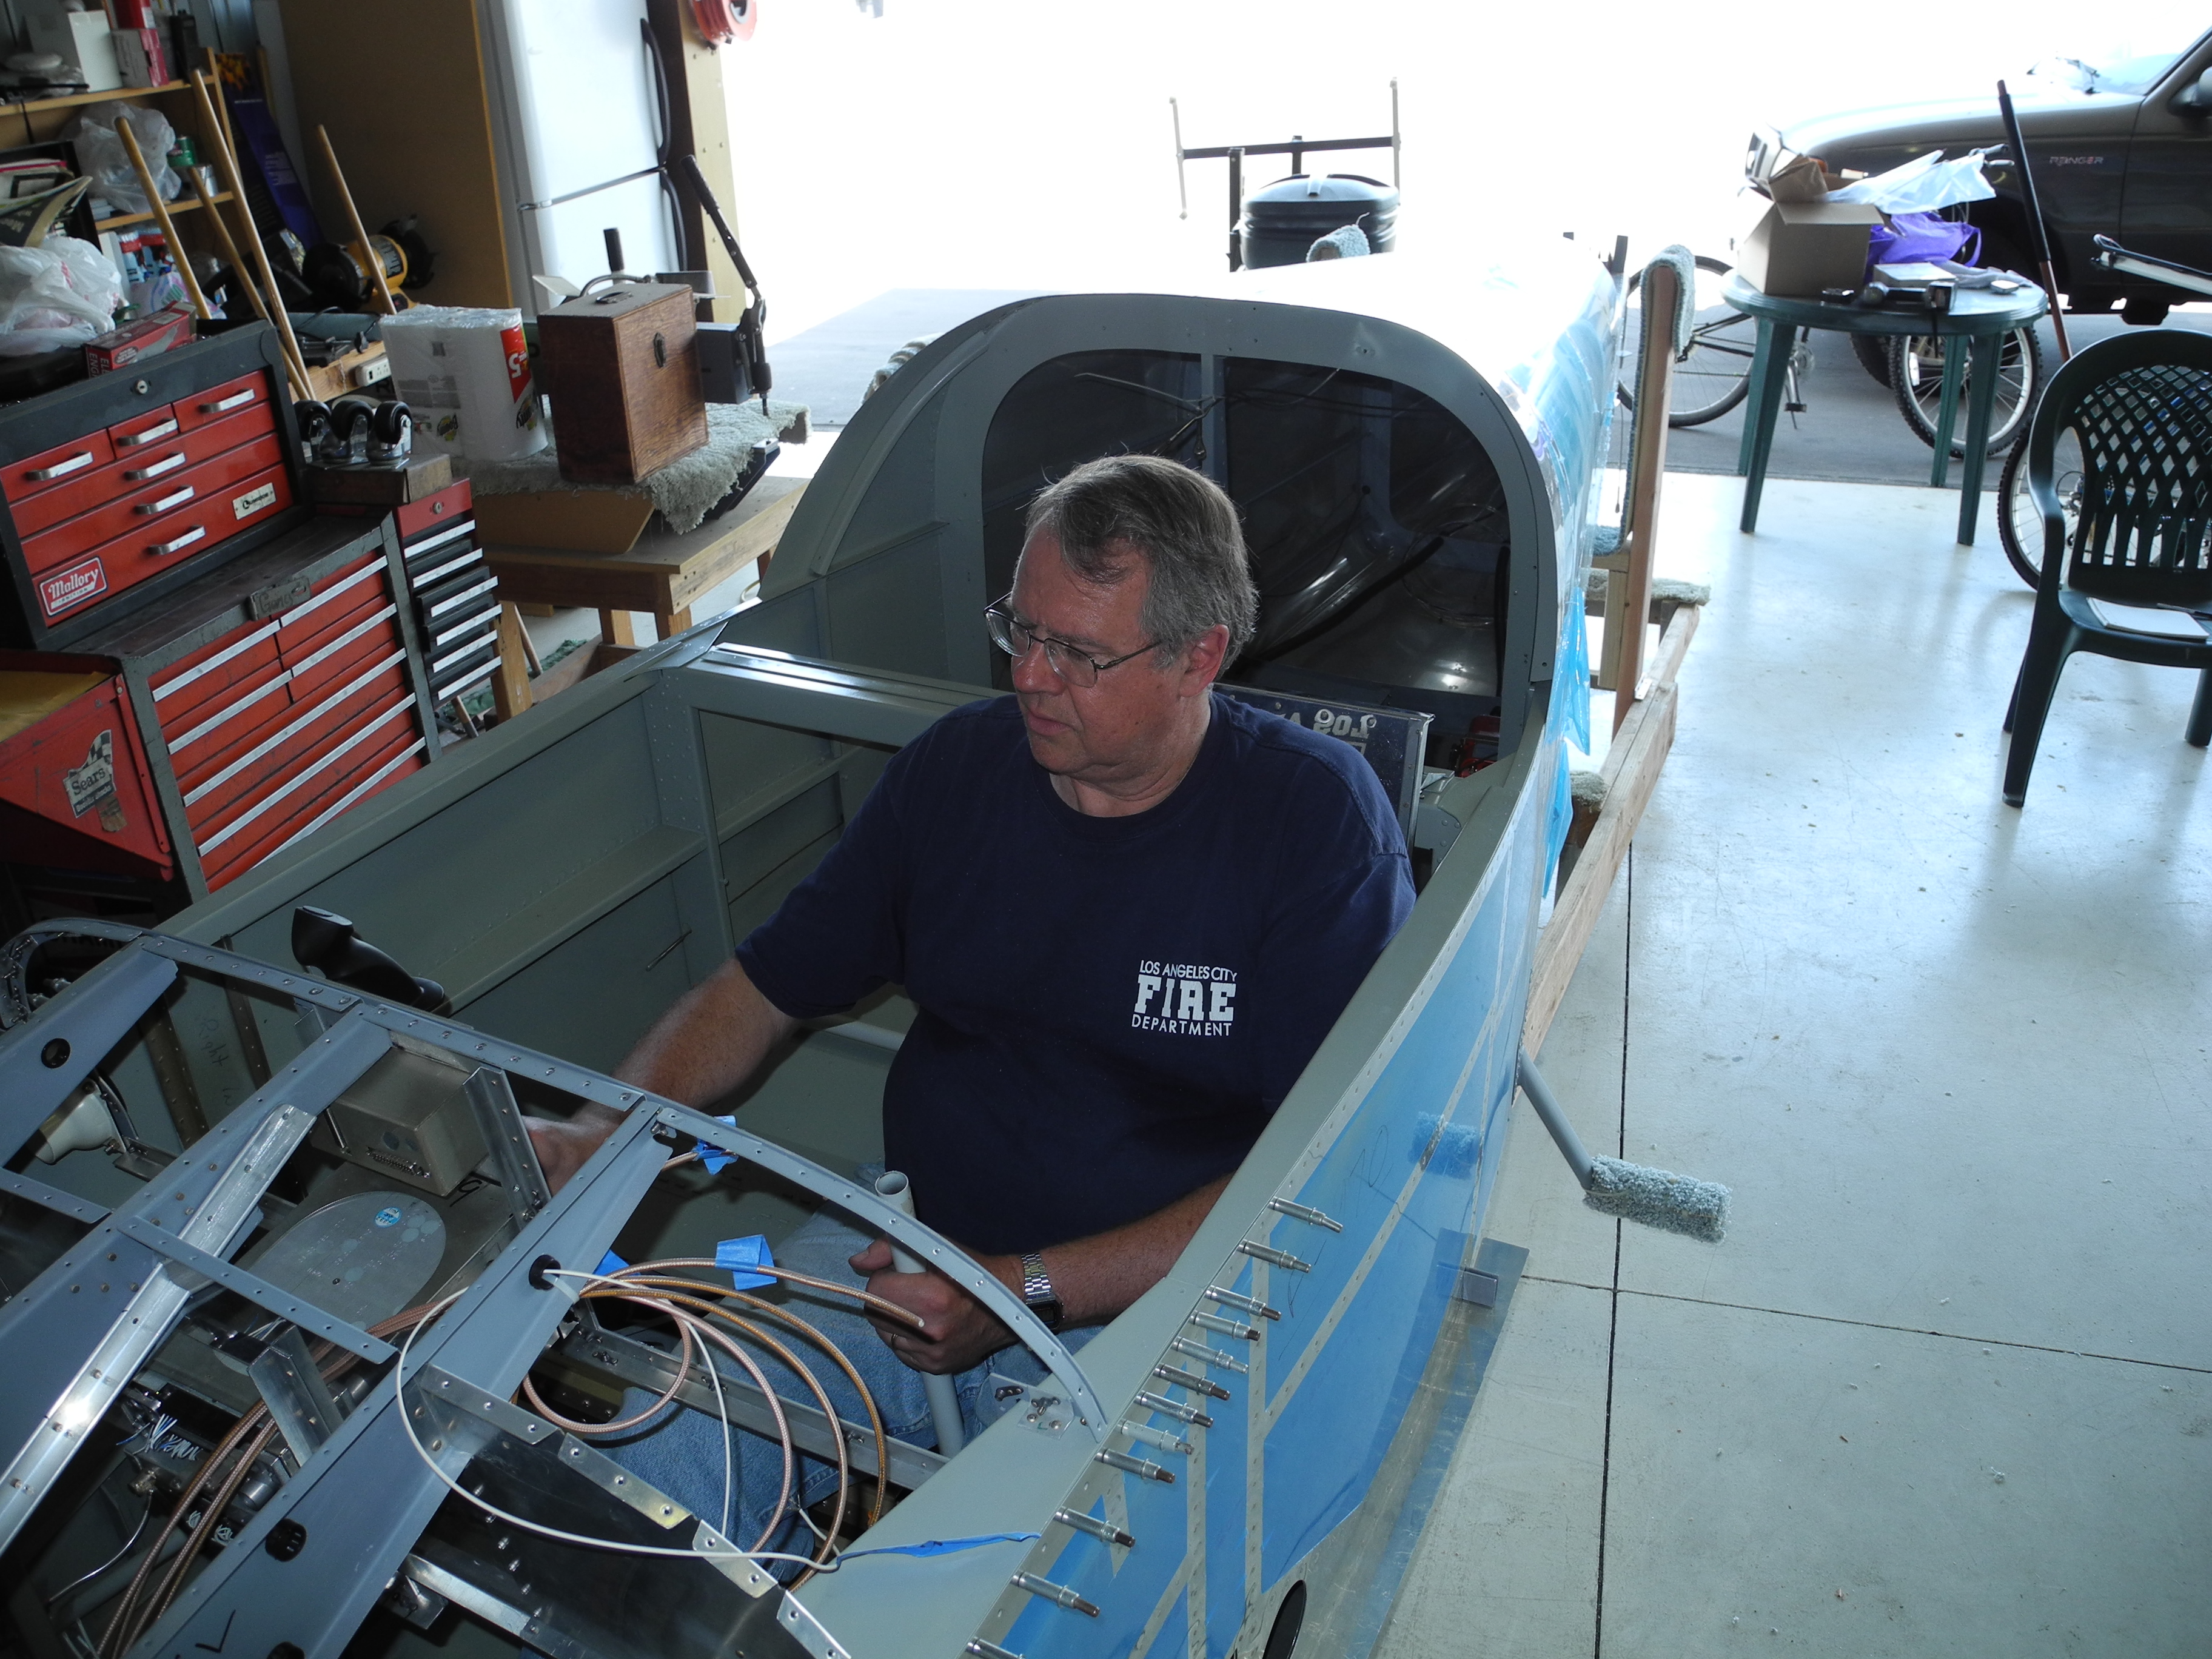
sitting in RV9A fuselage

Have a seat.

For folks building an experimental, sitting in it for the first time is a big deal.  I finally know how I will fit while flying.  I fit pretty well.  I need to lease a few pounds tho. *sigh*

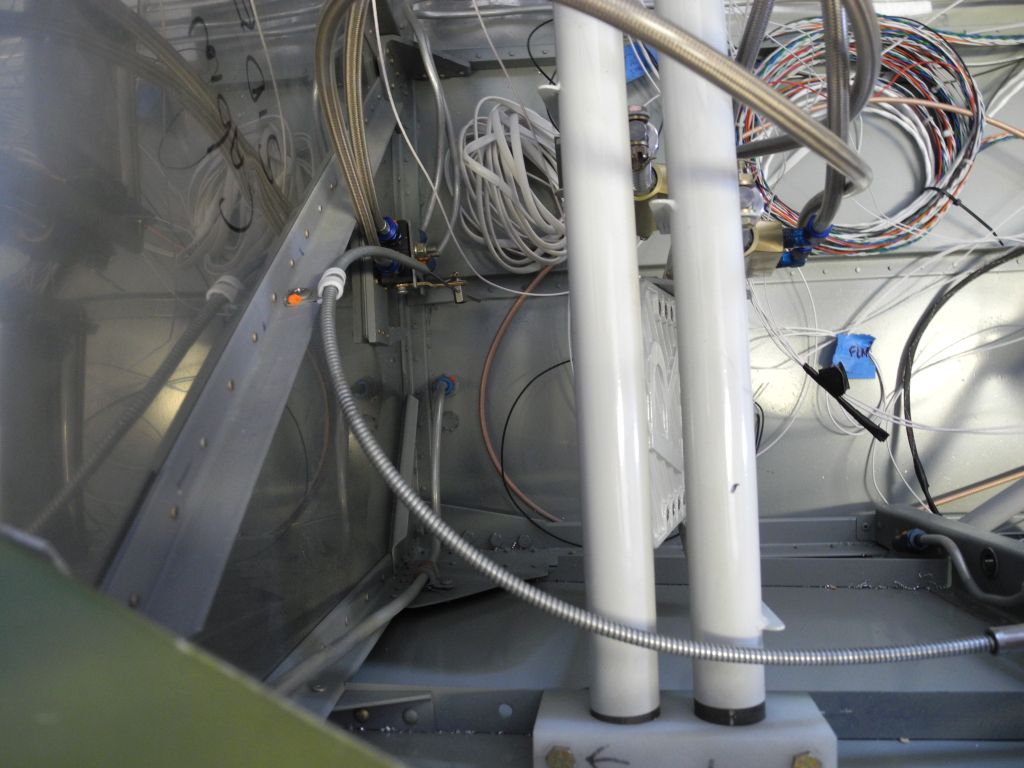
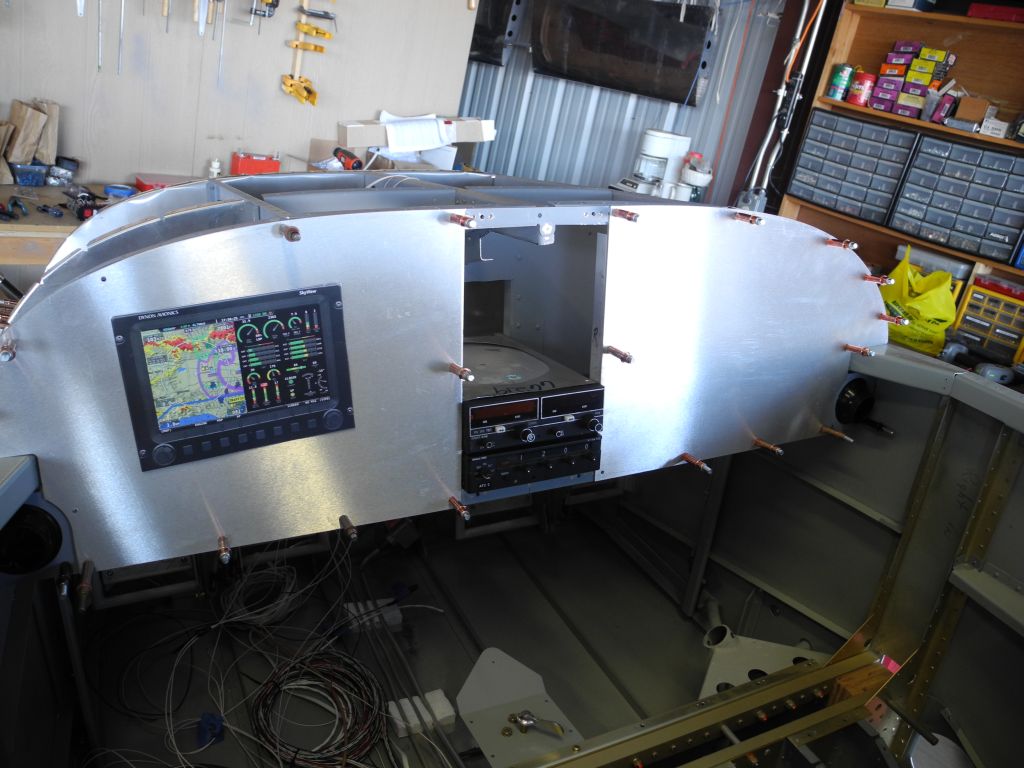
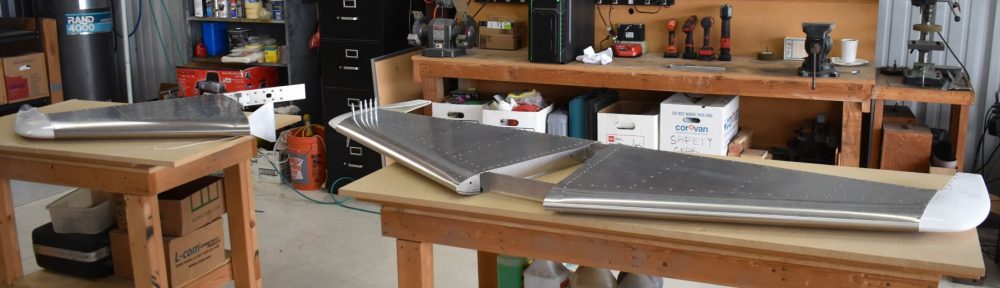
Where do we stand?  Wings and done, Tail is done, flight surfaces are done, Instrument panel frame is done. Radios are mounted but not wired. Ready for motor mount, tail and wing install.

We are staring to wind down on the riveting, and I think I’ll miss that. To see the process, check out:

Riveting Wings on You Tube

We have the motor to install, lots of wire, and now all we need is the time.

More Later.


Wire, Wire, pants on fire!

We took a big step today with wiring!  We finished (for now) the wire that comes from beyond the spar! This includes a bunch of electrics, and the four antennas (2 comm, 1 nav and a transponder)

This wire travels through the spar with pre- drilled holes and moves up the center channel of the floor. Wow. looks Great!

Wiring in RV-9A

Wiring in RV-9A

Here is what it looks like from the spar side.

Wiring Pass-thru

Wiring Pass-thru


Where are the flaps???

We installed the flap position sensor. This is a copy of some friends at the airport, and it turns out, a copy from many folks.

flap position sensor

flap position sensor

It has been a quiet couple of weeks at the hanger, with a bunch of small but critical tasks. We installed doublers for the COMM antennas as well as the Transponder antenna. We finished the attach points for the instrument panel, and fit the three part panels into place. We still need to map all the stuff that will be installed on the panel tho. TONS of stuff.

We have picked the radios! From top to bottom, I’ll have:

  • King KX-155 NAV/COM with KI-209 CDI (maybe. I’m also looking at a MC-60 digital version.)
  • King KY-97A Comm
  • King KT-76A Transponder

in the radio stack. We also have a PS Engineering Intercom and a simple audio amp instead of an audio panel. No marker beacons.

Hold it right there!

This week-end we added the parking brake control. It is located on the Left side (Pilot’s side) below the air vent. Simple pull / push operation with a push-button lock to prevent accidental operation. Easy to install and easy to use. Here is the control:

Parking Brake Control

Parking Brake Control

The cable goes to the Matco parking brake valve. The pilot simply steps on the brakes and pulls the knob out. Knob full in releases the brakes.  Here is the valve (looking down from the top):

Parking brake valve

Parking brake valve

We also finished installing the instrument panel frame and temporarily installed the panel sheets. Does this look cool or what:

Dave's blank instrument panel

Dave’s blank instrument panel

Five Years!

Today, Superbowl Sunday, Feb 3, 2013 is the 5 year anniversary of this project. As it just so happens, it was SuperBowl Sunday when we started as well.

A lot of stuff has happened in 5 years. We completed the tail, wings, flight surfaces, gas tanks, much of the fuselage, installed the ELT and some wiring.  Here is what we completed yesterday:

throttles

We have purchased an engine, the finish kit, and some of the firewall forward. Since we began, I have three new cats, a new car or two (we keep cars a long time) remodeled a bathroom, re-did the upstairs of the house, kept my job, learned a bunch of new skills, both with the airplane and at work, and stayed married. We have many new friends in the Van’s RV community, and have watched some speed past us, and some fall by the wayside.

We are planning flight instruments and radios. My Key: Keep it simple to start. 2 comms, 1 nav, 1 GPS external, and of course the GPS in the EFIS. We are still planning on Dynon Avionics, but we will simplify the panel to start. One EFIS for now. IFR VOR Nav configuration and maybe an IFR GPS. We will see about that.  We have the transponder (King KT-76A) and the Audio panel.

Tom and I still love to build, and we are not about to rush to finish now. We have been very careful builders, and the work we have done is top notch!

So, When will the plane be finished? Not sure. Still much to do, but the next phase is to get the fuselage off the rotisserie and on a cart for setting the wings.  Get the motor on and get the wiring done.

We’ll see.

Happy New Year!

Dkb


I’m gonna THROTTLE you!!!

So, that is what we did. This week-end we added the throttle/mixture/carb heat/flap switch panel to 18TD.  The control cables went in reay easy, but not so much with the flap switch. A normal flap switch has 6 connectors so it is pretty wide. Looks like the flap switch plate I bought was not designed with that in mind. We got it to fit, but it was a bunch of work.

throttle cluster

Engine Control Panel

We are making pretty good headway with the three part panel, but I’m kinda nervous about leg room. I’m a tall guy, and it looks like the panel is getting into the pilot area.  We will not know until I get the fuse off the rotisserie and on to a safe stand where I can sit in the thing.

I got the firewall forward plans today, so we are starting to verify we are ready to add a motor mount. Battery is in, Master/start relay is in, and we have most holes punched. I’m gonna do some control cables after I have the motor mount in place to verify position.

Next week is a special anniversary for us, so stay tuned.


Back to the three D’s…

Drill, Deburr and dimple. Back to the plan. We did the top skin today. Nice!

top Skin in an RV-9A

Top skin in an RV-9A

We also installed the heater control valve, a Fire-wall pass-through, and did some additional painting. Was a nice but rainy day.  Bad day to fly, but good day in the hanger. Actually, I guess any day is a good day in the hanger.

I’m starting to think about the EMS (engine management/monitoring system). I have an EIS 4000 from Grand Rapids Technologies, but I’m also getting a Skyview from Dynon Avionics. I’m also thinking about a EFIS/EMS from MGL (the Xtreme) which would be an EMS AND a backup EFIS for not a lot of extra $$$.  I really do not want to build a plane where the panel costs as much as the rest of the plane.  Simple Avionics, (like VAL radios and Nav) and a nice simple panel that is VFR/IFR Day/Night. Maybe something like:

Dynon Skyview
2 -Val Avionice Comm radios
1- Val INS-429 NAV
King KLN-94 GPS (enroute and approach certified)
Dynon Transponder

Keep the panel under $15K?

More later.


This part shows….

We have started painting the interior and it is turning out GREAT!  Tom has a lot of experinece wih paint, so I’m letting him do the most. Really nice too.  We are using simple shaker can paint in the inside with Dupli Color self etching primer and Rustoleum Professional Light Machine gray enamel as the top coat. Easy to put on, easy to fix and low cost.  I got the idea from Van’s Airforce where other folks have used the same.

 RV-9A Interior

RV-9A Interior

We are finishing a bunch of little detail stuff, and working on the top skin. I also bought the three part panel from Affordable Panels. I got the XL version with the extended throttle quadrant.  I have pictures of my old Skyhawk, and that is the style I’m looking for.  With digital gauges of course. The Affordable Panels guys are great to work with, but you’ll need to talk to them on the phone to get all the options. The web site is a bit out of date. Go to

http://www.affordablepanels.com/

for an impressive system. Maintenance will be a snap!


Interior paint!

I finally got the interior paint selected and started painting. We chose Light machine Gray for the interior color. We are using Rustoleum Professional enamel and it looks GREAT!


RV 9 interior

RV 9 interior

We also installed the frame for the battery box and we are looking for a heater control valve we like.

We also glued in the air vents.  These came our really nice.


Air vent on RV-9A

Prosealed Air Vent


Top is on! (Kinda)

Today is the first offical day when folks stopped asking “Why are you building a canoe at the airport?”

My baby is looking like a real airplane!

RV-9A top panel

No more Canoe jokes!

We have painted the floor and removable siding (Rust-Oleum Professional Machinery Light Gray) and primed the rest of the cockpit. we installed the top for match-drilling and looks at the fit and finish of the pre-punched parts. Perfect of course.

I ordered the three part-panel from Affordable Panels, and we should that that in the next day or so.  I also got an ELT (old style) that will work until I get out of the 40 hour phase I.