Chasing Skirts! (Ah, to be young again!)

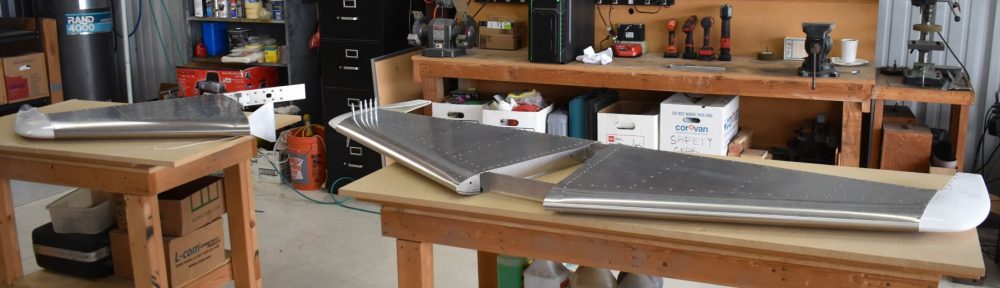
Well, we finally got to the canopy skirts and I feel we did  a pretty good job!  We talked about using fiberglass for perfection, but I deceided to go with the aluminum skirts that came with the kit. I must say I’m pretty happy.

Beautiful!

Beautiful!

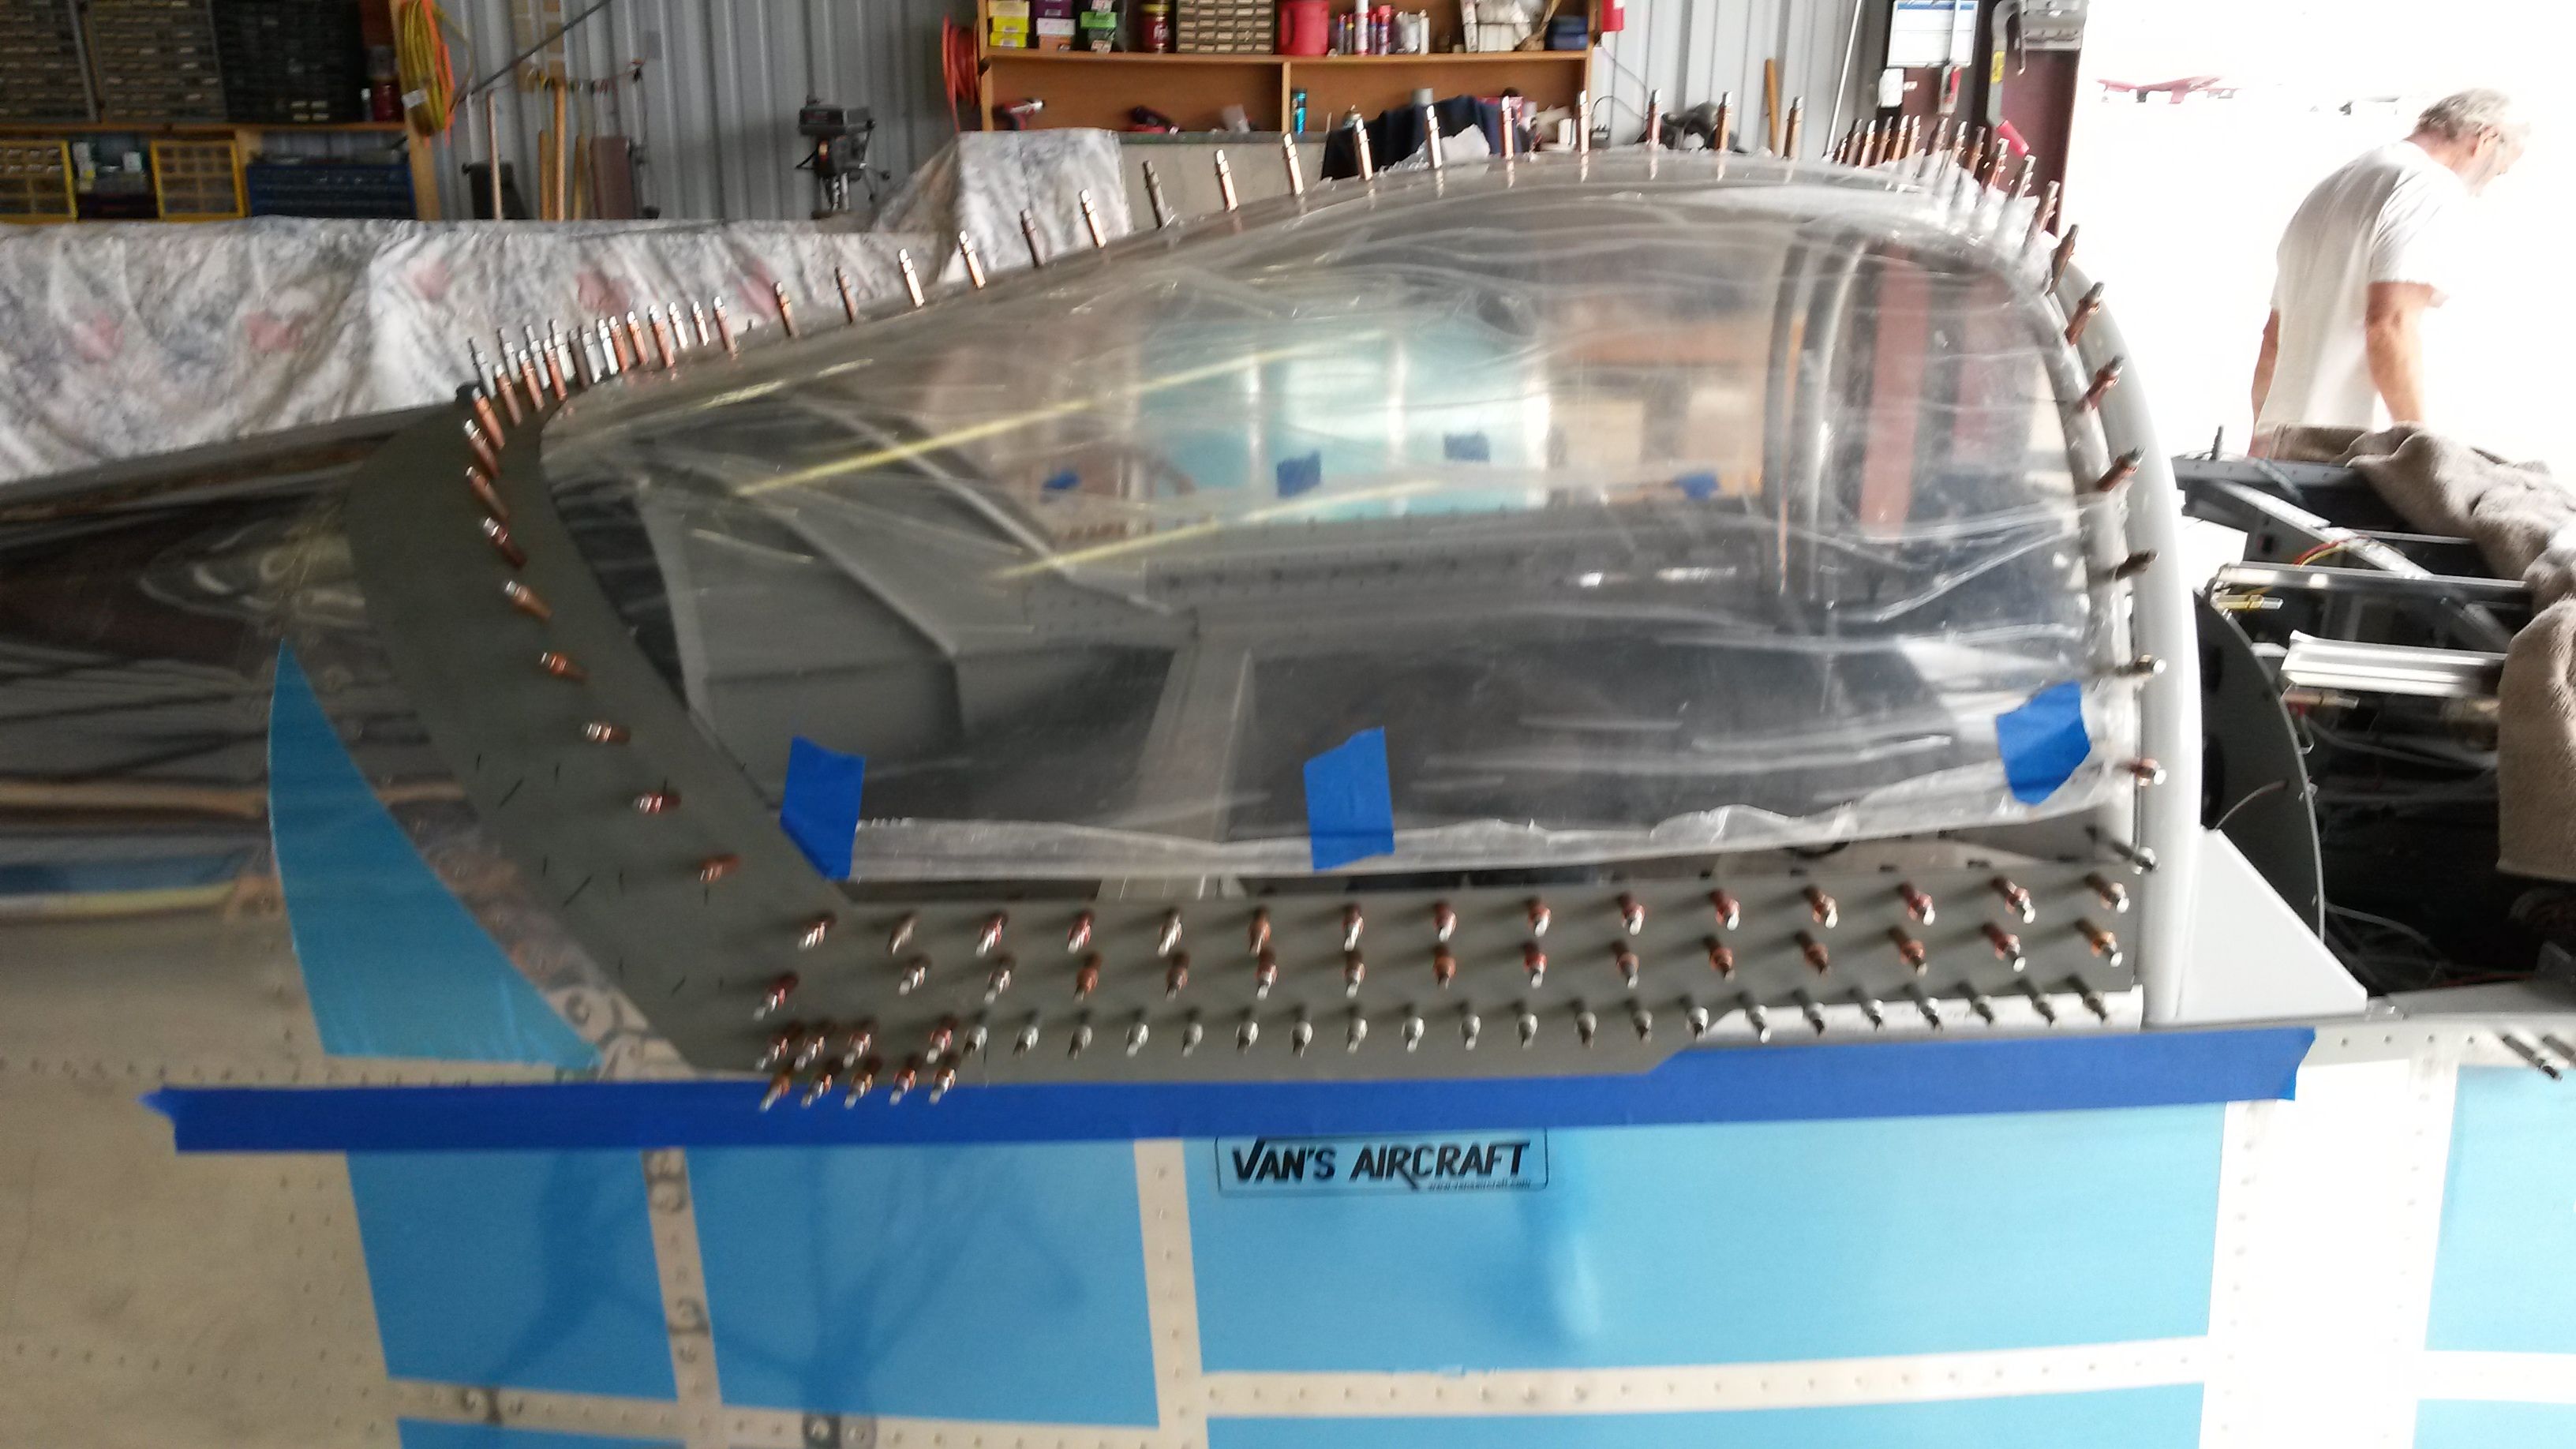
The sides did require a little forming, but nothing like the back skirts!  After about 9 hours over two week-ends, we are pretty happy with the resaults.

rear skirt on RV-9A slider

rear skirt on RV-9A slider

All in all, they came out pretty nice.  The secret? Get a 3 foot piece of 4″ PVC and screw it to the table top. Install the part on the plane, and make location and direction of the required bend. Remove, bend, and replace.  Repeat about a zillion times.  Be real careful with clecos because they will be going on and off a bunch of times.

Bender with scrap

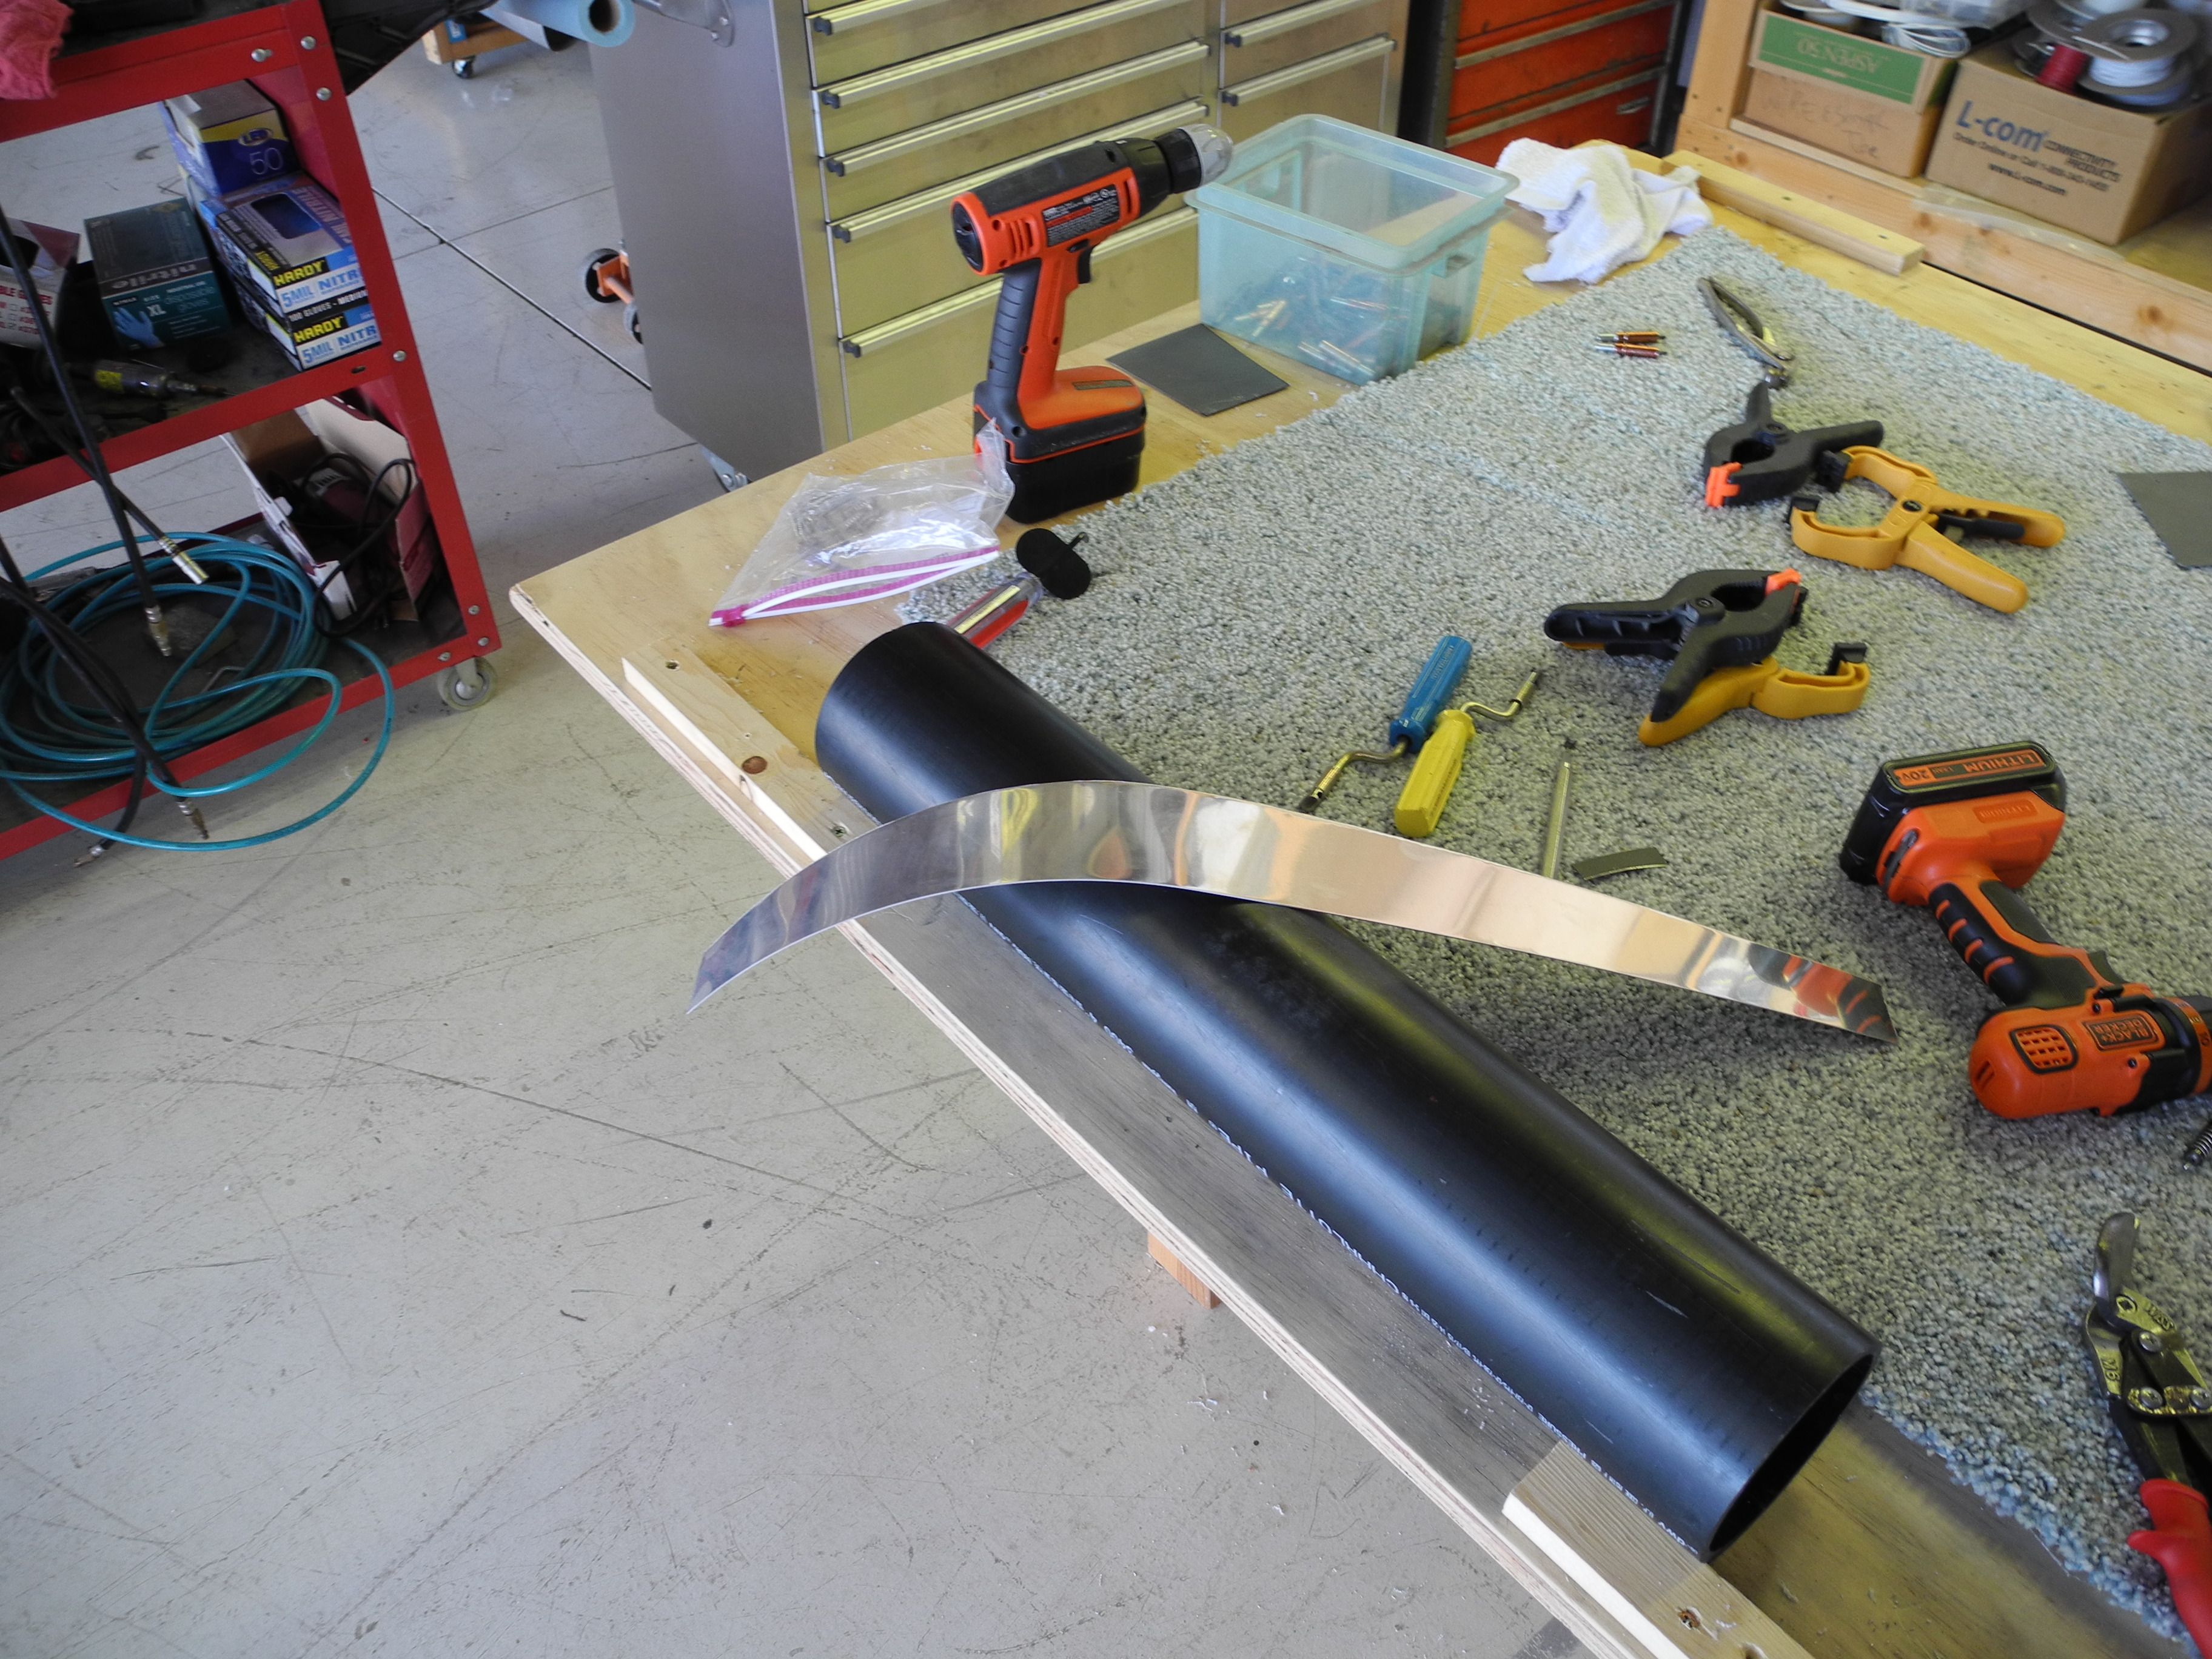
Bender with test scrap.

Electrical Work…

We are underway on electrical and things are going well.  Long wires are run, and we are starting panel stuff.  we installed fuses and circut breakers in this project. Two fuse boxes (essential bus and master bus) that are not available in flight. If you get an electrical short in flight, wait until you are on the ground before trying to fix it. In-flight fires can ruin your day.

The fuse blocks are mounted on a hinged flap that can be lowered by removing two screws.

We also have 4 circuit breakers on the left panel, for alternator field, flaps, trim, and auto pilot. These are the kind that can be manually pulled in case of runaway.

Fuse Cluster

Fuse Cluster

Here is a tip for electrical work.  Buy a handful of alligator jumper wires for testing and fitting. These are pretty cheap, and will help with testing before installing.

Jumper Wires

Jumper Wires

a 12V electrical test light is also a good purchase.

ANL fuse is mounted on the firewall, and an inline fuse for the master is connected right off the master relay contactor (orange, but hard to see in this picture)

ANL fuse on firewall

ANL fuse on firewall


Five Years!

Today, Superbowl Sunday, Feb 3, 2013 is the 5 year anniversary of this project. As it just so happens, it was SuperBowl Sunday when we started as well.

A lot of stuff has happened in 5 years. We completed the tail, wings, flight surfaces, gas tanks, much of the fuselage, installed the ELT and some wiring.  Here is what we completed yesterday:

throttles

We have purchased an engine, the finish kit, and some of the firewall forward. Since we began, I have three new cats, a new car or two (we keep cars a long time) remodeled a bathroom, re-did the upstairs of the house, kept my job, learned a bunch of new skills, both with the airplane and at work, and stayed married. We have many new friends in the Van’s RV community, and have watched some speed past us, and some fall by the wayside.

We are planning flight instruments and radios. My Key: Keep it simple to start. 2 comms, 1 nav, 1 GPS external, and of course the GPS in the EFIS. We are still planning on Dynon Avionics, but we will simplify the panel to start. One EFIS for now. IFR VOR Nav configuration and maybe an IFR GPS. We will see about that.  We have the transponder (King KT-76A) and the Audio panel.

Tom and I still love to build, and we are not about to rush to finish now. We have been very careful builders, and the work we have done is top notch!

So, When will the plane be finished? Not sure. Still much to do, but the next phase is to get the fuselage off the rotisserie and on a cart for setting the wings.  Get the motor on and get the wiring done.

We’ll see.

Happy New Year!

Dkb