About admin

Computer geek since we programmed on cards. My first real computer was an Apple II+ and IBM 4341's (a pair of them)

Chasing Skirts! (Ah, to be young again!)

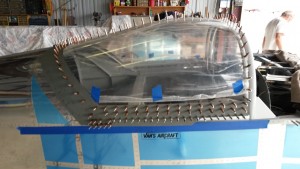
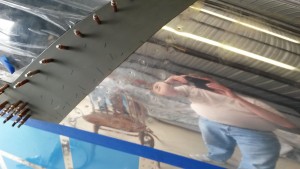
Well, we finally got to the canopy skirts and I feel we did  a pretty good job!  We talked about using fiberglass for perfection, but I deceided to go with the aluminum skirts that came with the kit. I must say I’m pretty happy.

Beautiful!

Beautiful!

The sides did require a little forming, but nothing like the back skirts!  After about 9 hours over two week-ends, we are pretty happy with the resaults.

rear skirt on RV-9A slider

rear skirt on RV-9A slider

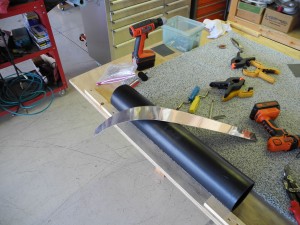
All in all, they came out pretty nice.  The secret? Get a 3 foot piece of 4″ PVC and screw it to the table top. Install the part on the plane, and make location and direction of the required bend. Remove, bend, and replace.  Repeat about a zillion times.  Be real careful with clecos because they will be going on and off a bunch of times.

Bender with scrap

Bender with test scrap.

Back at the beginning…

The recent beginning:

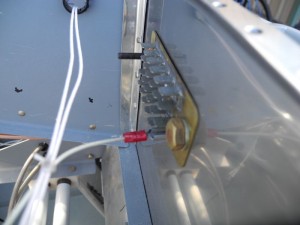
The first ground wire

The first ground

It has been a long journey, and this is just the most recent step.  We are still working on the electrical, but we are getting the engine ready as well. We have finished the engine inspection, addition of all external hoses, clamps, gaskets, etc. We have purchased new or rebuilt accessories (Carb, Mags, Alternator, fuel pump, etc) and we just received the propeller. I originally went with a wood prop, but since that would add 15 hours to the Phase I fly-off, I decided to go with a standard Sensenich propeller.

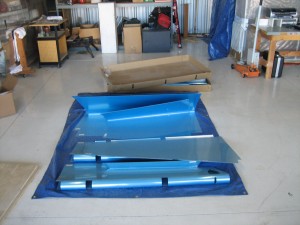
We will soon be at 7 years of building, and here is where we started:

Empennage Kit for RV9A

Empennage Kit for RV9A

Happy Thanksgiving and keep pounding those rivets!

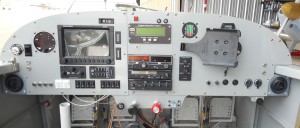
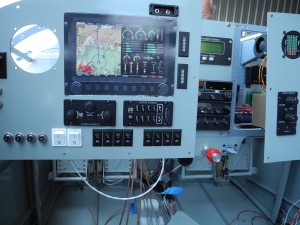
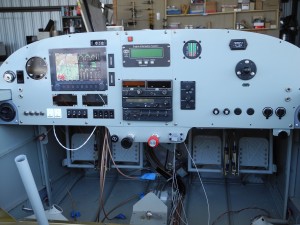
Panel is installed…

We have finally installed all the parts of the panel we need.

N18TD Instrument Panel

N18TD Panel

Not everything is wired, but some stuff works. EIS is wired (not to the engine of course) Ignition switch is in and working. I still need a few components to get everything together, but I feel pretty good.  Even the baggage lights work!

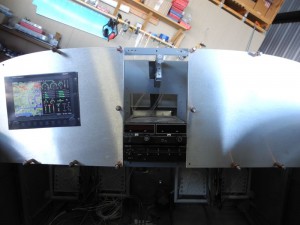
Oh, and how much work is this?  Well, here is where we started:

Empty panel

Empty panel


More electrical…

*sigh*

Lots of work but little to show for it.

Electrical work takes time and in the overall scheme of things, it does not have much visual impact. You do TONS of work with little visible to show for it. We have a new battery, flaps, flap indicators, trim indicators working, boost fuel pump, master switch, circuit breakers, auto pilot controller, Skyview three know controls, 12V power plug, interior lights, and a bunch of other stuff.  BUT IT DOES NOT LOOK MUCH DIFFERENT!

Oh, Well, back to work.

RV-9A Panel work

Panel work

Paneling…

Wow. What a journey!  Here is what we have today:

RV-9A panel

RV-9A panel

All the parts are in, but we are just starting to wire the stuff. Easy to say, tough to do (at least for me) But we will move forward.

One of the design features will be the ability to pull the panel section (left, center, right) out a bit to work behind. To help with that, we have built extension to put in place while we are building to make sure the wires are long enough after installation. Here is how we did that:

Working panel supports

Working panel supports

These brackets are just to support the panel during construction.  We will move the panel back, and anchor the wires when completed.

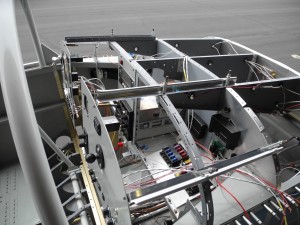
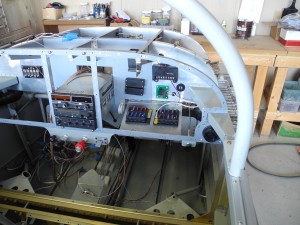
Electrical Work…

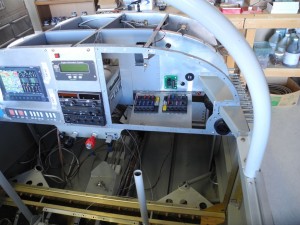
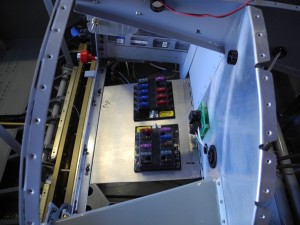
We are underway on electrical and things are going well.  Long wires are run, and we are starting panel stuff.  we installed fuses and circut breakers in this project. Two fuse boxes (essential bus and master bus) that are not available in flight. If you get an electrical short in flight, wait until you are on the ground before trying to fix it. In-flight fires can ruin your day.

The fuse blocks are mounted on a hinged flap that can be lowered by removing two screws.

We also have 4 circuit breakers on the left panel, for alternator field, flaps, trim, and auto pilot. These are the kind that can be manually pulled in case of runaway.

Fuse Cluster

Fuse Cluster

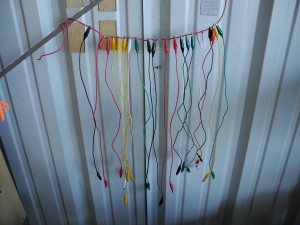
Here is a tip for electrical work.  Buy a handful of alligator jumper wires for testing and fitting. These are pretty cheap, and will help with testing before installing.

Jumper Wires

Jumper Wires

a 12V electrical test light is also a good purchase.

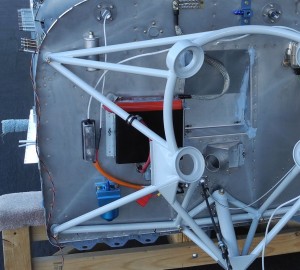
ANL fuse is mounted on the firewall, and an inline fuse for the master is connected right off the master relay contactor (orange, but hard to see in this picture)

ANL fuse on firewall

ANL fuse on firewall


Gary Passed Away…

Gary Anctil was my friend.

He was my friend for the last 7 years. For the last 5 years, we had a deal.  I’d be his computer guy and he would be my A&P/IA and my mentor for building my RV-9A.

Gary Anctil, pilot, friend and mentor passed away last week after an accident.

Gary was a difficult man to know, but an easy man to remember.

He was a soldier, a spy, a smuggler, a scoundrel, stubborn and secretive.

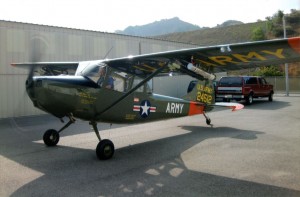
He was a pilot, a mechanic, a craftsman, a veteran, a voting member of the academy, and finally I think, a scholar. He was the guardian of a little piece of military history as the owner of a Cessna L19E Bird Dog.

He took his responsibility as a caretaker of the L19 very seriously and worked hard on all the details that were true to the hardware, but more importantly, true to the times when it was in service.

Finally, Gary was a teacher.

He taught us that a Hawaiian print shirt was an appropriate fashion statement for any occasion.
He taught us that passion in life was a good thing, but that too much passion was not. He also taught us that passion does not mean anger.
He taught us to say what you mean, and mean what you say.
He taught us that service to your country gives you the right to question where your country is going.
He taught us to remember the past, but don’t try to live there.
He taught us not to fly an Aeronca L2 in IMC (it pits the prop).
He taught us that helicopters are a collection of parts flying in close formation waiting for something bad to happen.
He taught us the patience of a craftsman, and the impatience of a computer user.
He taught us that no man is an island.

And now he teaches us that life is short and uncertain. To live everyday as if it is your last. Be good to your friends and be sure to say thank you.

Thank you Gary. We will miss you.
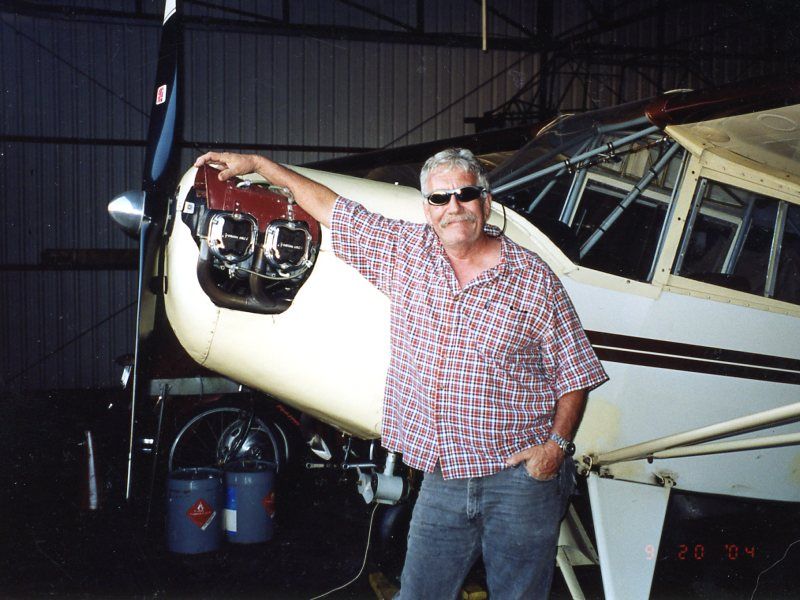


Gary Ancil

Gary Anctil


Gary’s Work

L19e Bird Dog

L19e Bird Dog


My Family Gives Me Wings!

And friends too…

Well, we have now installed the wings for the first time, and I’m a pretty happy guy!  After many weeks of worry (as usual) we have spent the day at the hanger and we have passed a BIG benchmark: Wings on!

Last Saturday, I invited a bunch of family and friends to meet Tom and me at the hanger for a good old fashion wing raising.  What is a wing hanging?  Well, one BIG step in building is to set the wing incidence and drill the attach bolt for the rear spar.

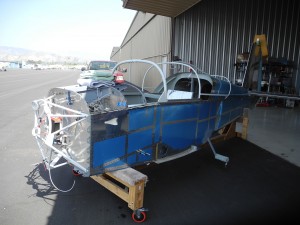
RV-9A fusealage

Fuse ready for Wings


So, Tom and I arrive at the hanger real early and move all the stuff out of the way. we roll out the wings in the wing stand and center the fuselage in the hanger. We then level the entire fuse left and right and front to back. We install temp legs on the fuse stand to be sure it stays that way.  We then laid out the wings and waited for folks to show up.

We did not have to wait long and all the folks were ready to insert the wings, level them, set the sweep and clamp the wings in place.  After double checking everything, we are ready to drill the read spar. Volia!  Wings set.

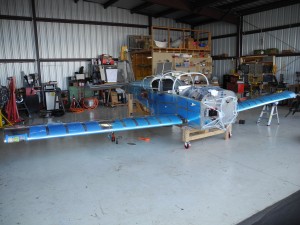
RV-9A fuse and wings

Wings Installed

So, what do you do after all that? Well, you REMOVE them off course. The wings will not be installed for the last time until after the plane moves to Camarillo.  Here is how you remove wings:


Remove Wings

Panel Planning Post Possibly Perfect!

*sigh*

We are getting into the really tough part.  Planning the Panel.  I see many panels, and think how cool they are. How complex they are. How WAY complex they are.  I want a simple airplane that is easy and fun to fly, and I can go into the clouds with no worry, and if things get tough, a simple panel will bail me out.  I’m not building the space shuttle. I’m building a cool two-seater that is Cessna Safe!

Panel Electrical

Panel Playground

OK, I believe the planning will be complete, not when I run out of things to add, but rather I will run out of things to take away. Anyone want to buy a Hobbs Meter?

We have decided not to go with the EXPBUS and instead go with 90% fuses. I’ll still use circuit breakers for flaps, trim and autopilot. It will be the kind of circuit breaker that I can pull to disable. This will give me one last change to prevent a runaway motor.

Fuse blocks for RV-9A

Main Bus and Essential Bus fuse holders

It is funny, that I’m ready to build the plane the way I want to build it, but when an onlooker says “Have you thought about X” I have a knee jerk reaction to say “I’m building the way I want”

*BUT*

The reality is that I did NOT think about that, and it is a good idea to at least thing about this stuff. I make it a habit NOT to try to make a decision right there, but rather really think about the comment, and THEN make a decision when I weigh all the options. We are in the process of thinking about:

  • Fuse vs Circuit Breakers vs Fuseable links
  • Essential Bus and Main Bus and Master Bus and Ground Bus
  • Wire access
  • Switches
  • Equipment I bought and can leave off (How many Hobbs meters does a plane need? How many timers?)
  • Cutting ALL the panel holes first time out.

We will soon be taking a break from all this and fit the wings. Wow! The Wings!  Silver Wings! Laughter Silvered Wings!

Jaws!!! A bit of add-vice….

A good vice has a clamping jaw that can hold ANYTHING while you wail away on it. The problem with that is the damage that can be done to the object clamped in the vice.

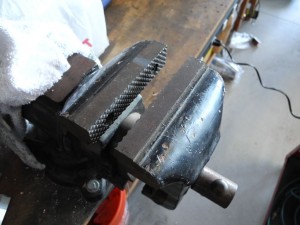
Here are my vice jaws:

Jaws of Death

Jaws of Death

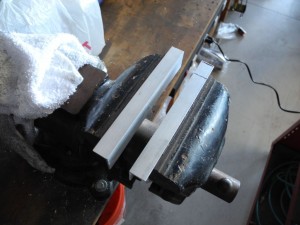
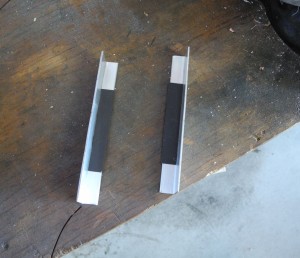
To prevent damage to small items, I cut a couple of pieces of 3/4 x 3/4 aluminum angle (the square kind, not the structural kind ) to clamp without damage

Jaw protectors

Jaw protectors

The problem was that these babies were ALWAYS hitting the floor while I was trying to insert the work. So, a quick trip to the local stationary store got me a rubberized magnet (used to make business cards into refrigerator magnets) that I cut into a couple of strips and glued to the top of the jaw protectors. Voila!

Magnets glued to underside of jaw protectors

Magnets glued to underside of jaw protectors

Cool.