Progress!

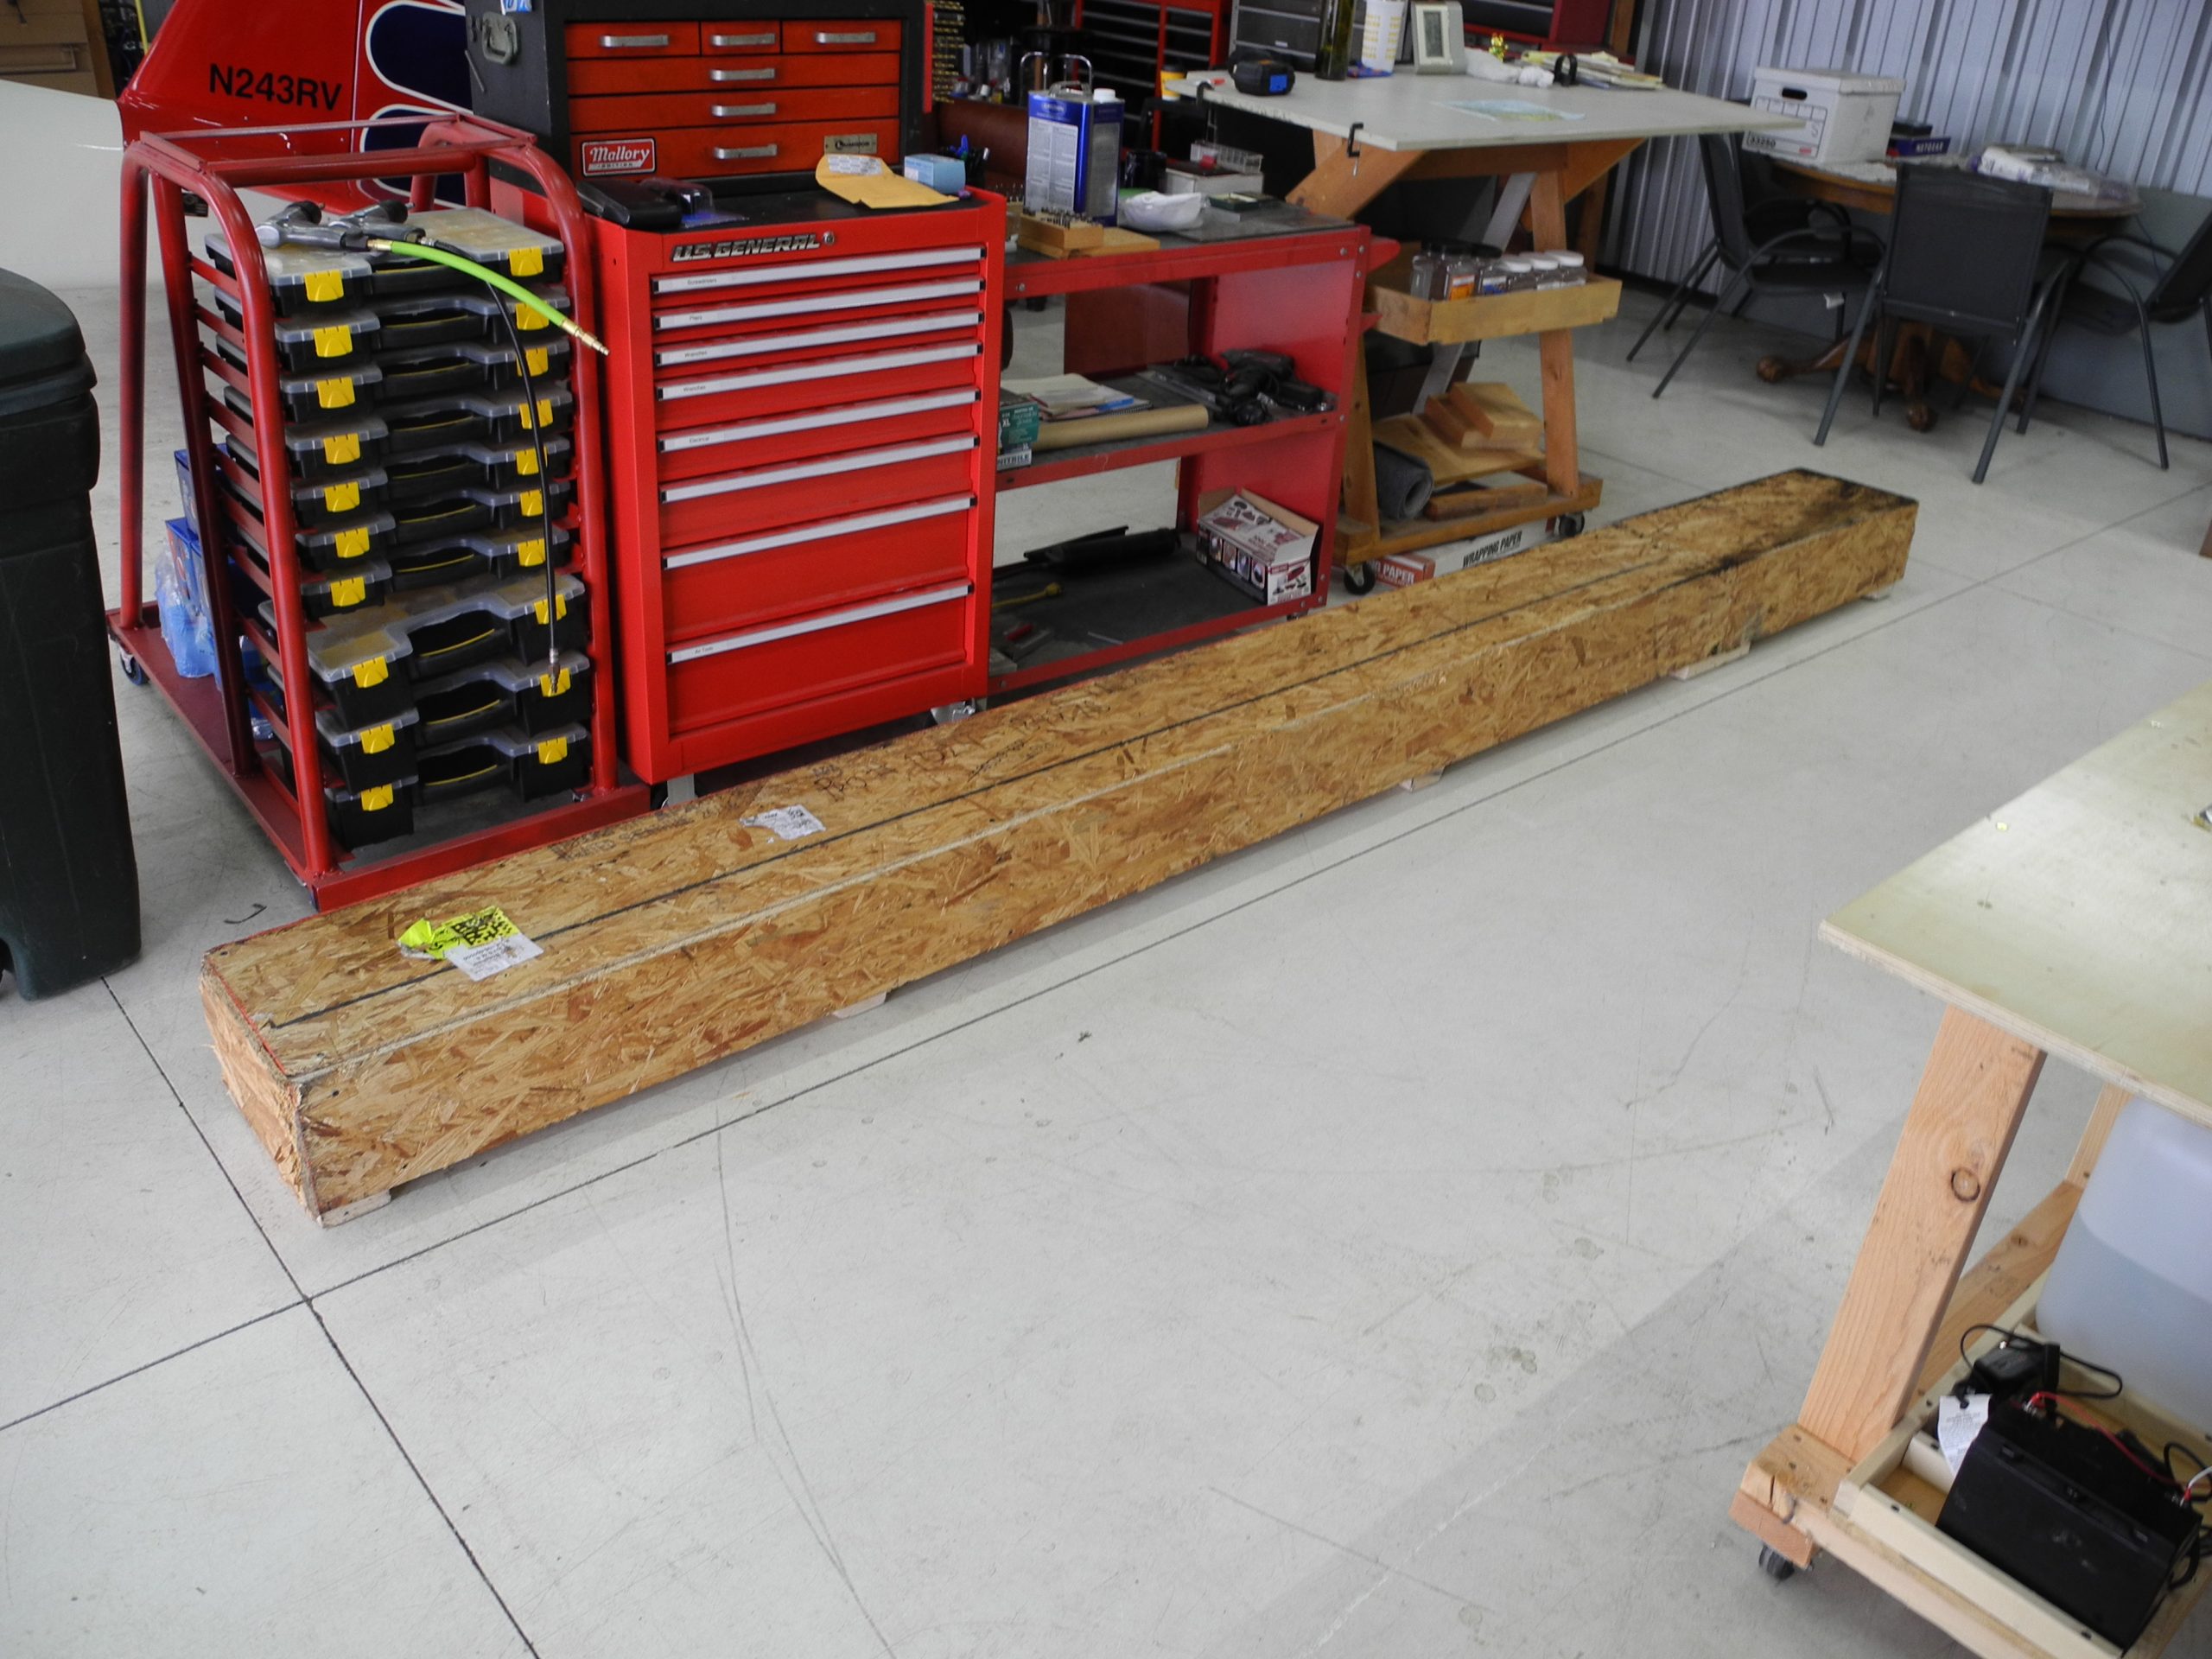
Well, lots of stuff getting done. We even organized our nuts and bolts. Nice plastic boxes for AN hardware.  We have both aircraft hardware as well as automotive hardware in the shop, so we have to be REAL careful to organize them and keep them separate.
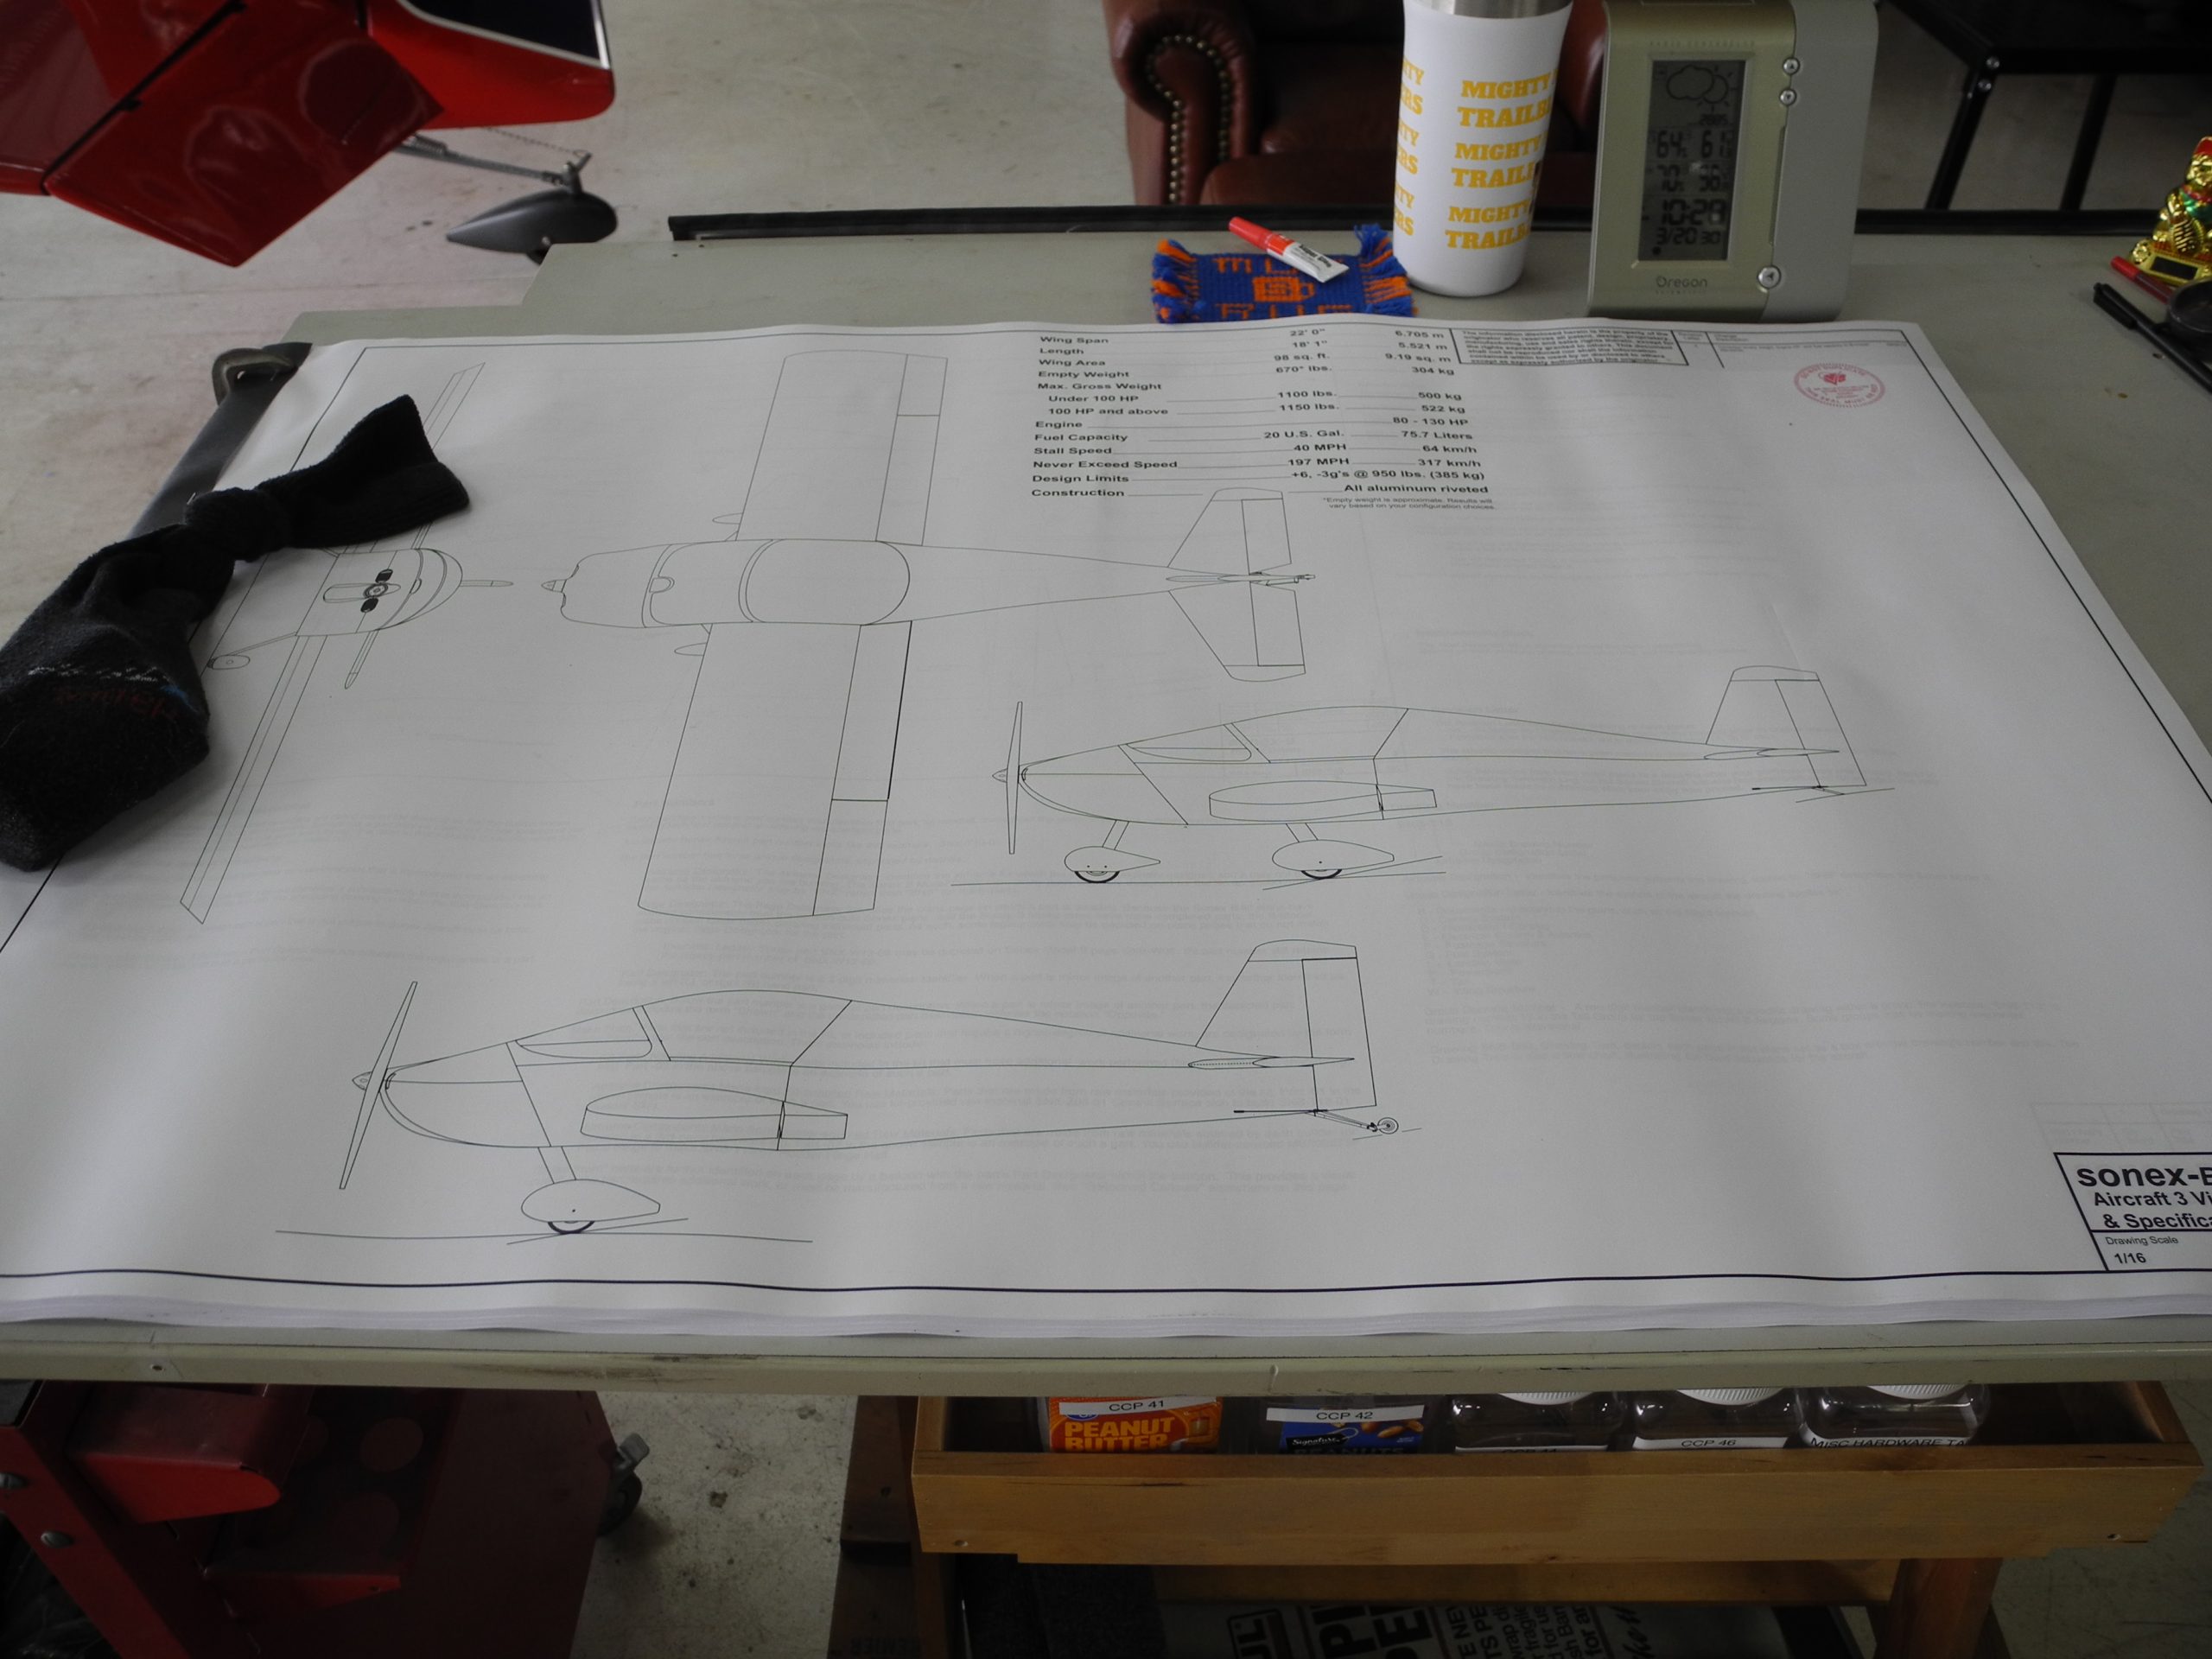
Part 1 – The wing

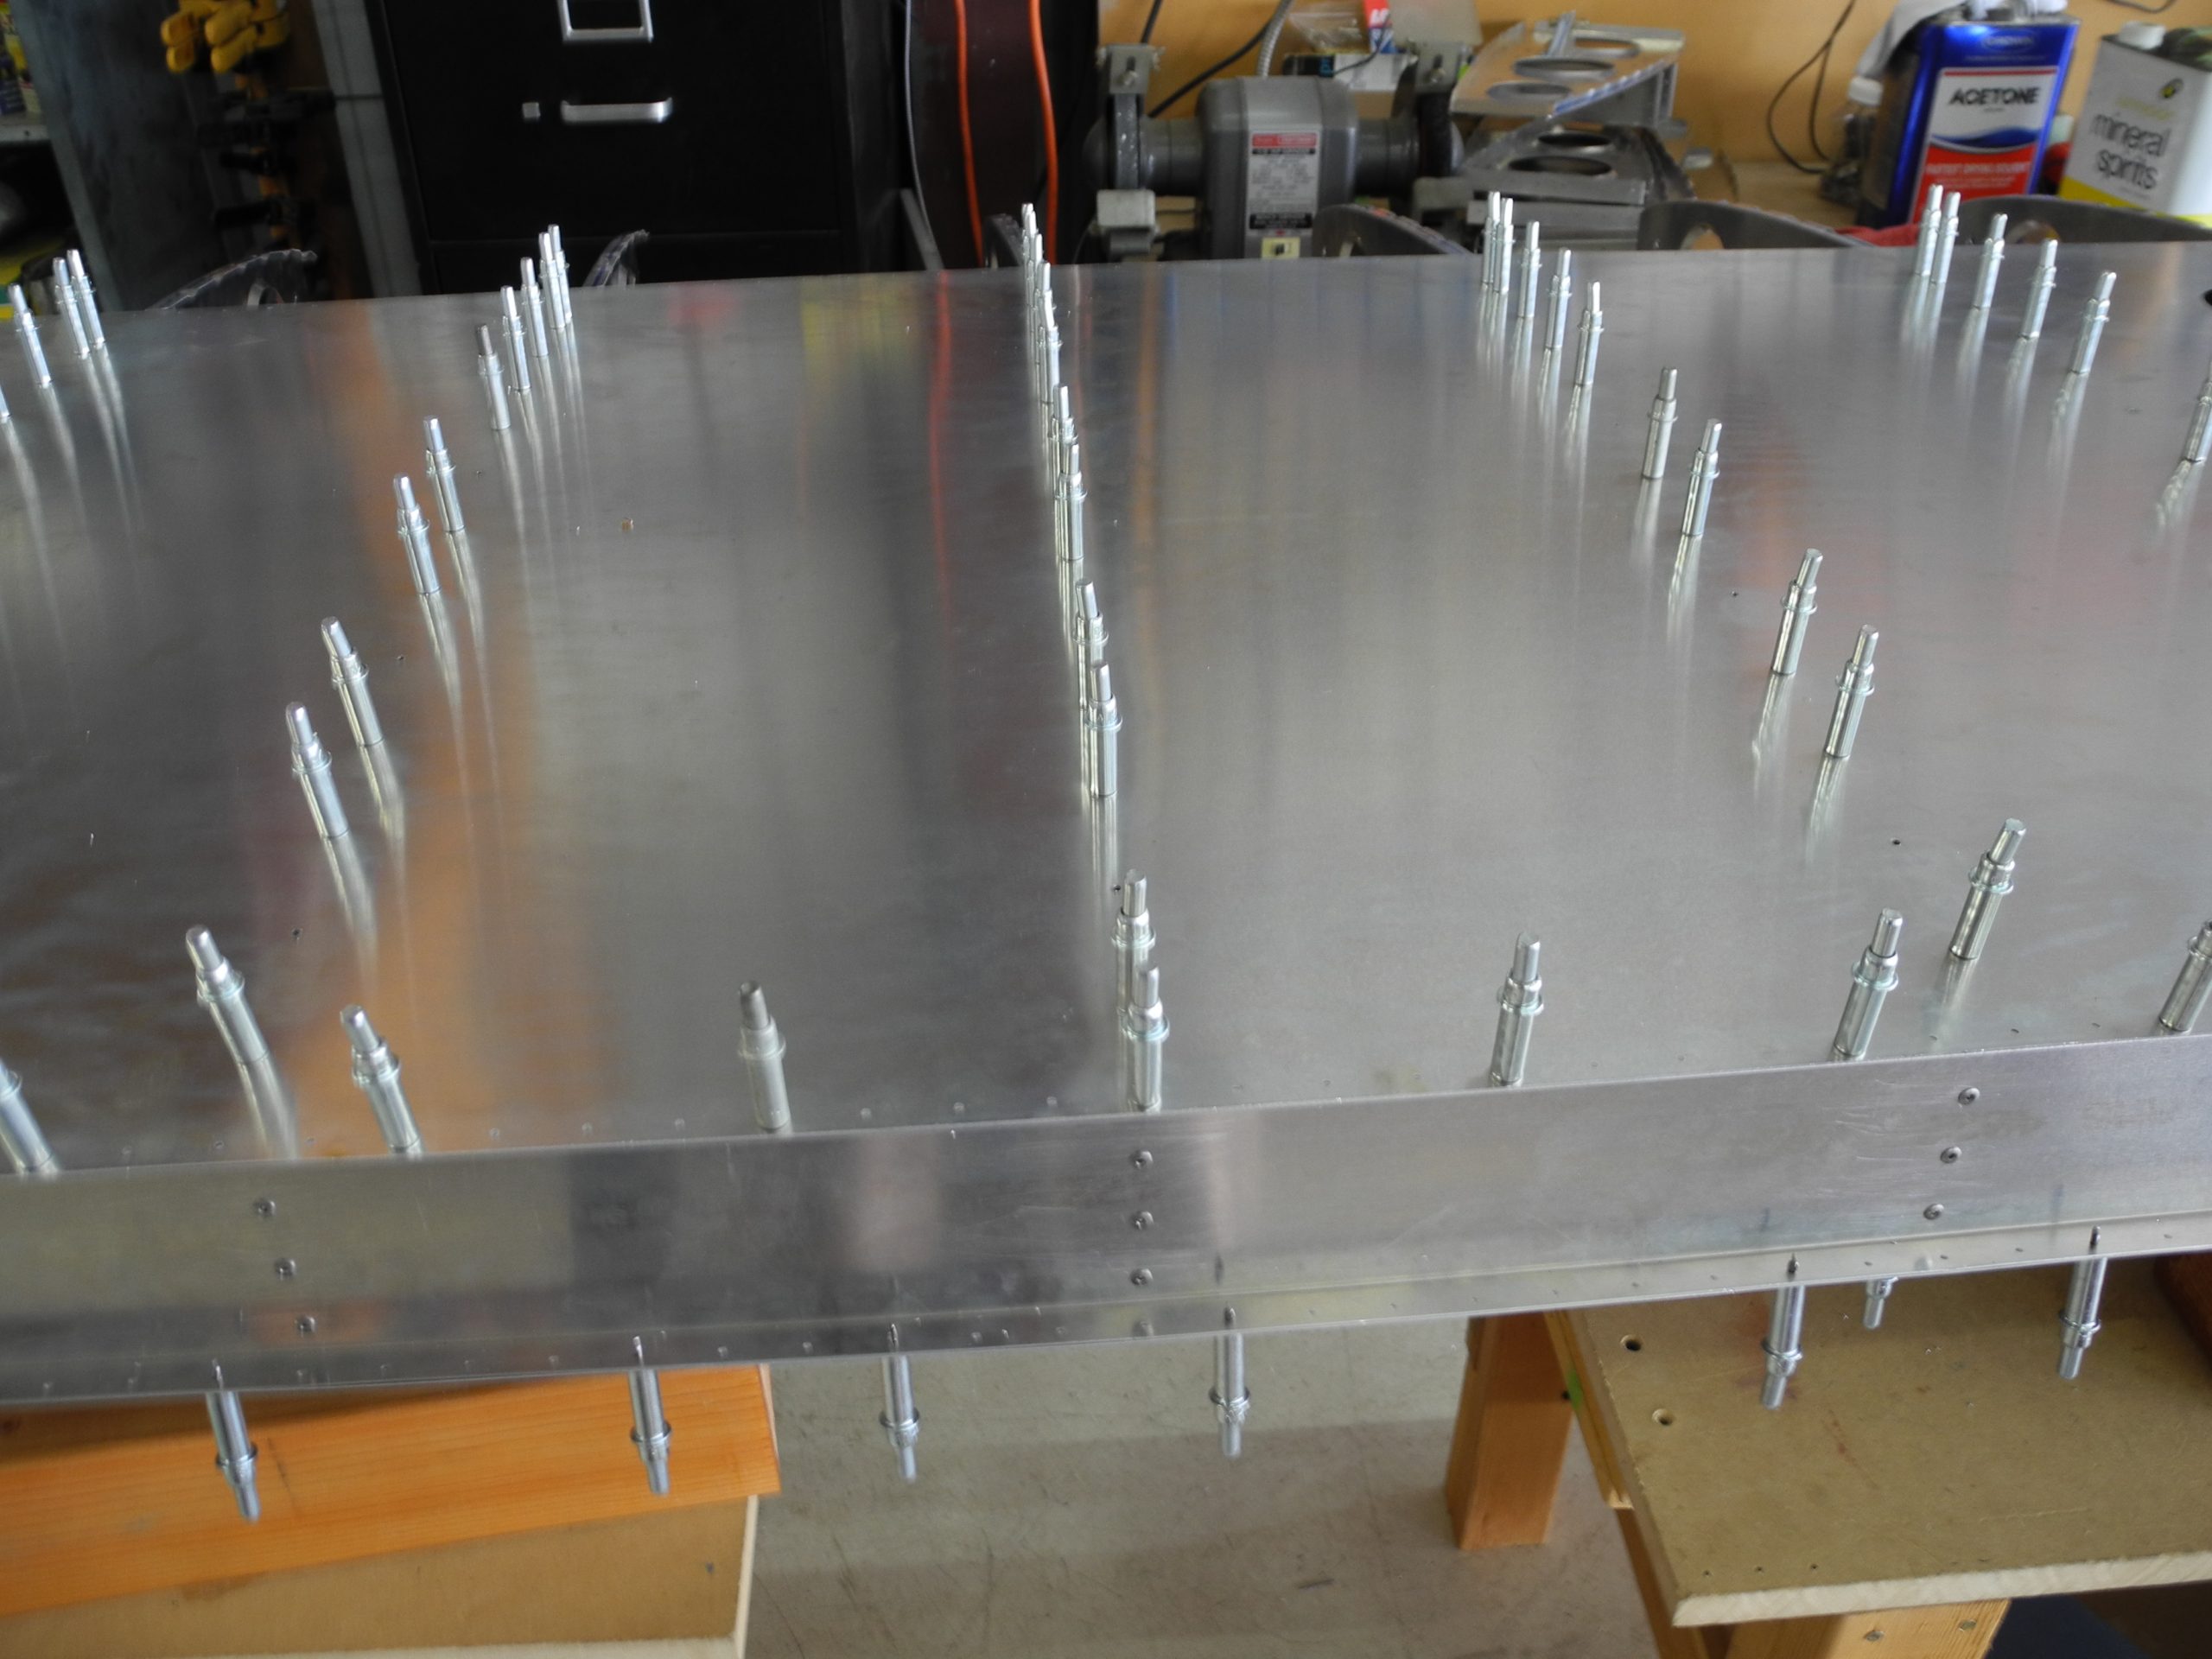
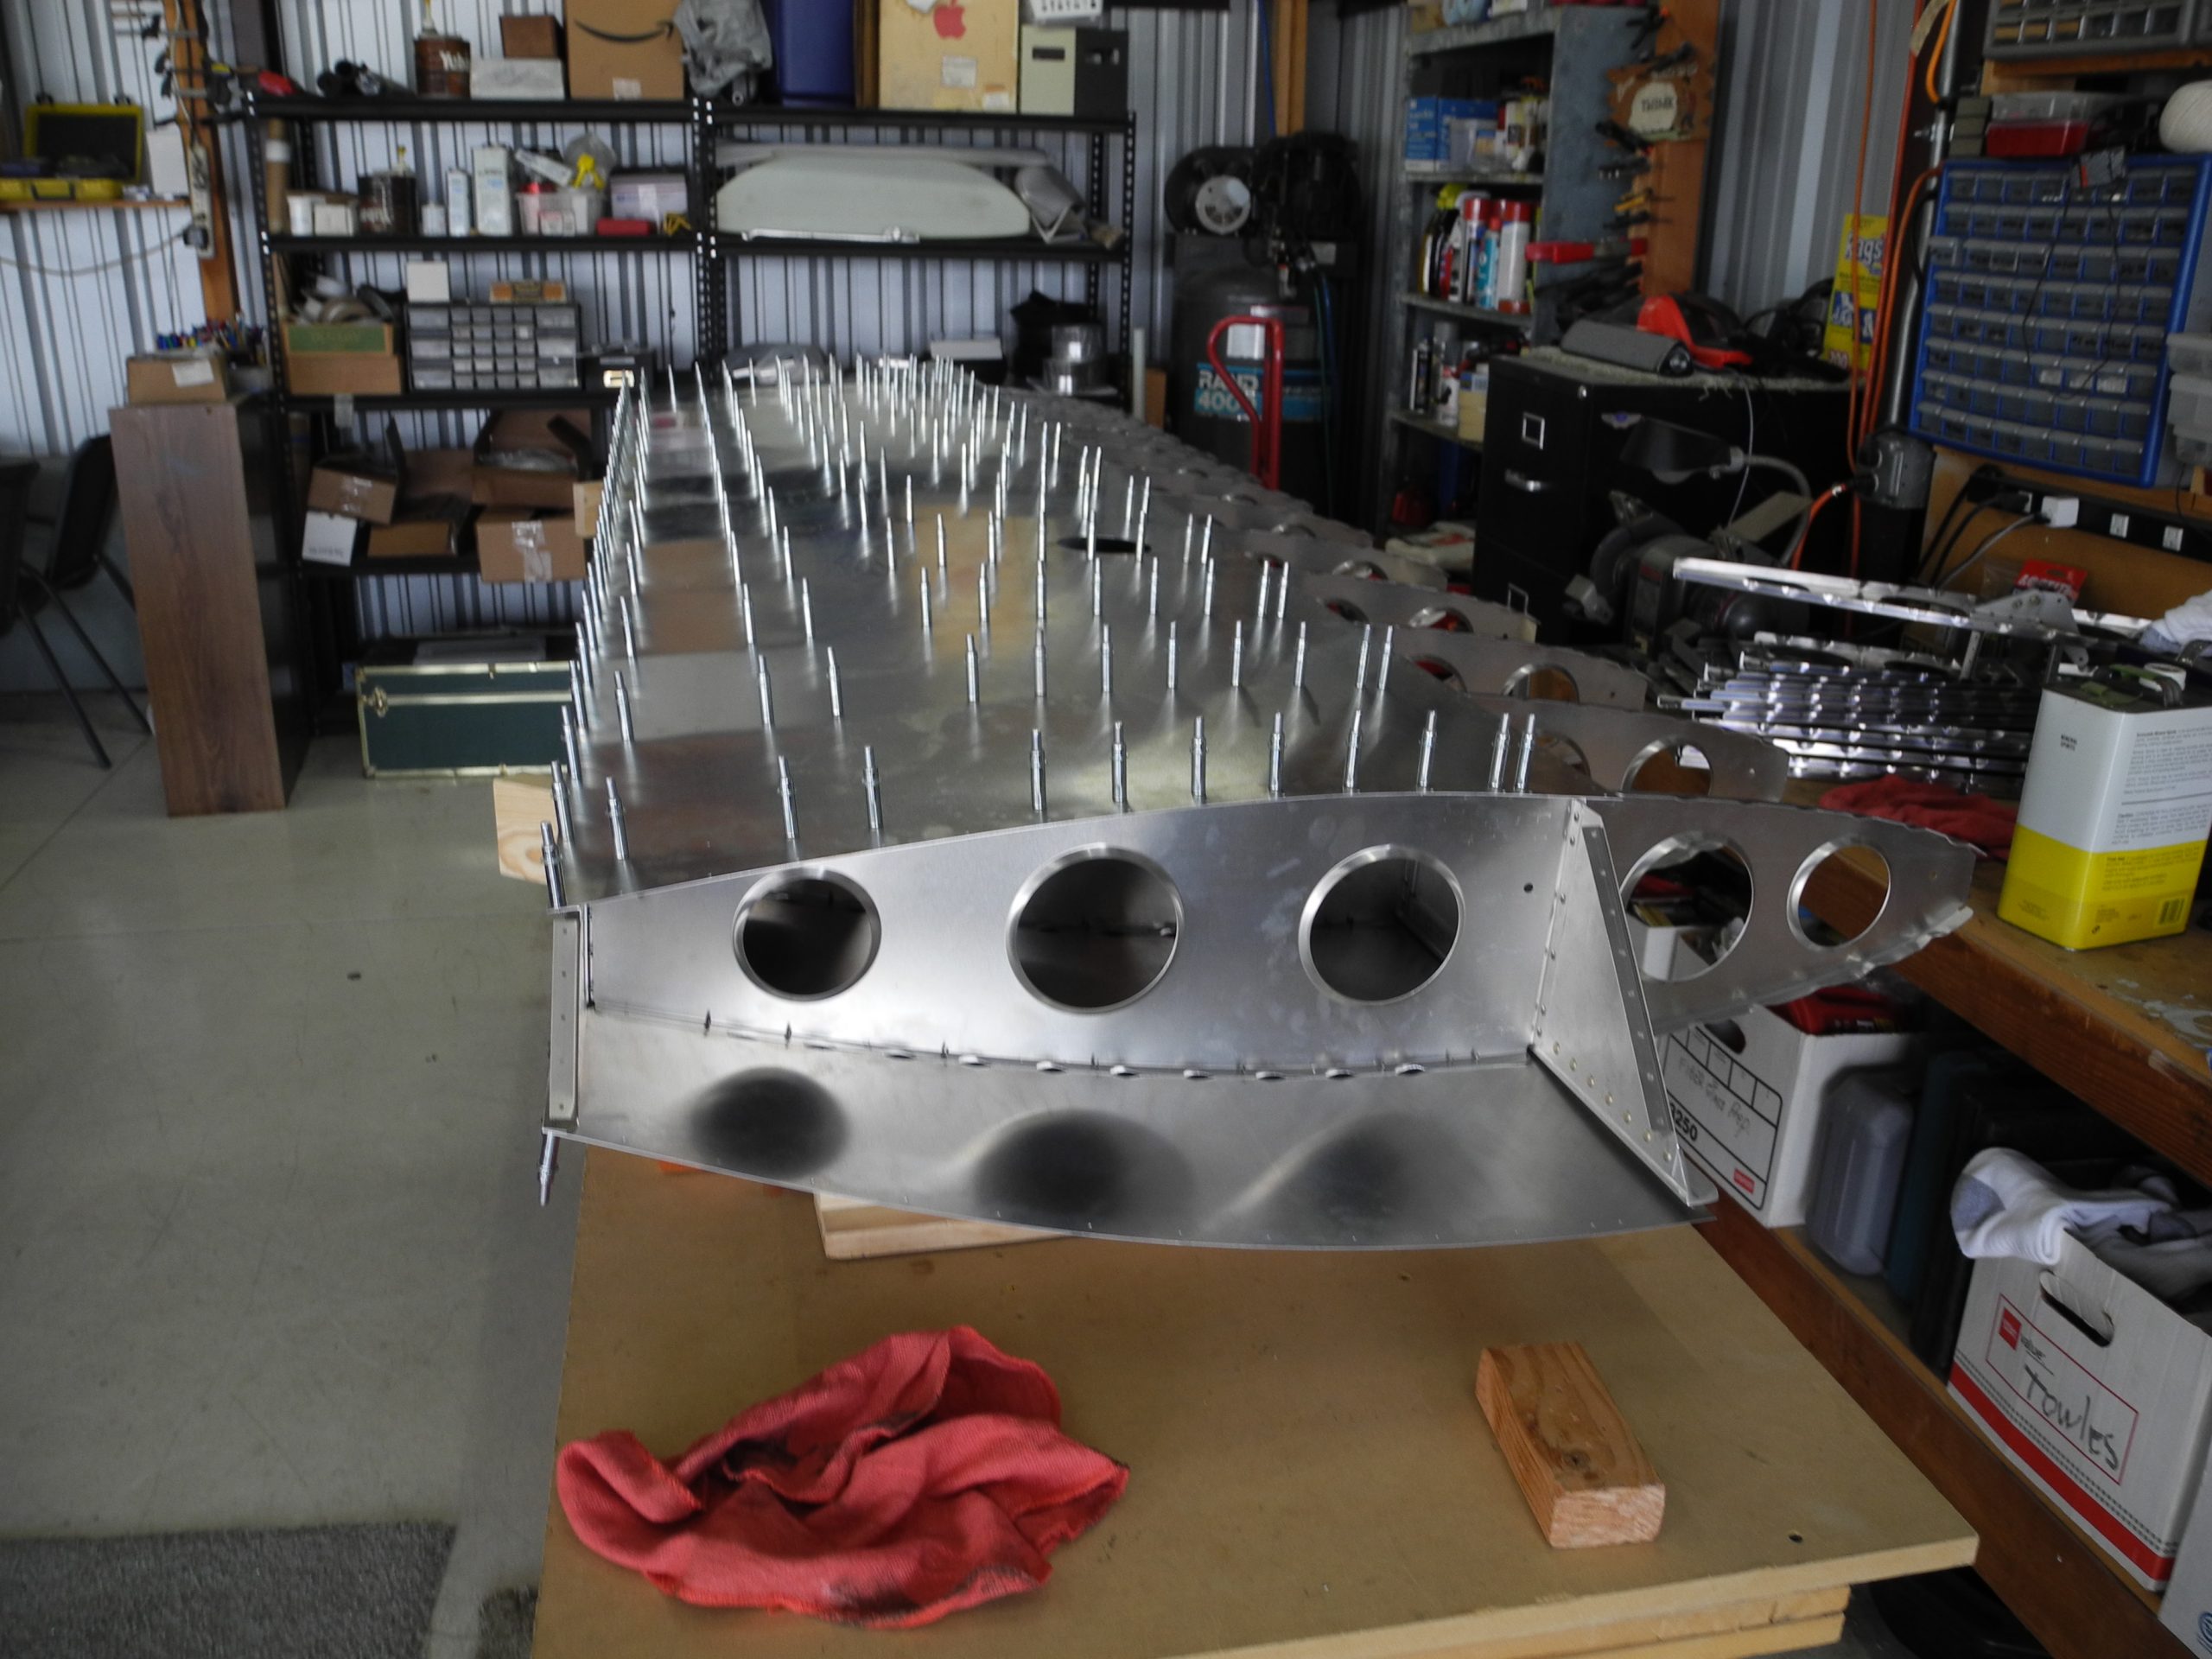
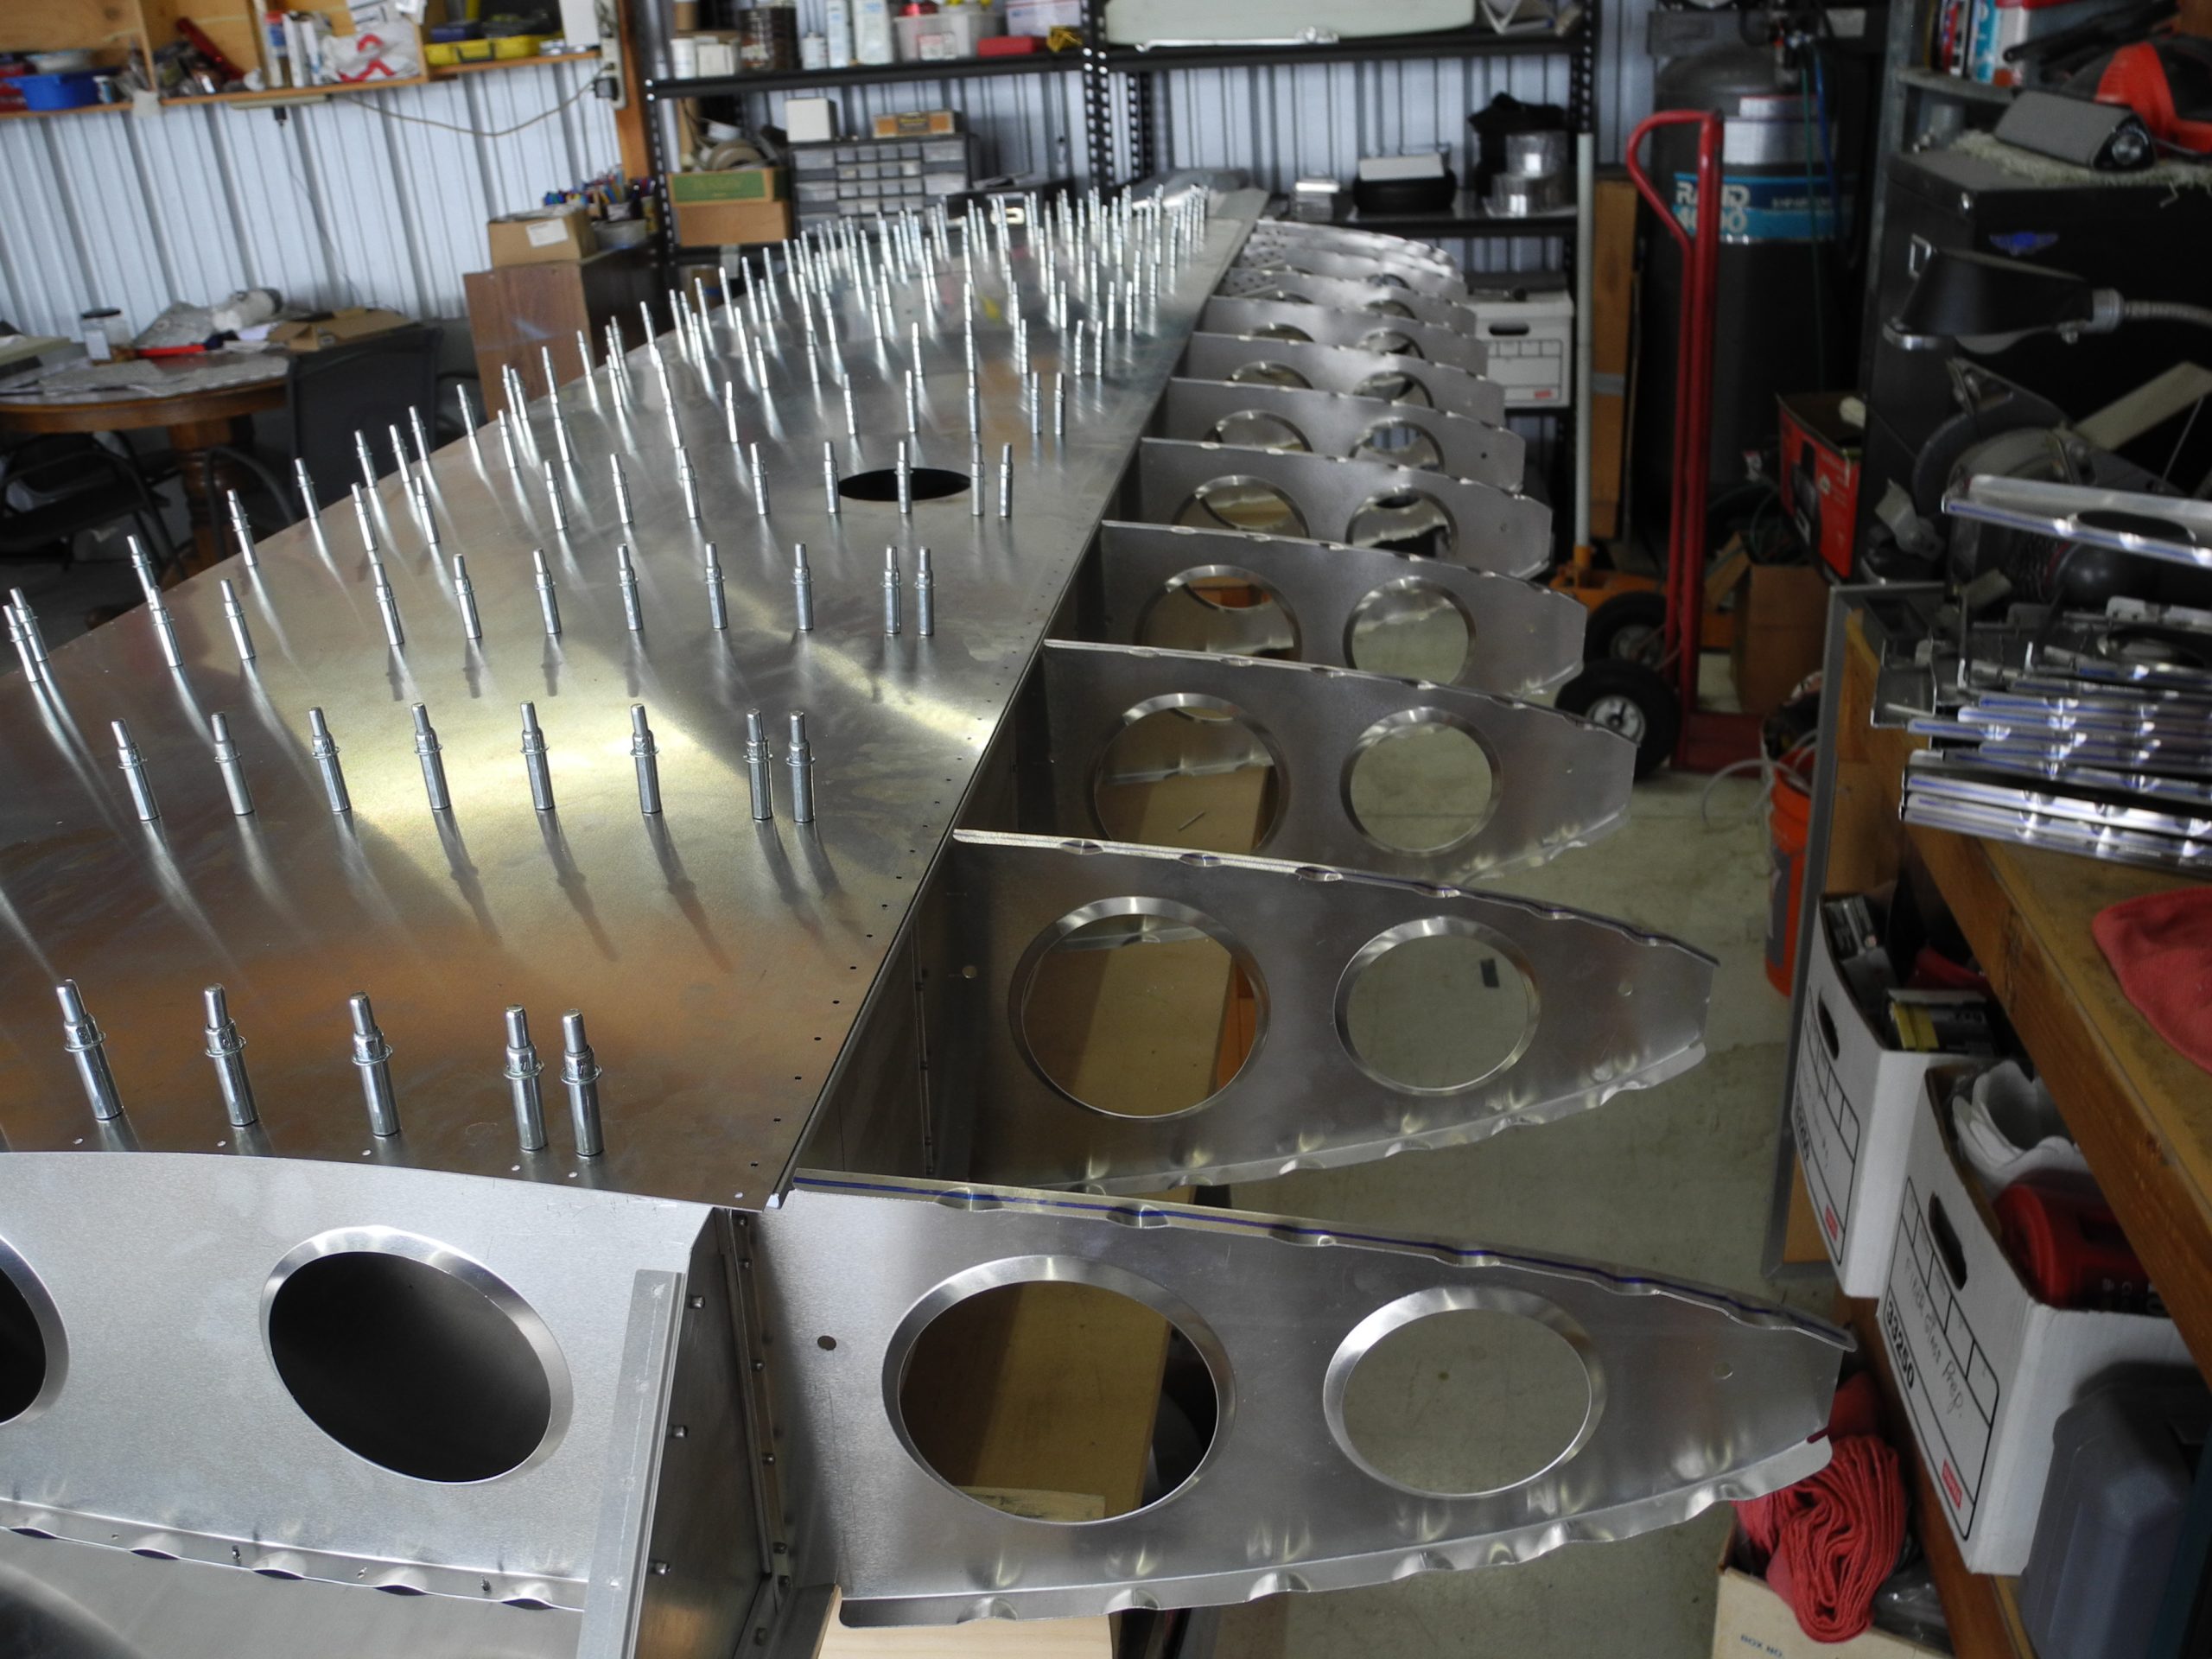
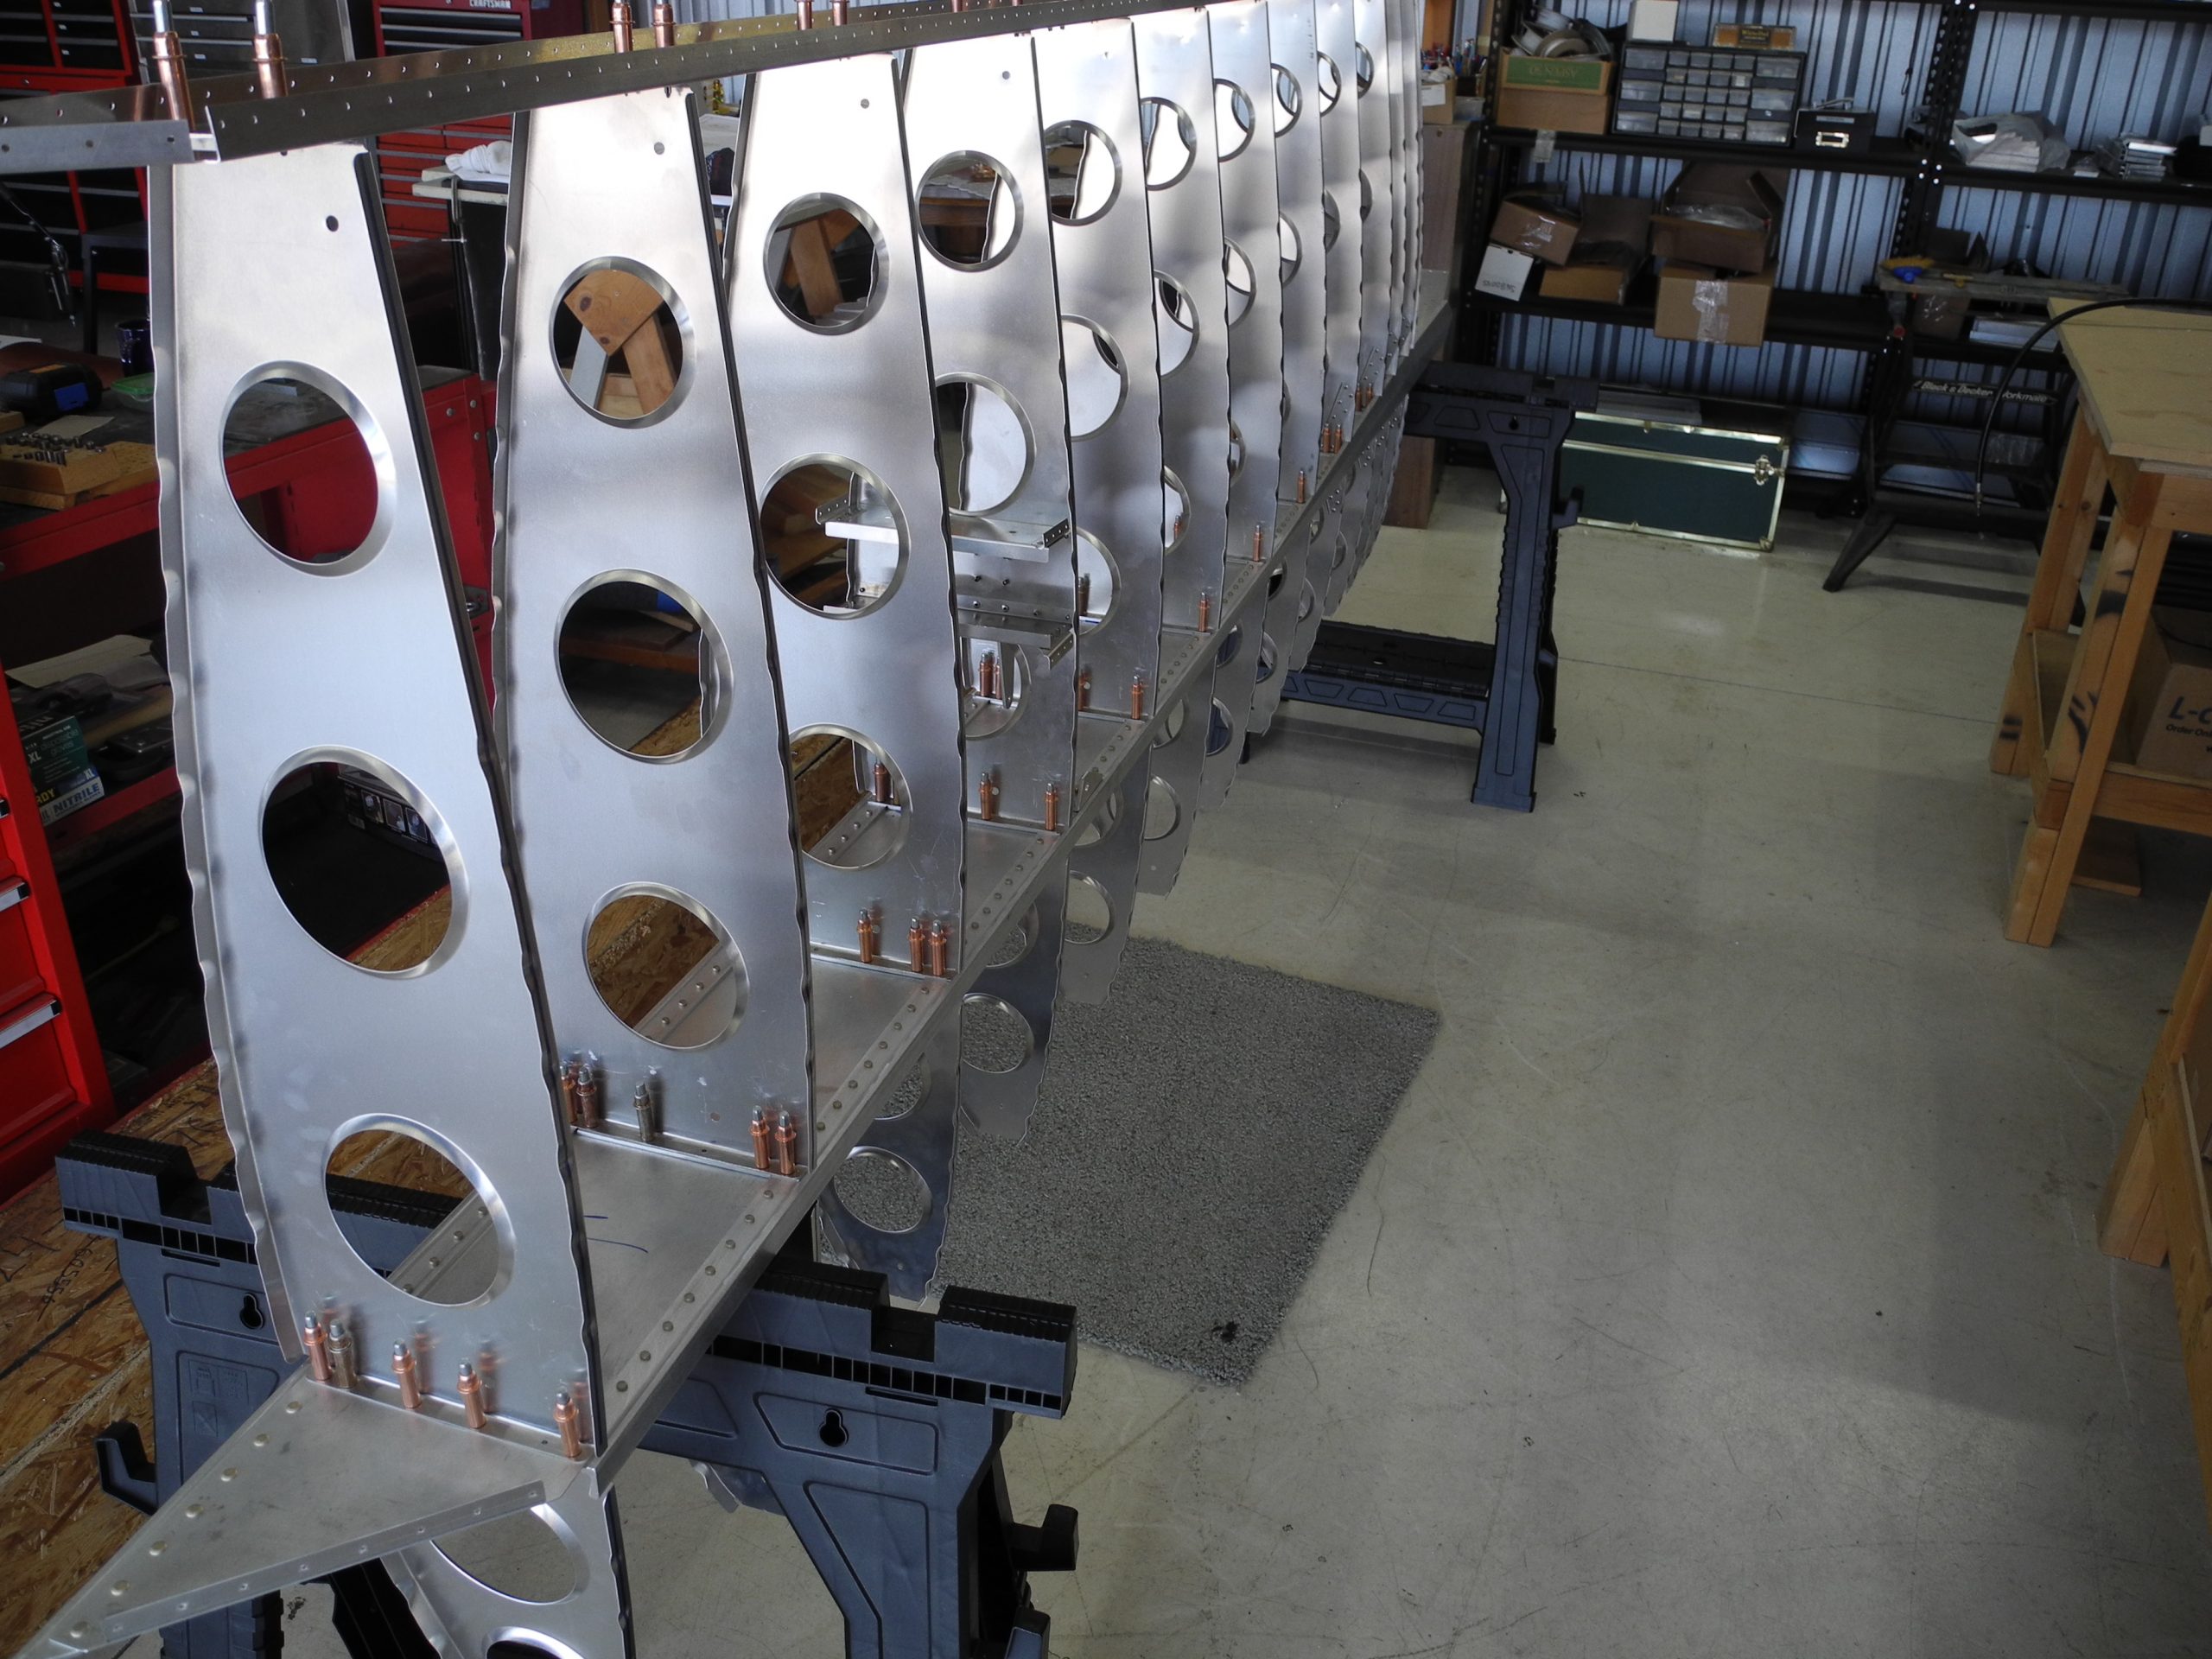
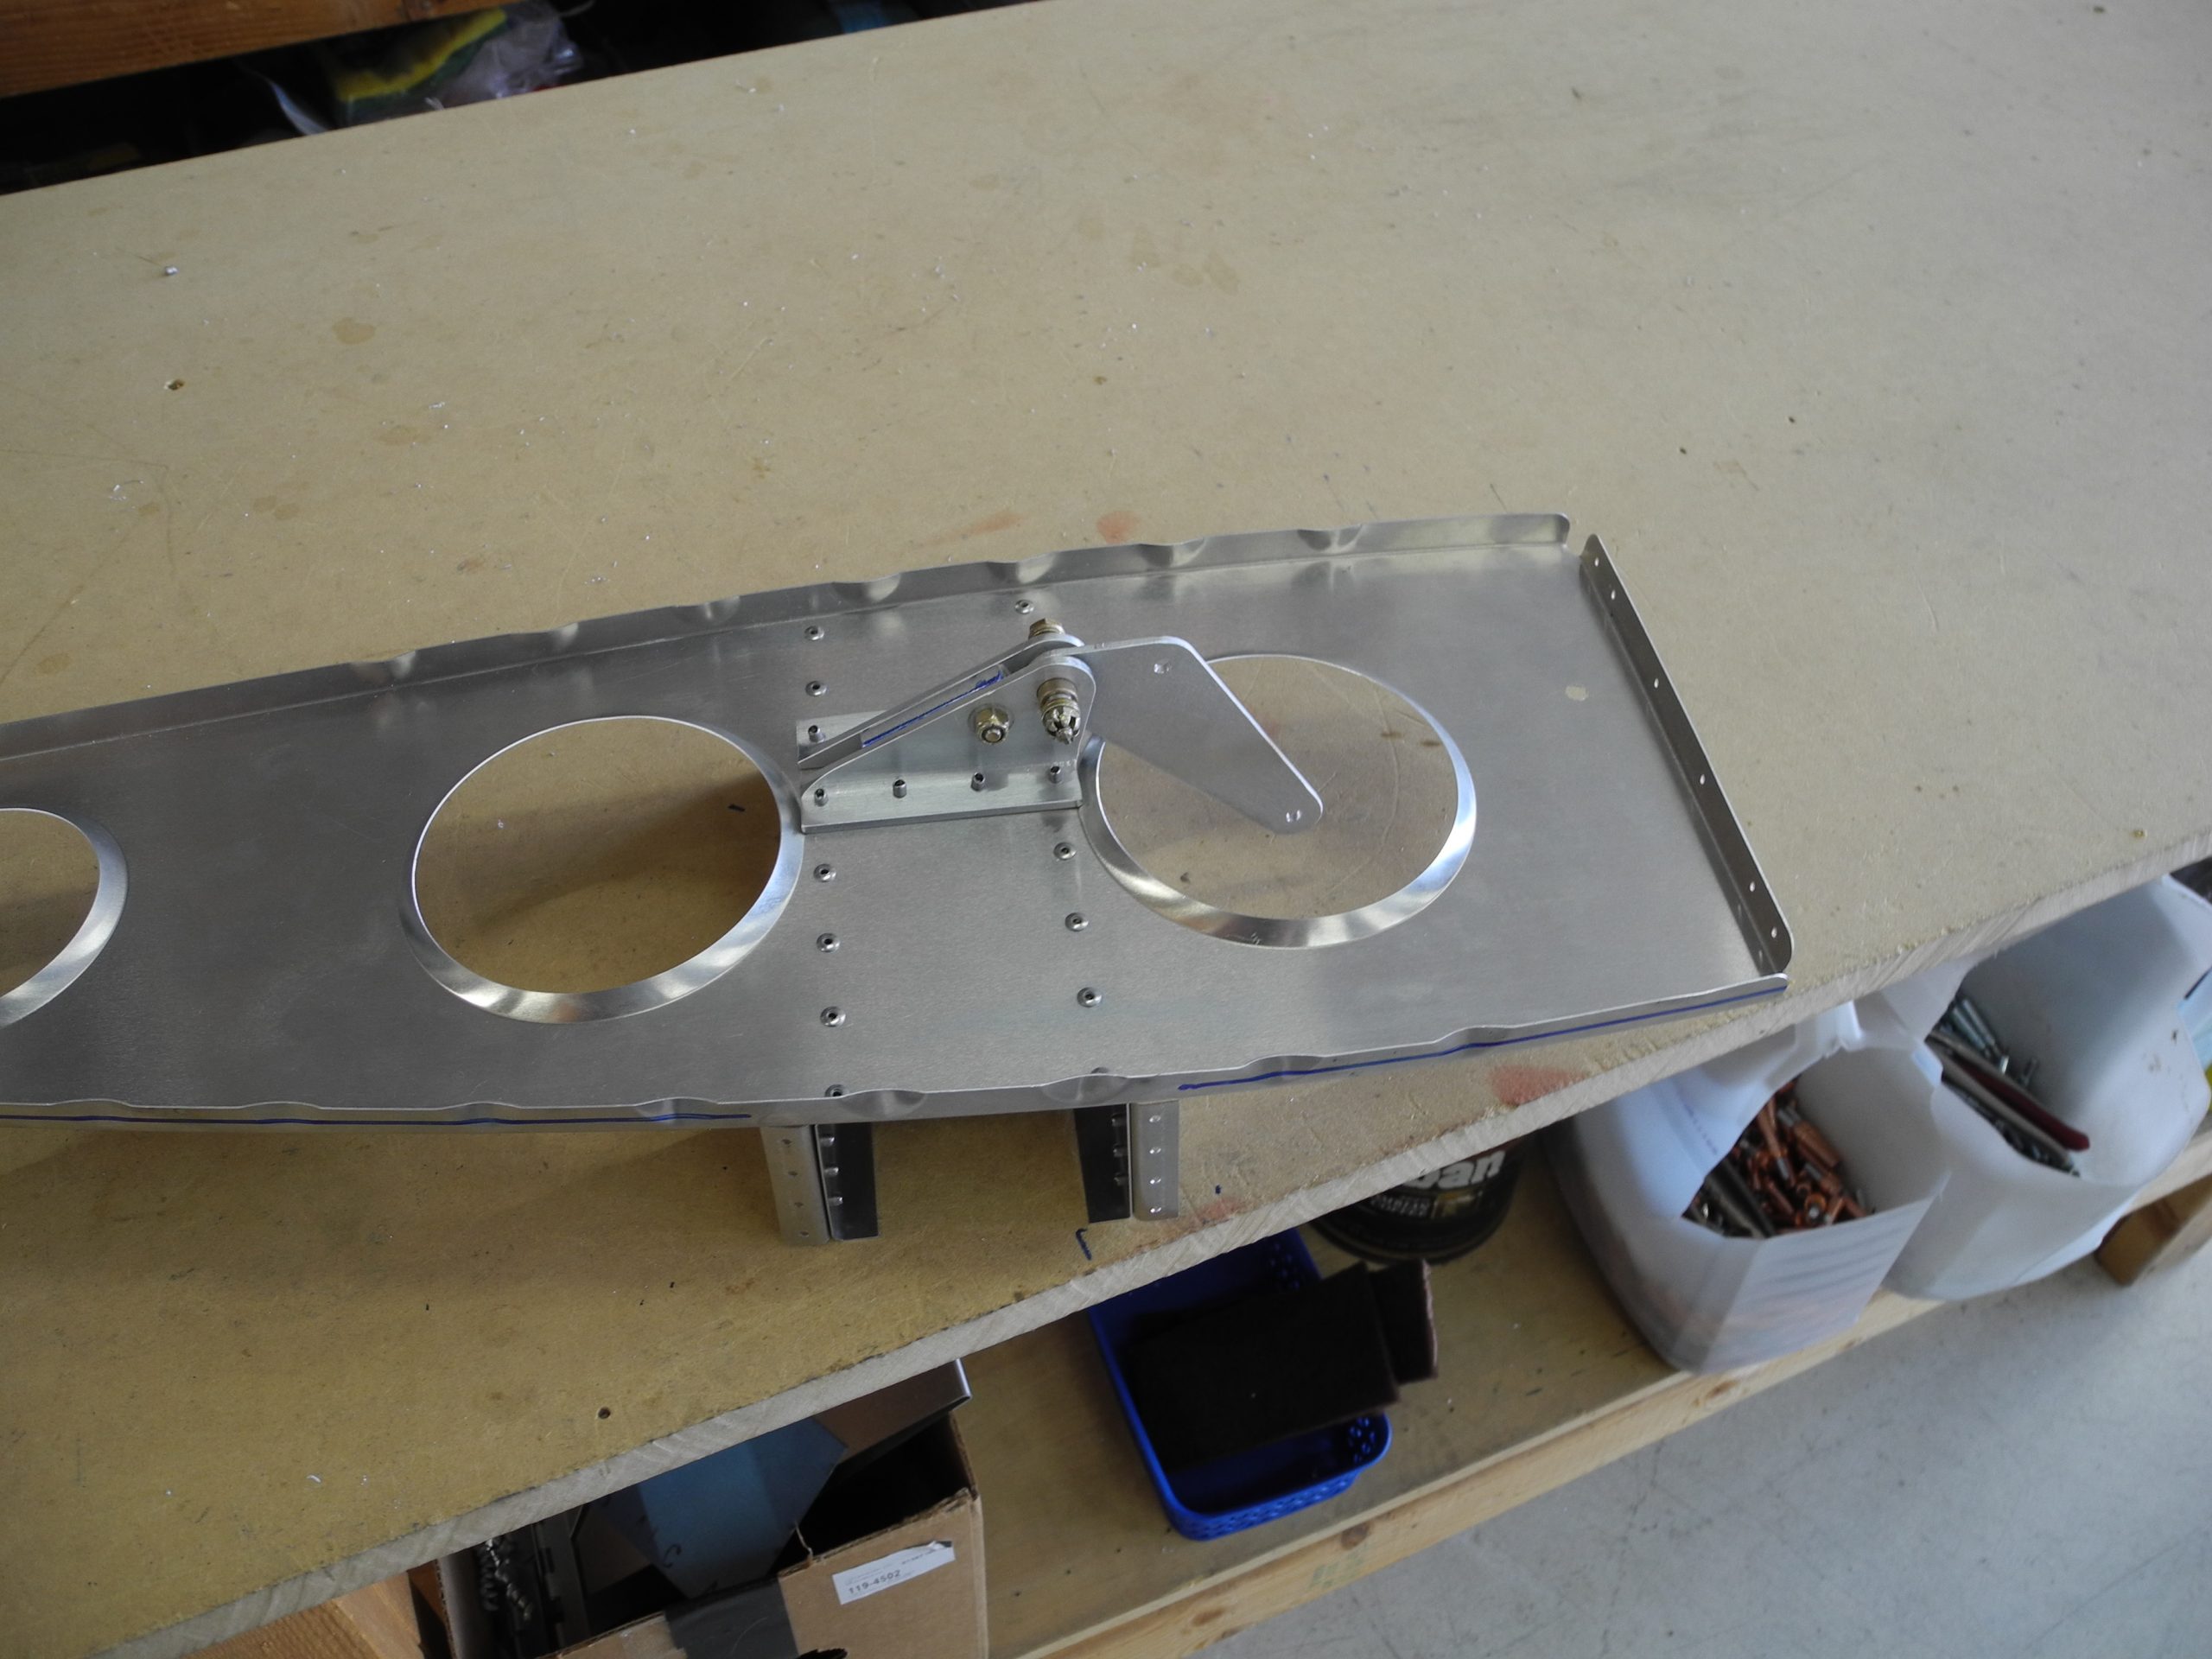
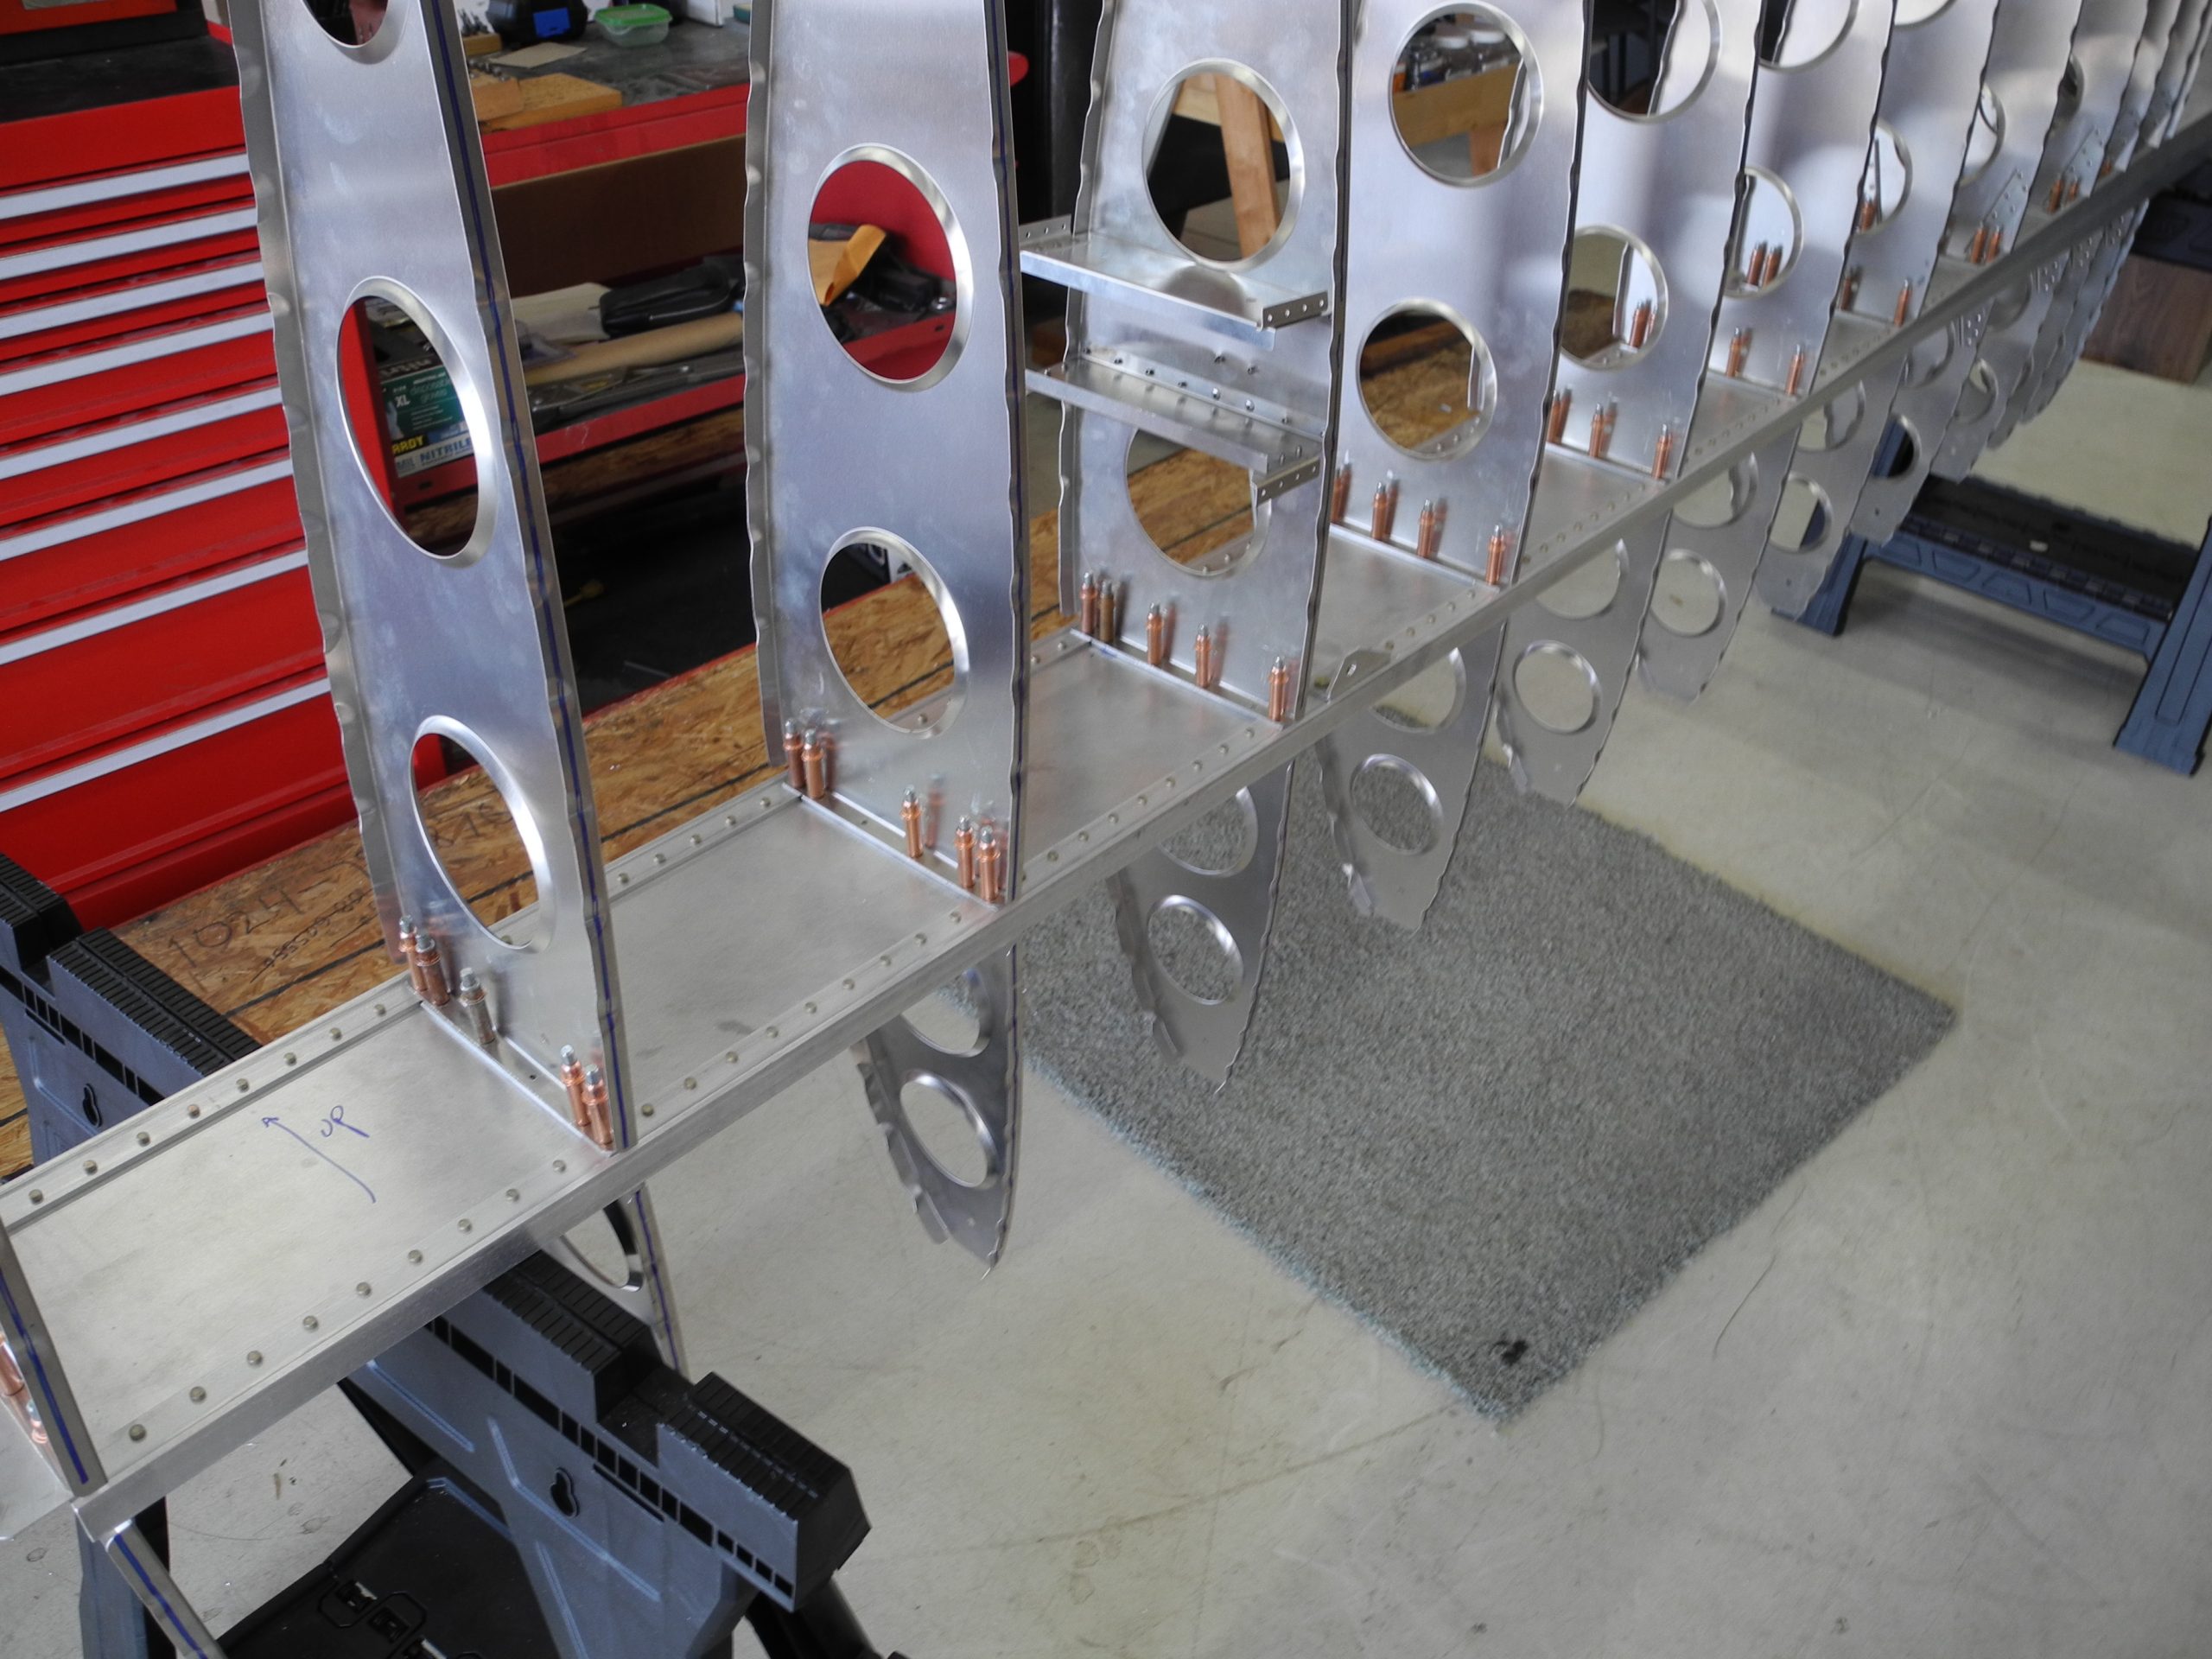
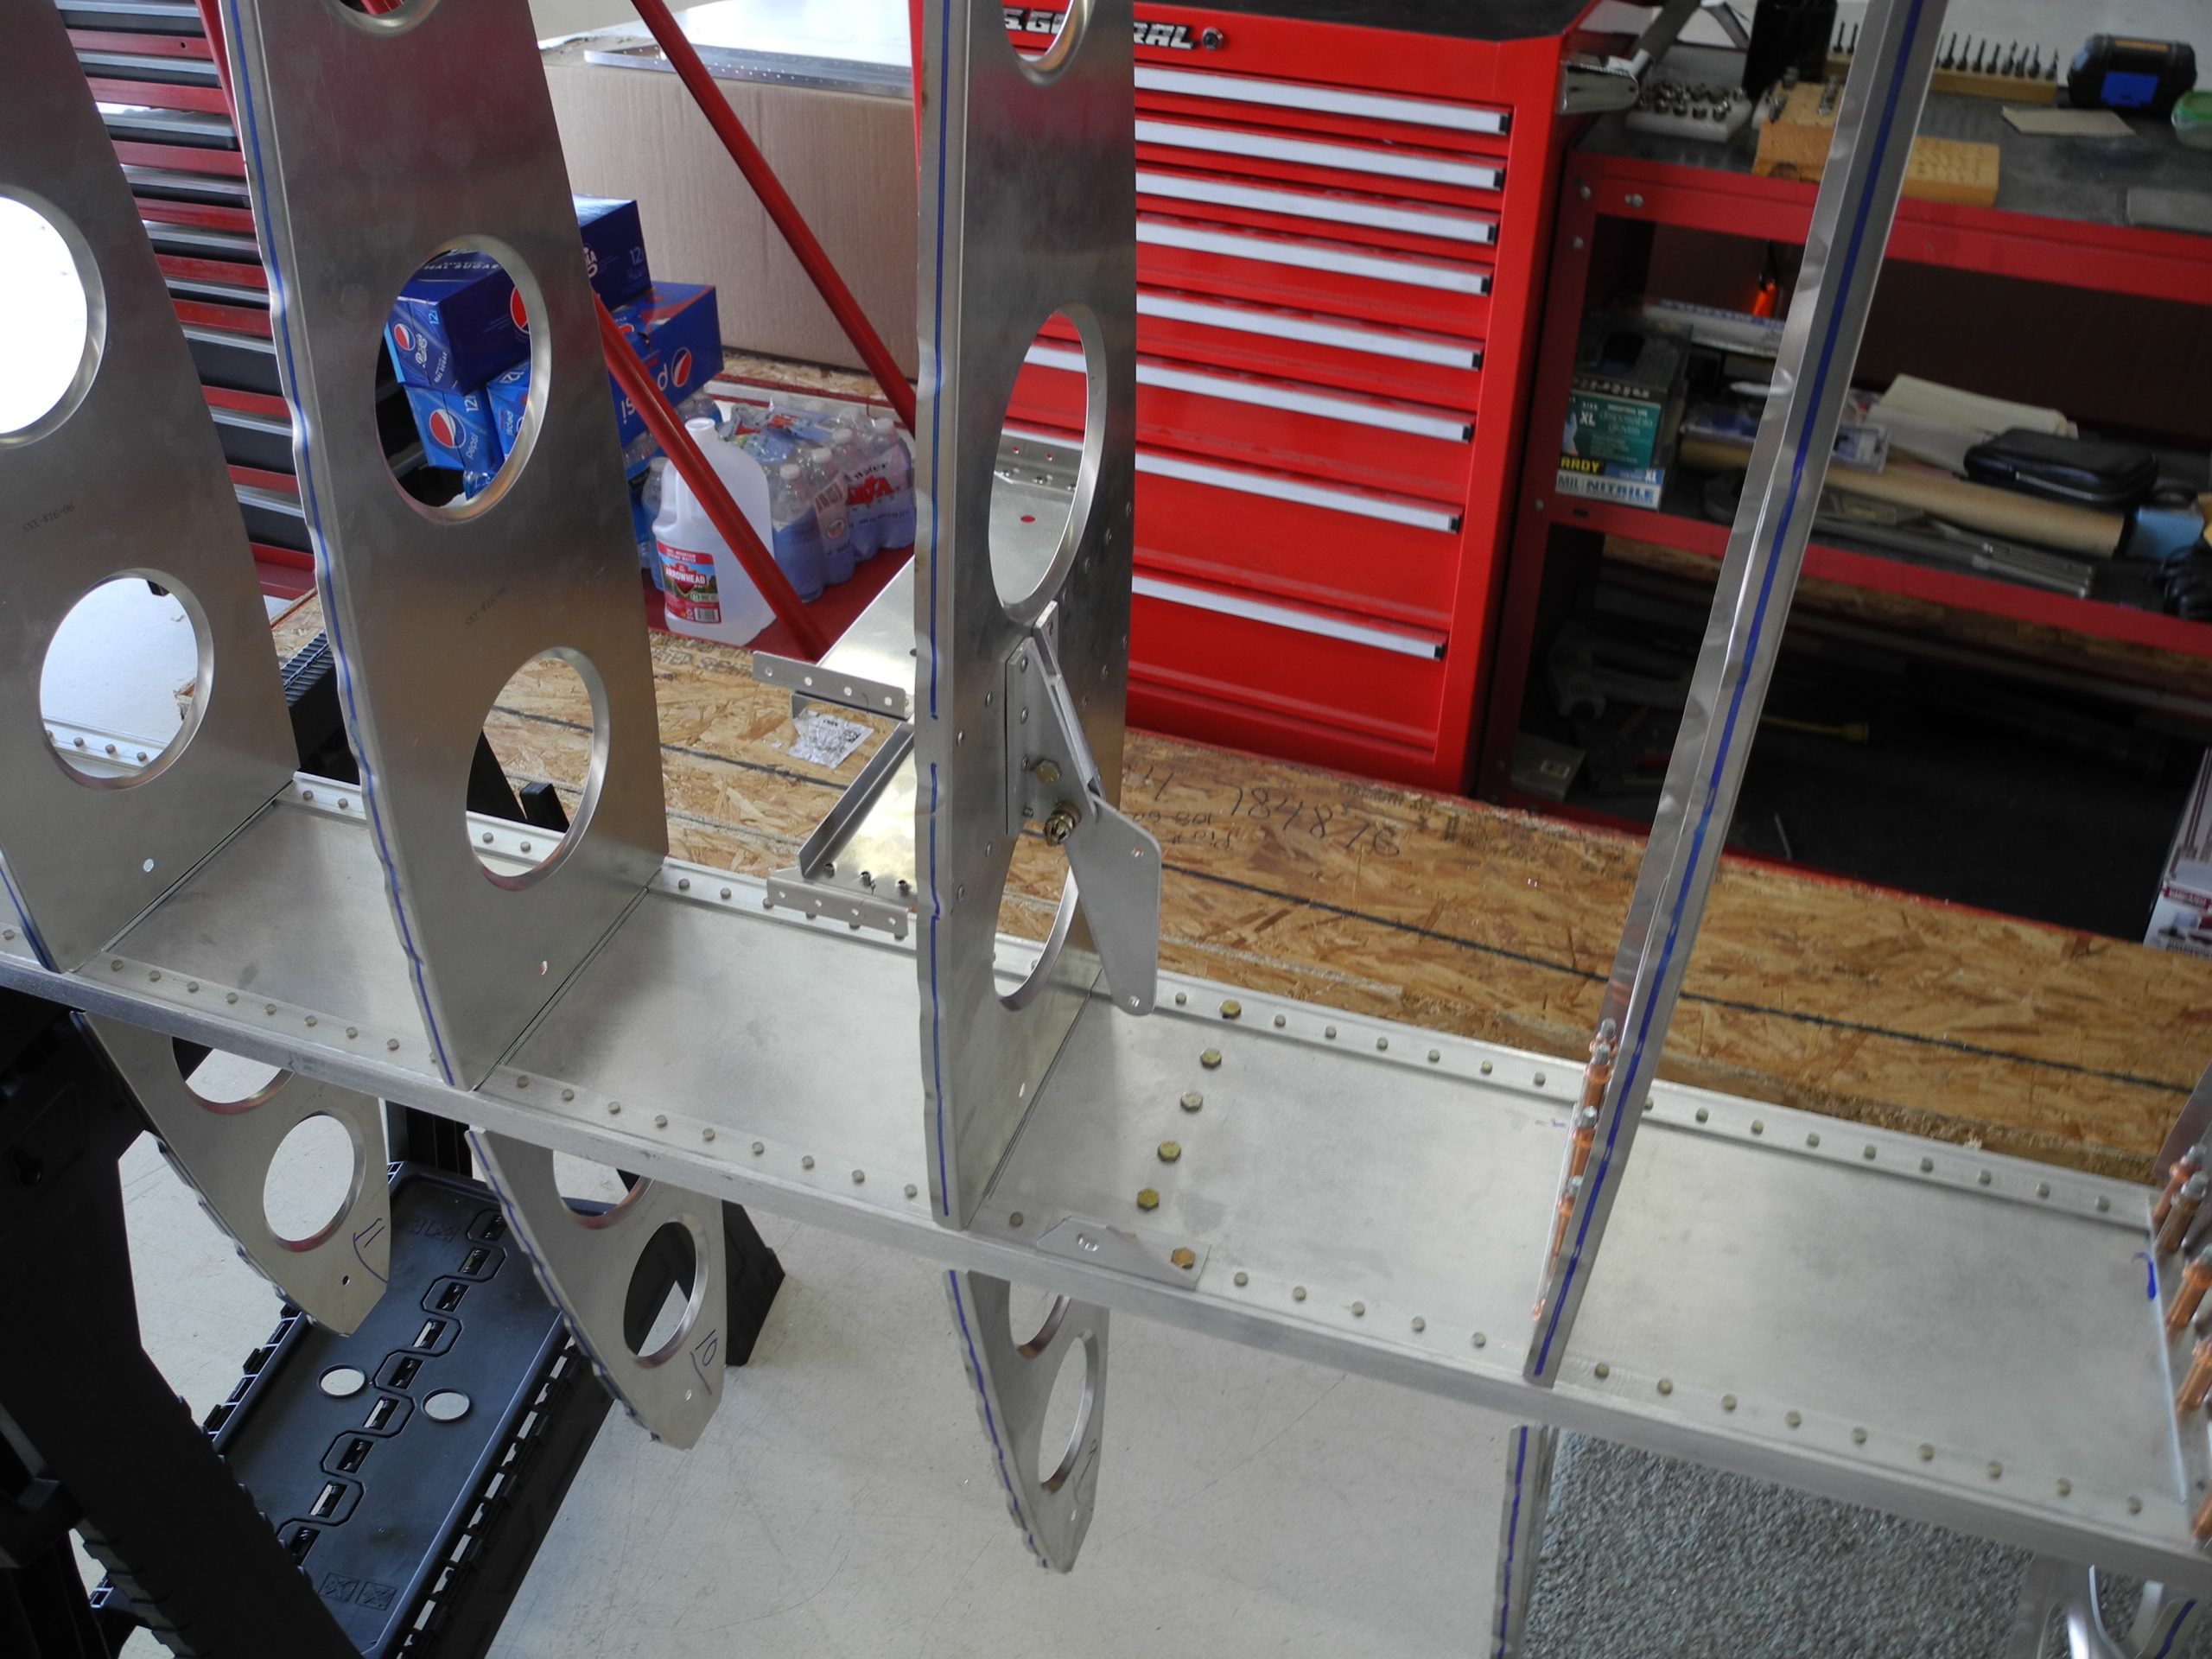
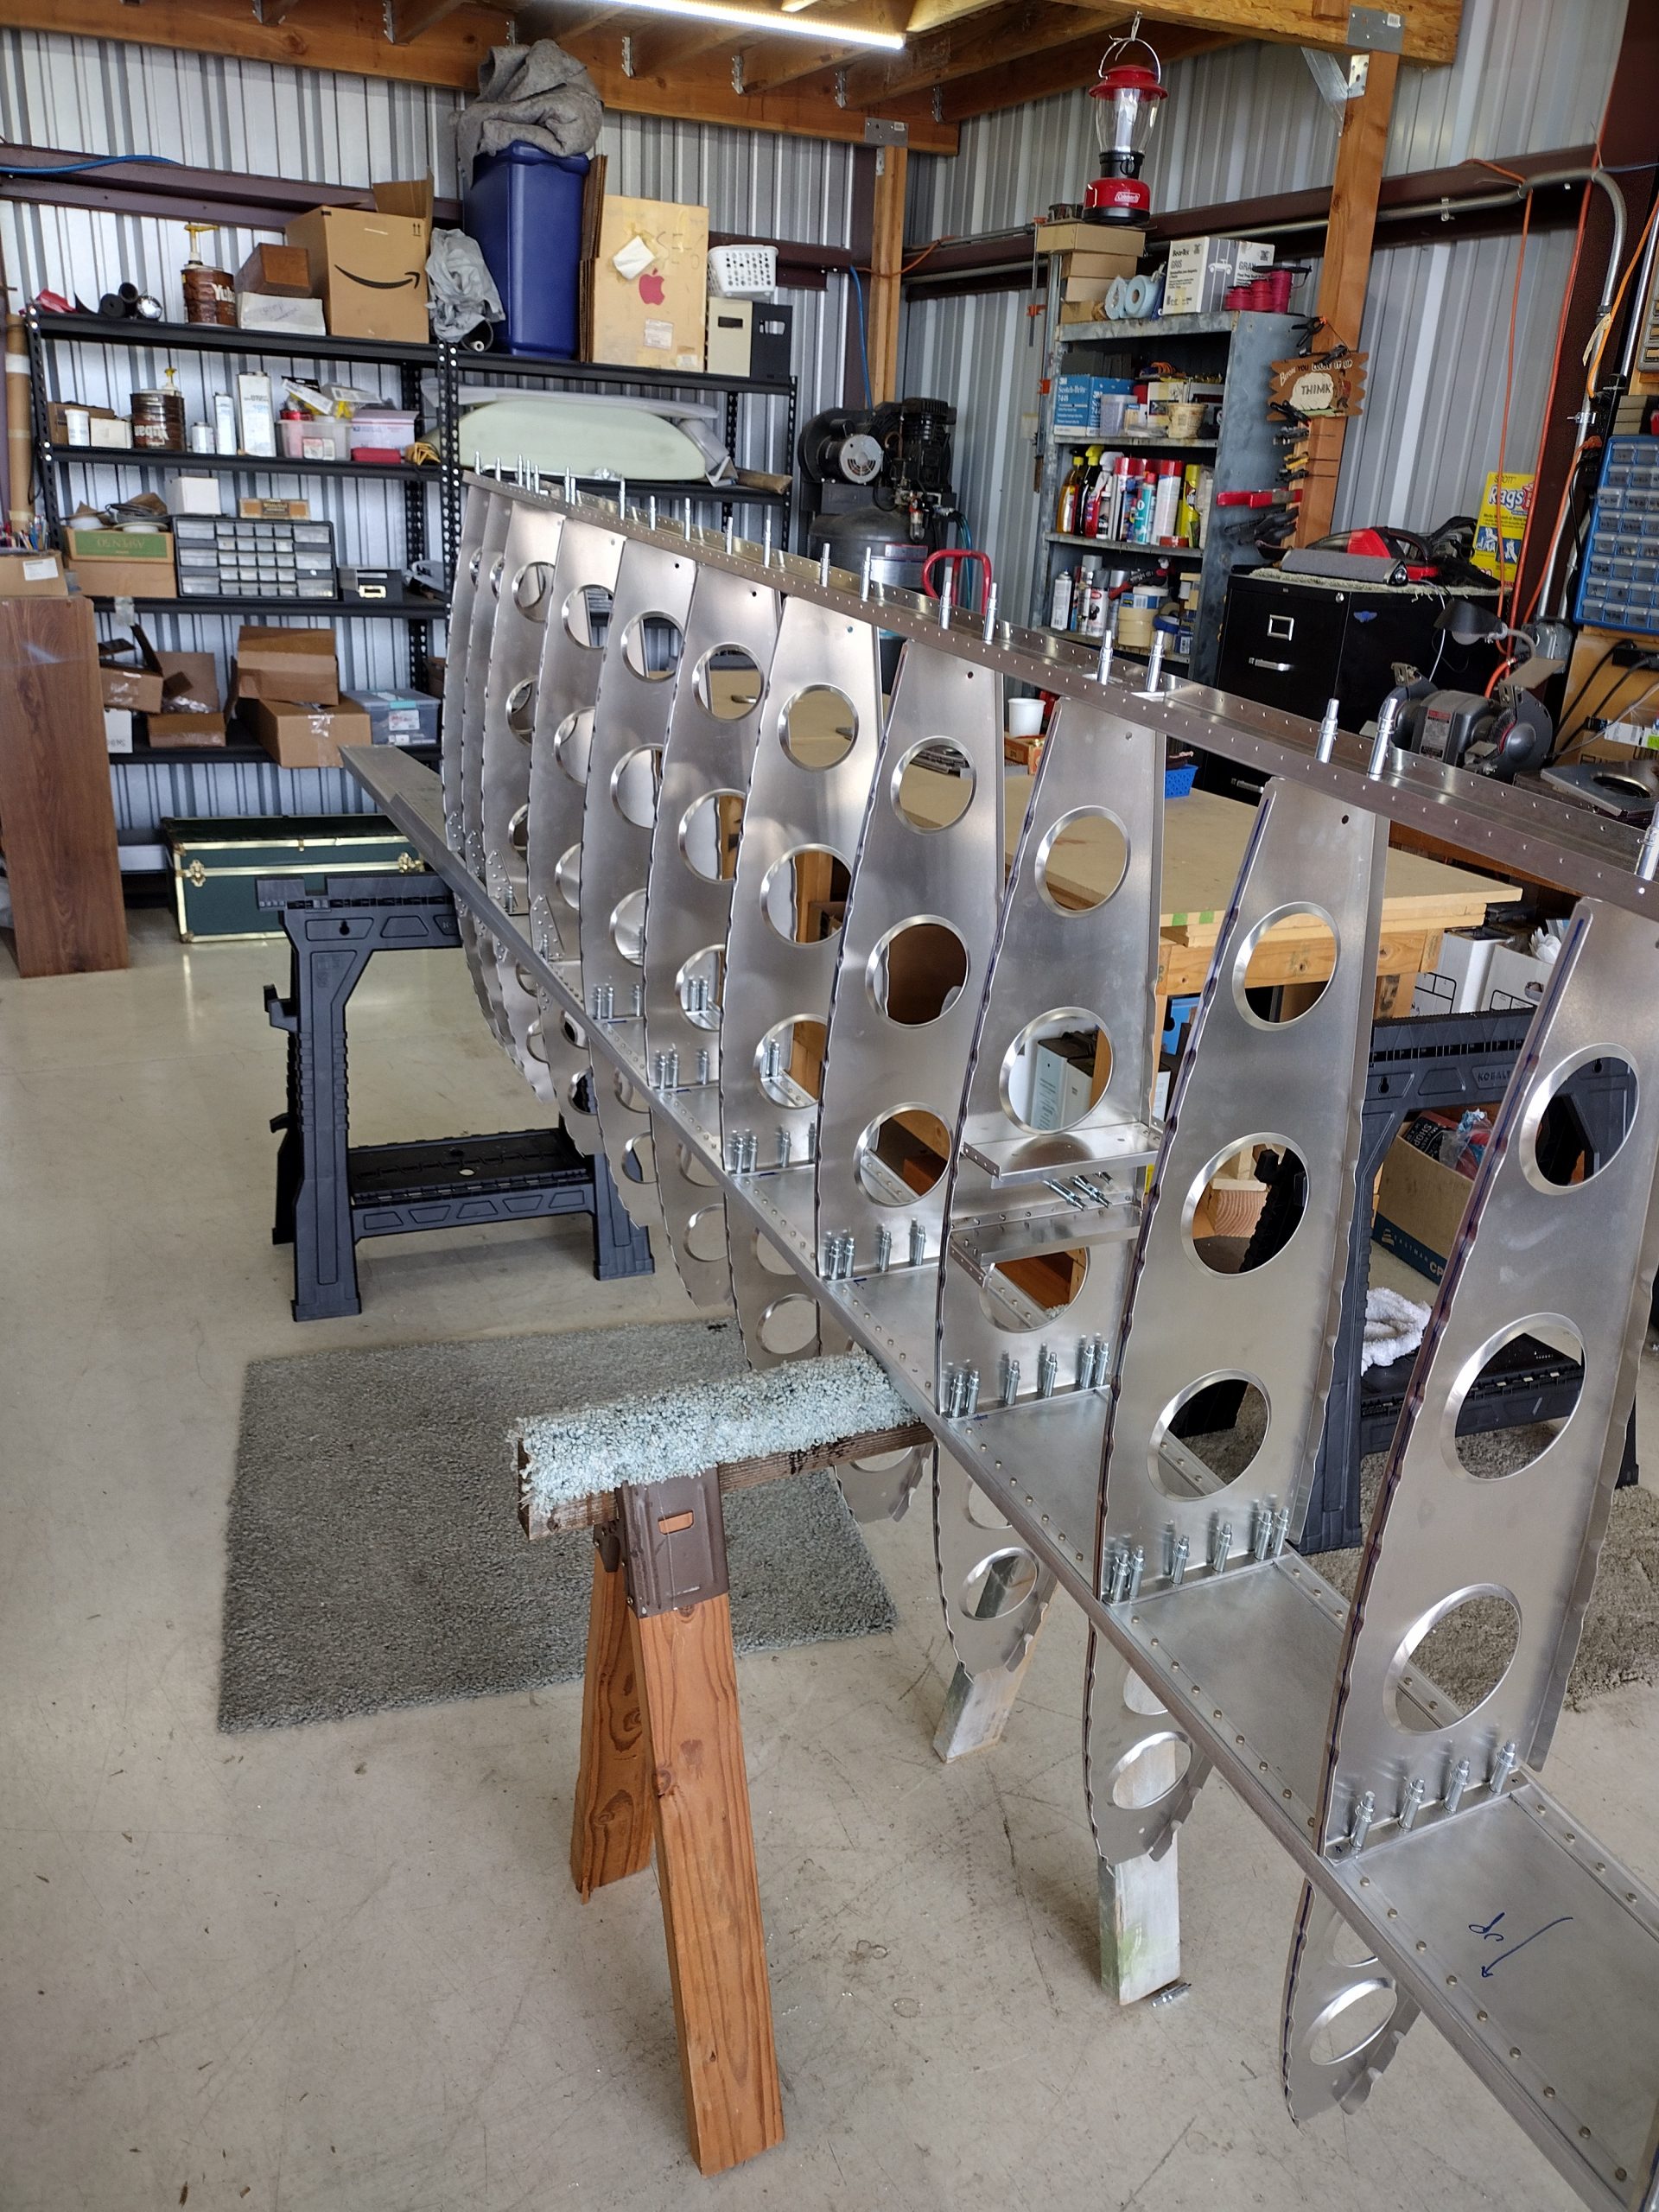
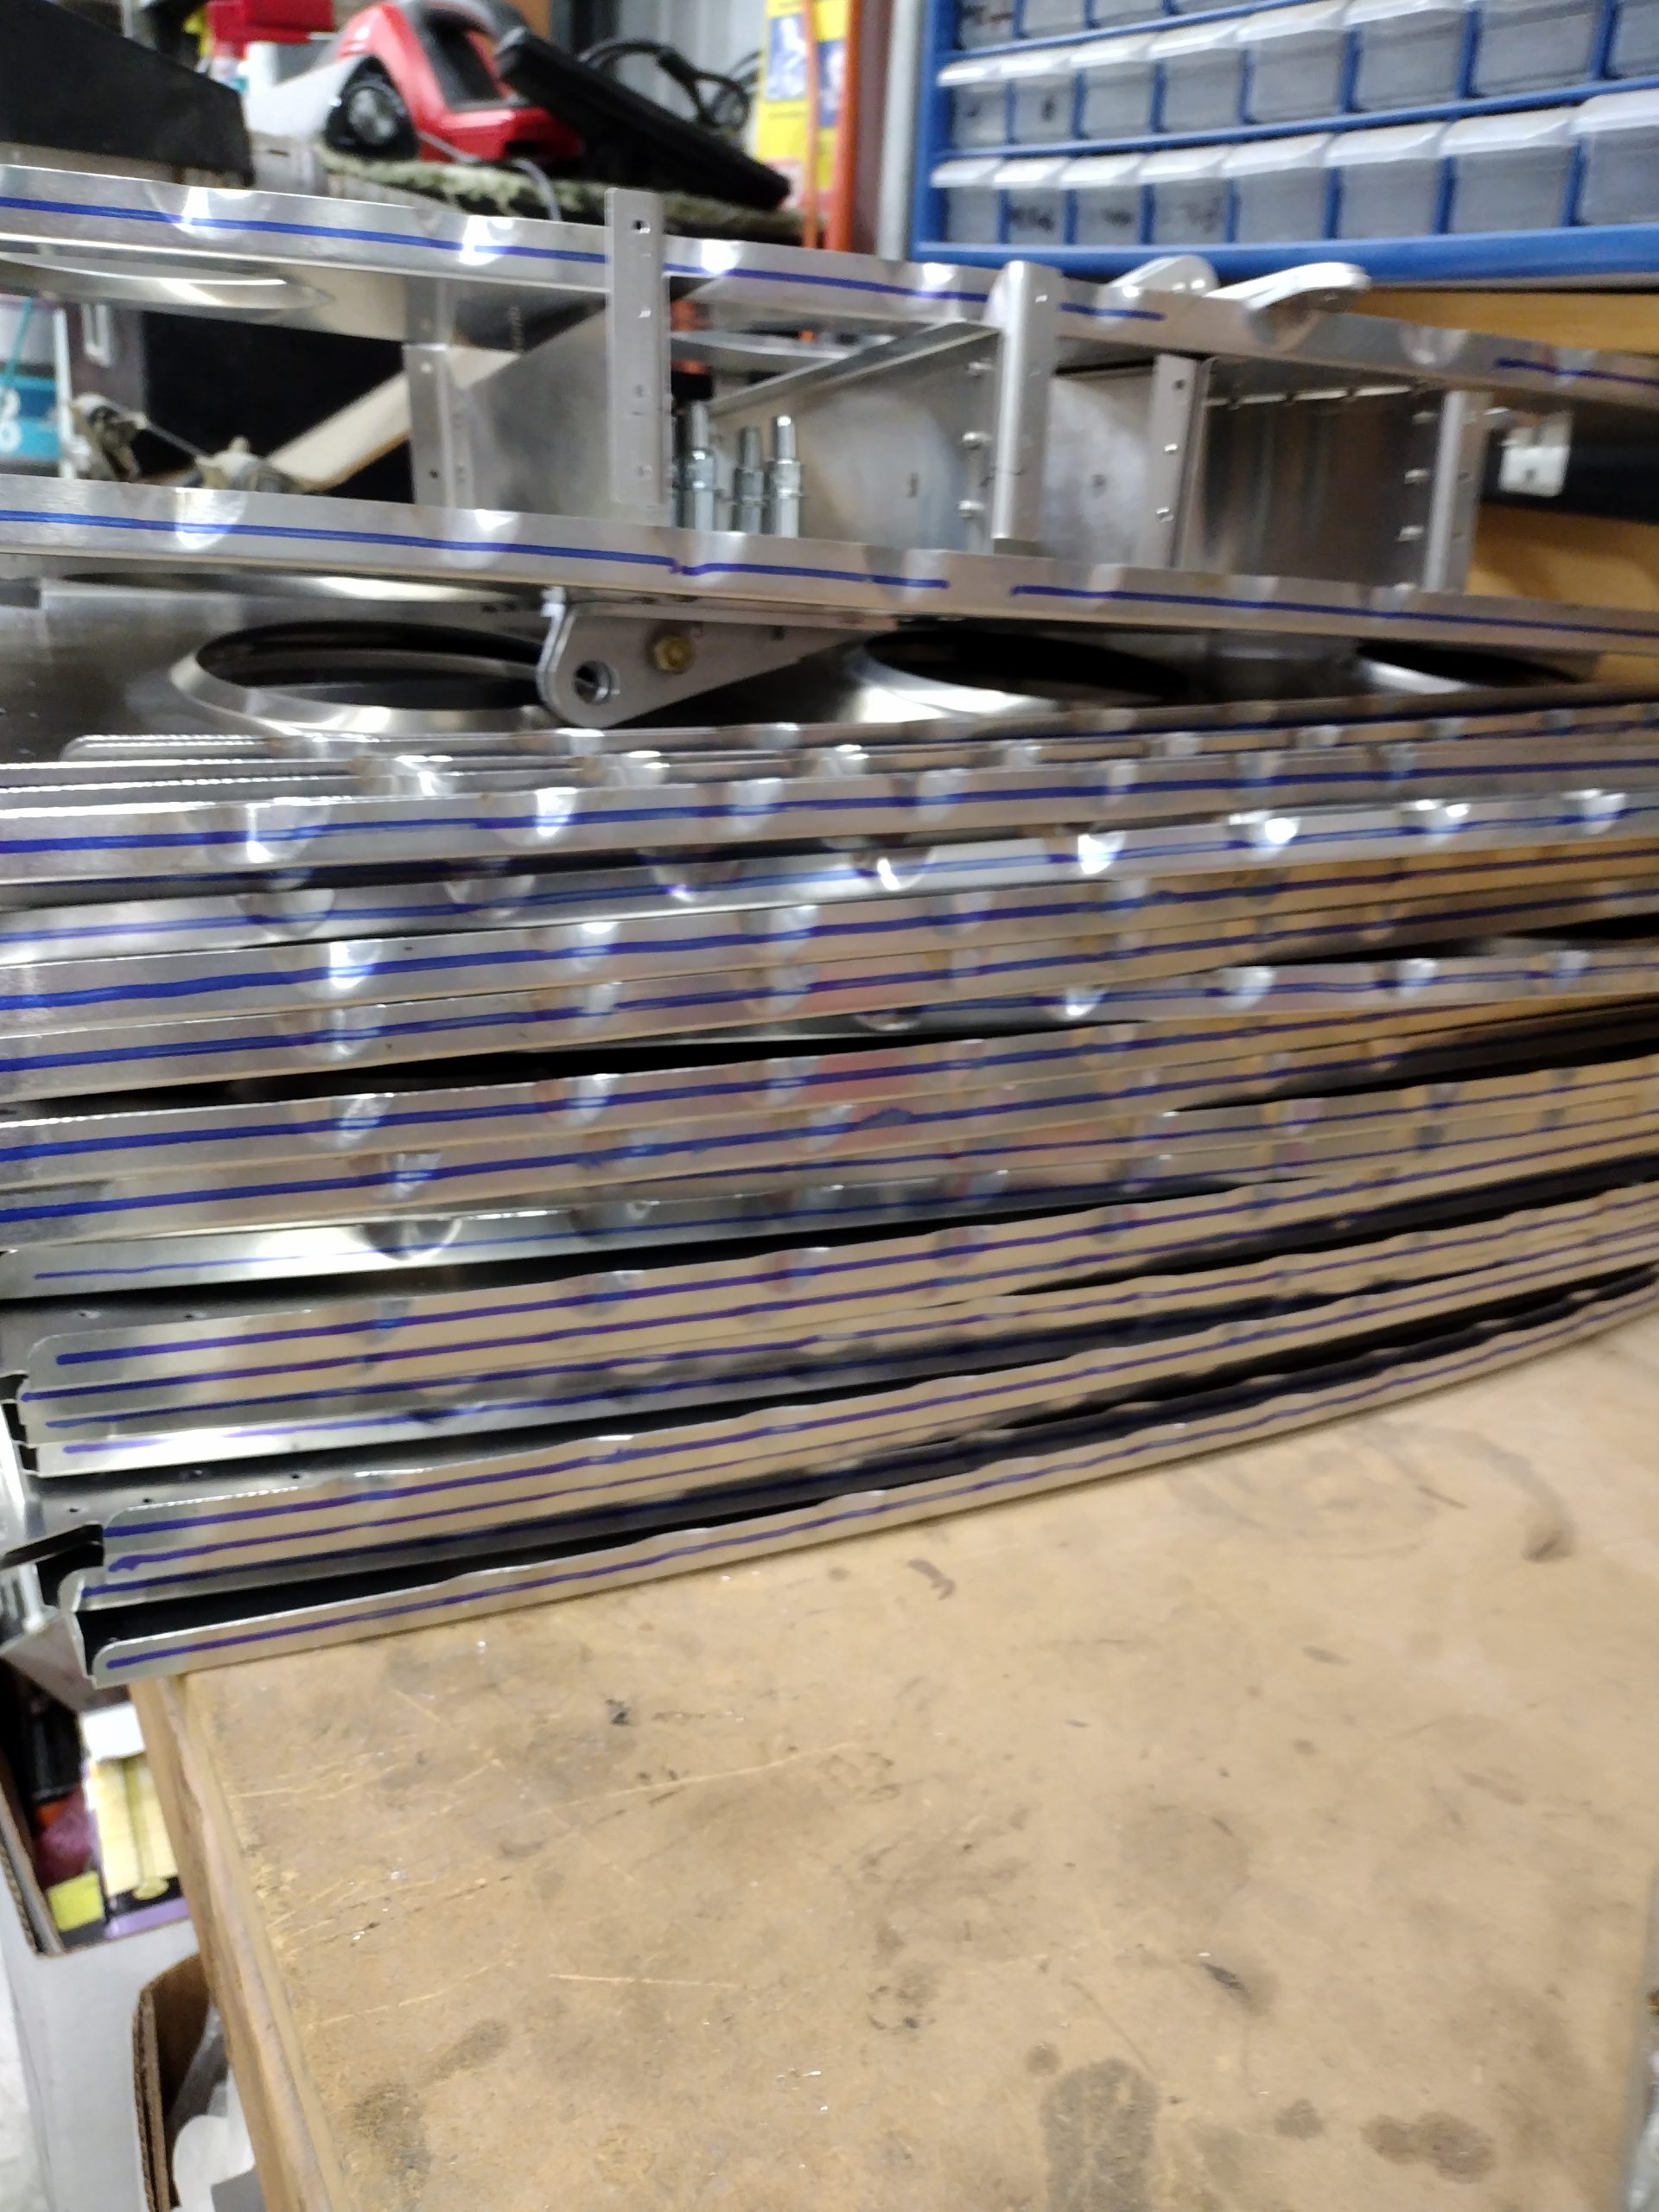
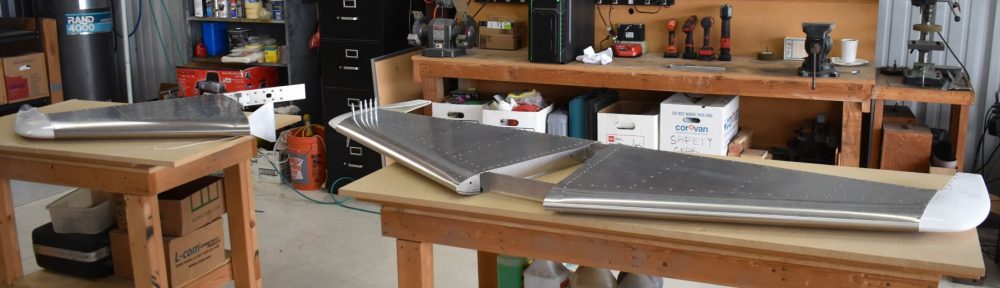
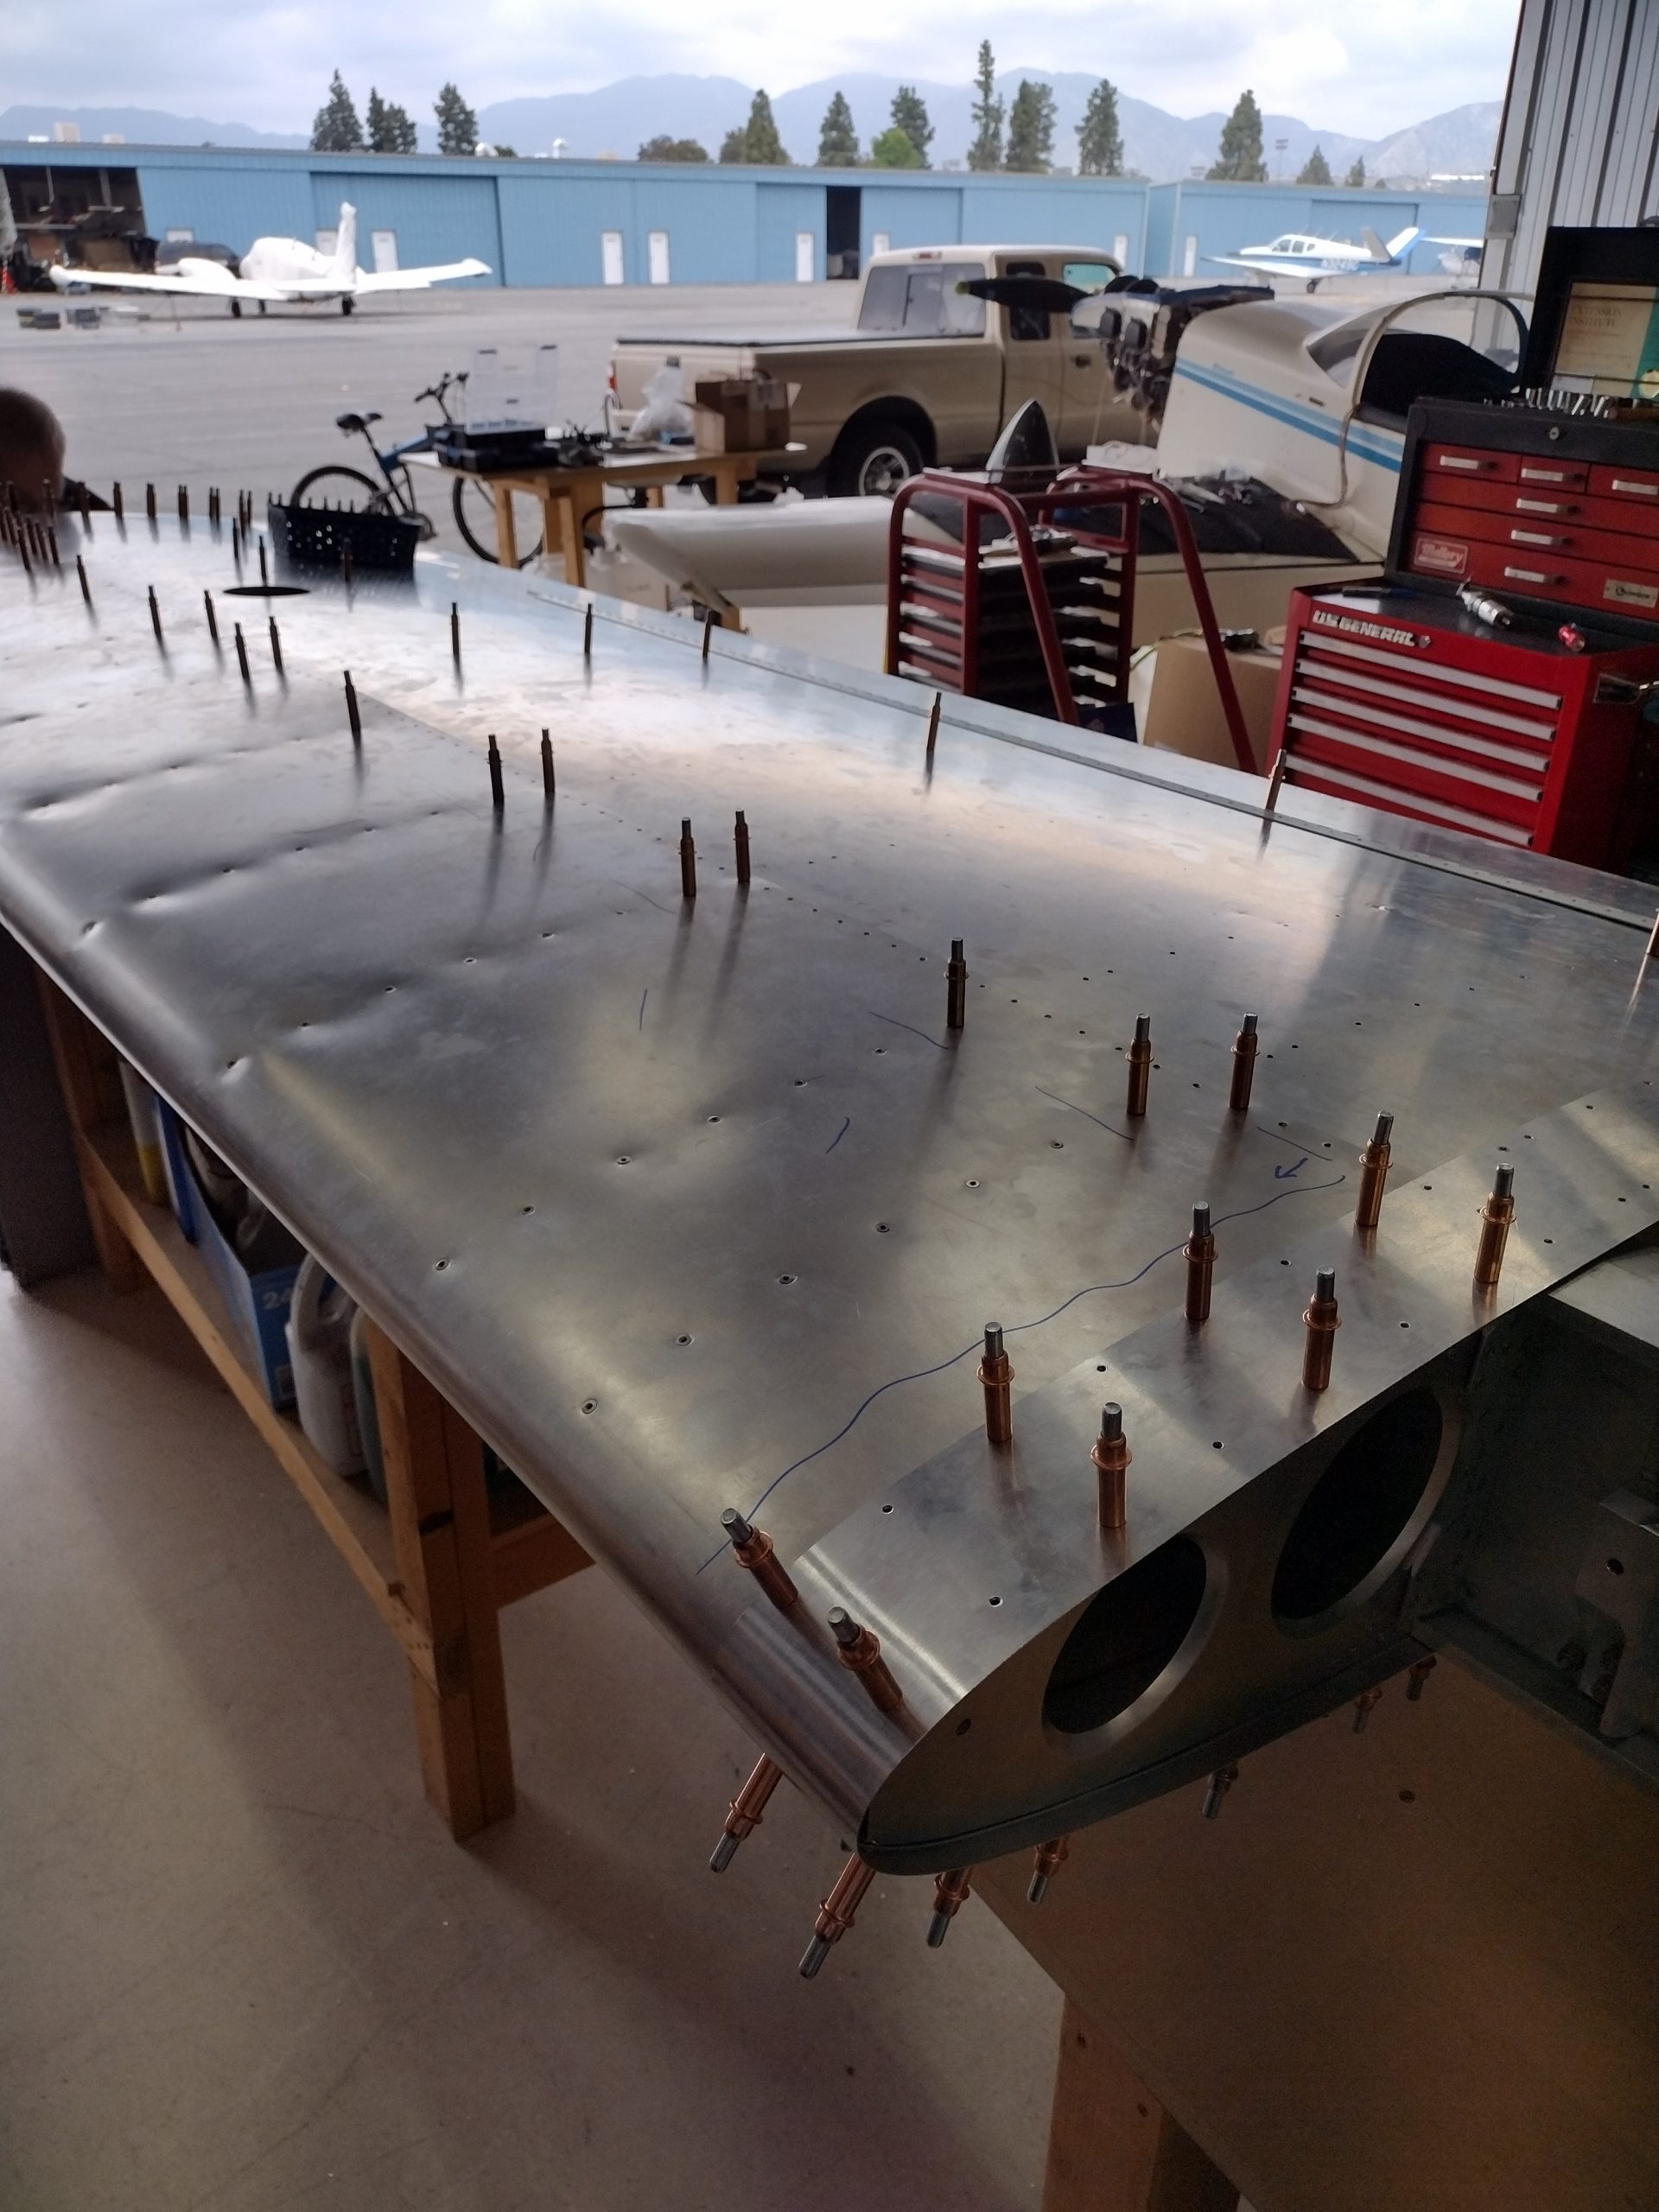
Top skin is riveted. Forward top skin is riveted. Bottom skin is drilled and de-burred. All holes are full size and de-burred

This is the bottom of the wing.

Wing tips are a challenge but with lots of patience we are able to get a good fit. Will need a little filler and sanding though. We need to add navigation light here.

Wing tips are a chore.

Electrical conduit is installed and wire to the landing light. Cool!

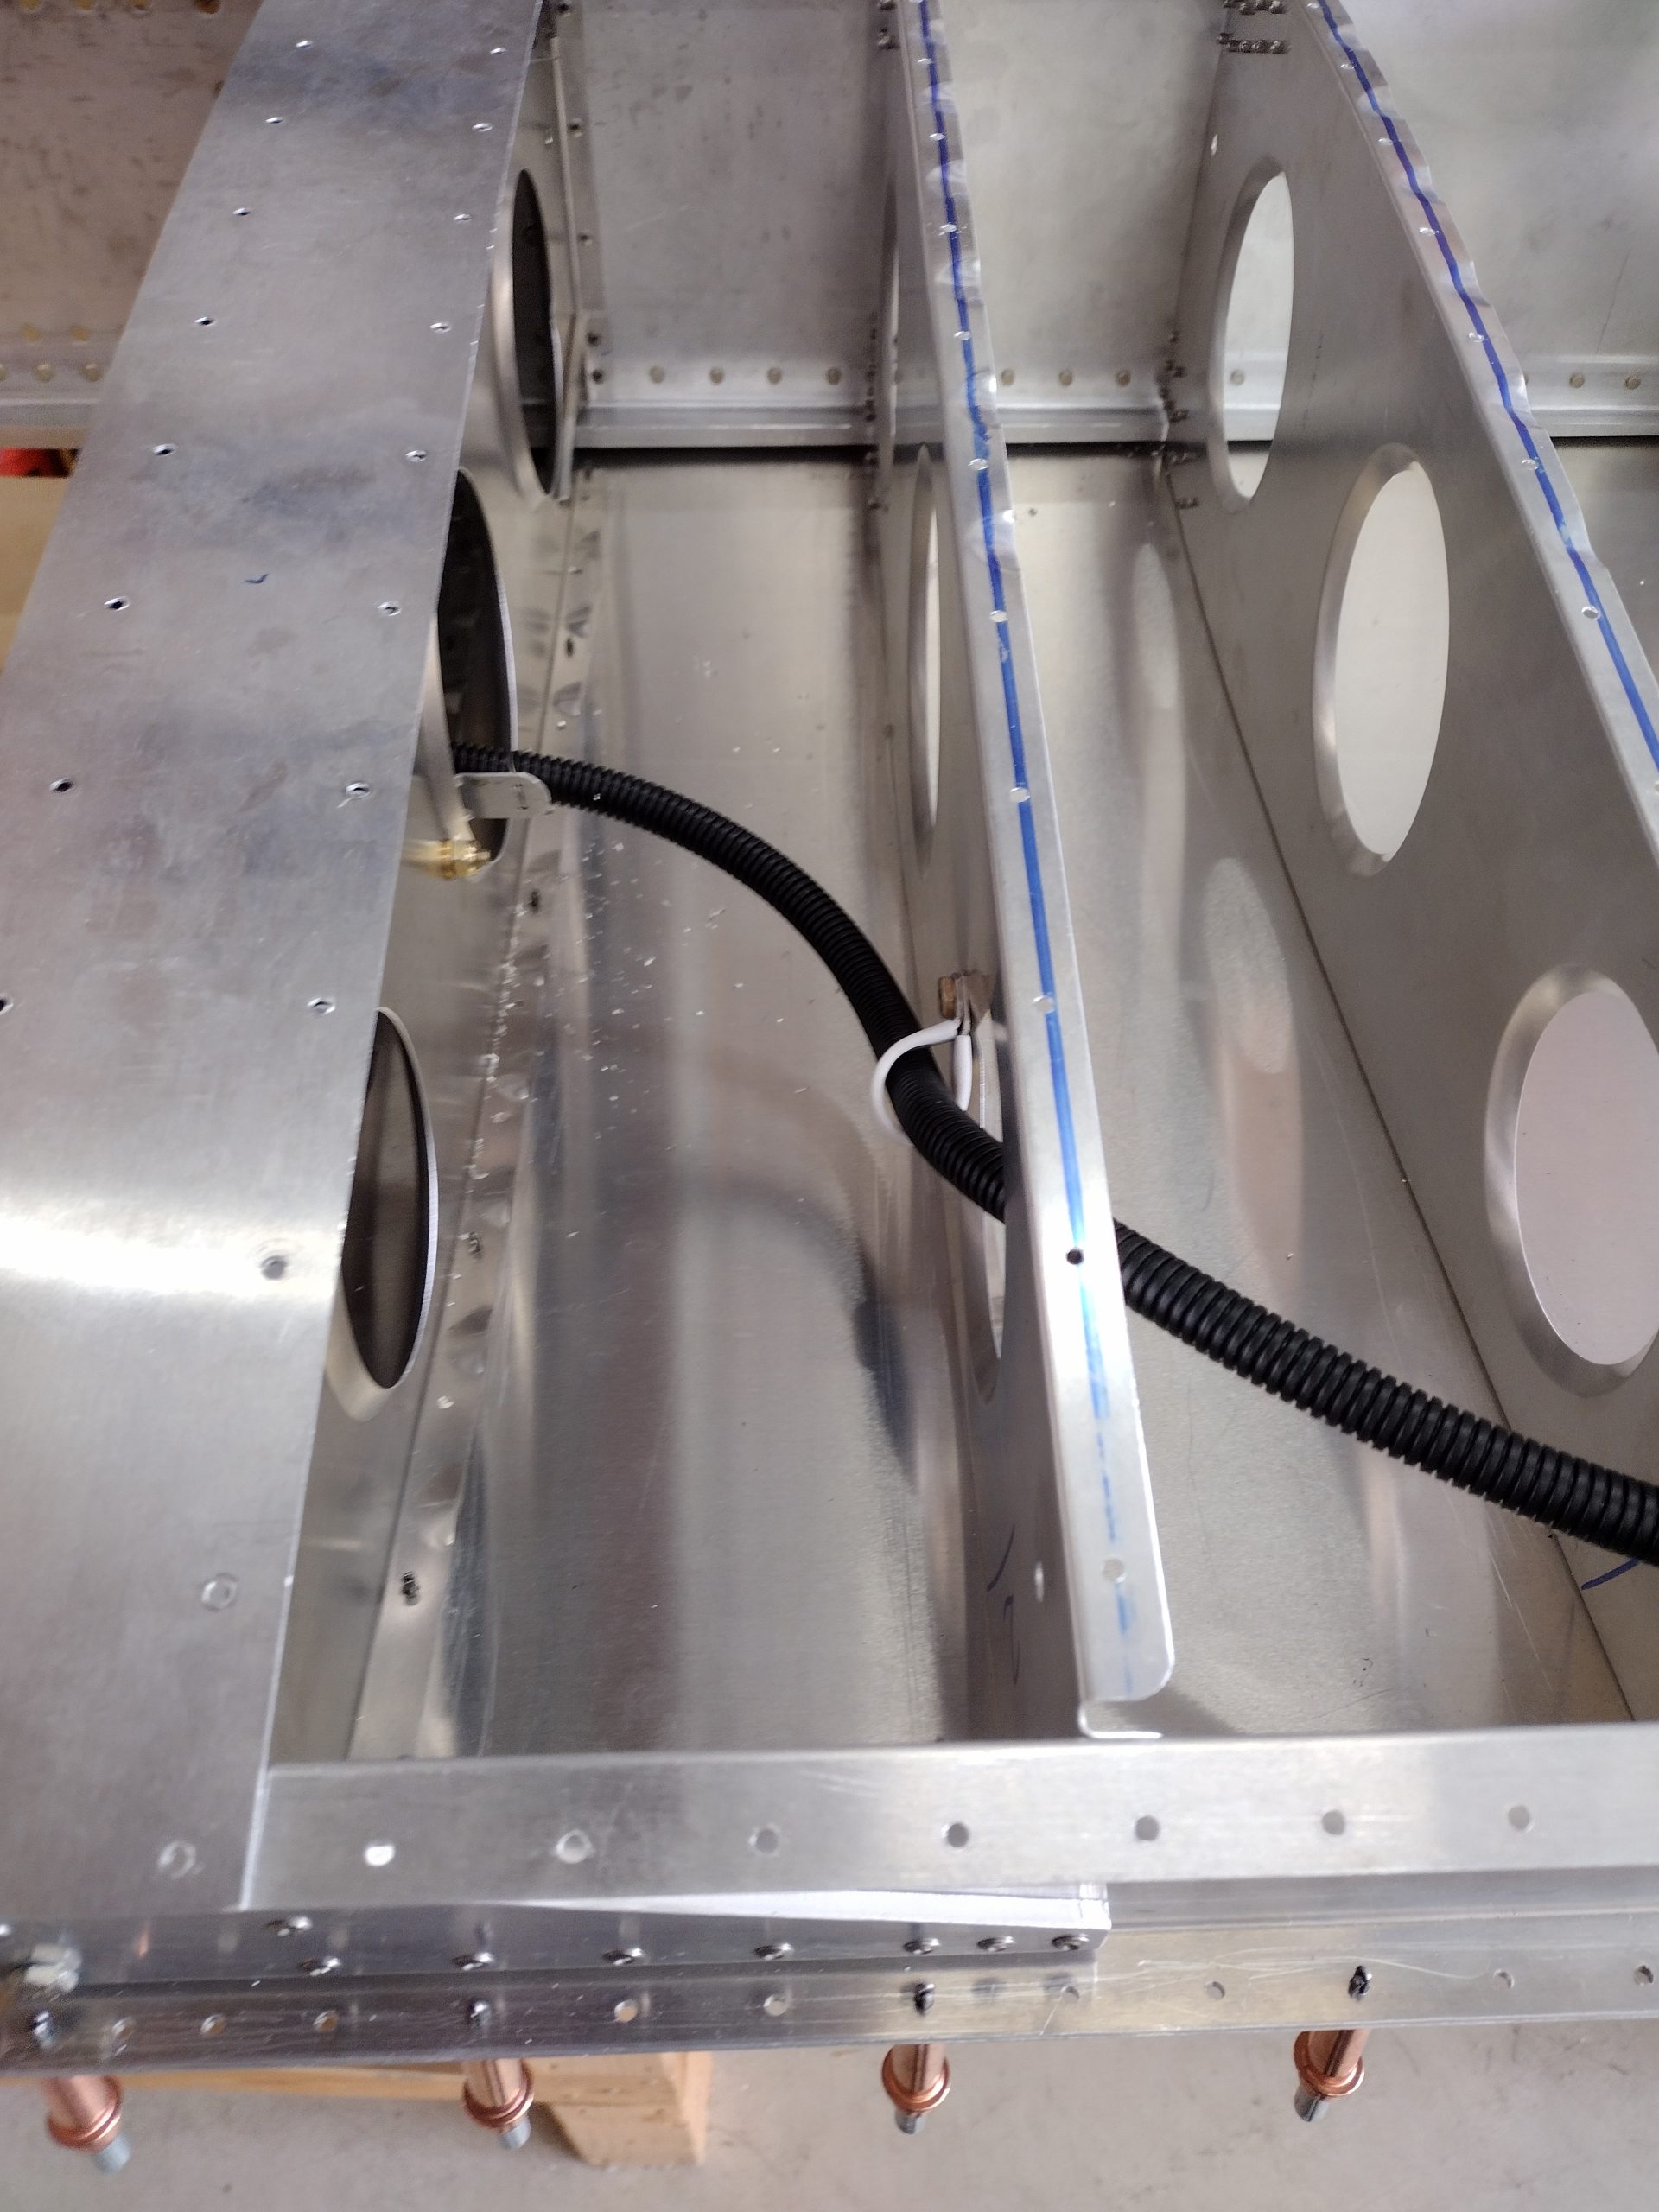
The landing light will be LED from Duckworks.  Nav lights will be Aveo PowerBurst DayLite units.

Duck under the aileron push rod tube.

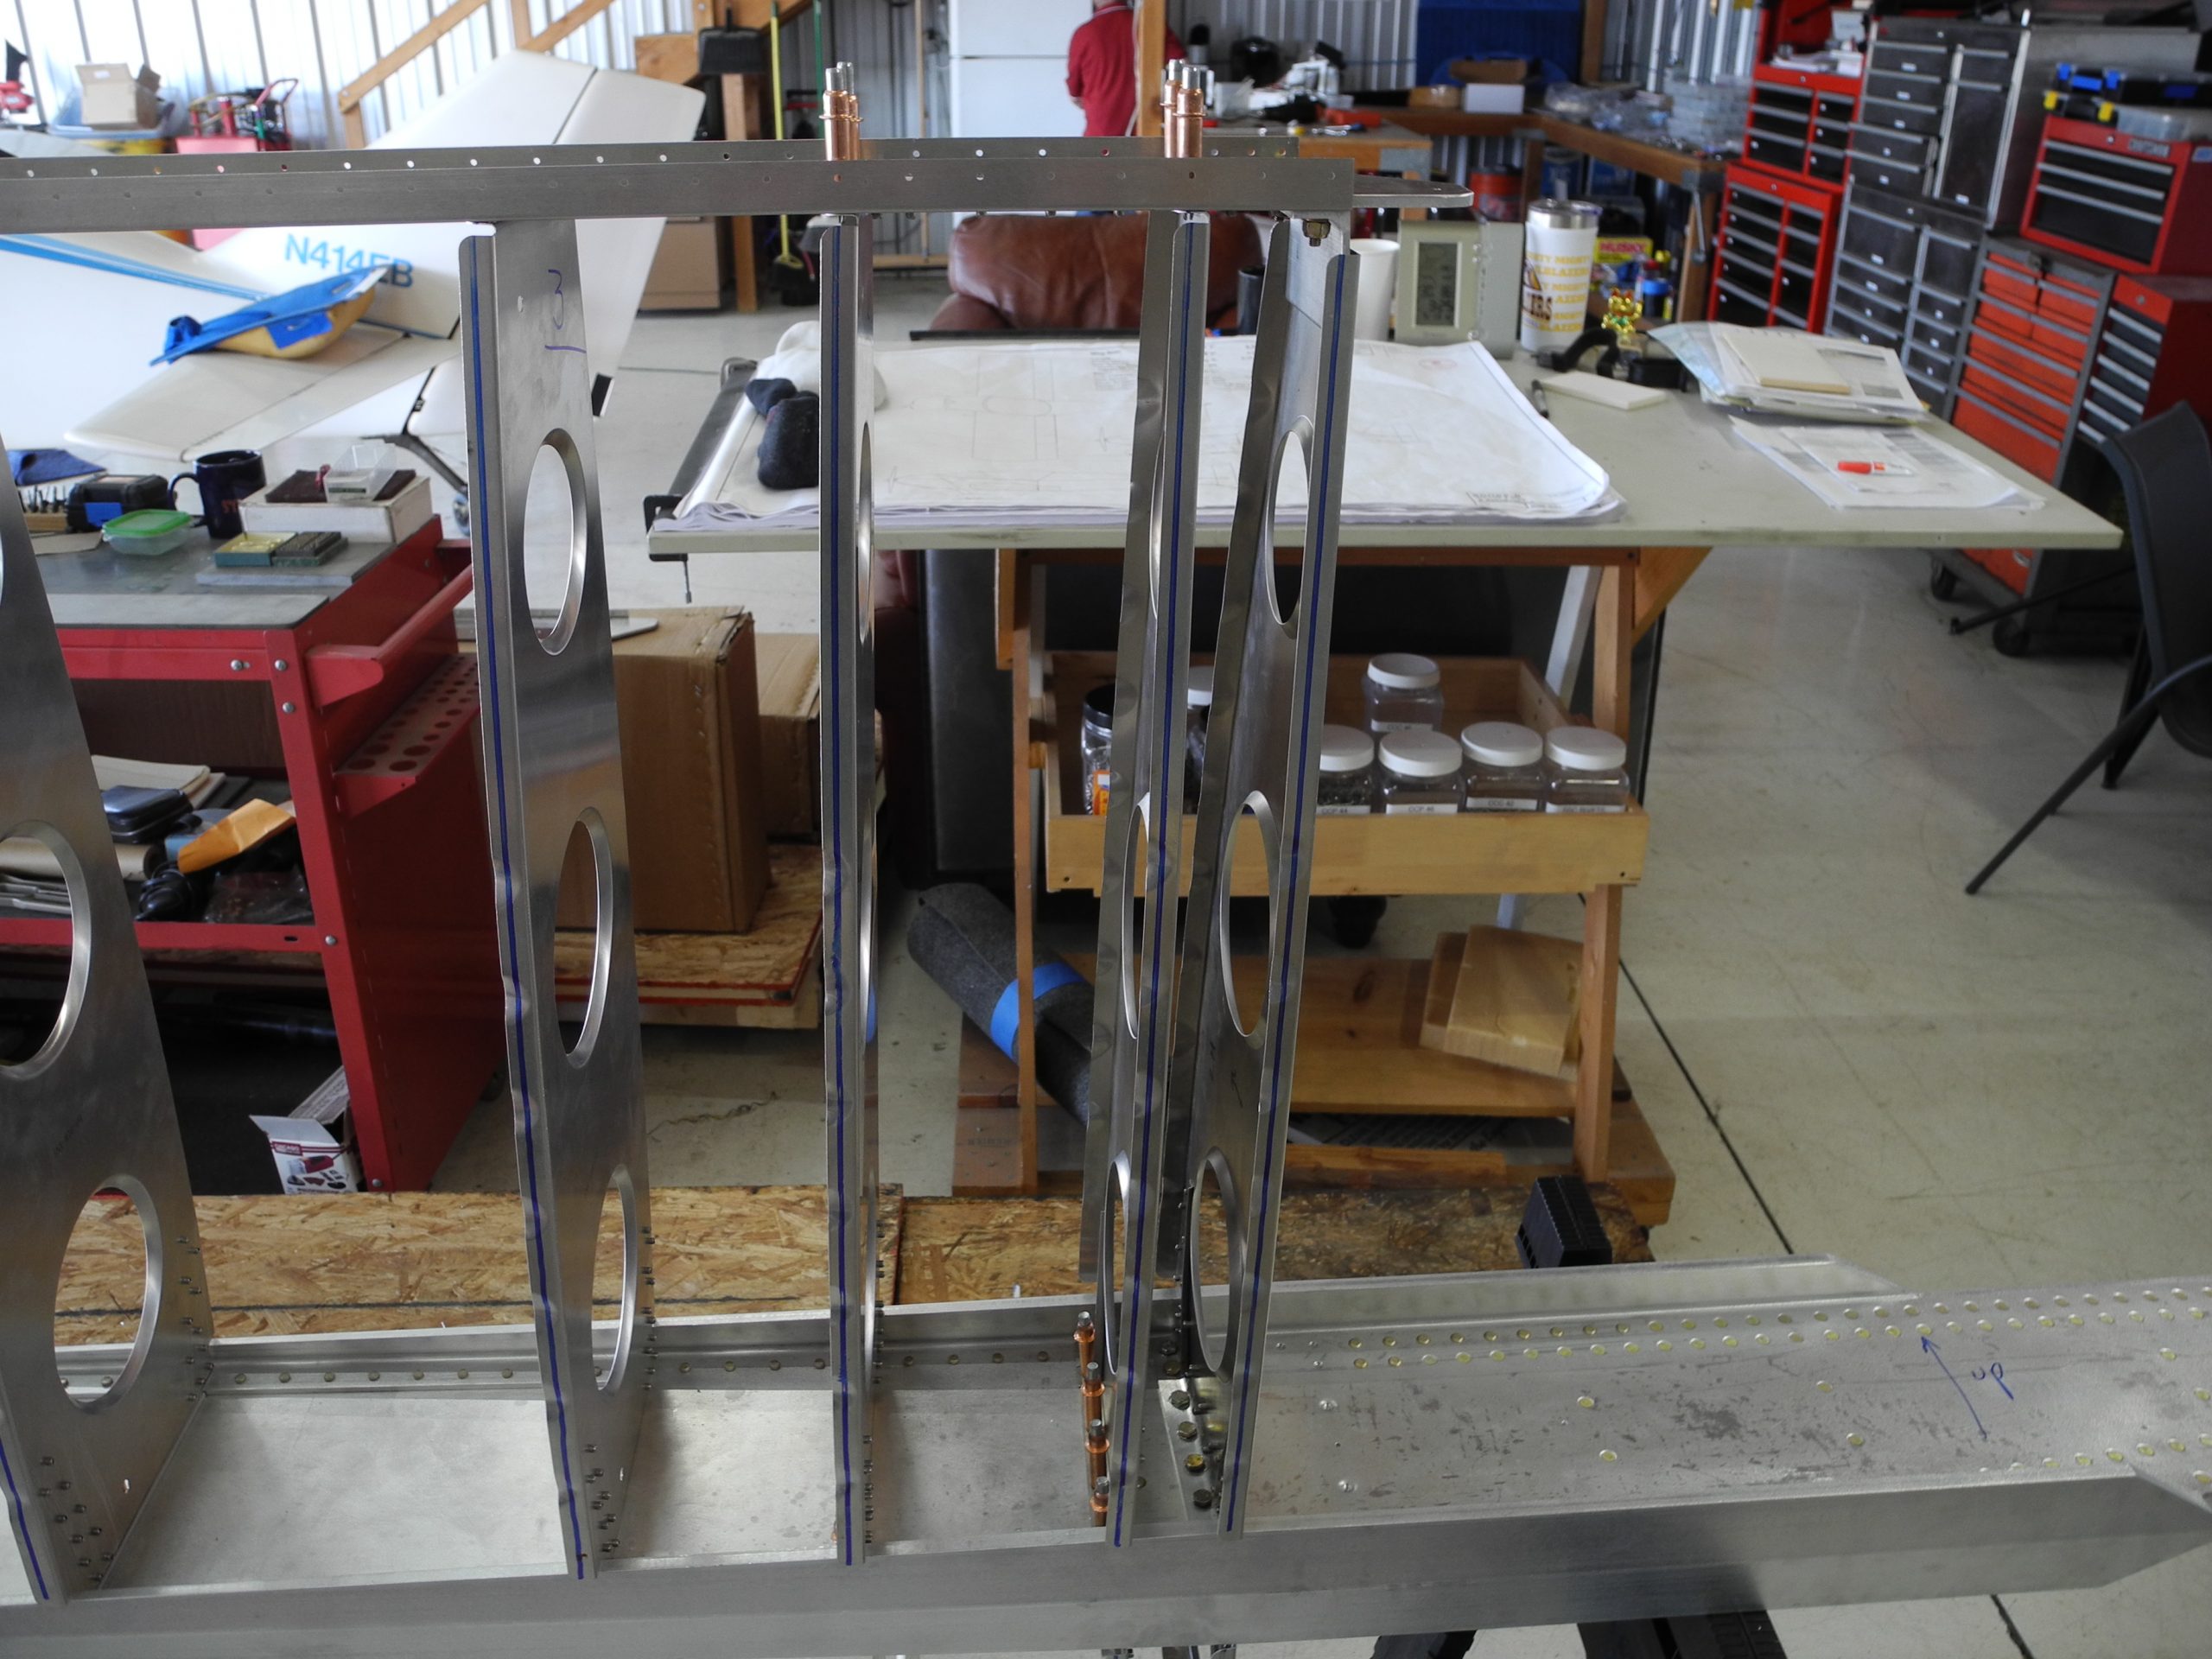
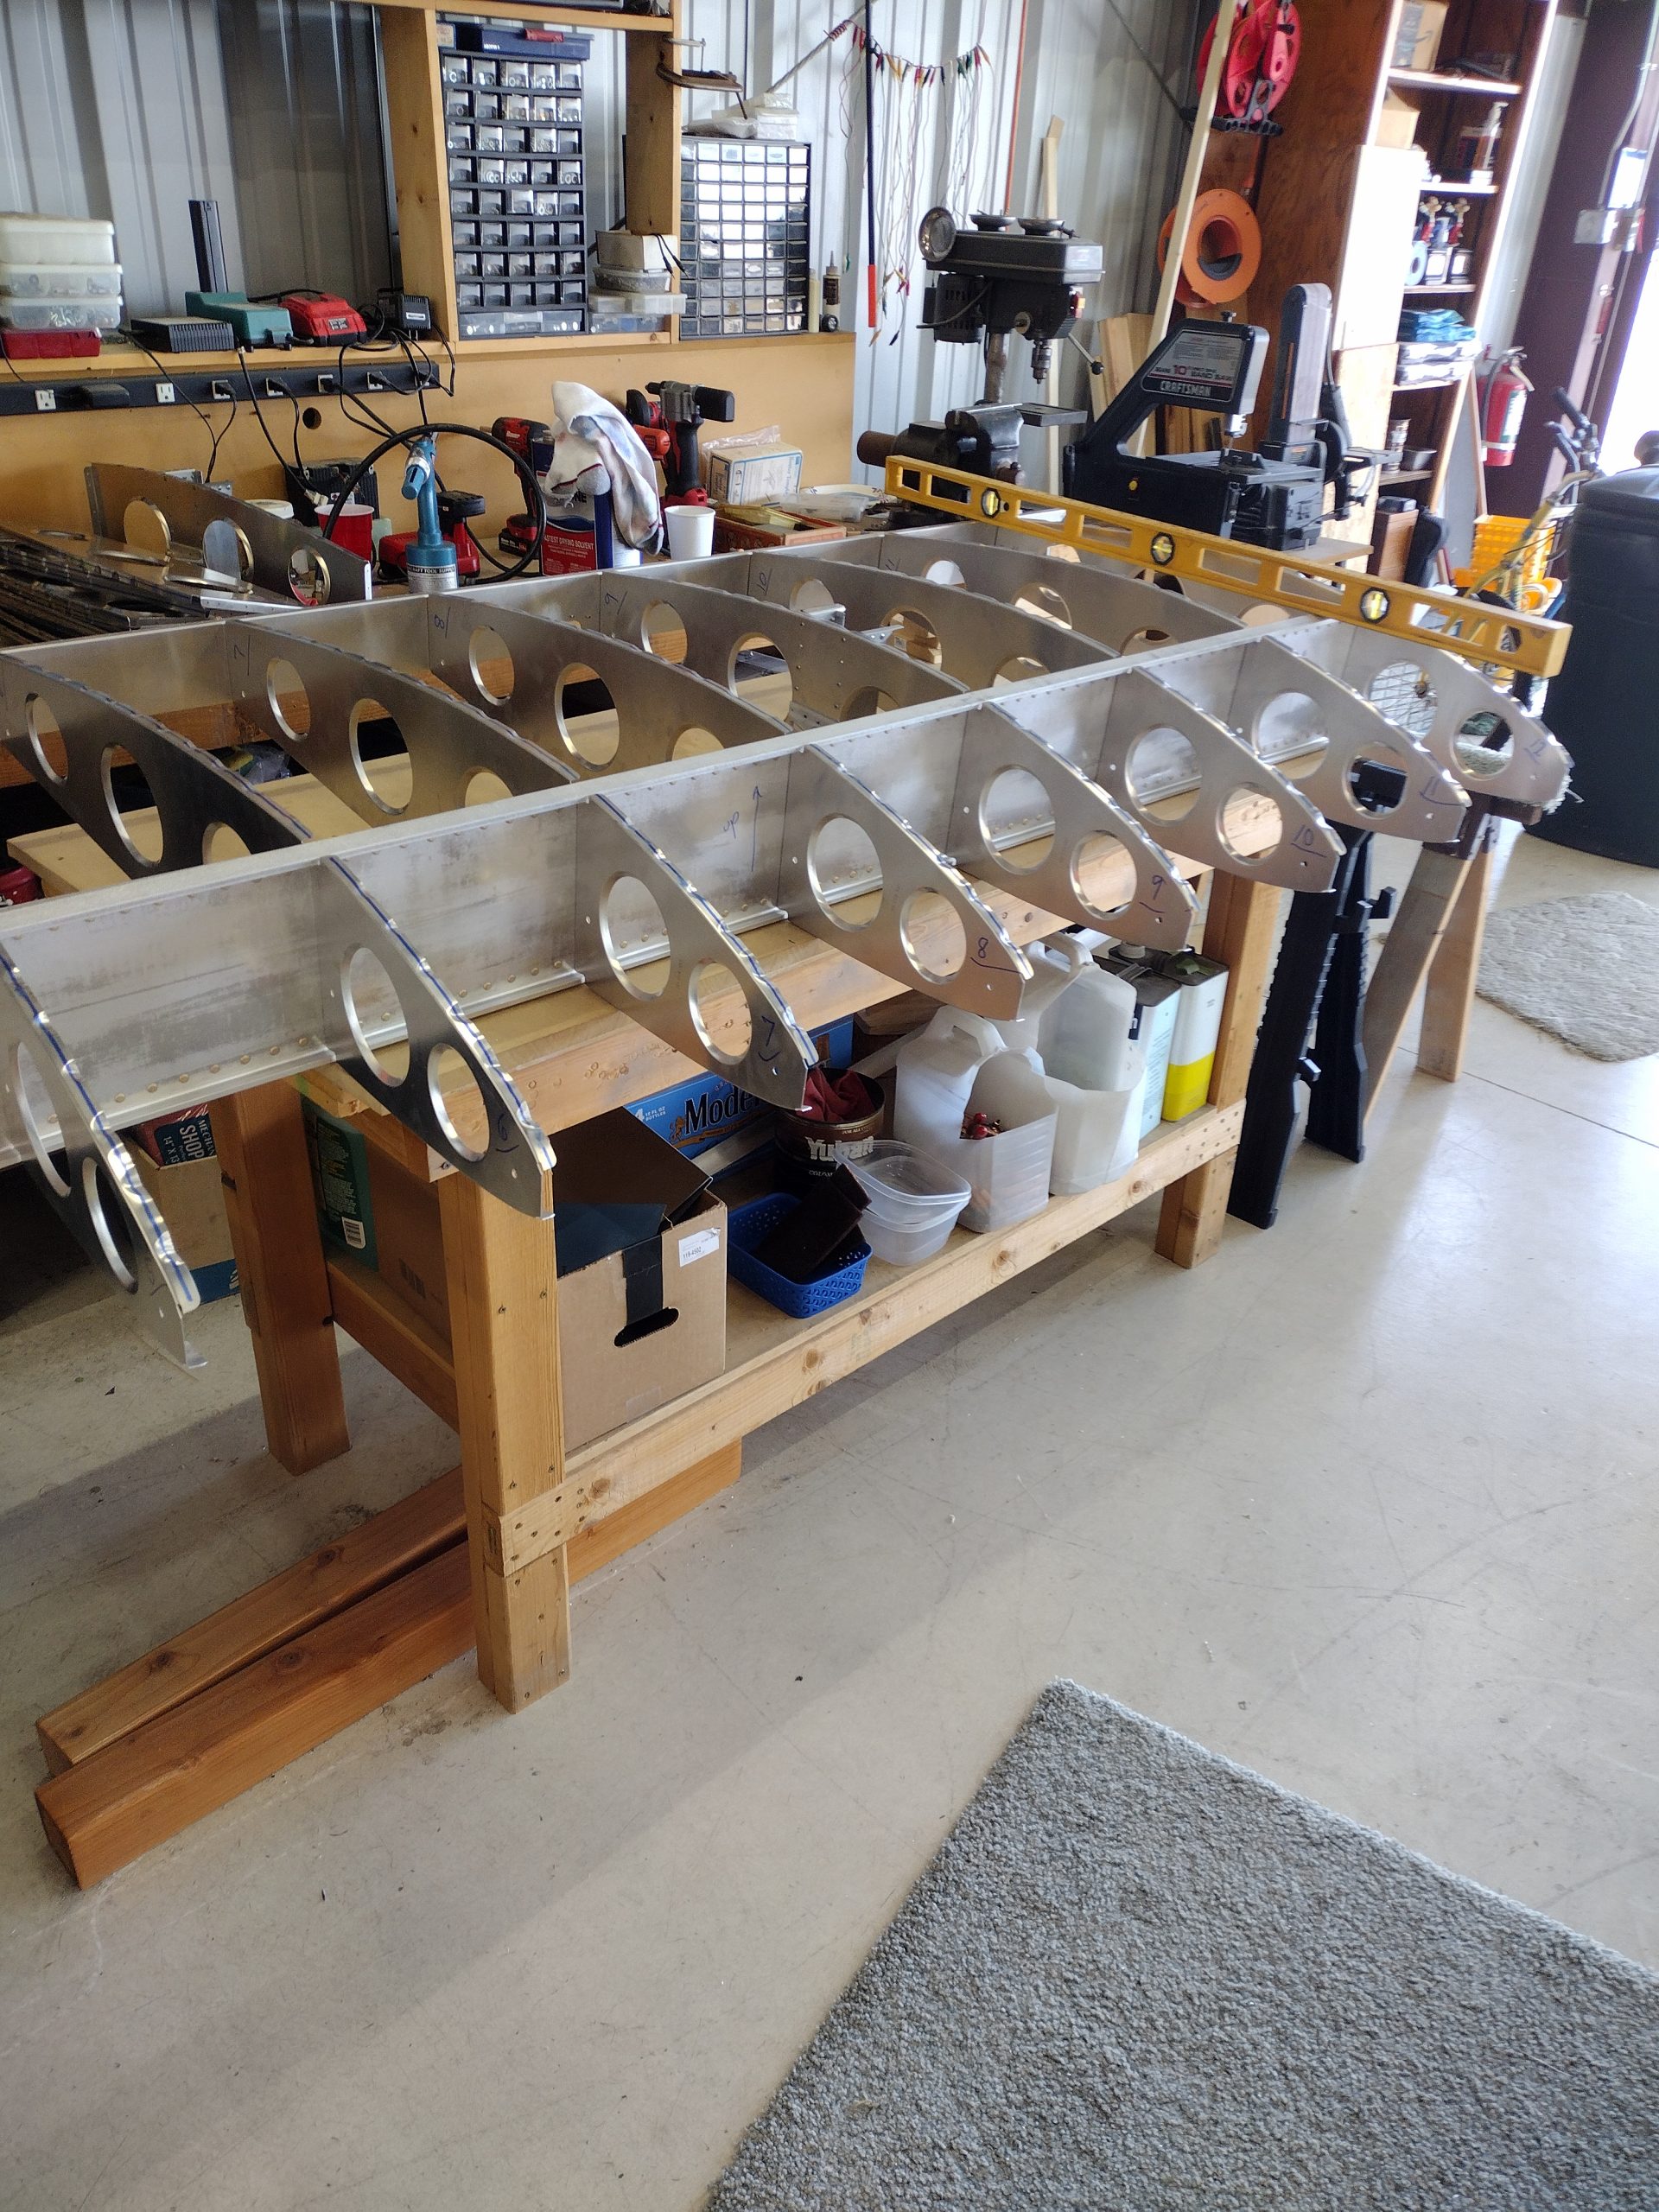
Part 2 – Building a Wing Stand

Some 2×4’s (stud grade), casters from Harbor Freight, scrap wood from the shipping boxes and a couple of feet of indoor/outdoor carpet from Lowe’s.

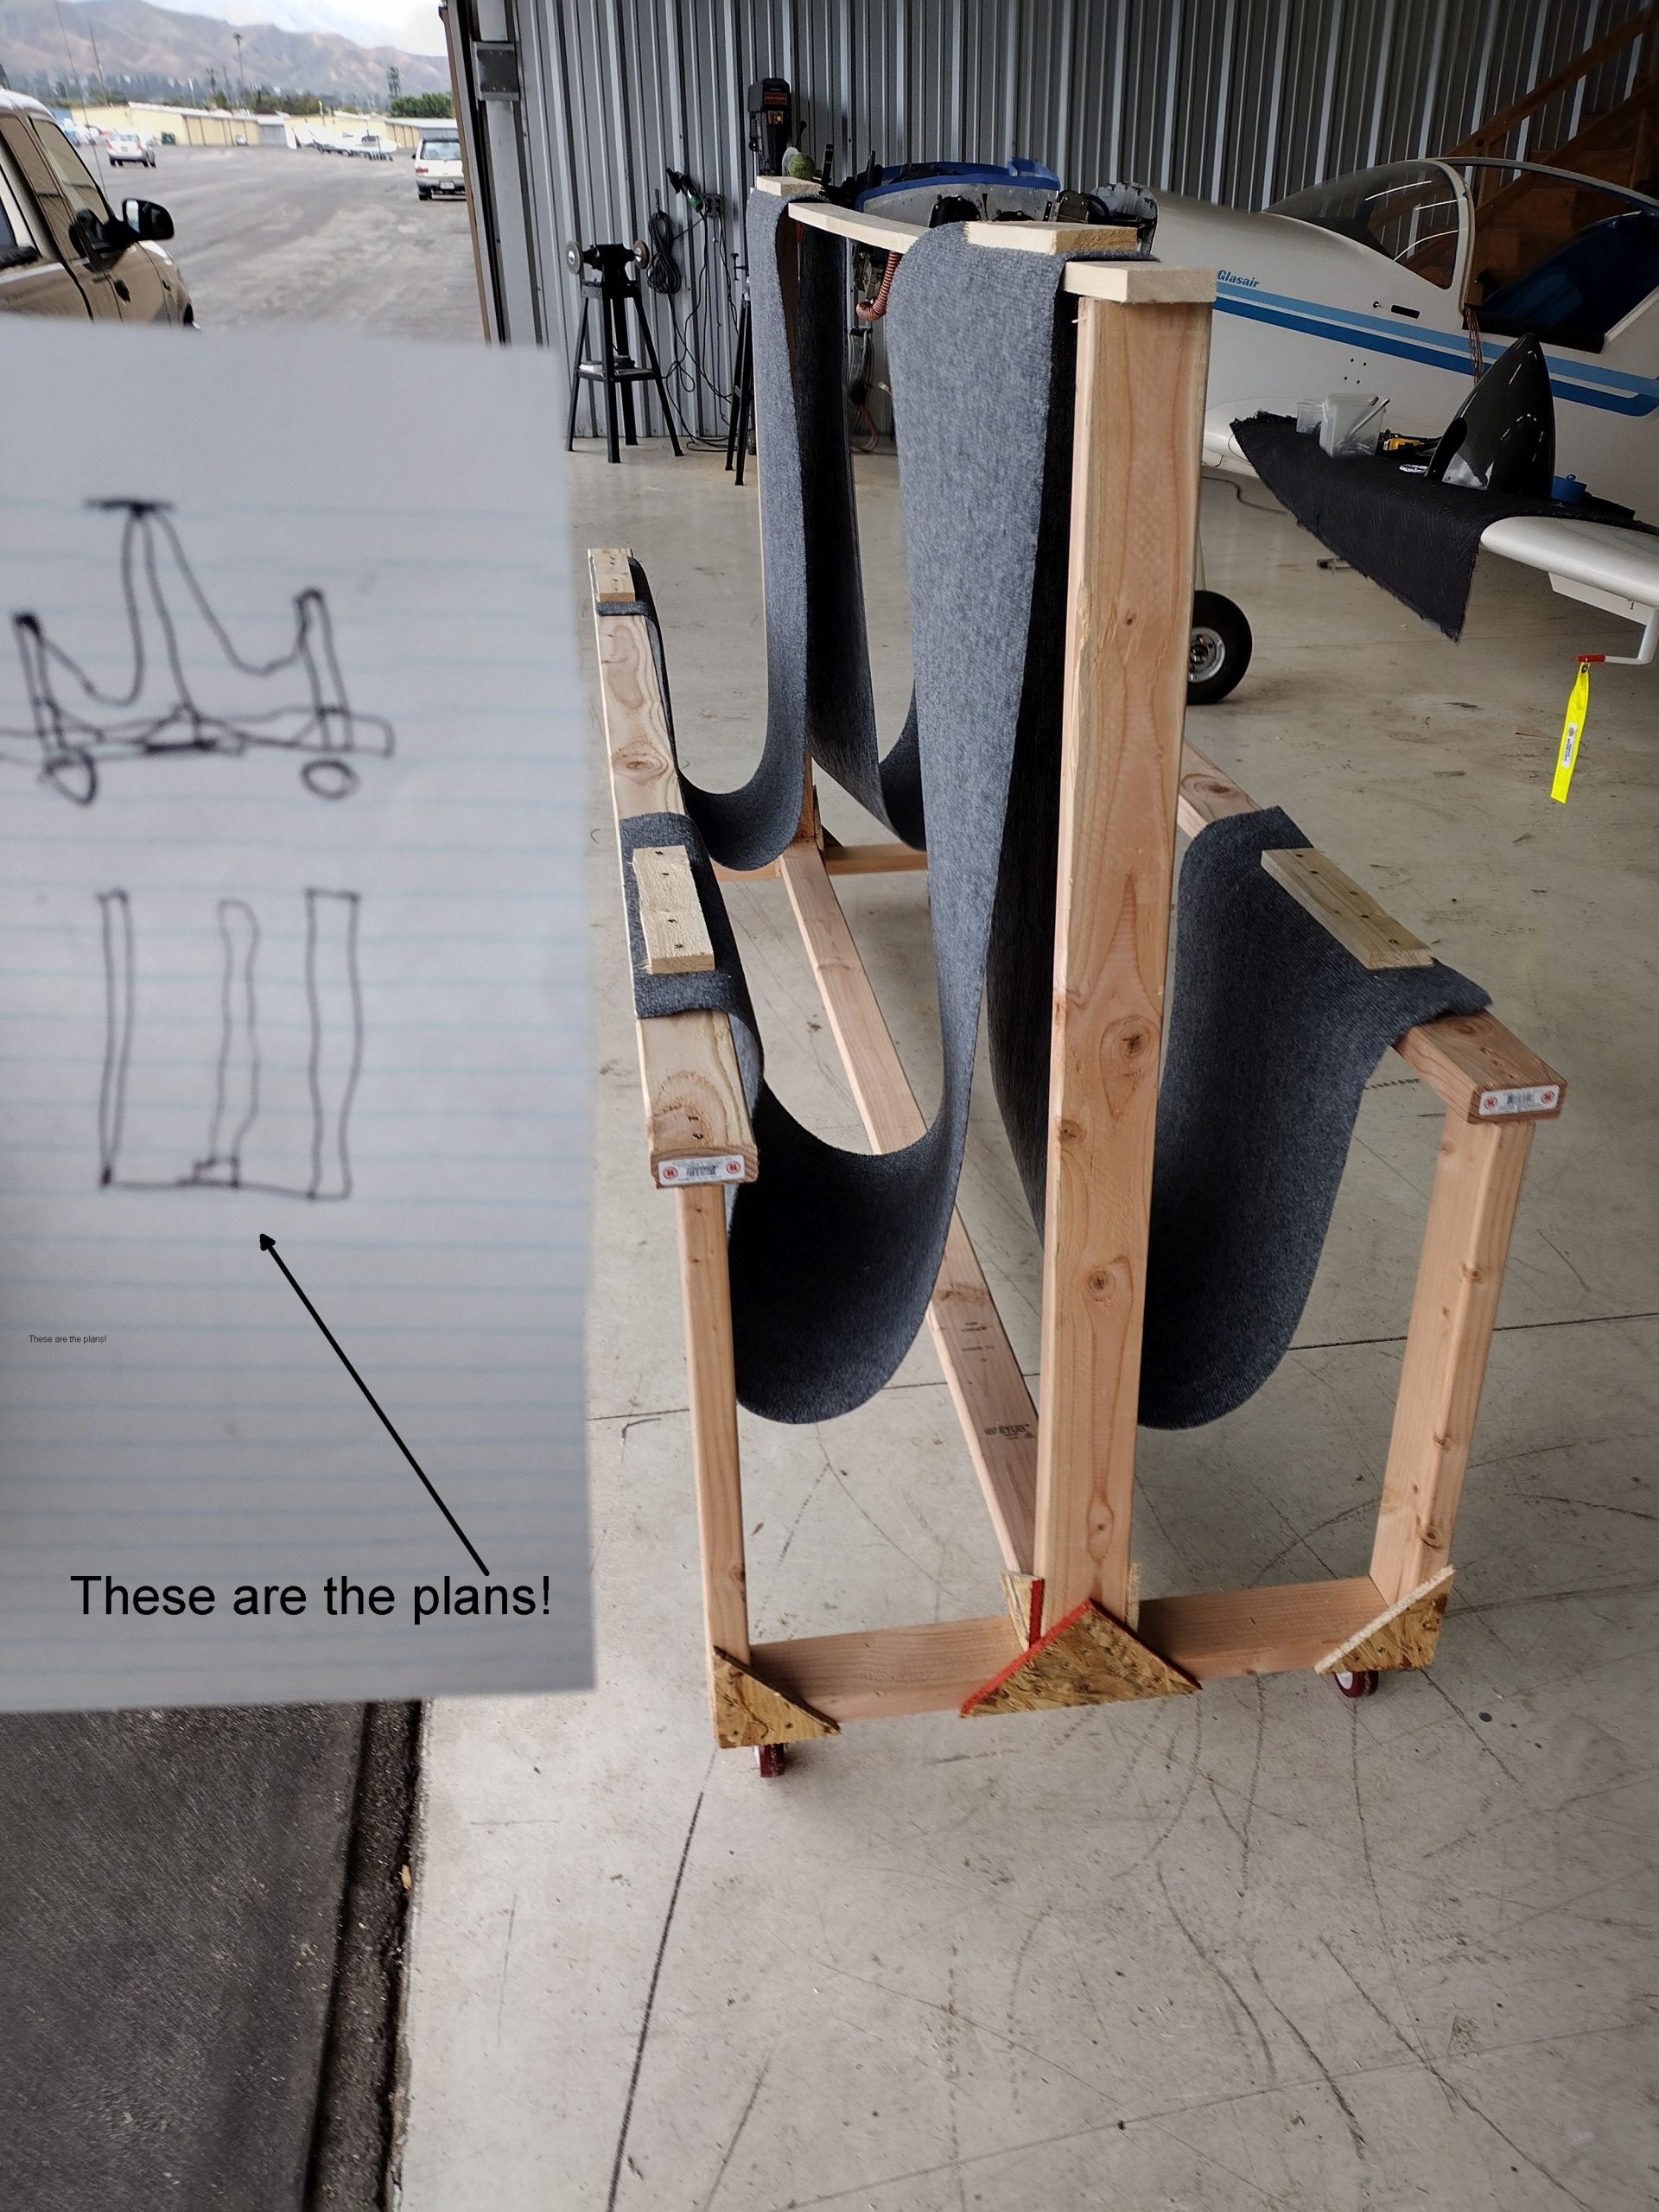
The carpet comes in 12 foot widths (Perfect!) so I had two 1 foot pieces cut.  Rough drawing so Tom and I had an idea what it was supposed to look like, and Bingo! Wing stand! Now, where to store it while we build the fuselage?

Shirts and Skins

Junior high PE. Do you remember shirts and skins? My first metal shop was also in junior high. Thank you Mr. Bradshaw for what I learned, especially the safety stuff. I also hit my first rivet in junior high metal shop. I still have the napkin holder I made. I lost the BBQ set though.

OK, on to work.

What a day.  The ribs are riveted on.

On to the skins!

Alignment is important and wing twist (or washout) must be eliminated.

Top rear skin first, then rear bottom skins then forward skins.

Forward skins will be the trickiest. They are kind of pre-formed but not all the way.

We are going to need MORE clecos. When building the RV-9A, most wing rivets are silver clecos. ALL the skin blind rivets are copper clecos. I’ll need MANY more copper clecos to finish this job. I probably over cleco but it makes sure everything is properly aligned.

By the way, Tom and I both wear shirts during assembly.

What got done today????

When I look at the pictures for today, it looks like nothing much got done.

BUT

A TON of work got done, MANY boxes got checked off. Stuff was ready to go!

Funny how pictures can hide all the work that got done. Reinforcement plates installed.

The Root Rib was bolted in. Aileron Bell crank for BOTH sides is completed.

I believe we are ready to rivet the ribs. TONS of drilling, deburring and cleco work was completed today.

Is it time to rivet the Ribs?

I’m excited!

RIBS RIBS RIBS!

Not the BBQ type, but those are good too!

Progress is made. We started with wings because they are easy to store while building the fuselage. Following the plans is important because there are so many parts!

The current tough part is how do you mount the root rib? We have many steps to go.

By the Way, my buddy David has the BEST BBQ sauce in the world. We call it Uptown BBQ Sauce (Of course, I upped it a little with a little rye whiskey!)

Done with wing ribs?  Time for BBQ ribs to celebrate.

This is where I draw the line

All ribs need to have a center line drawn on them for where to place skin rivets.

48 ribs, two lines per rib and Yikes! A lot of lines!

Ribs

There is an EAA/Sonex Aircraft video about using a Sharpie and holding the pen with your hand.

BUT

I spent a few bucks and got a great tool!

Edge Marker Block

This is called an Edge Marker Block and is available from aircraftspruce.com

One guy to hold the rib, and one guy to mark the line.  Fast and easy.

Remember not to use  a black pen because blue, red or green will help you be sure you got the correct mark.

Blue Sharpie!

FYI: Here is the EAA/ Sonex Video to do this by hand.

Blue Lining a rib for installation (brightcove.net)

How do you eat an elephant?

It is the first day of spring and all is beautiful.

First day of spring

and extra beautiful because this guy is here.

First day of spring AND this is here!

So, XPO Logistics have arrived and I am at the airport (On Friday, my car didn’t make it as far as the airport, but that is another discussion. I said bad words).

Before
After

I see 6 boxes. All in pretty good shape. Box 2 was kinda clobbered on the top, but contents are OK.
Some backorder stuff, but I’ll be able to get started with wings, no problem.

Does backorder stuff go to the airport or my house? I’ll email and find out.

We were able to unload the truck just as the Sonex website says, and all boxes fit in the hanger, and we waved good bye to the driver.

Immediately we are starting the inventory that will take a few days to complete. LOTS of stuff to count and review (Do I need 4 rudder cables?) What is a 1/8 oops?

6 boxes to inventory. Yikes!
Off the truck, no forklift required.
Box 3 of 6
Spar

Great job with packing.

Where are the skins?
Here they are
Cowl

The plans are VERY intimidating. The entire airframe looks very complex. The Emp was easy, but this? Am I getting cold feet? Can I do this? So much to do.

And the plans! The plans are VERY intimidating. The entire airframe looks very complex. The empennage was easy, but this? These plans make War and Peace look like an evening read.

Plans

But then I remember. How do you eat an elephant?

One bite at a time.

Dkb