Gary Anctil was my friend.
He was my friend for the last 7 years. For the last 5 years, we had a deal. I’d be his computer guy and he would be my A&P/IA and my mentor for building my RV-9A.
Gary Anctil, pilot, friend and mentor passed away last week after an accident.
Gary was a difficult man to know, but an easy man to remember.
He was a soldier, a spy, a smuggler, a scoundrel, stubborn and secretive.
He was a pilot, a mechanic, a craftsman, a veteran, a voting member of the academy, and finally I think, a scholar. He was the guardian of a little piece of military history as the owner of a Cessna L19E Bird Dog.
He took his responsibility as a caretaker of the L19 very seriously and worked hard on all the details that were true to the hardware, but more importantly, true to the times when it was in service.
Finally, Gary was a teacher.
He taught us that a Hawaiian print shirt was an appropriate fashion statement for any occasion.
He taught us that passion in life was a good thing, but that too much passion was not. He also taught us that passion does not mean anger.
He taught us to say what you mean, and mean what you say.
He taught us that service to your country gives you the right to question where your country is going.
He taught us to remember the past, but don’t try to live there.
He taught us not to fly an Aeronca L2 in IMC (it pits the prop).
He taught us that helicopters are a collection of parts flying in close formation waiting for something bad to happen.
He taught us the patience of a craftsman, and the impatience of a computer user.
He taught us that no man is an island.
And now he teaches us that life is short and uncertain. To live everyday as if it is your last. Be good to your friends and be sure to say thank you.
Thank you Gary. We will miss you.
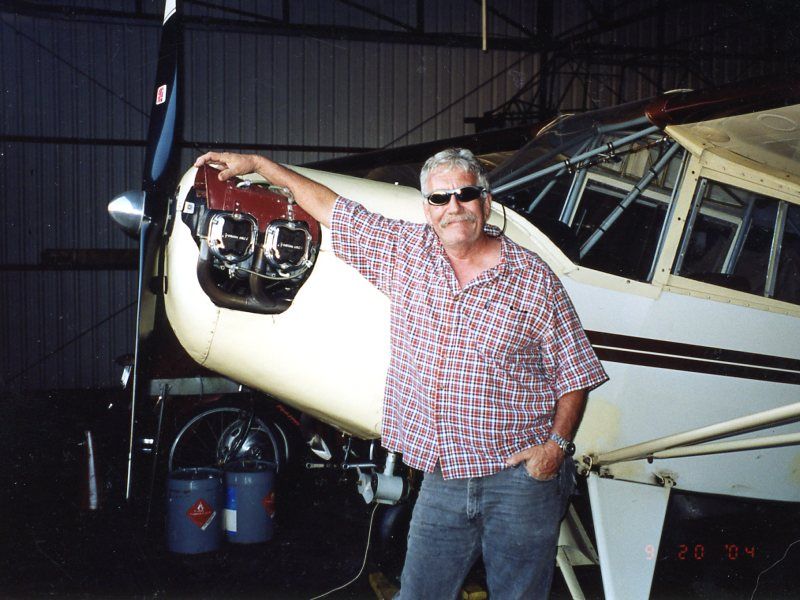
Gary Anctil
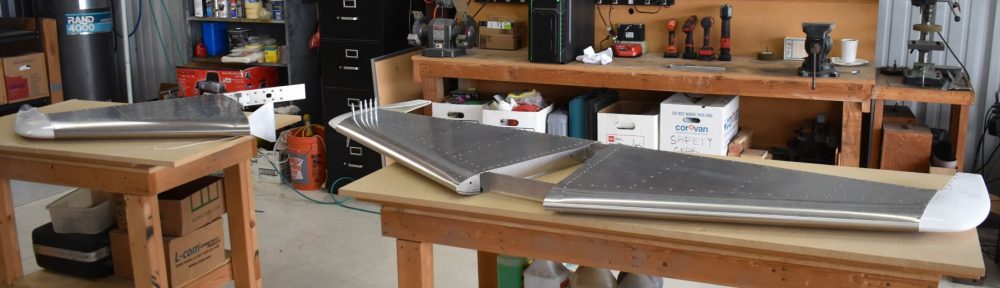
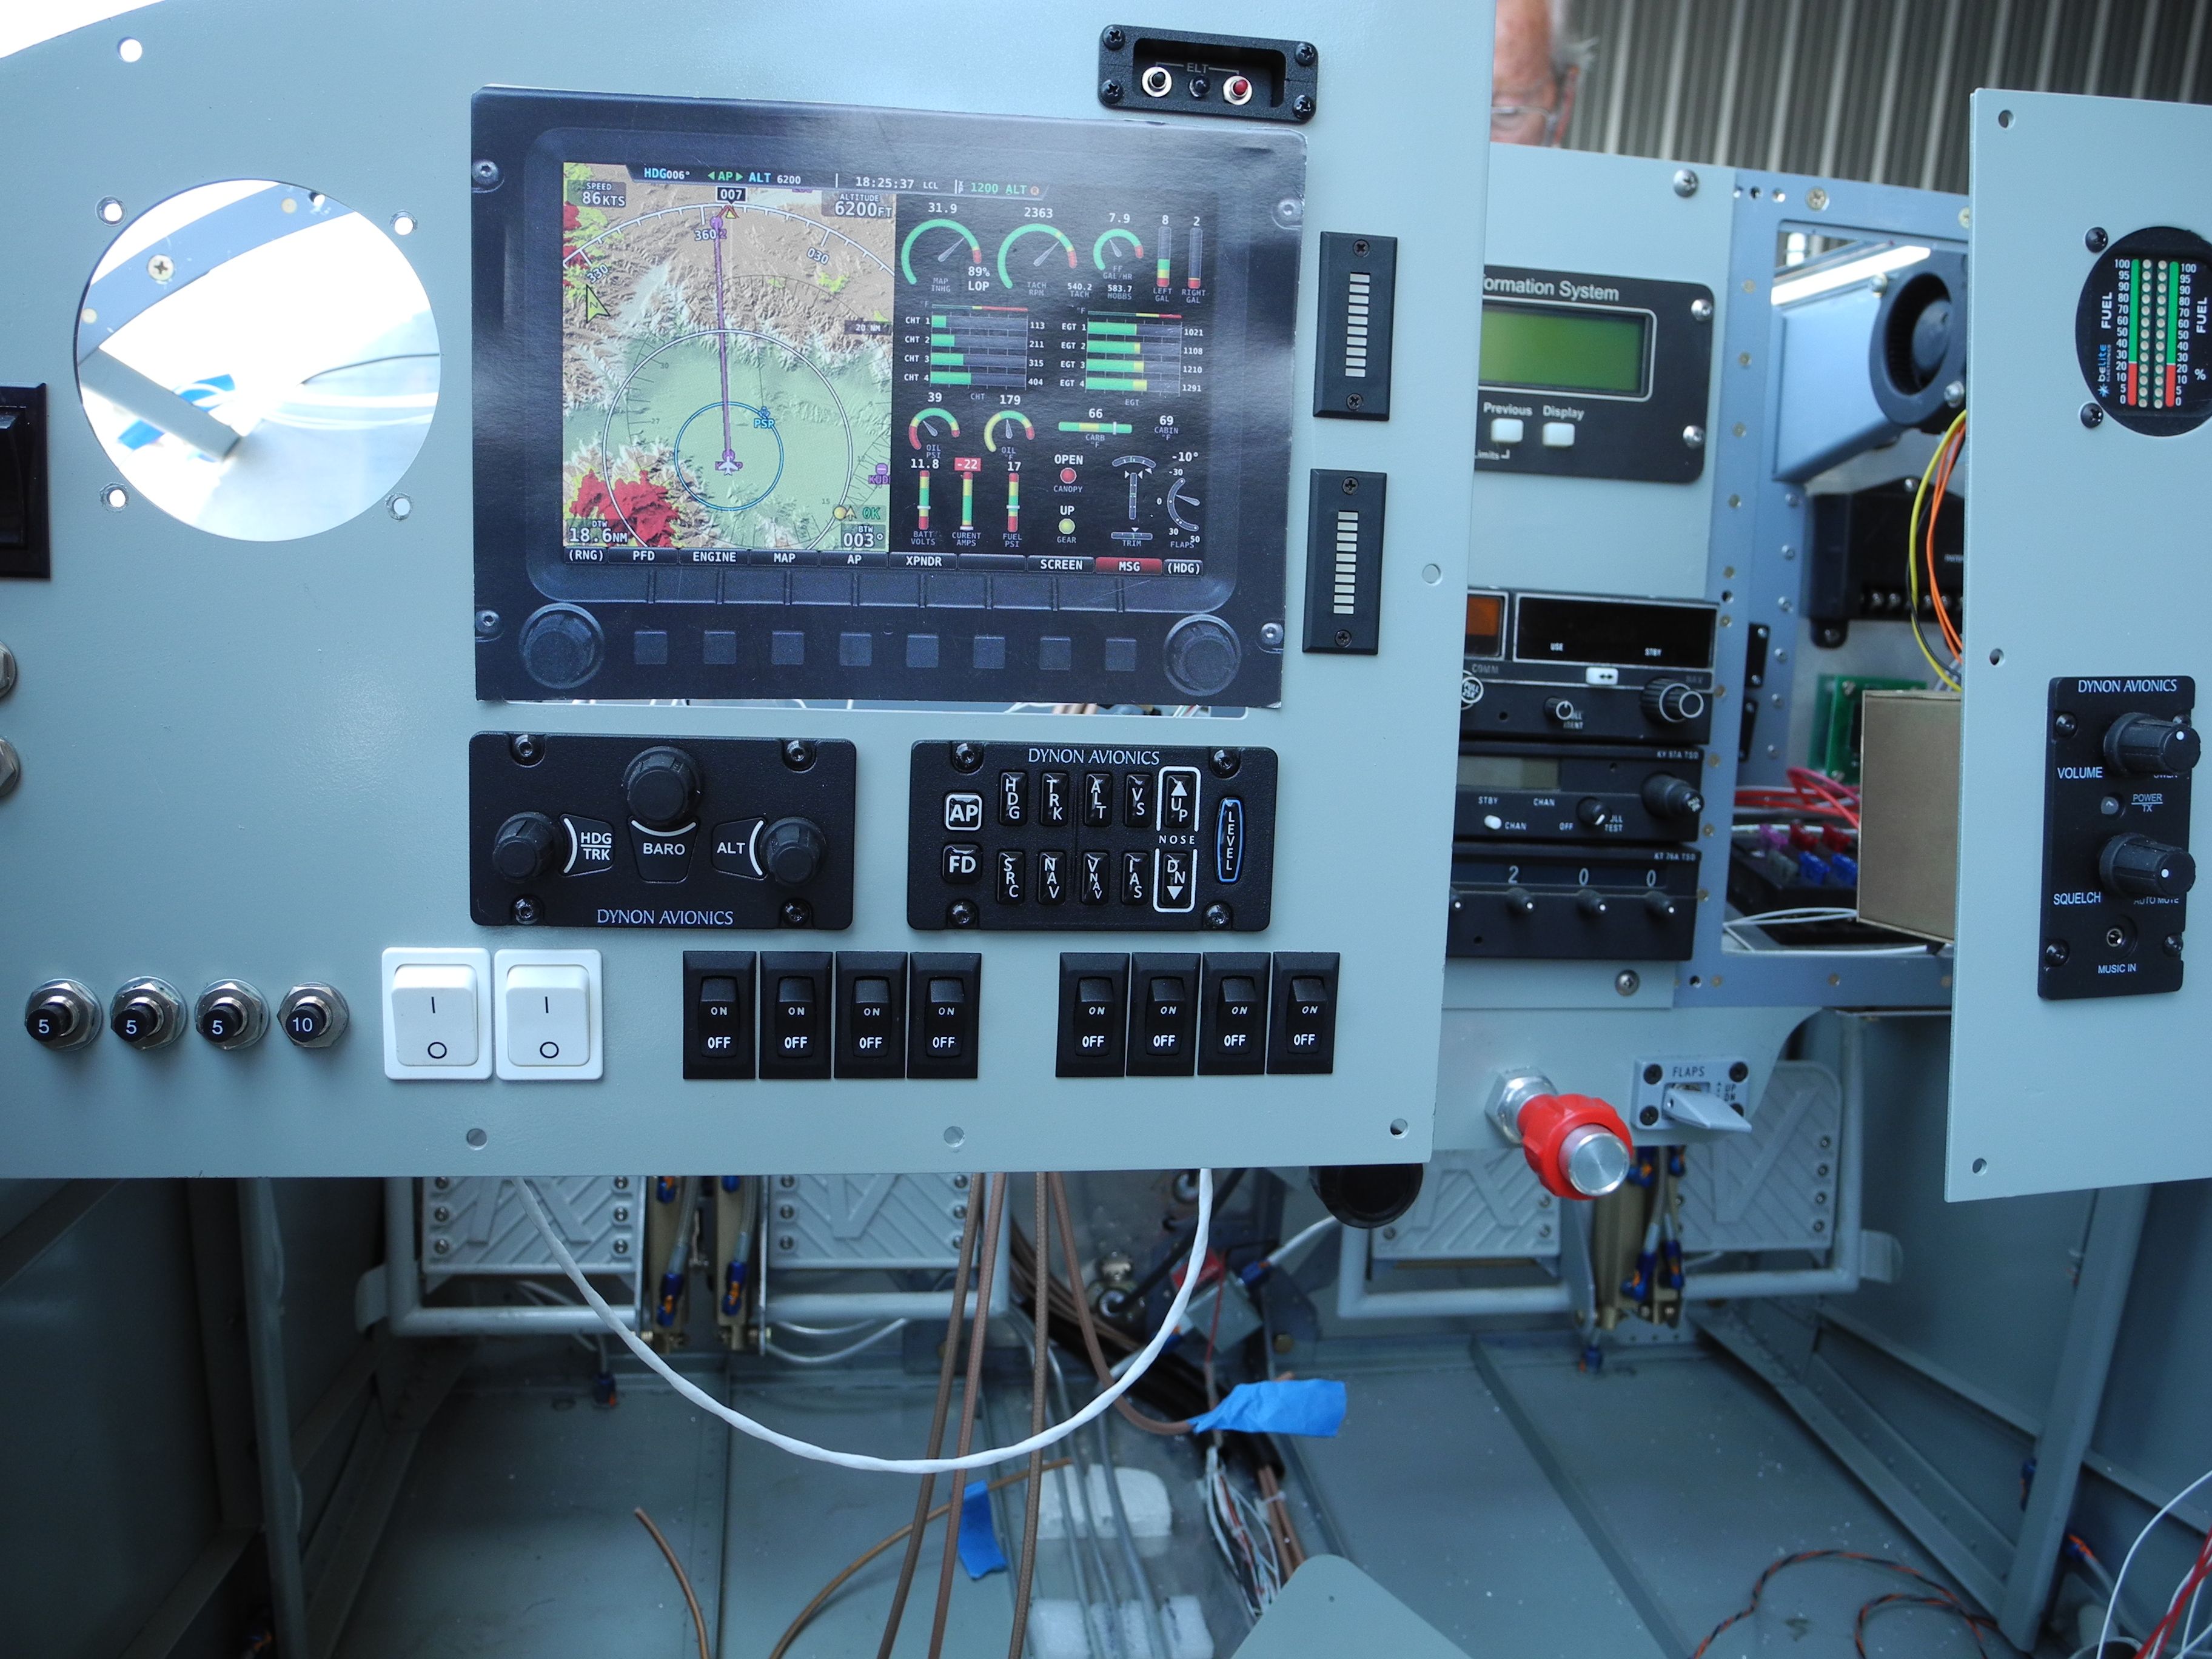
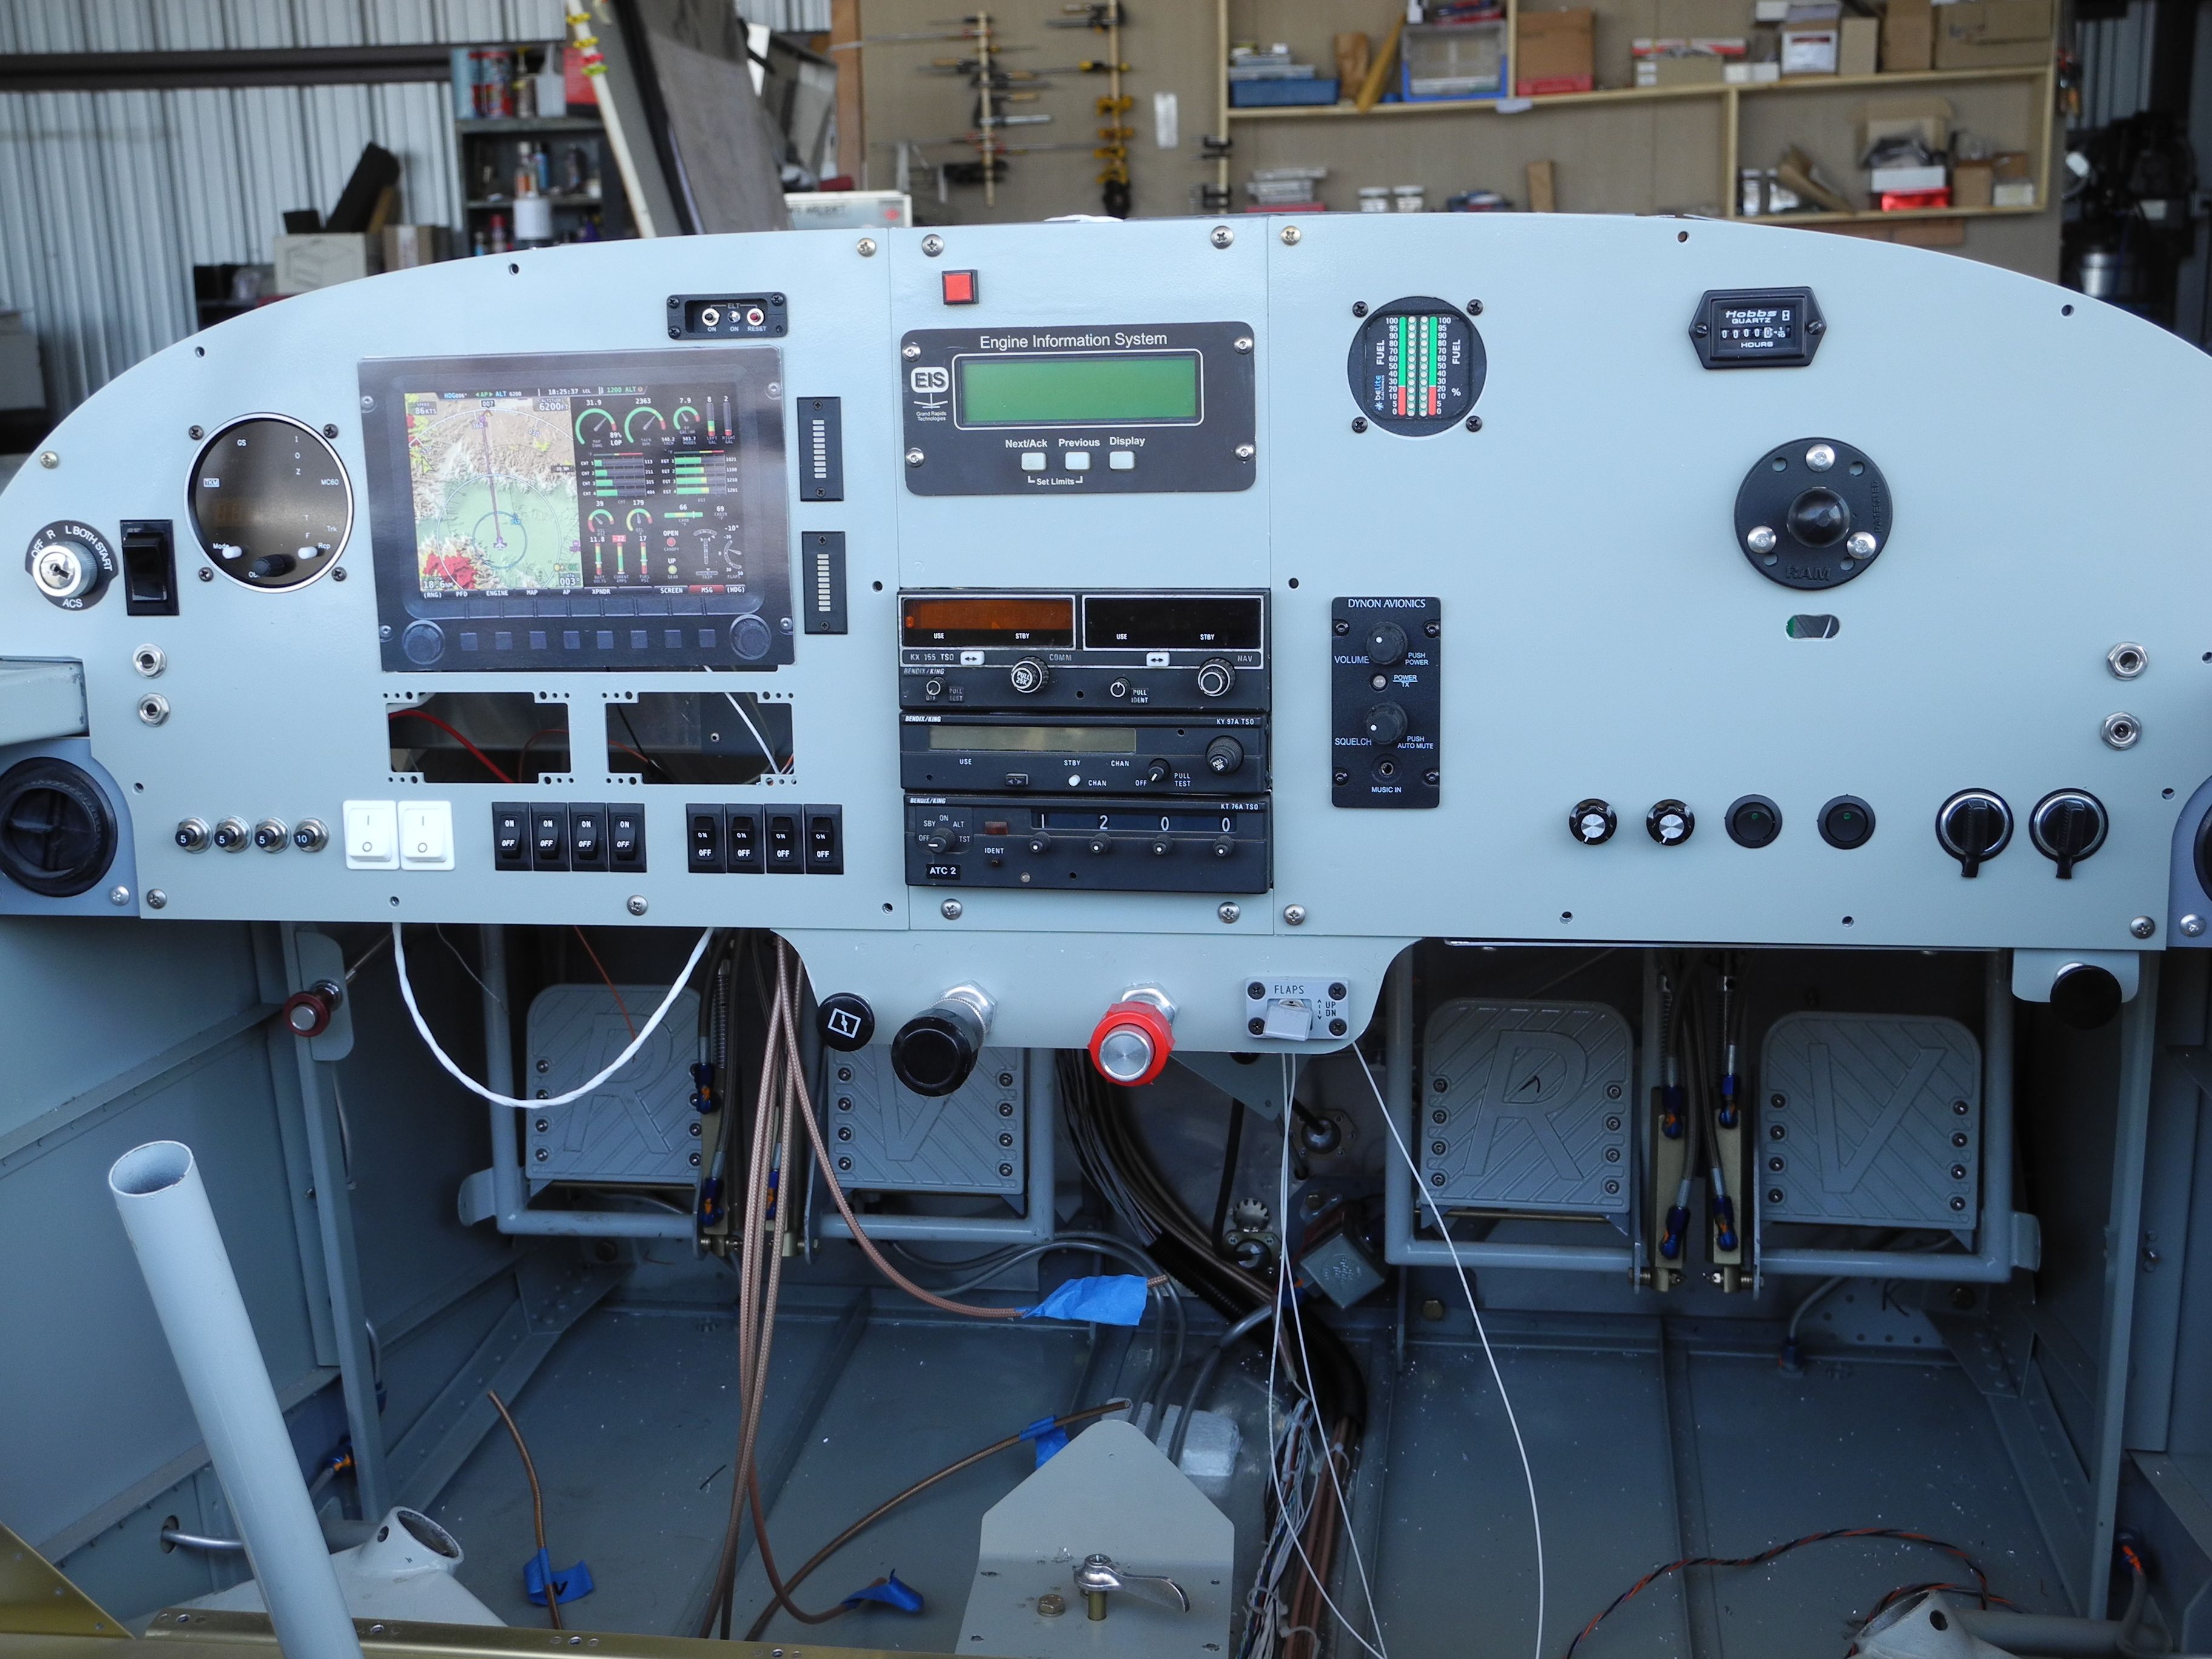
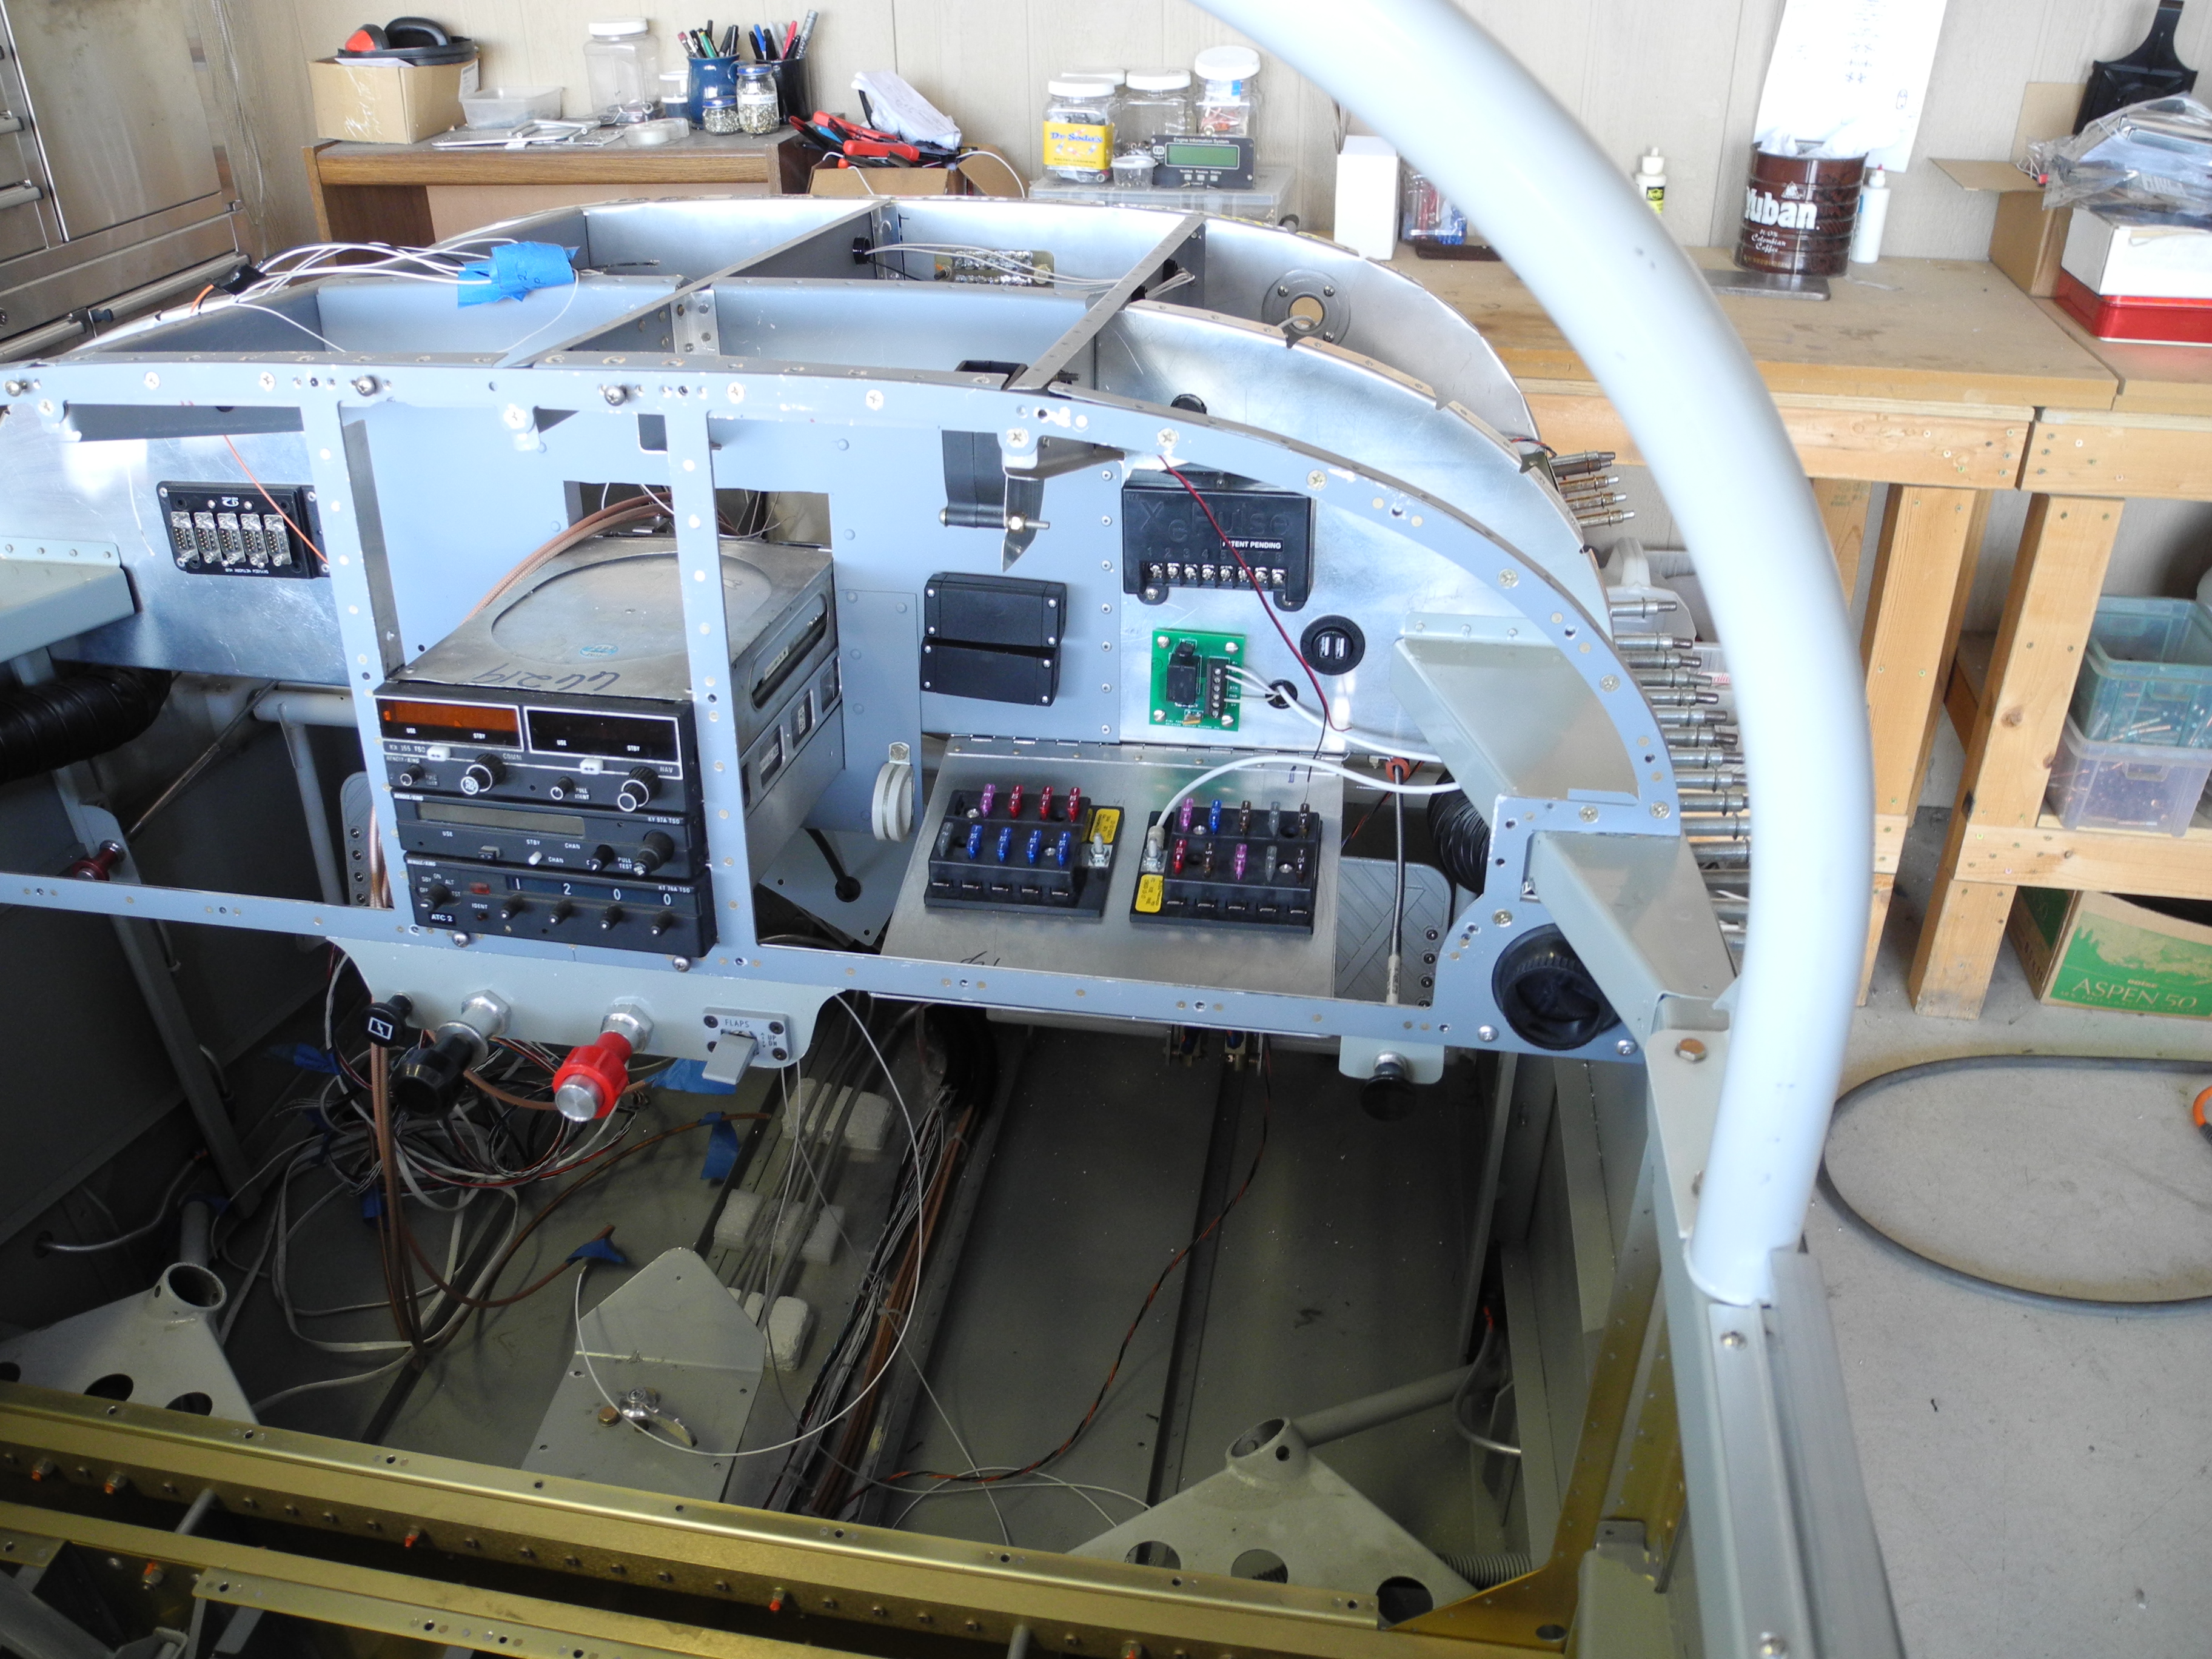
Gary’s Work
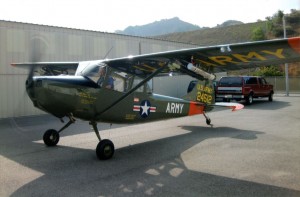
L19e Bird Dog