Chasing Skirts! (Ah, to be young again!)

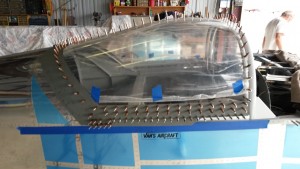
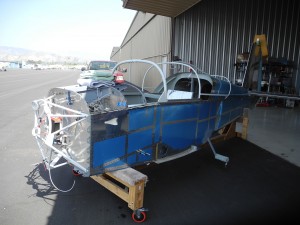
Well, we finally got to the canopy skirts and I feel we did  a pretty good job!  We talked about using fiberglass for perfection, but I deceided to go with the aluminum skirts that came with the kit. I must say I’m pretty happy.

Beautiful!

Beautiful!

The sides did require a little forming, but nothing like the back skirts!  After about 9 hours over two week-ends, we are pretty happy with the resaults.

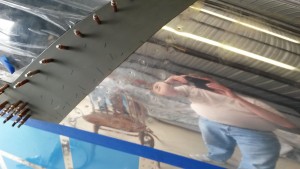
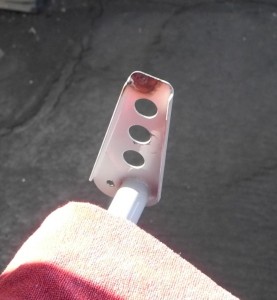
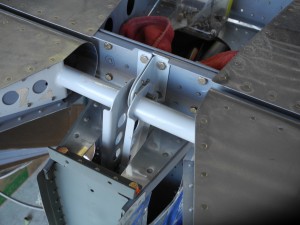
rear skirt on RV-9A slider

rear skirt on RV-9A slider

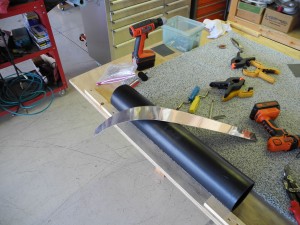
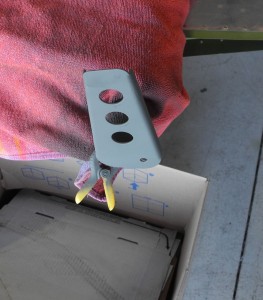
All in all, they came out pretty nice.  The secret? Get a 3 foot piece of 4″ PVC and screw it to the table top. Install the part on the plane, and make location and direction of the required bend. Remove, bend, and replace.  Repeat about a zillion times.  Be real careful with clecos because they will be going on and off a bunch of times.

Bender with scrap

Bender with test scrap.

My Family Gives Me Wings!

And friends too…

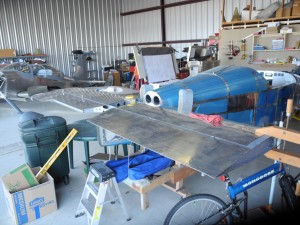
Well, we have now installed the wings for the first time, and I’m a pretty happy guy!  After many weeks of worry (as usual) we have spent the day at the hanger and we have passed a BIG benchmark: Wings on!

Last Saturday, I invited a bunch of family and friends to meet Tom and me at the hanger for a good old fashion wing raising.  What is a wing hanging?  Well, one BIG step in building is to set the wing incidence and drill the attach bolt for the rear spar.

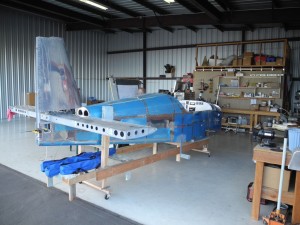
RV-9A fusealage

Fuse ready for Wings


So, Tom and I arrive at the hanger real early and move all the stuff out of the way. we roll out the wings in the wing stand and center the fuselage in the hanger. We then level the entire fuse left and right and front to back. We install temp legs on the fuse stand to be sure it stays that way.  We then laid out the wings and waited for folks to show up.

We did not have to wait long and all the folks were ready to insert the wings, level them, set the sweep and clamp the wings in place.  After double checking everything, we are ready to drill the read spar. Volia!  Wings set.

RV-9A fuse and wings

Wings Installed

So, what do you do after all that? Well, you REMOVE them off course. The wings will not be installed for the last time until after the plane moves to Camarillo.  Here is how you remove wings:


Remove Wings

Controls are in place…

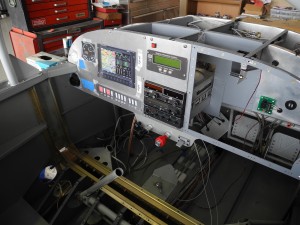
We have the engine controls in place. We installed the three stooges today: Throttle, Mixture and Carb heat.  Actually the flap switch is installed too. Just like in a Skyhawk. Easy to access and use on approach.


RV-9A incompleted instrument panel

Panel Again

With the controls quadrant installed, we have run the control cables out through the firewall, and we hope they are long enough to reach the carburetor.

We are also continuing to install electric wires. we have the ANL fuse on the fire wall, we have the master and start relays in place. We built the battery to relay wire (4 awg), and the master relay to ANL fuse wiring. We have cut several holes in the right side panel like 2 –  12 volt power plugs,  the heater control cable, the defroster fan switch and the two dimmer control switches. We are still planning the left side. We are still not sure how the fuses and electrical controls will work.

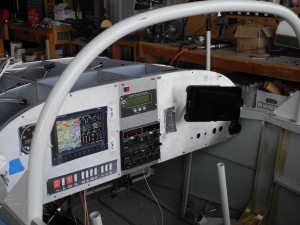
We also installed the mount for the tablet to be installed on the right side.  This will be the backup EFIS and flight planner, including an AHRS insterface with bluetooth connection.

With electronics for tablets growing at the same rate as microcomputers did on the 90’s, we figure we will have double the performance and capability of the backup EFIS every 2 years.  We should plan on making that an easy upgrade.

Mount for Tablet in RV-9A instrument panel.

Tablet Mount


Let me get this straight…

*sigh*  I goofed.


No easy way to say this, but I goofed. And I thought BIG TIME

We drilled the elevator horns on the tail by aligning the counter weights to the horizontal stabilizer. Straight tail, straight elevators, right?

Nope. Wrong

RV-9 Elevator

RV-9 Elevator

Somehow, I managed to get the two halves out of alignment. Only a degree but my hanger partner (who built a 7) told me that will never fly right.  Now what the heck am I going to do? I drilled the hole!  Move the hole? Hmmmm…. not enough room.  Replace the horn?  OUCH! I’ll have to re-skin the tail!

Turns out there is a simple solution.  Take the entire tail over to Walter the Welder (Yes, his name really is Walter) and have the hole filled. Grind it smooth, repaint and I’ll have a second chance.


RV-9 Elevator horn hole filled.

Elevator horn hole filled.

Lost a little powder coating but Walter did a GREAT job of filling.  I filed it smooth, then took a scotchbright wheel to it, and cleaned with MEK.

RV-9 elevator horn repair finished

finished repair

My guess is that I’m not going to be able to do that more than once, so I better be CAREFUL this time.


Some airplanes have steps, mine has an elevator!

Yikes!  We fit the elevators this week-end in 105 degree heat!

Careful planning, measurement and drilling means we have a pretty straight tail.

RV-9 Elevator

Elevator installed and aligned.

After installing and sizing the elevator tie rod ends, we drilled the center elevator horn with a very small bushing. I was able to borrow one from a guy, with the agreement that I would mail the part on to the next builder. Done!  It is VERY important to get the tops of the elevator horns correctly drilled. You have to live with the results for the life of the plane!

RV-9 Elevator Horn installed

RV-9 elevator horn drilled and aligned.

The vertical stabilizer is already drilled but we removed it to make this work easier. The easier it is, the more accurate it will come out.

After it hit 105 F, we called it a day.

CC


A Tail to Tell…

Well, LOTS of things going on, but mostly moving forward!

We have a new hanger partner, we have the engine back, and mostly, we have the vertical stabilizer mounted!!!!

We are mostly cleaned up and back to work, even though it was HOT today. We helped Don move some stuff in,and Tom and I went to wok on the vertical stab.  We found that I had mis-mounted the bottom hinge support, and had to move that, then got the basics into place, drilled the holes, and we are back in the game!

Vertical Stabilizer on an RV-9A

Vertical Stabilizer on Loud Emily

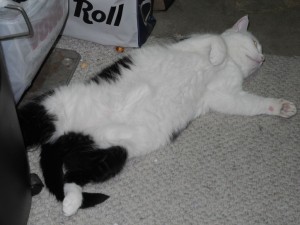
How hot was it today?  Have you ever used a cat thermometer?  When a cat is cold, they curl up into a tiny ball. As the temp rises, they stretch out.

Here is how hot it was today:

Cat Thermometer

Cat Thermometer – It was HOT!

Members of the panel…

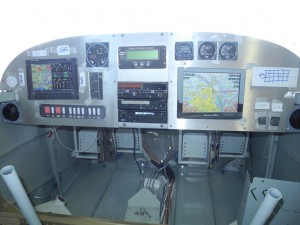
Here is a look at the panel plan. Radios are in and here is what I’m looking at for flight information systems. Pretty cool huh?

RV-9A instrument panel design

Panel so far…

We started the installing tail today.

FYI: Next week-end (July 13th) is an aviation swap meet at Cable airport in SoCal. Free to get in and you get to see TONS of stuff. If you ever wondered what it takes to build an airplane, here is your chance to see the stuff it takes.

She’s on the ramp! (sort of…)

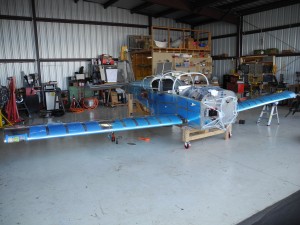
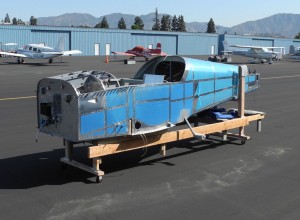
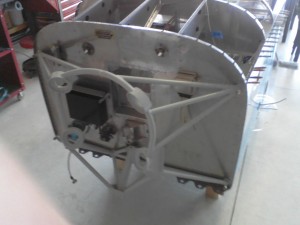
The new fuselage stand has wheels so we were able to roll it out and FINALLY sweep the floor. The plane has officially been on the taxi way, but it will still be a bit before first engine start. Engine mount is drilled, and the cowl mounting plates are installed. These will be Skybolts on the cowl to firewall, hinges for the cowl halves.

RV-9A fuselage

Fuselage of N18TD

The engine went to the shop for a review and some cleaning. The A&P want a new fuel pump (or a rebuild) and remove the accessory case.  OK, have a look.  I believe the mags will be overhauled, but I need to see what kit I need. The standard kit or the deluxe kit. The only difference is the deluxe kit includes new coils and gear.


The Engine is off to camp…

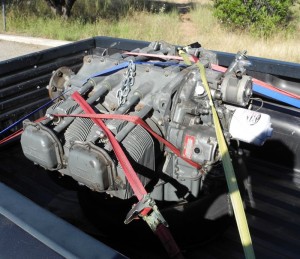
Saturday was a big day for the engine. We are taking it over to my friend the A&P for inspection, new gaskets, and a little paint here and there.  We will change rubber parts, remove the vacuum pump (not needed on my plane) and generally check it out.

Lycoming O-320 Aircraft engine

To slip these surly bonds…

I bought a used engine that was flying (HP upgrade) and I  hope to bolt it on and fly for awhile. The engine only has 900 hours on it, so I’ll have a little time before it goes back to the shop. Maybe ask for 160hp.

I hope this takes less than a month. I forgot to drop off the logs books so I still have to do that.

More later.

Motor Mount Mounted!

We got the motor mount attached this week-end!  Of course, it hits the plate nut for the electric fuel pump. Even after I carefully measured the position of the pump. Really?

Plate nut hits motor mount

Plate nut hits motor mount

OK, we go that fixed, and we are moving forward.

Motor Mount

Motor Mount

Sorry about the quality, but I forgot my camera, and just got a shot or two on my crummy phone. I gotta get a new phone one of these days.


We also had a long meeting with my friend the A&P and he agreed to look the engine over. I do his computer work, so this is a trade. He will put the engine on a stand, and chek out all the rubber parts, make sure stuff is tight, and try to keep oil leaks to a minimum. Remember, this is a Lycoming.

Question: How to you prevent oil leaks in a Lycoming engine?
Answer: Don’t put oil in it.

I bought a running O-320 from a minister who was upgrading to a 160 HP for his Cessna 150 (a story for another time 🙂 and I plan to plug it is and run it. It was running just fine when removed, so I plan to do little to get it in the air again. I’ll still have the A&P look it over though.

More later!