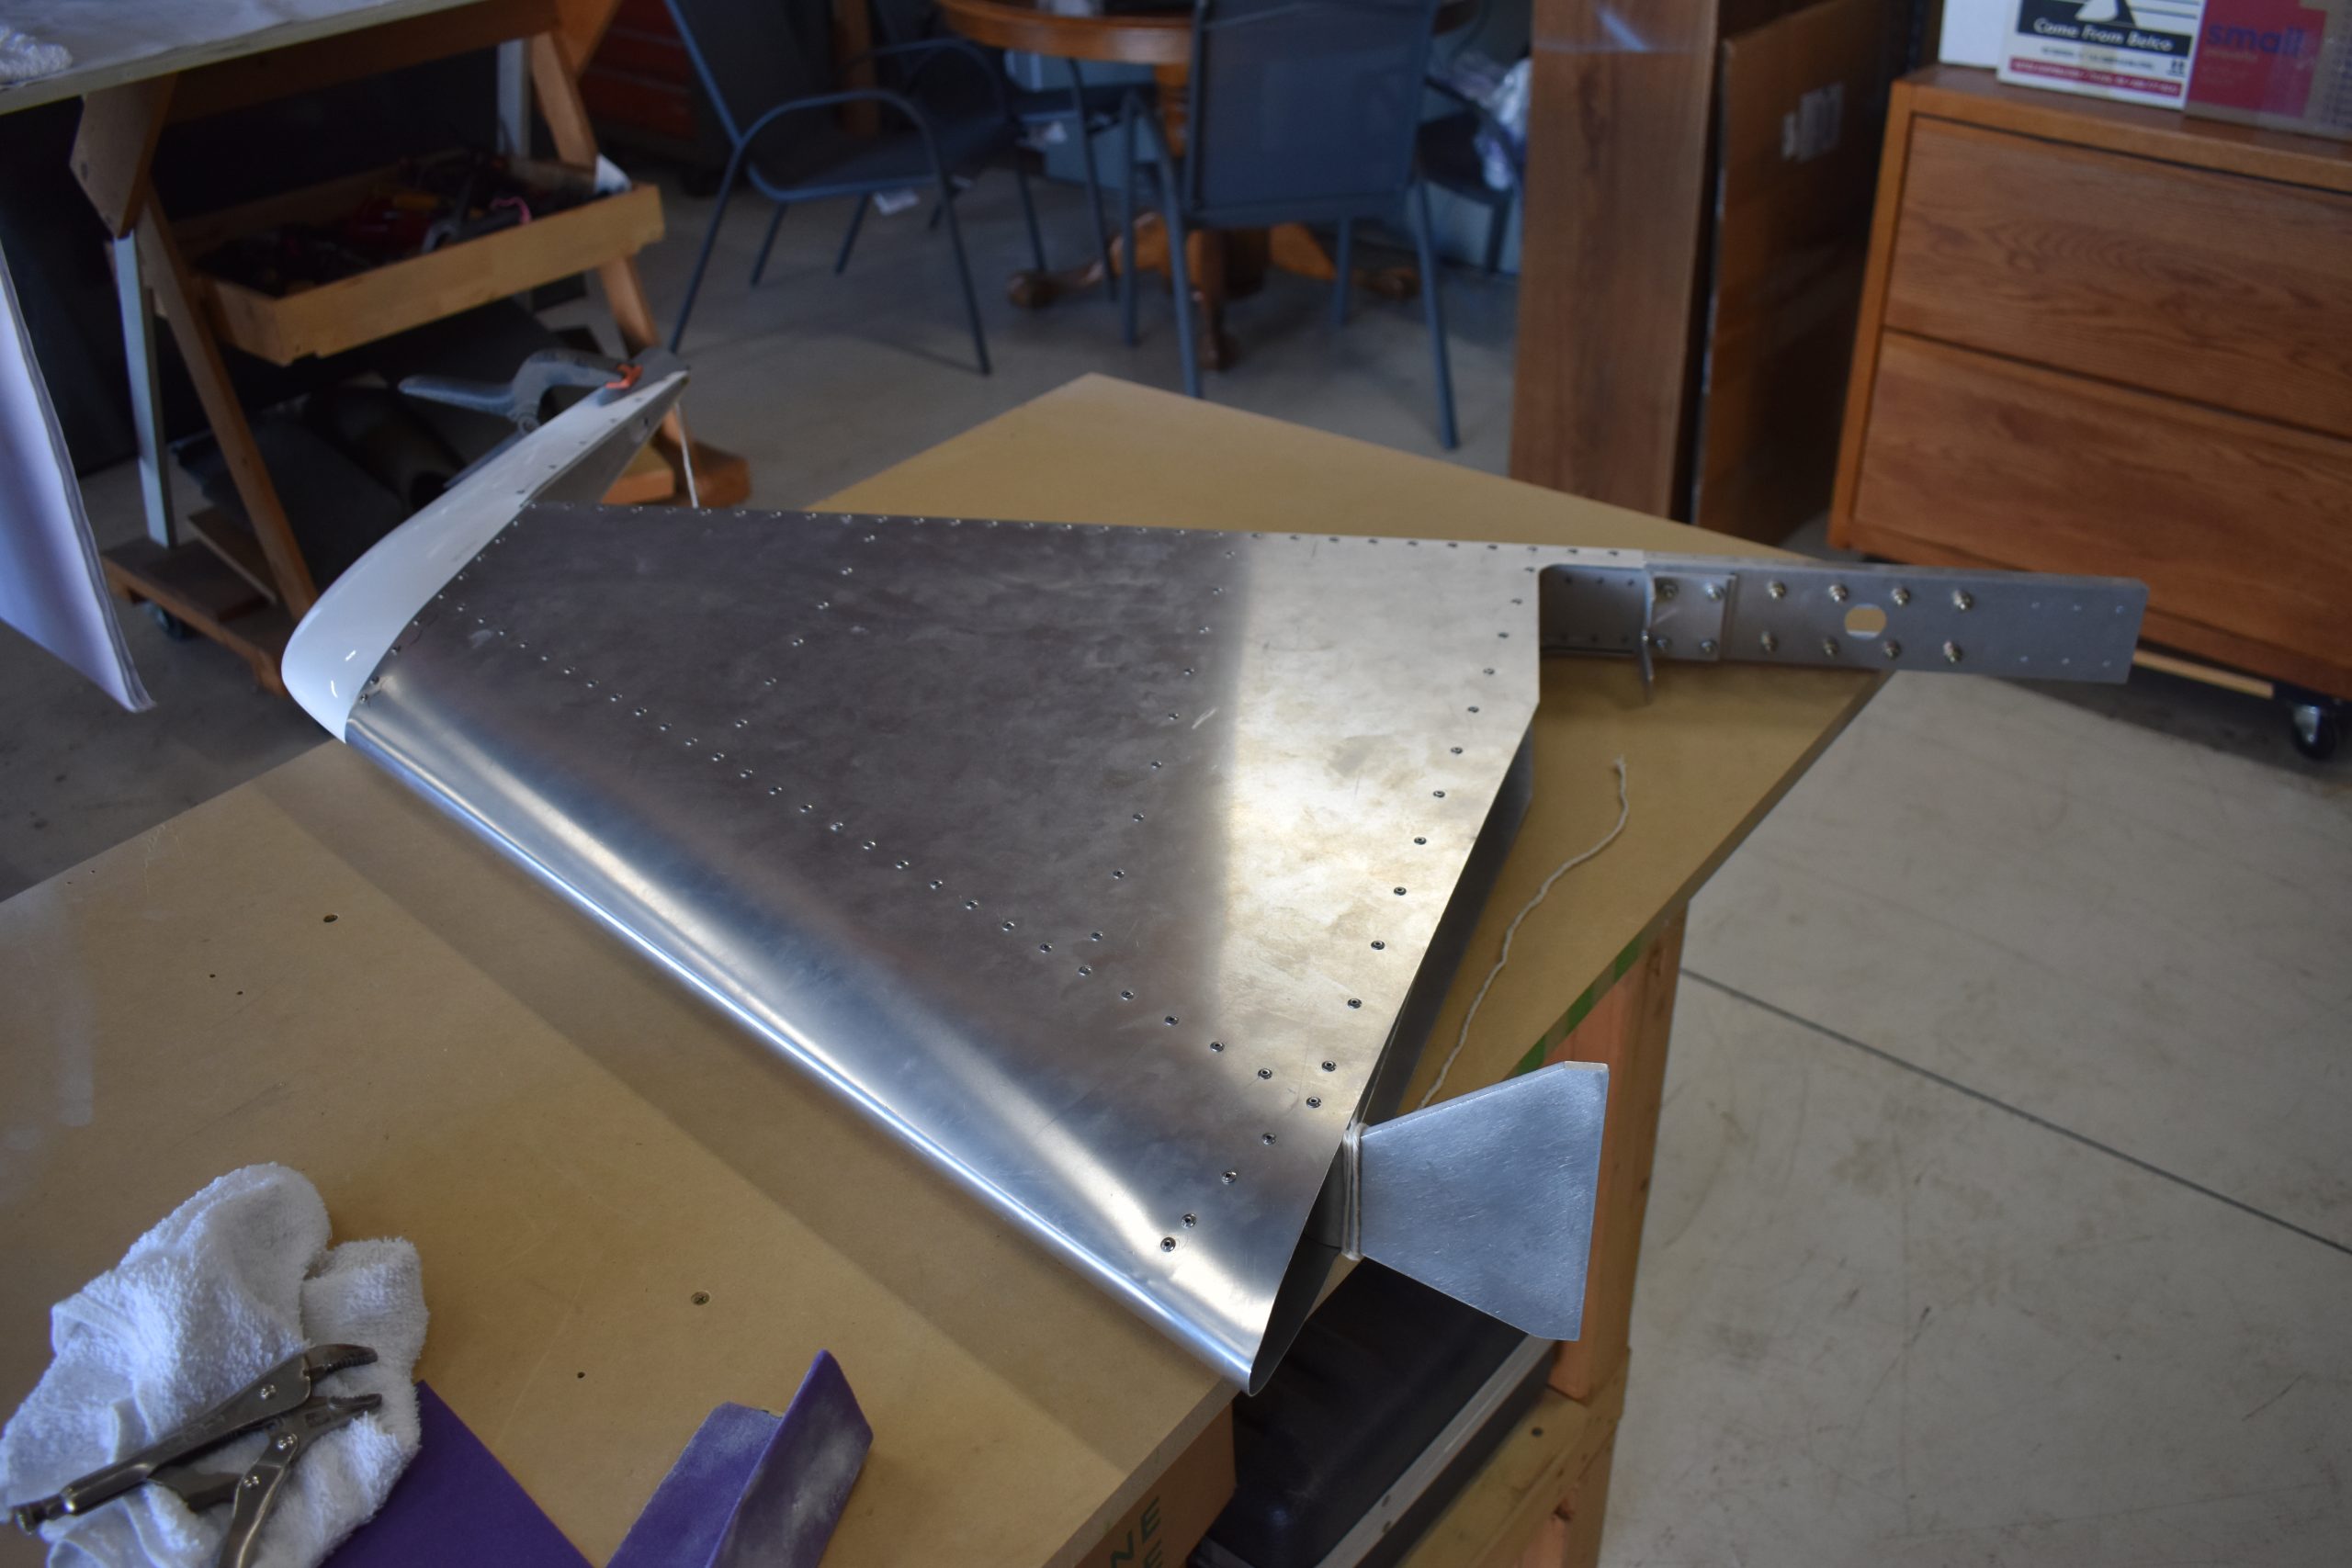
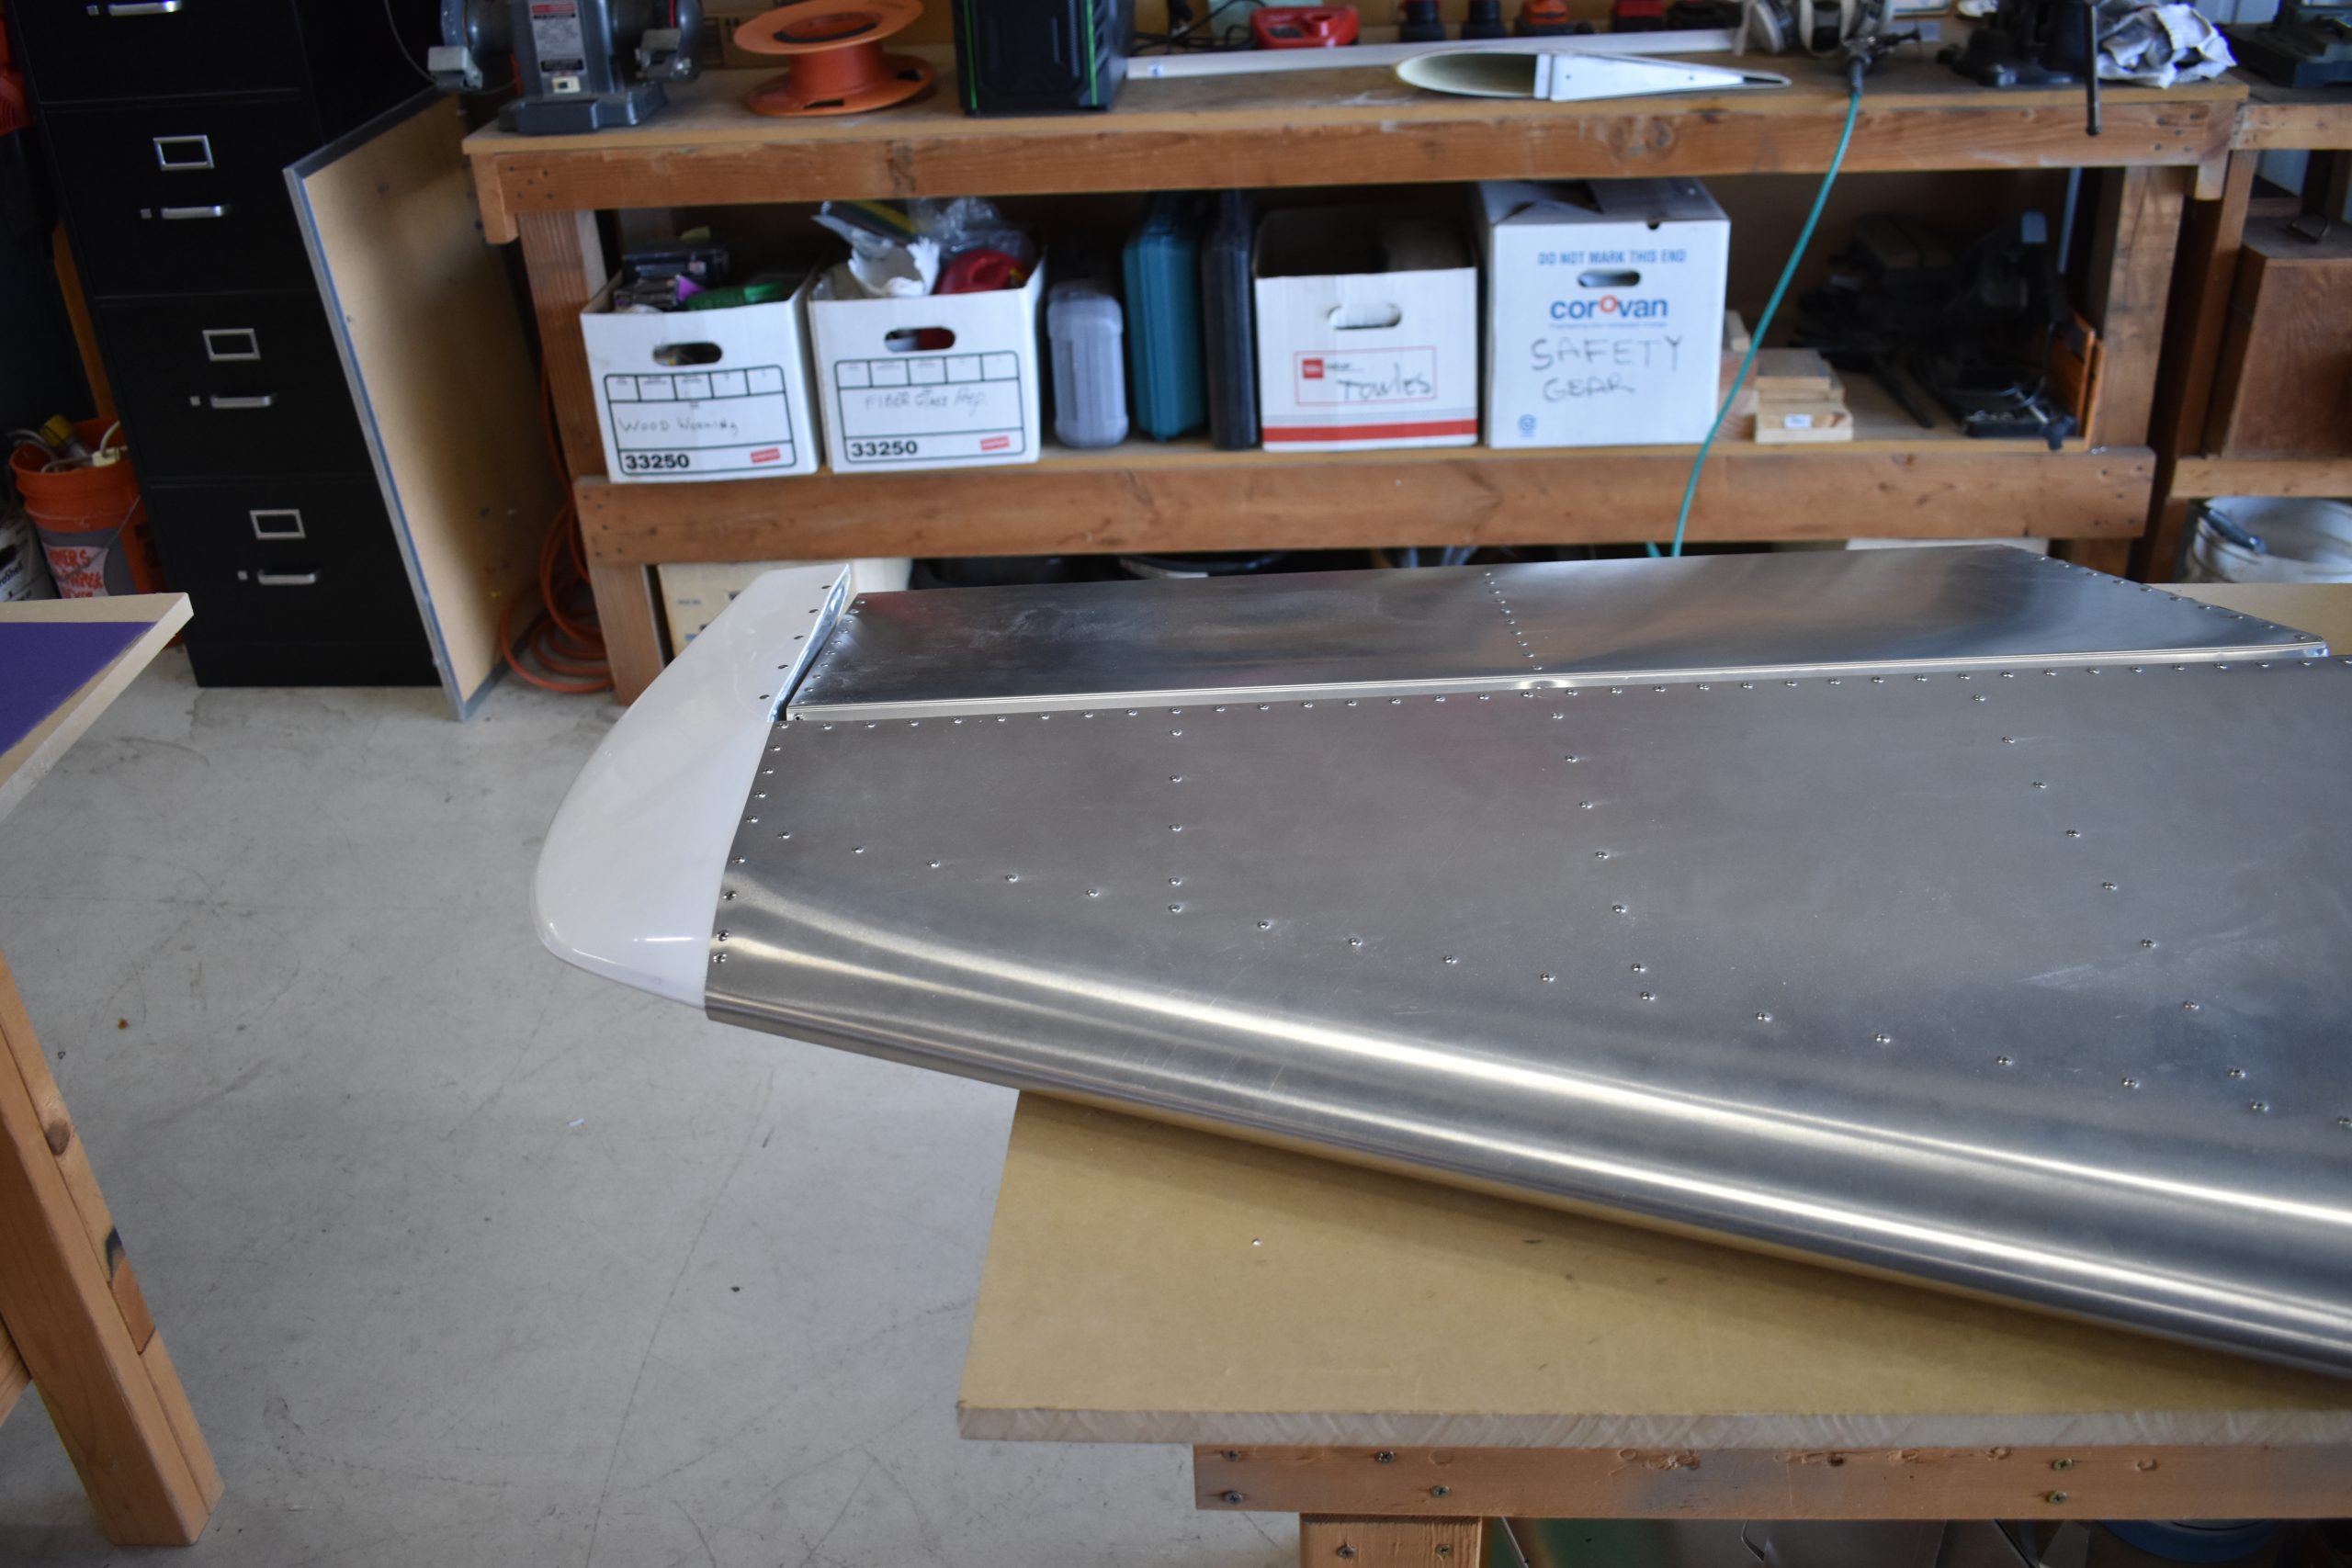
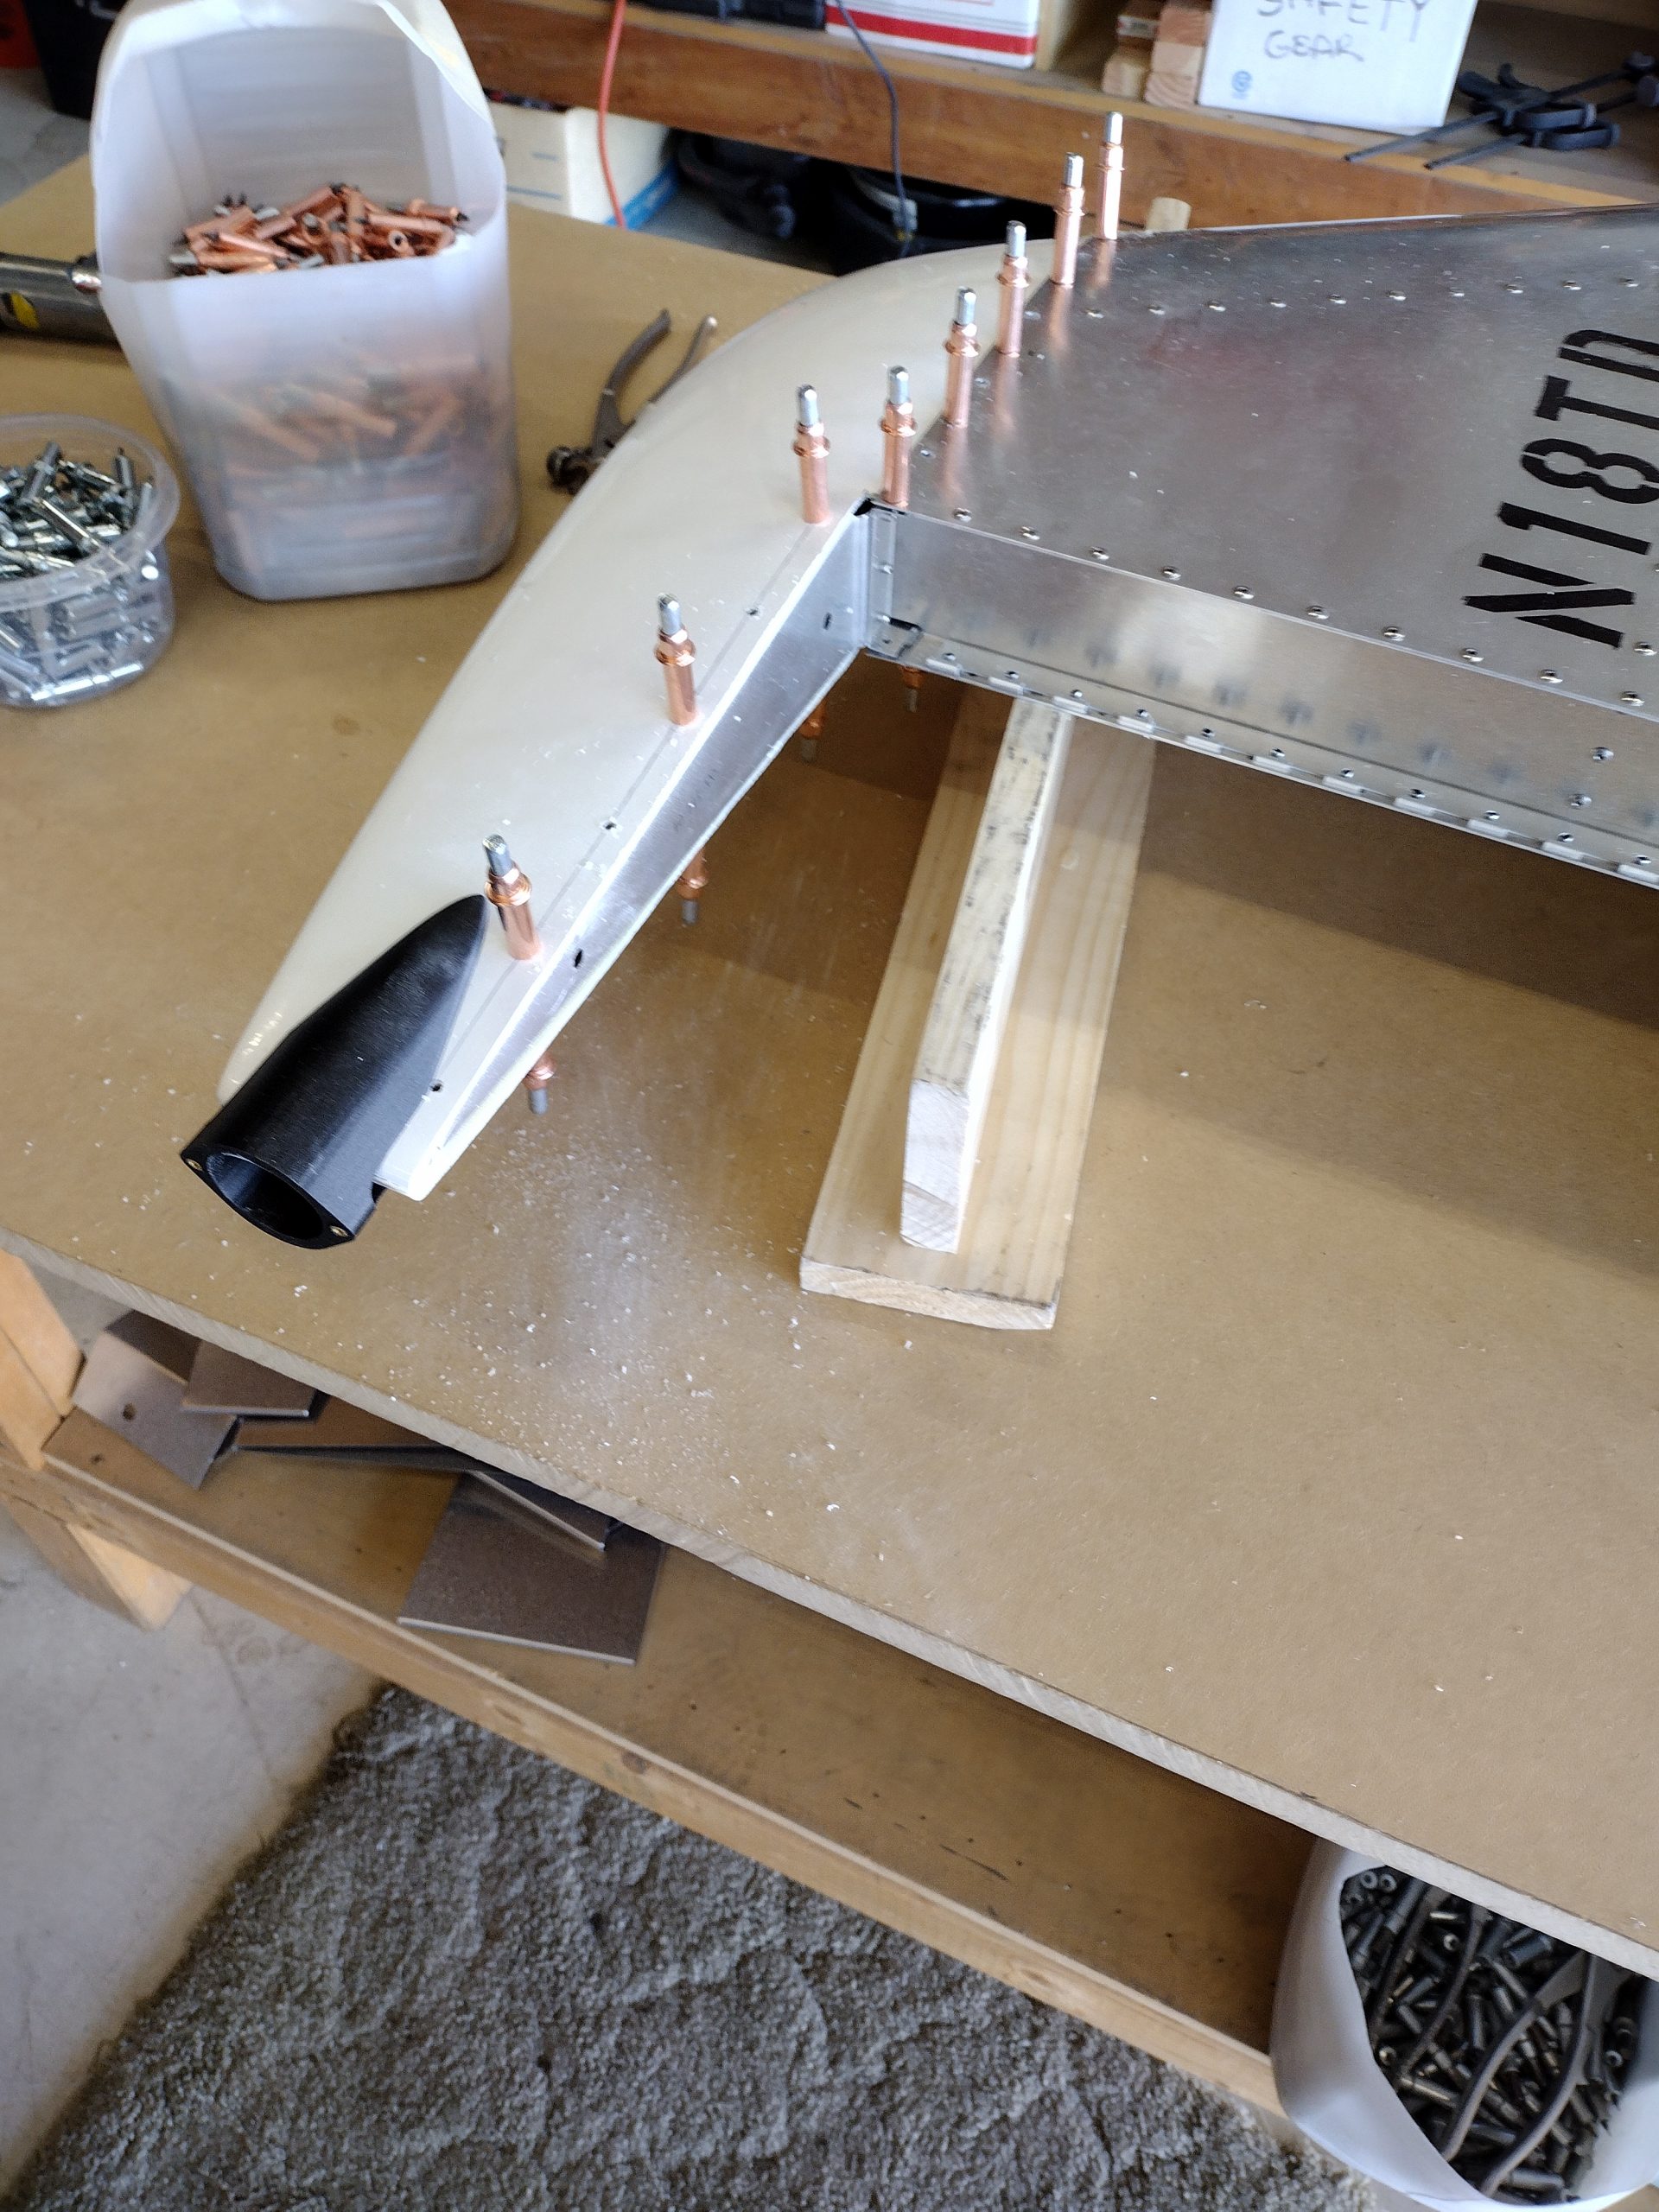
I thought I had trimmed away too much fiberglass from my horizonal stabilizer tips but I was able to do a little creative cutting and now have a pretty good fit. I just need to drill holes to final size and attach them. I’m still waiting for a new rib that I damaged. After that, the Empennage will be completed!
Nice fit!
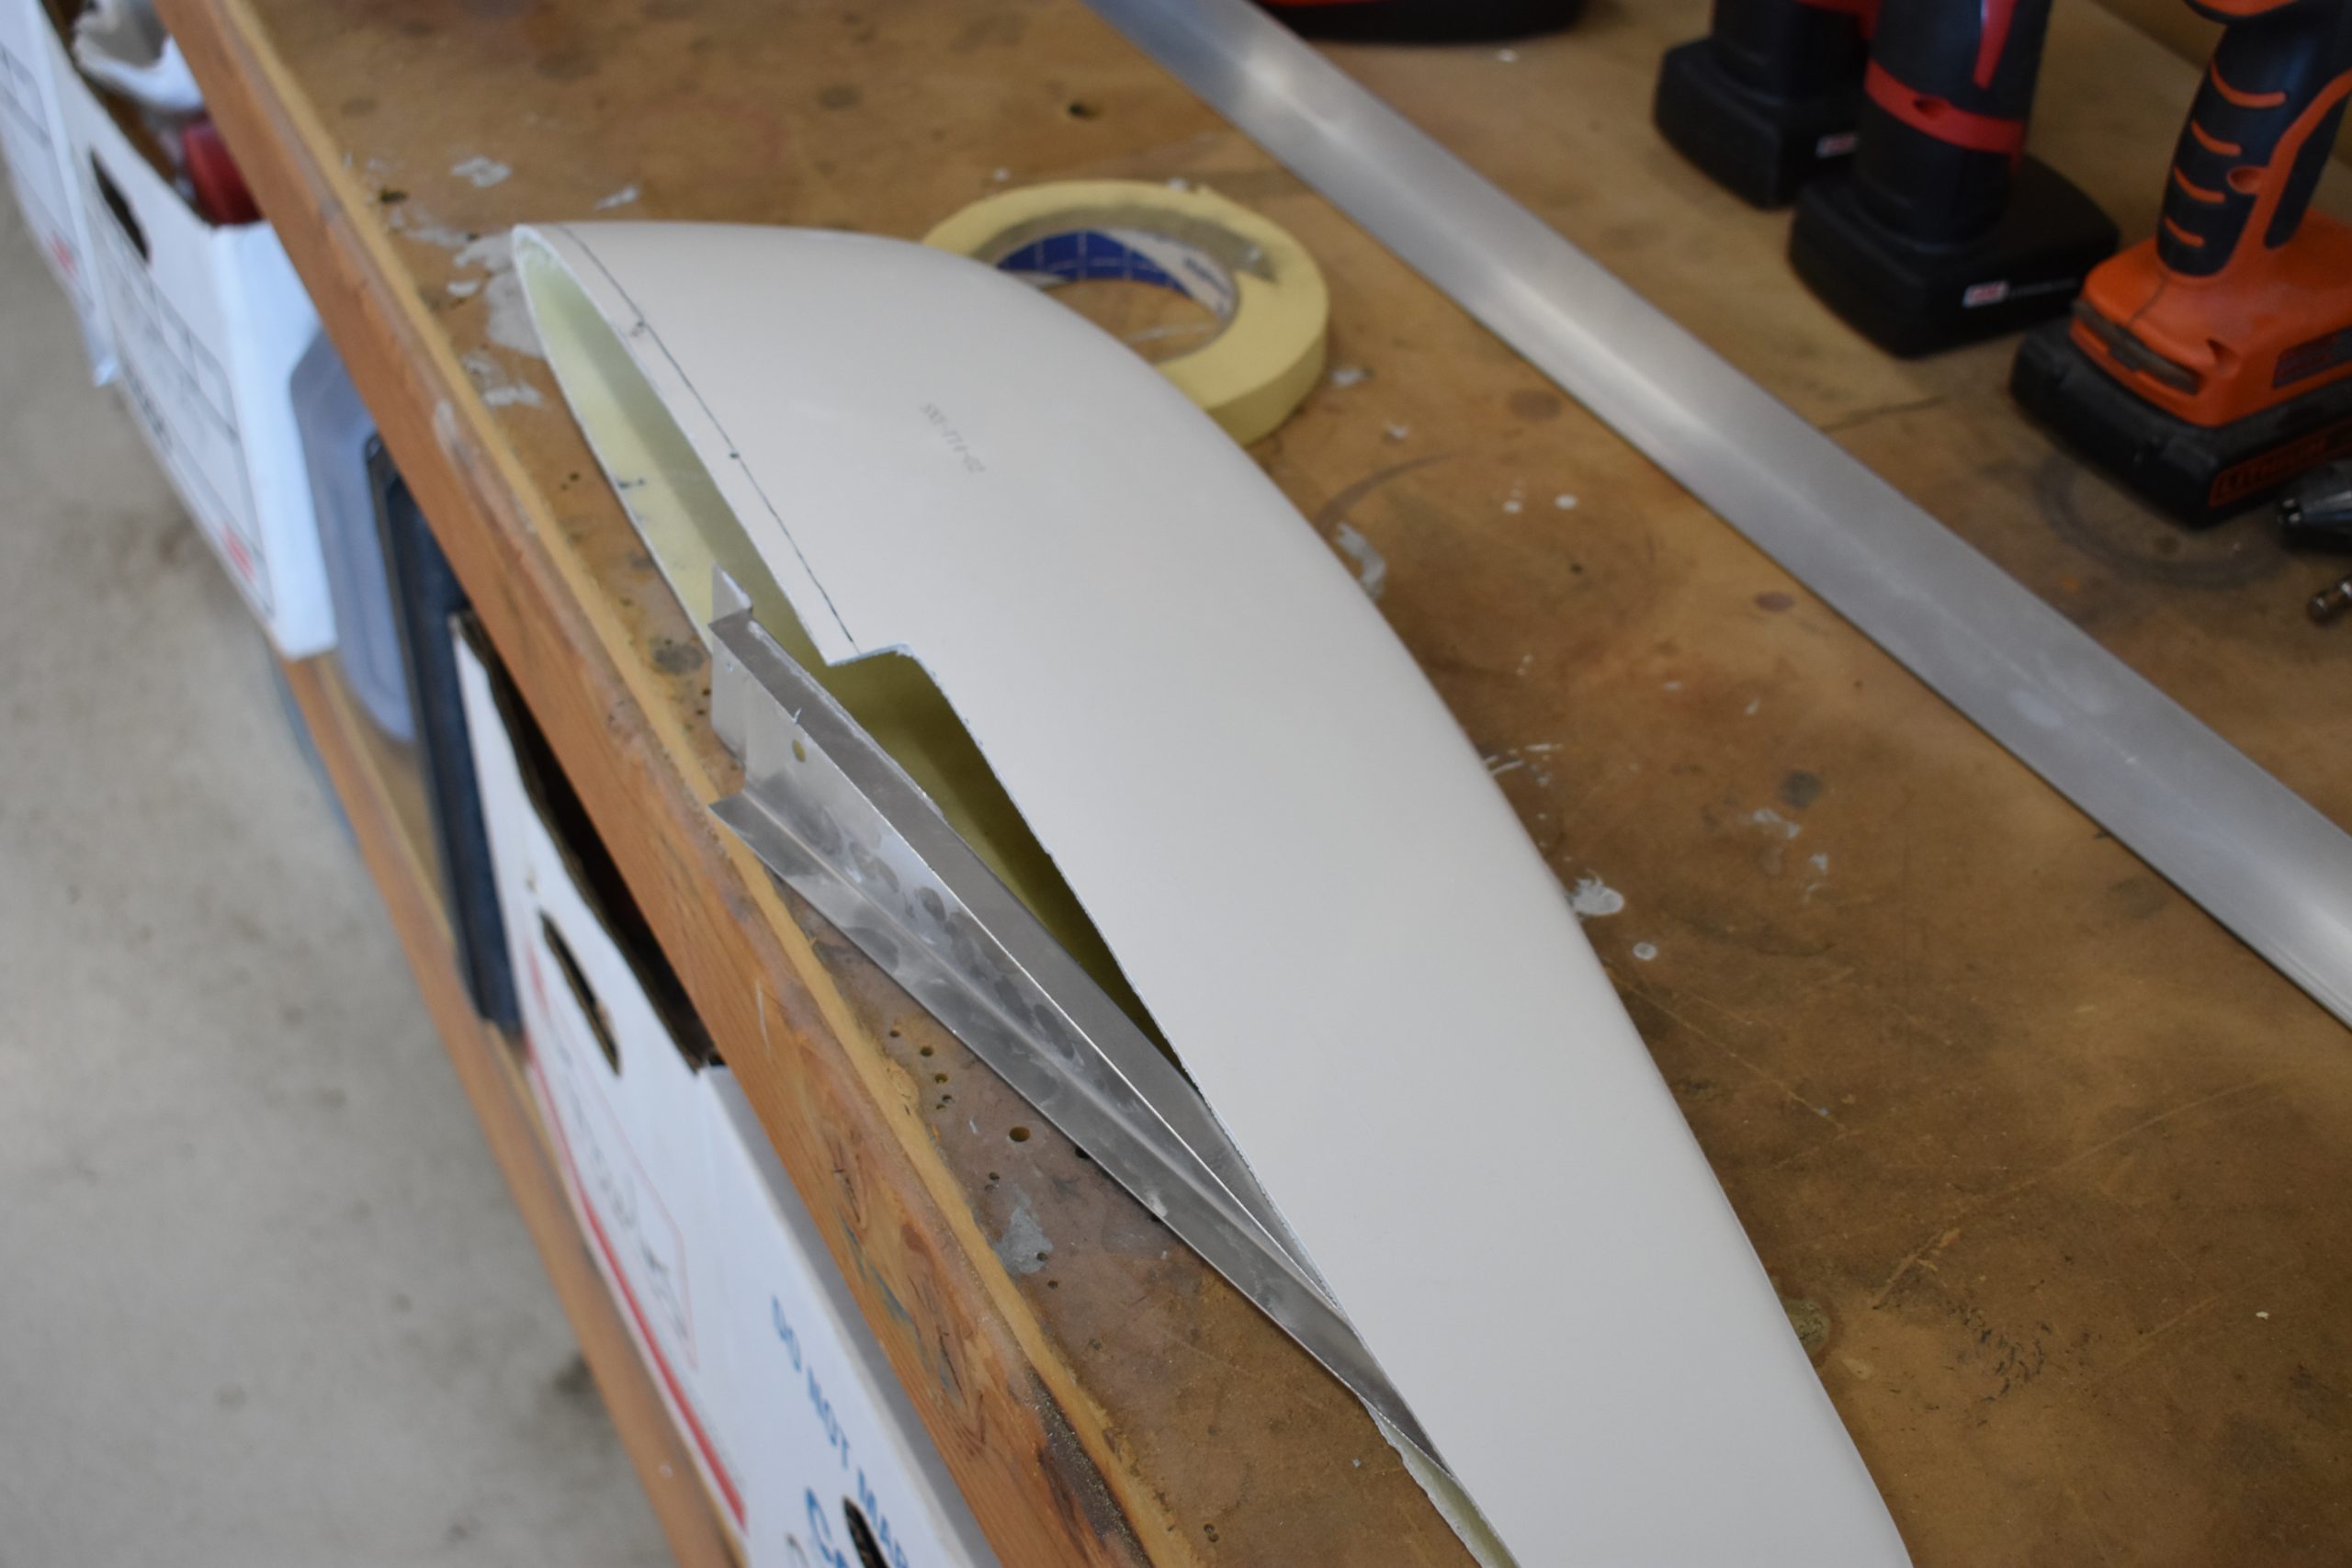
I also epoxied on the tail light faring. Nice! Thank you Sonex Builder SP1 for the help.
Tail Light Fairing
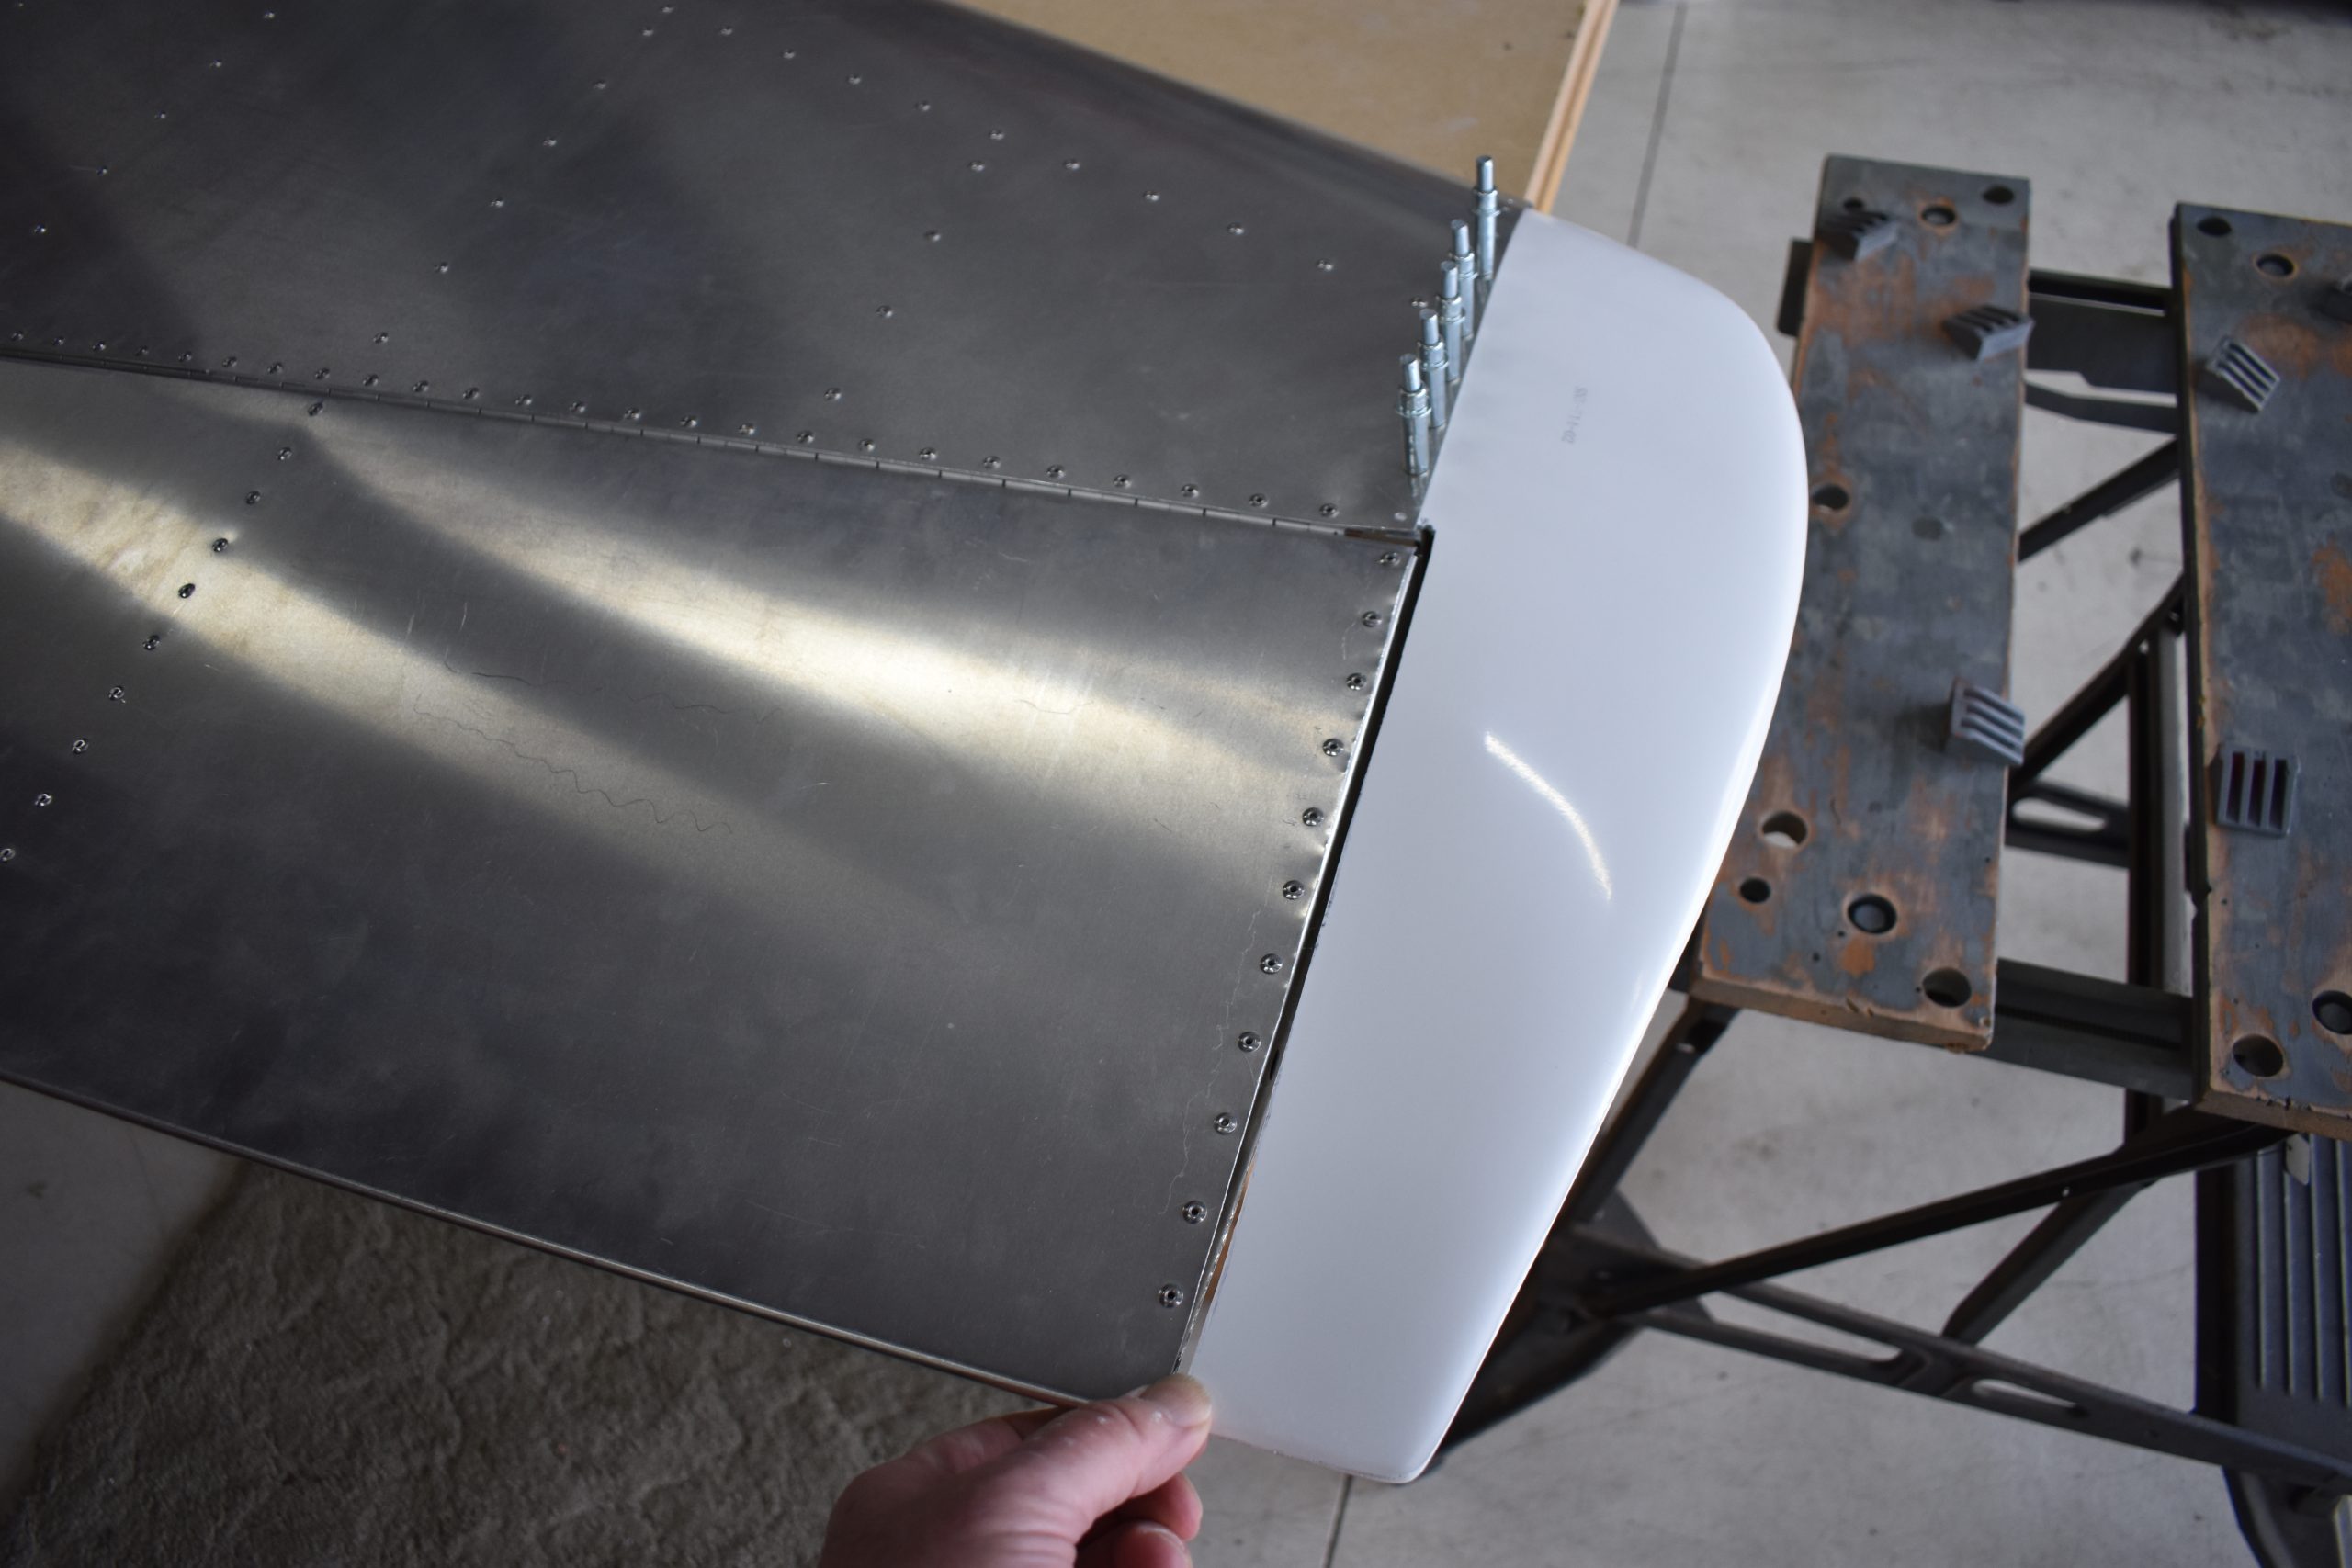
Finally, a tip. As you build and get more experience, you will be able to identify sheet metal thickness on the fly. Until then, keeping a few samples around that are marked is very helpful.
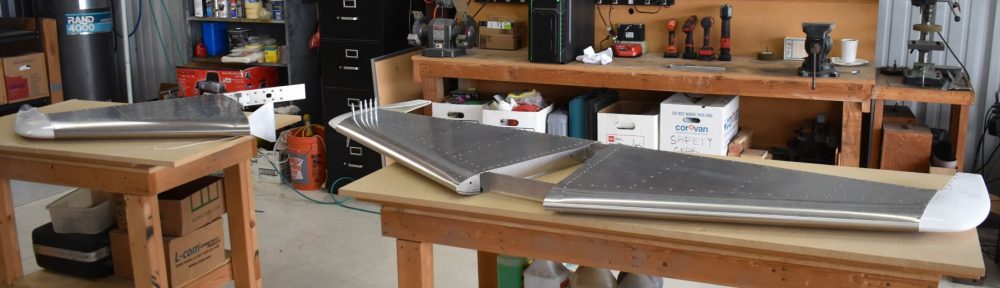
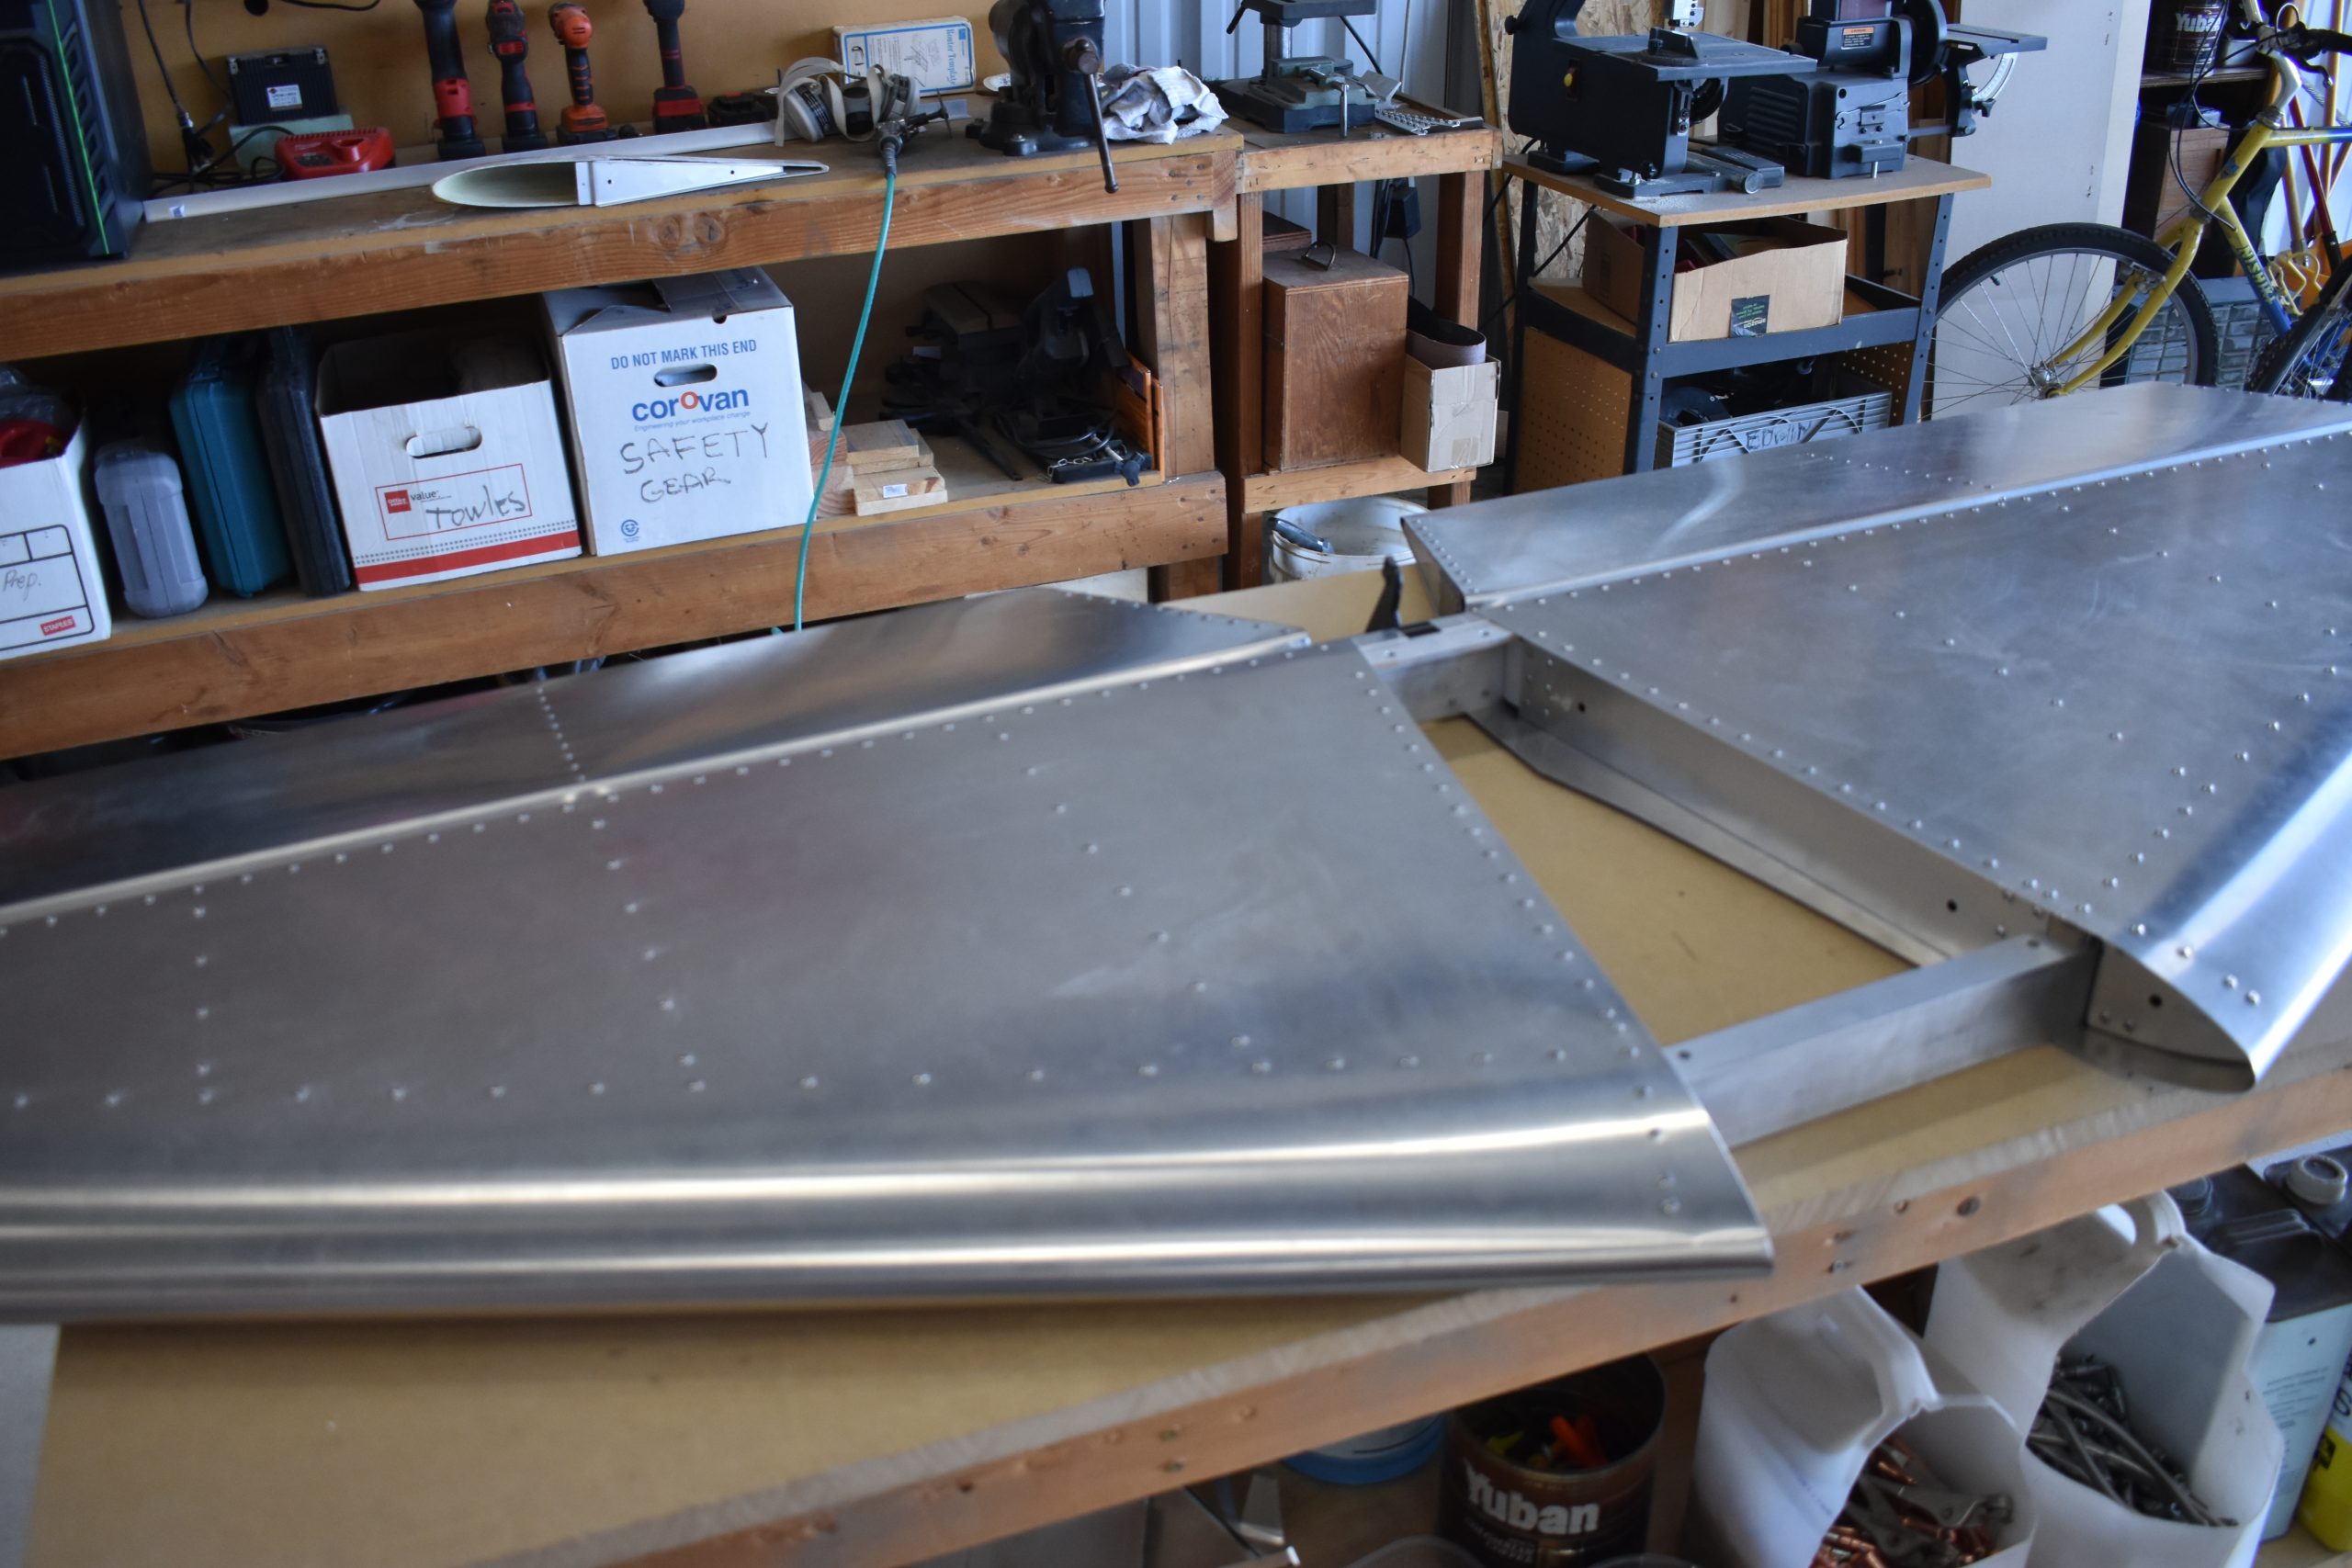
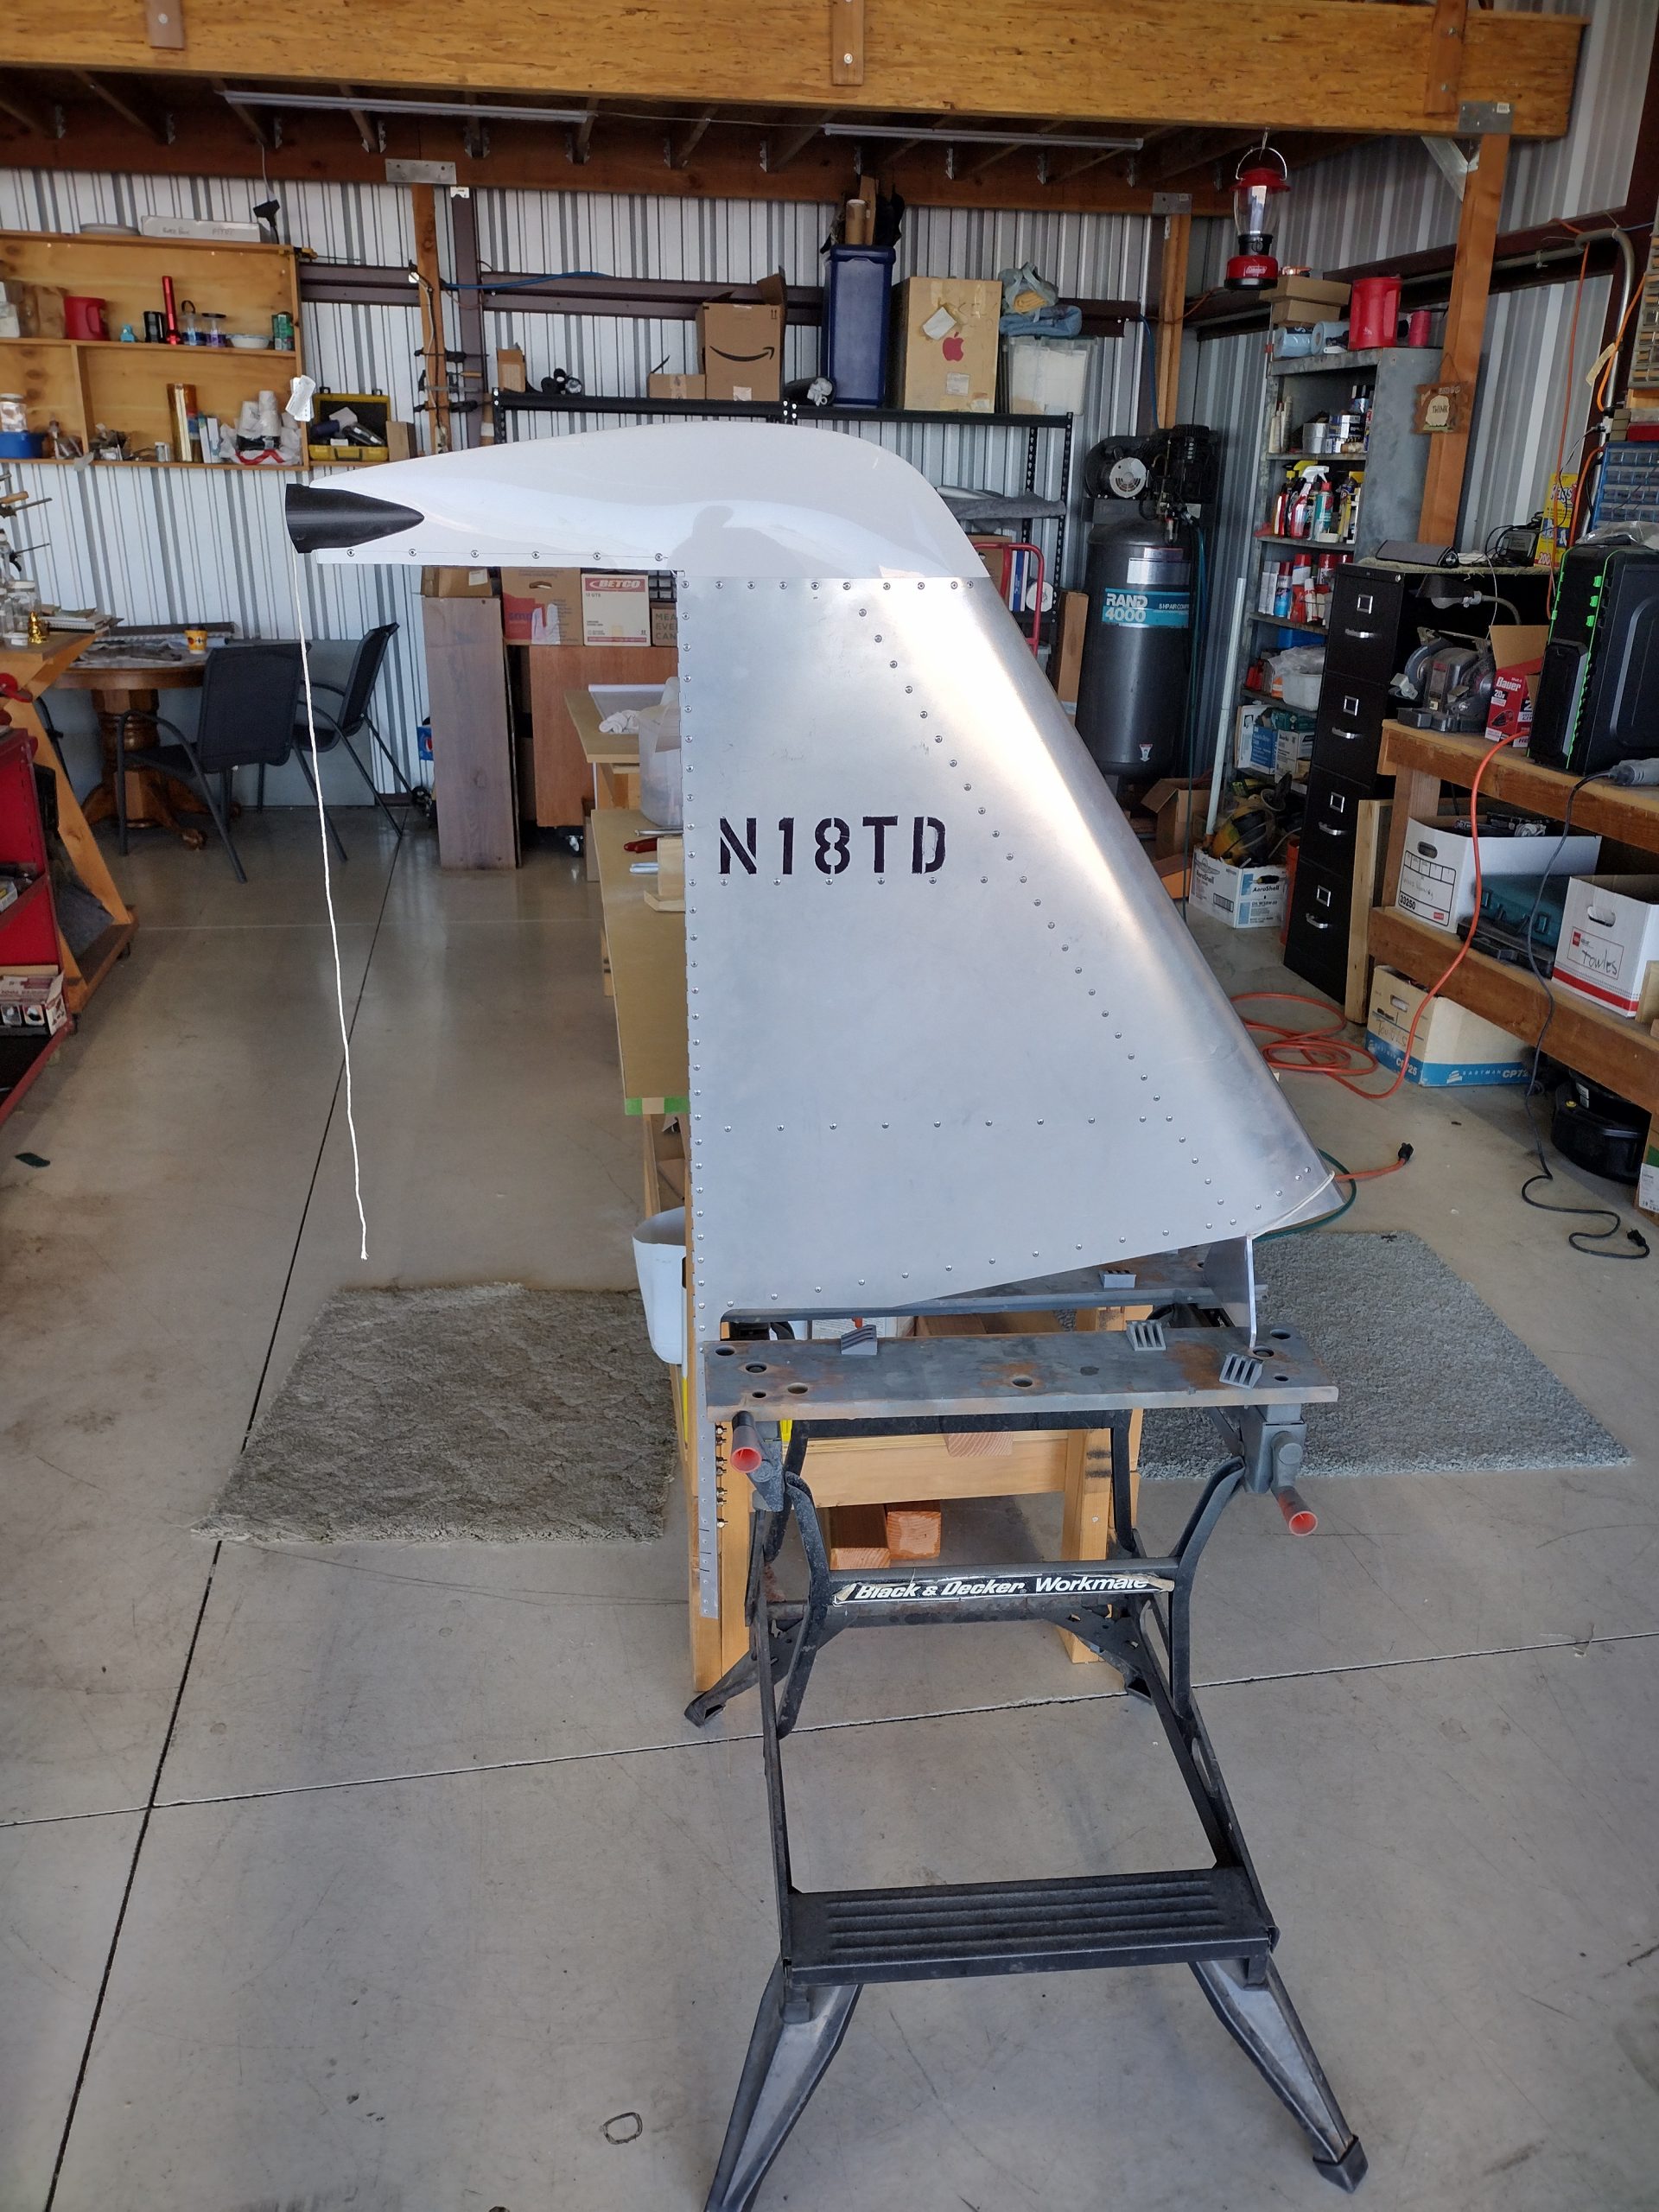
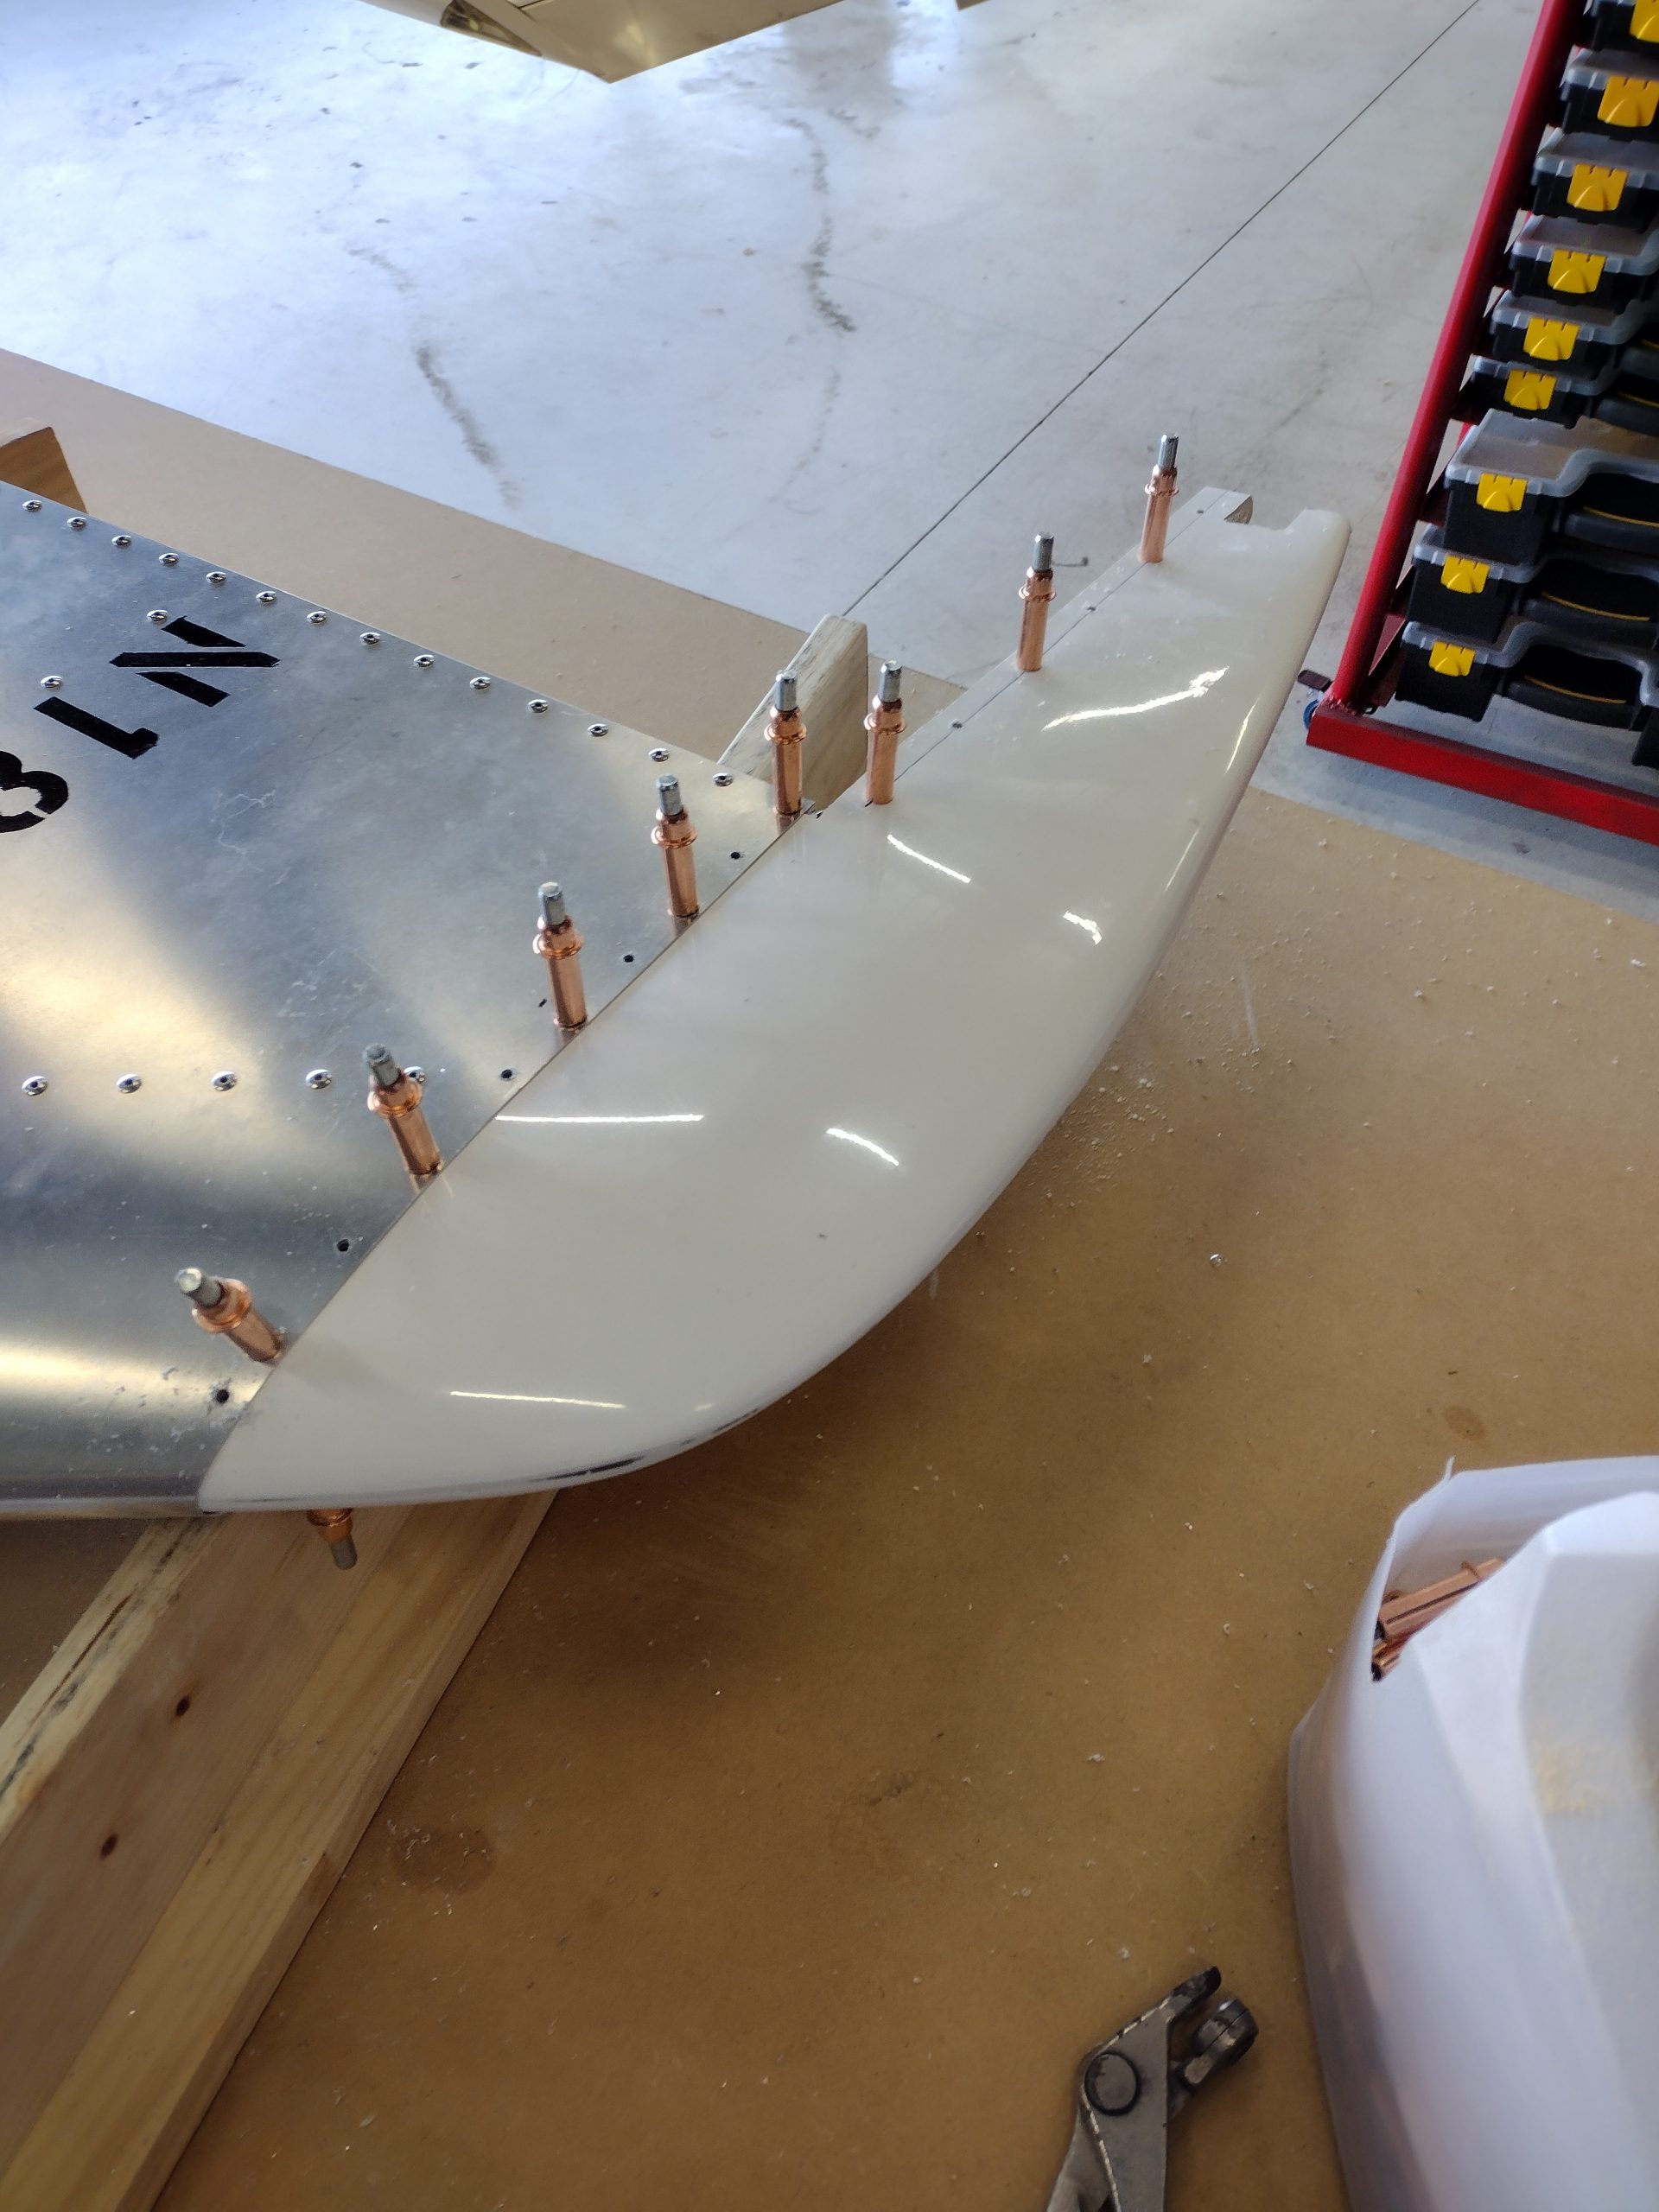
As of today, the vertical stabilizer, rudder and elevator are complete. Pulls rivets and MUCH easier, and the parts looks beautiful! The horizonal stabilizer still needs a little work.
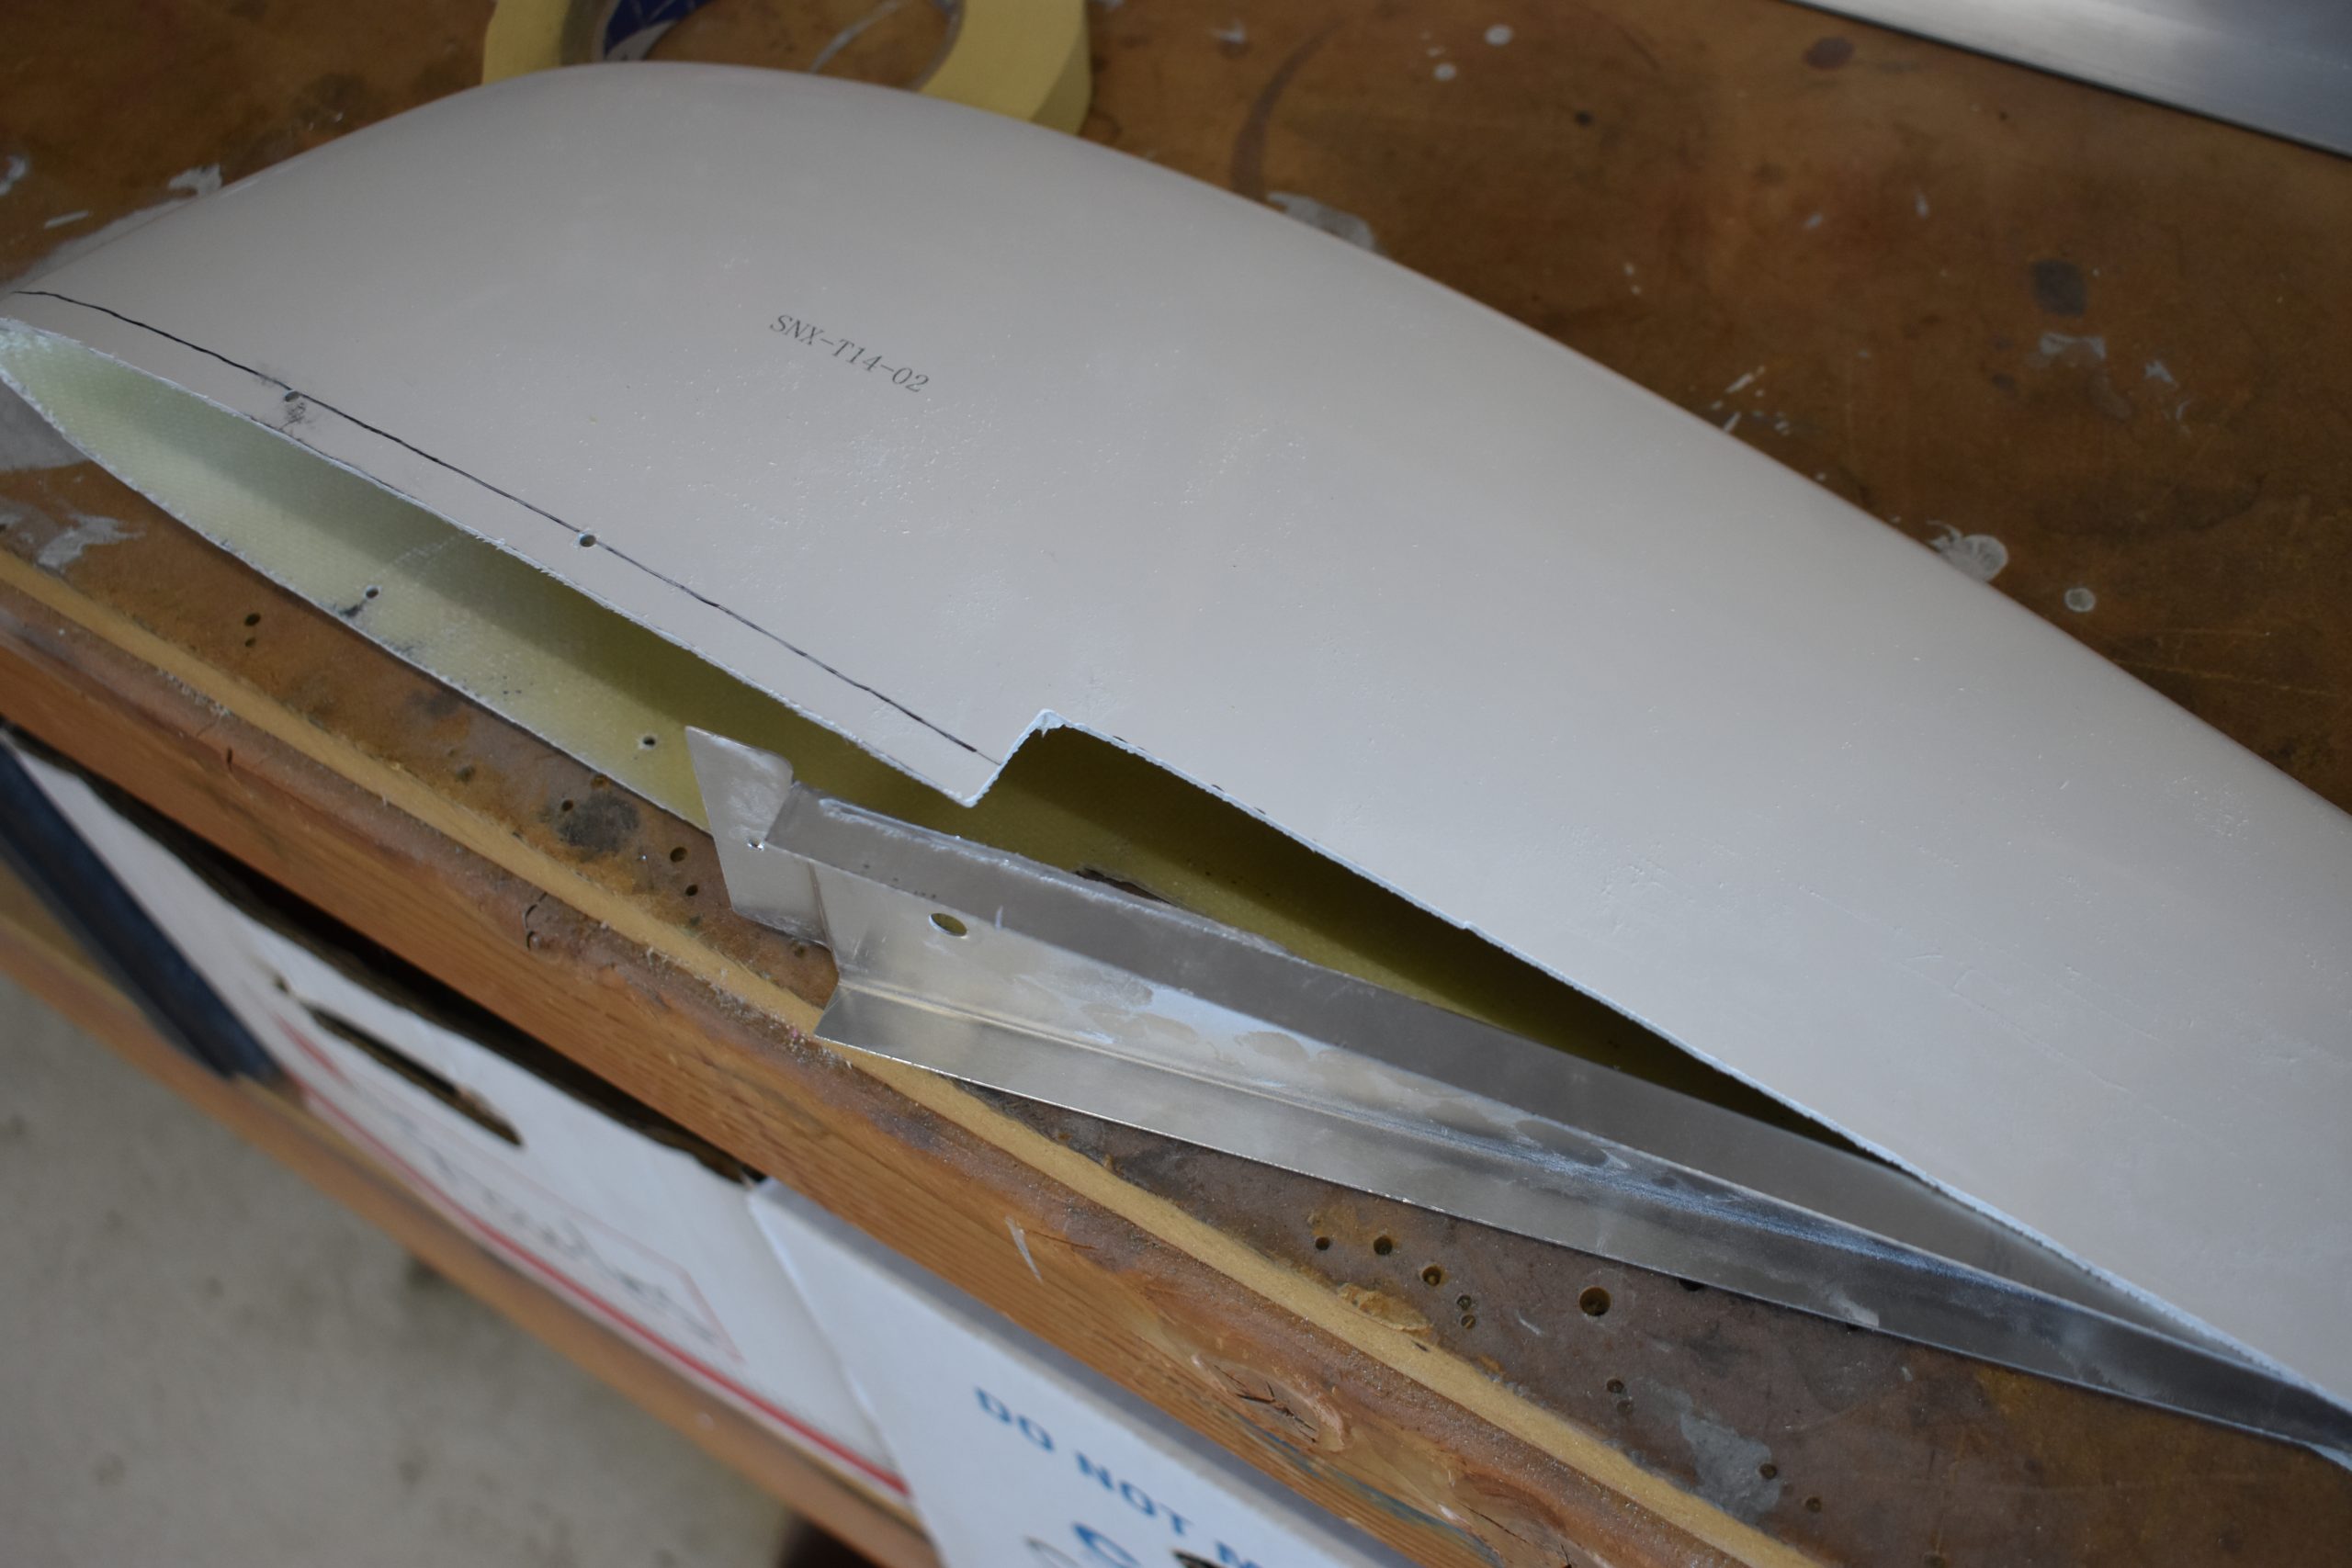
Sometimes things go wrong during a build. I trimmed off too much fiberglass AND cut through the end rib. *sigh*
No problem. Ordered new parts and will have the emp completed before the end of the year.
I also got a ship date from the company! Looks like the rest of the airframe will ship on or around January 20th. Tom and I are excited!
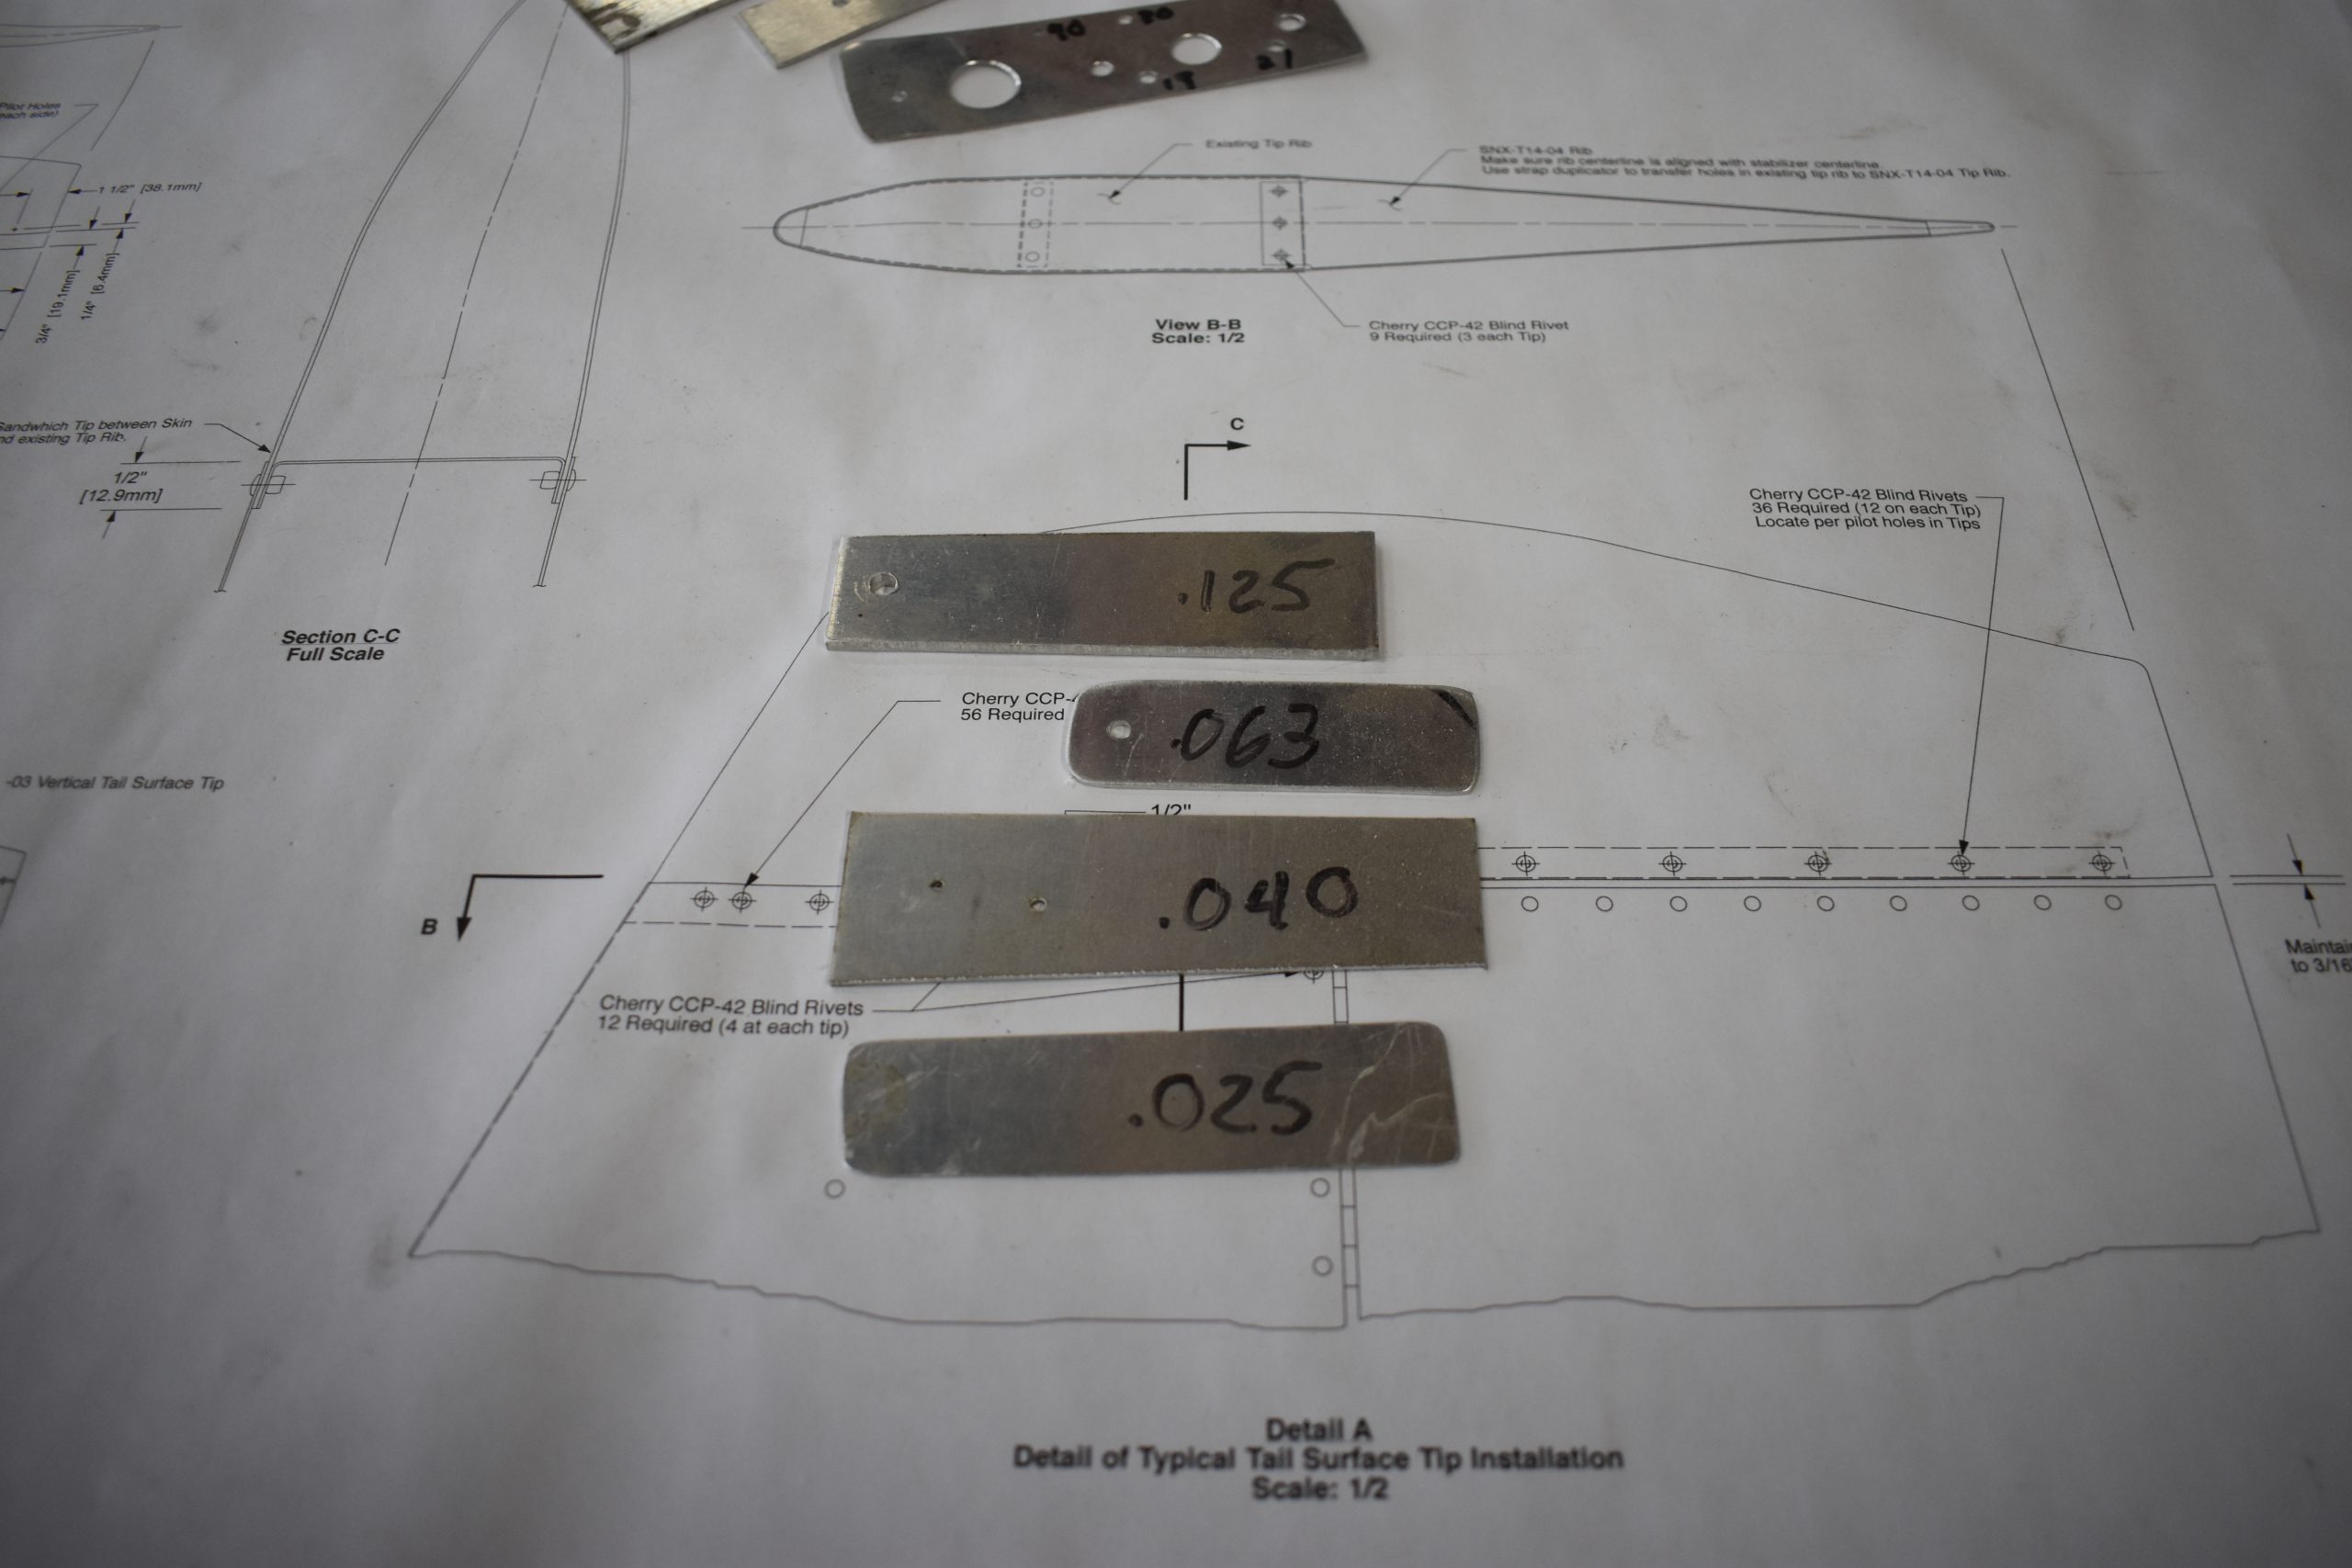
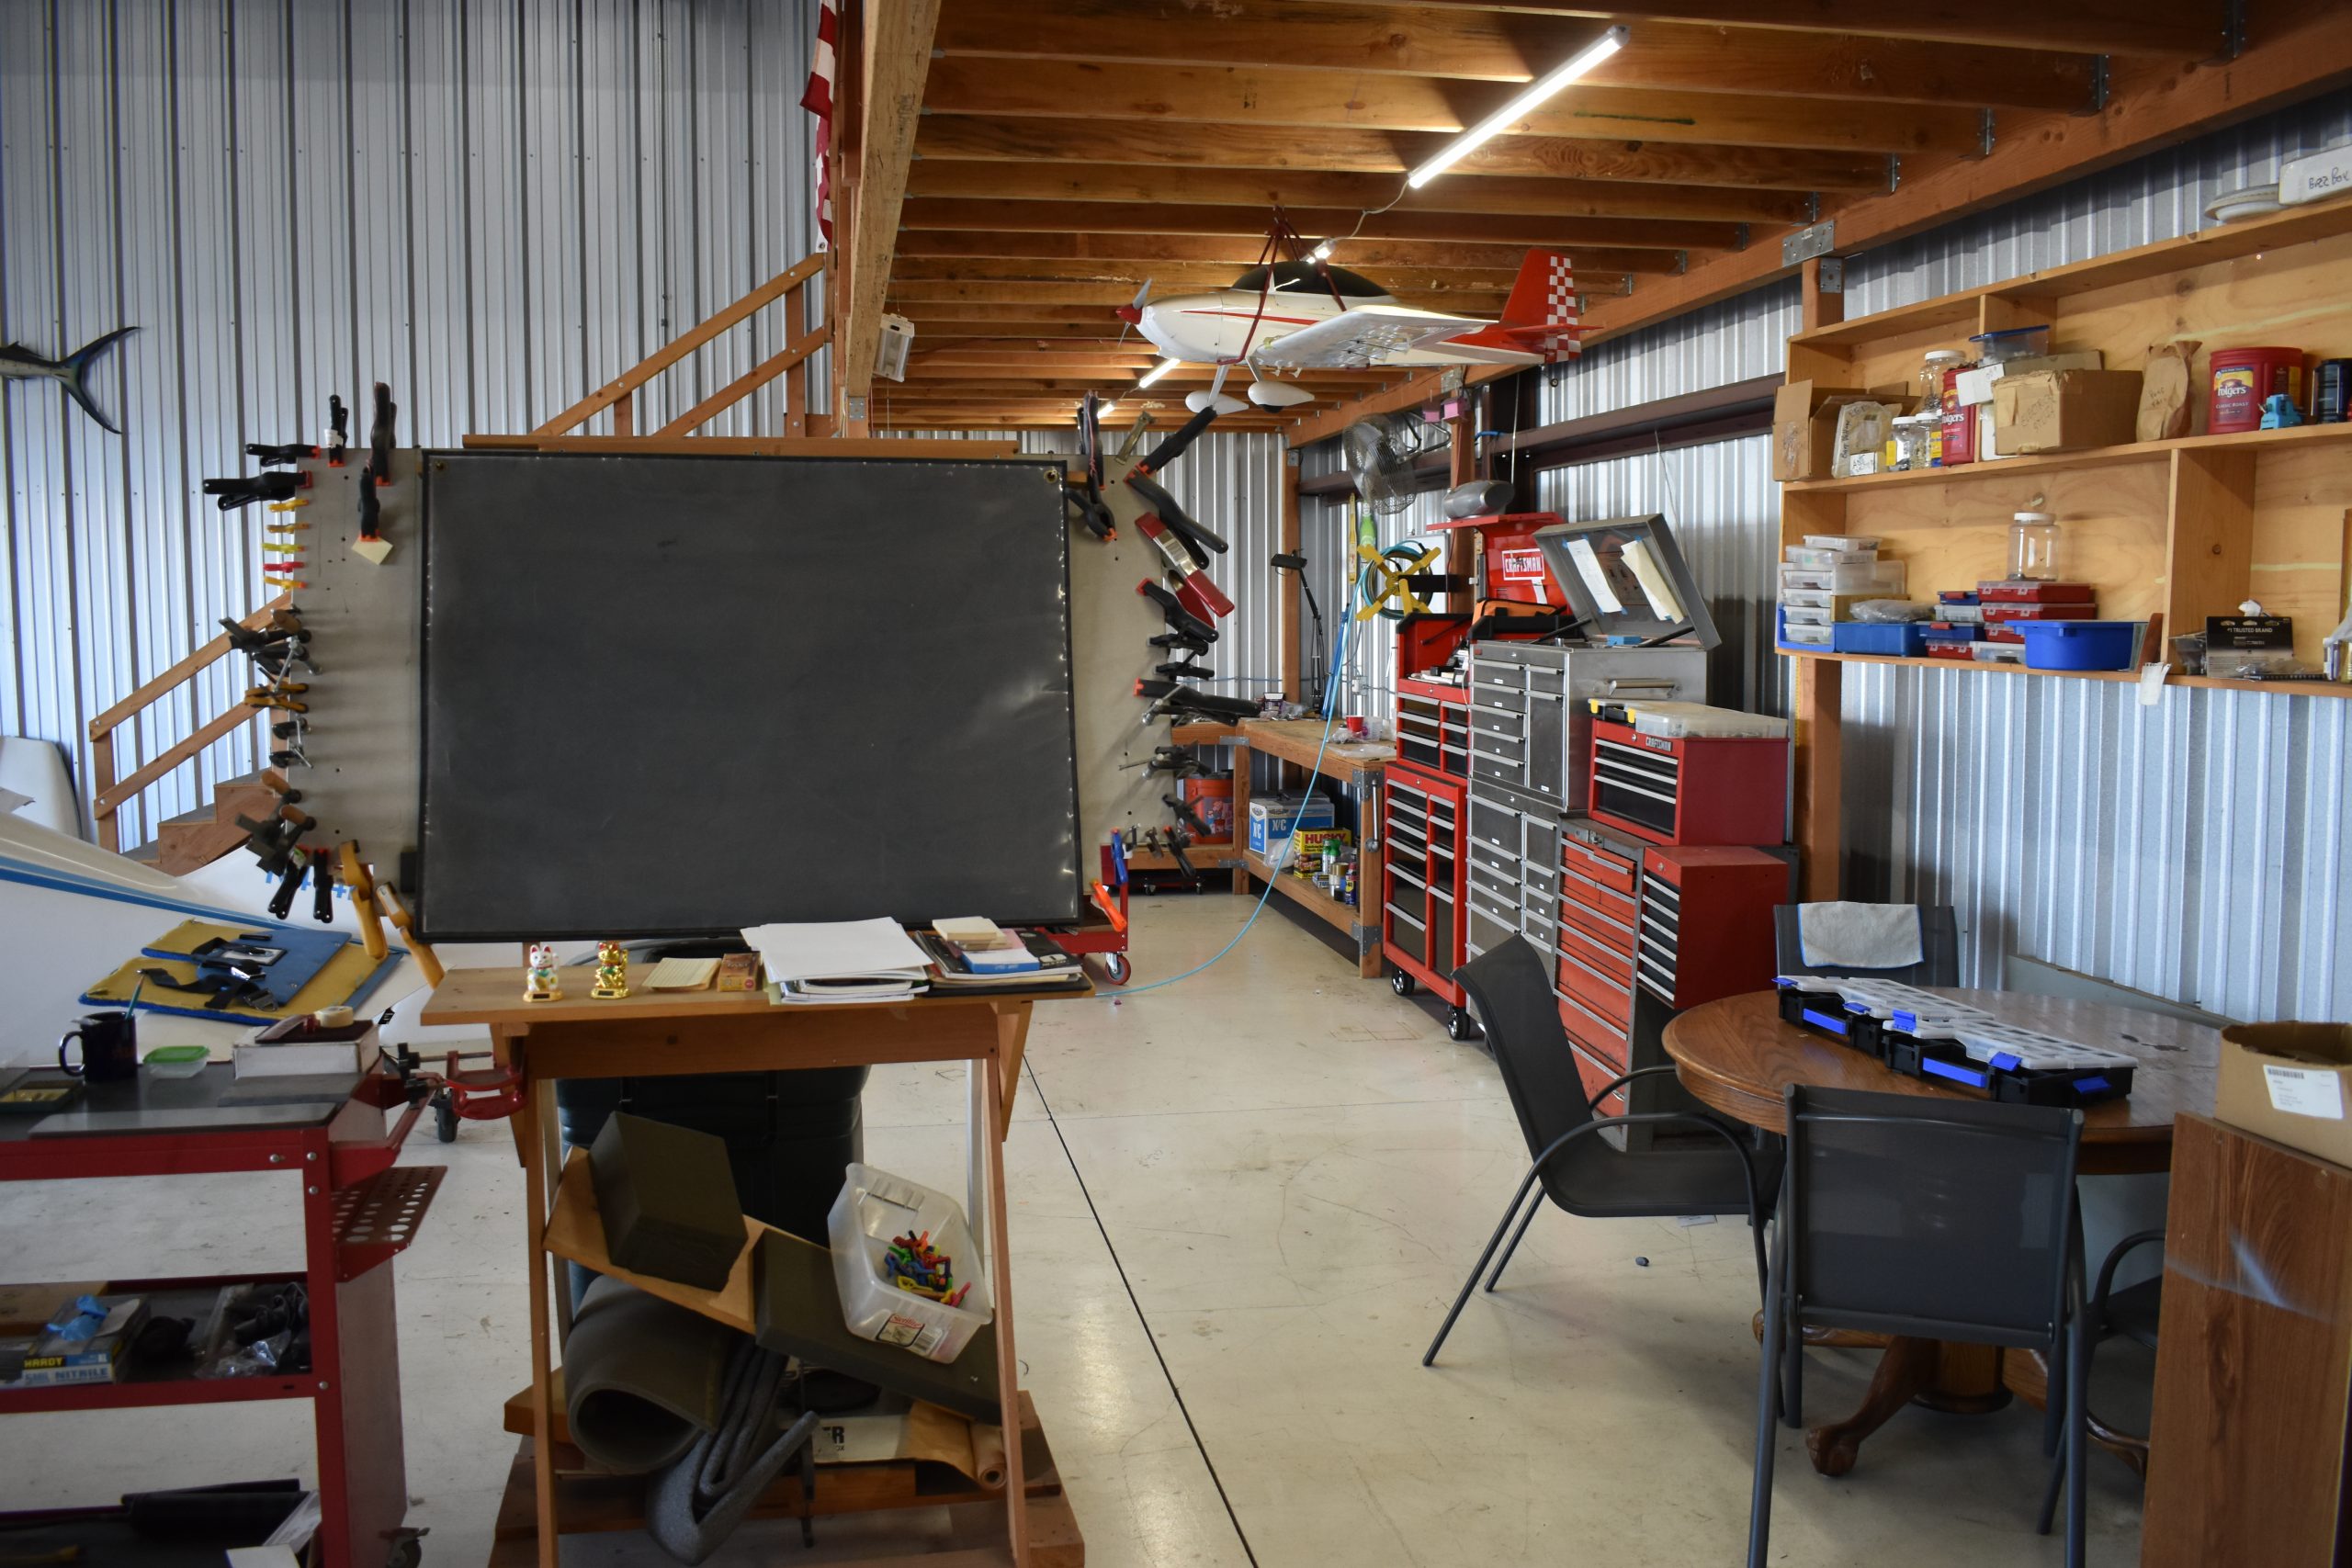
Having good access to plans as you are building is very important. So important to me, I built a custom plans table. It has wheels, and holds the plans for fast and easy access.
For my RV-9A build, the Van’s plans came in individual sheets, and could be loaded into clear protective sleeves and easy to cycle as needed.
The Sonex plans seem to come in a pad where the sheets are held together so you can flip through them. For the Sonex, I customized the plans table to allow me to clamp the plans tablet edge to the table and flip through them easily. The table is still on wheels and I added a shelf, maybe to hold rivets.
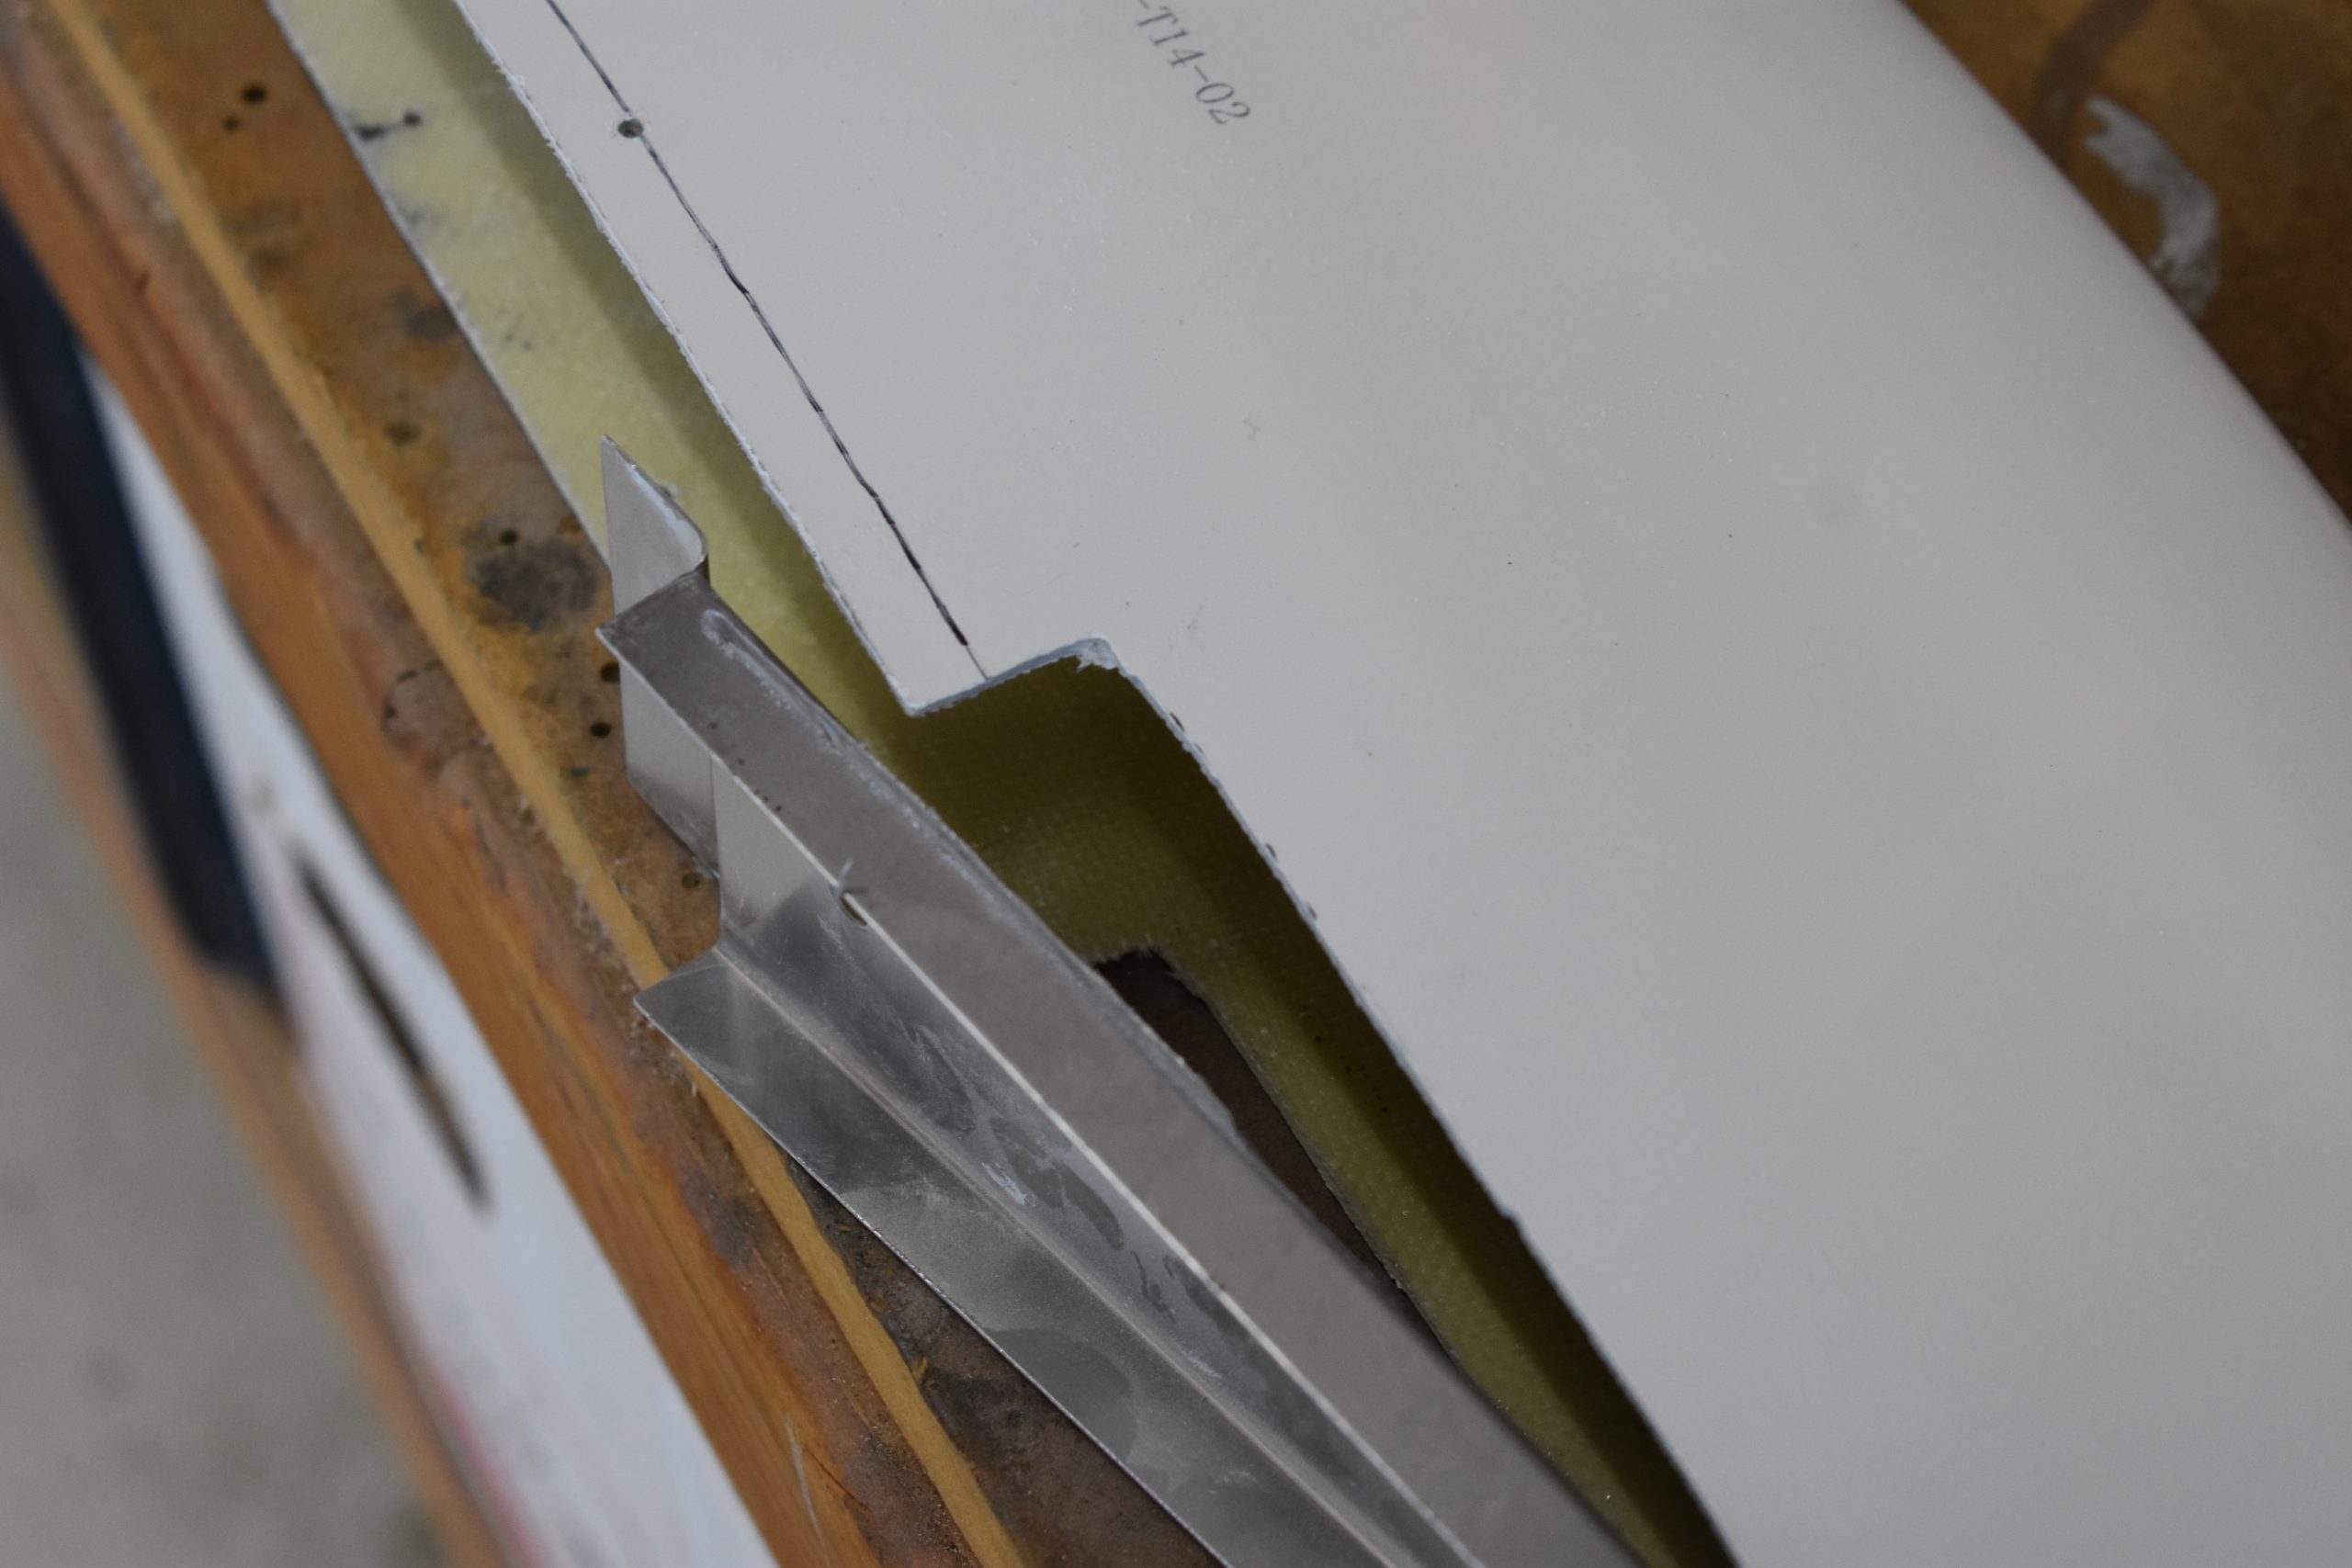
Even when building an all metal airplane, it is a good idea to have wood working tools and some scrap lumber around.
We finished installing the vertical stabilizer tip today. JP1 at Sonexbuilders.NET made a tail light form for me, and it just needs sanding, priming and gluing. We installed a cable race so we will either put on a tail light / strobe or a uAvionix tailbeacon.
I made a goof with the elevator and needed to order new parts that will be required before I can align the elevator and horizonal stabilizer. After that, just the fibreglass tips I guess. Vertical stabilizer and rudder are completed and there are no more parts in the boxes!
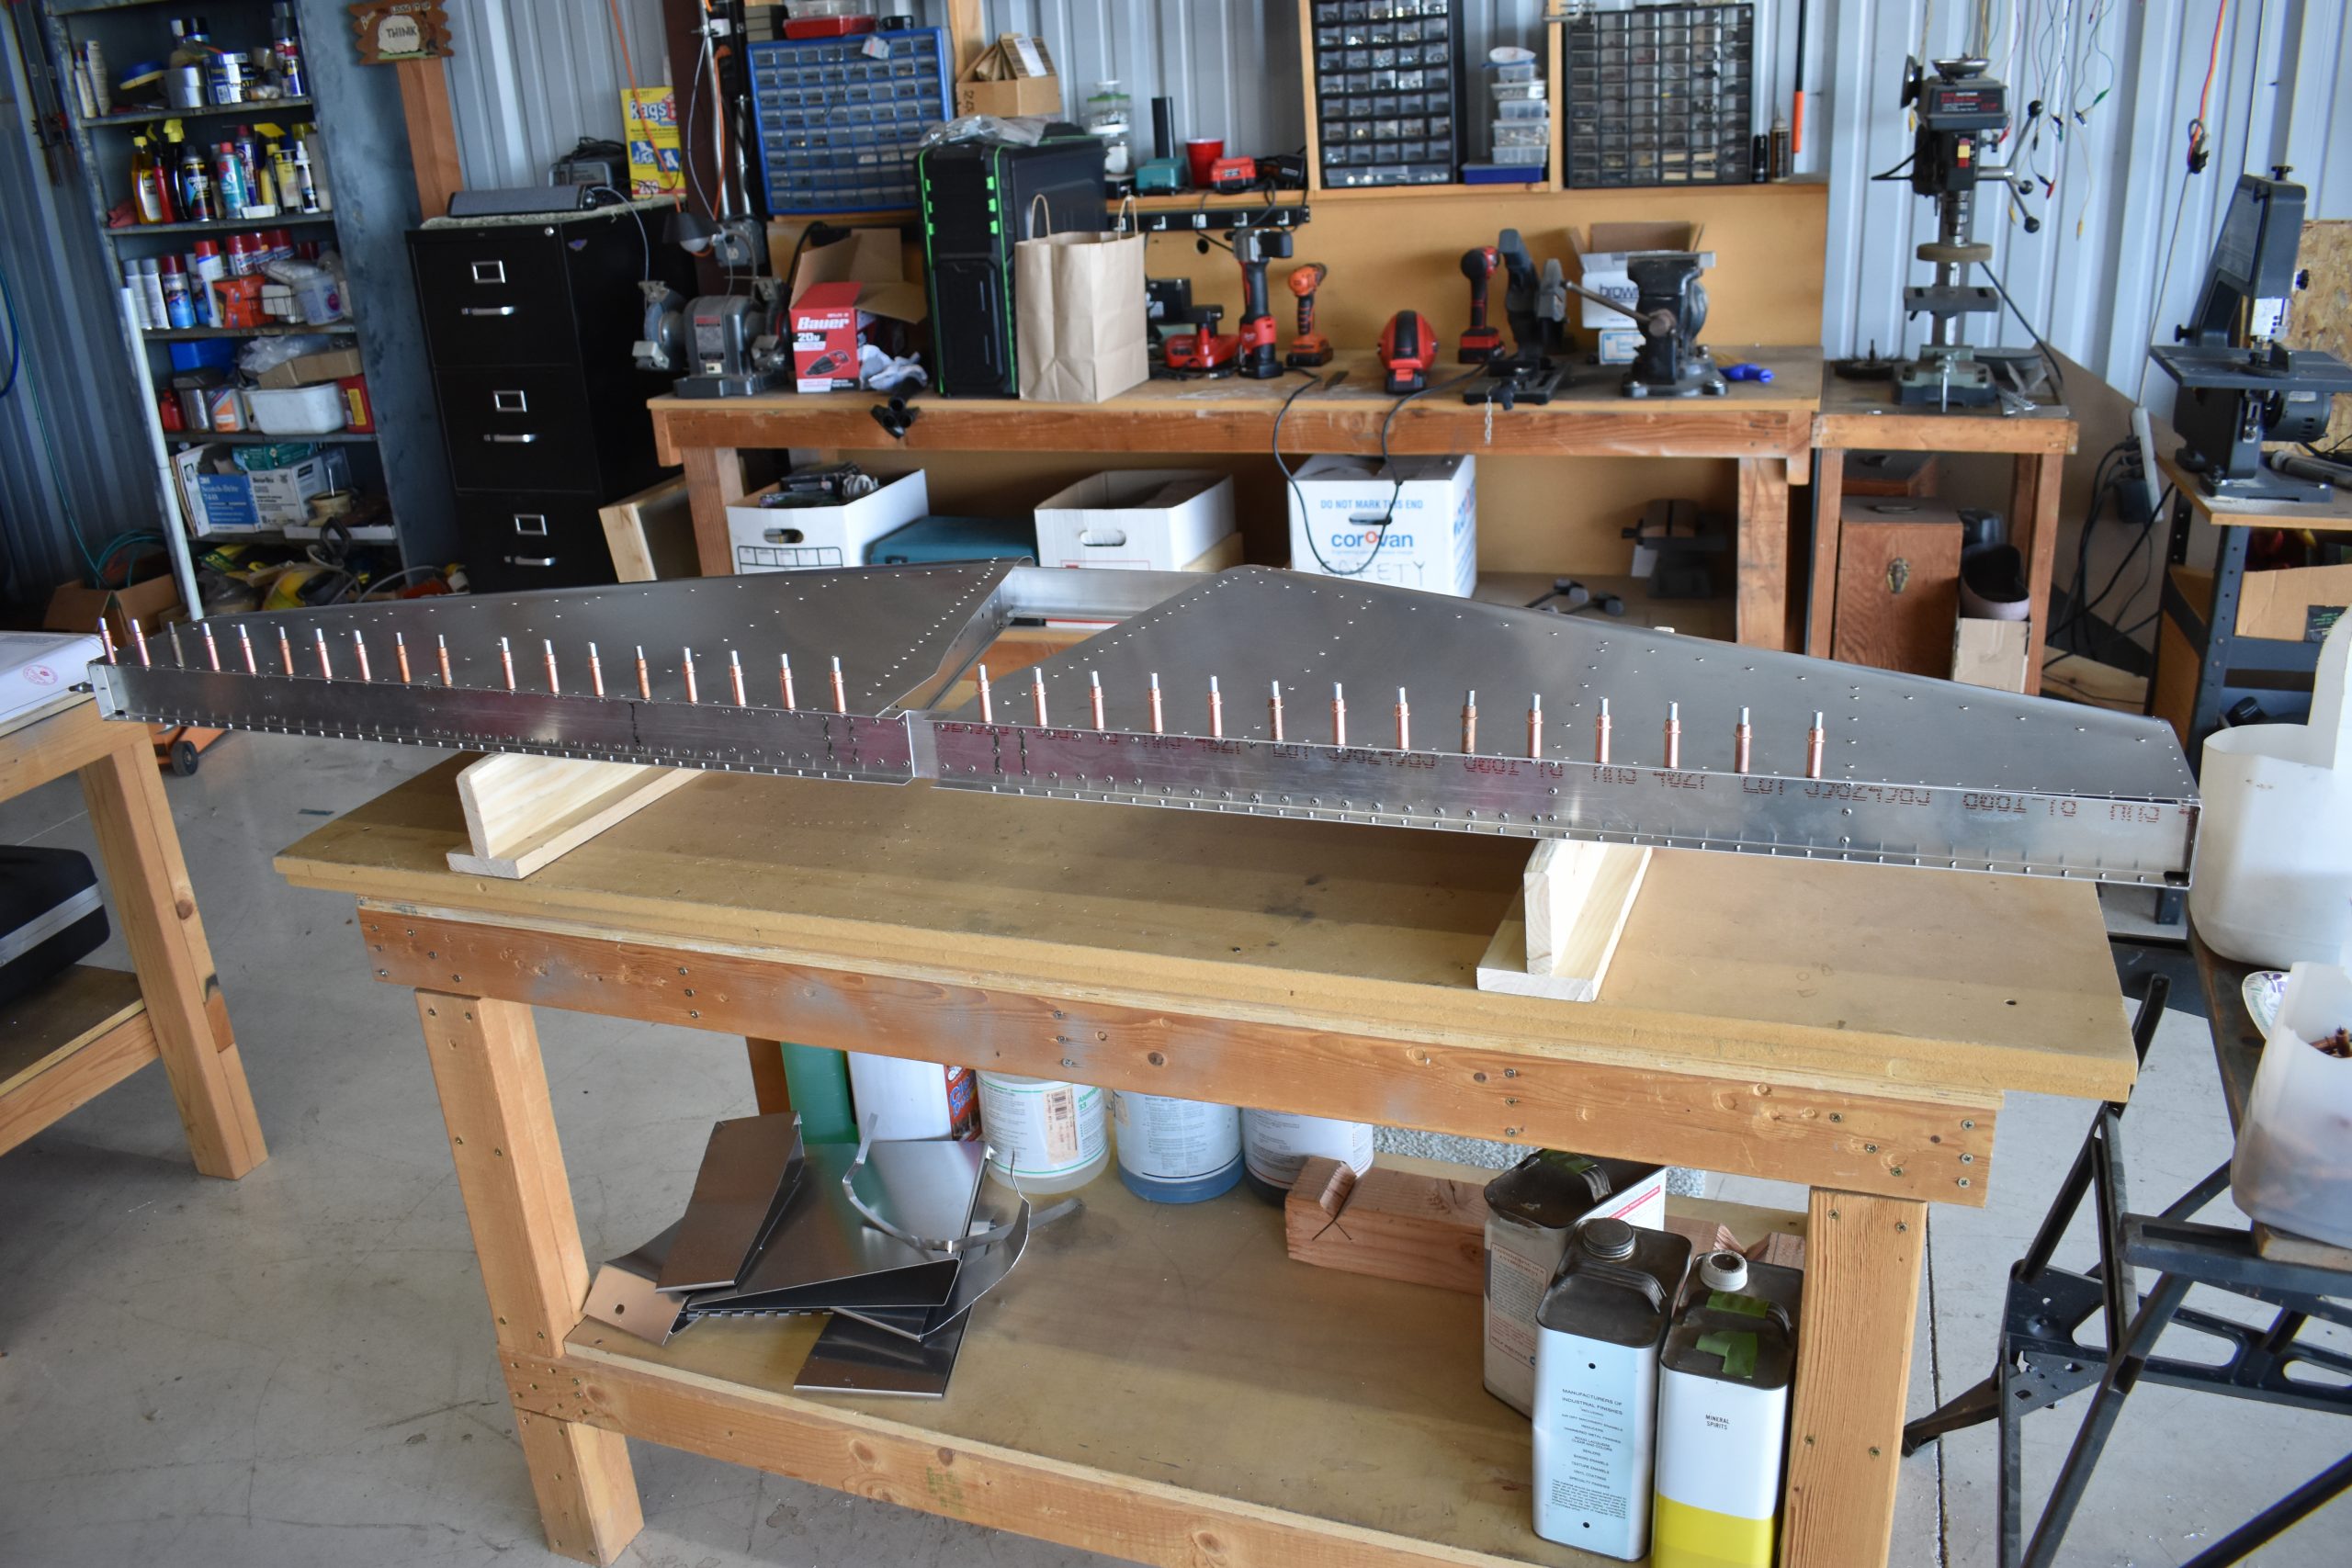
Note the supports made from 1X4 pine board. These are tall enough to clear clecos during the build.
The biggest difference between building an RV-9 and a Sonex are the blind rivets. Almost non-existent with the RV-9A, the blind rivet is the most common rivet type with the Sonex.
The blind rivet is also called the pull rivet or a pop-rivet (which is a registered trademark)
The original design was for riveting where the rivet was unavailable for bucking or squeezing. For the Sonex, it reduces build time significantly. We just completed skinning the horizonal stabilizer in just an hour. For my last project, this would have taken a day or two.
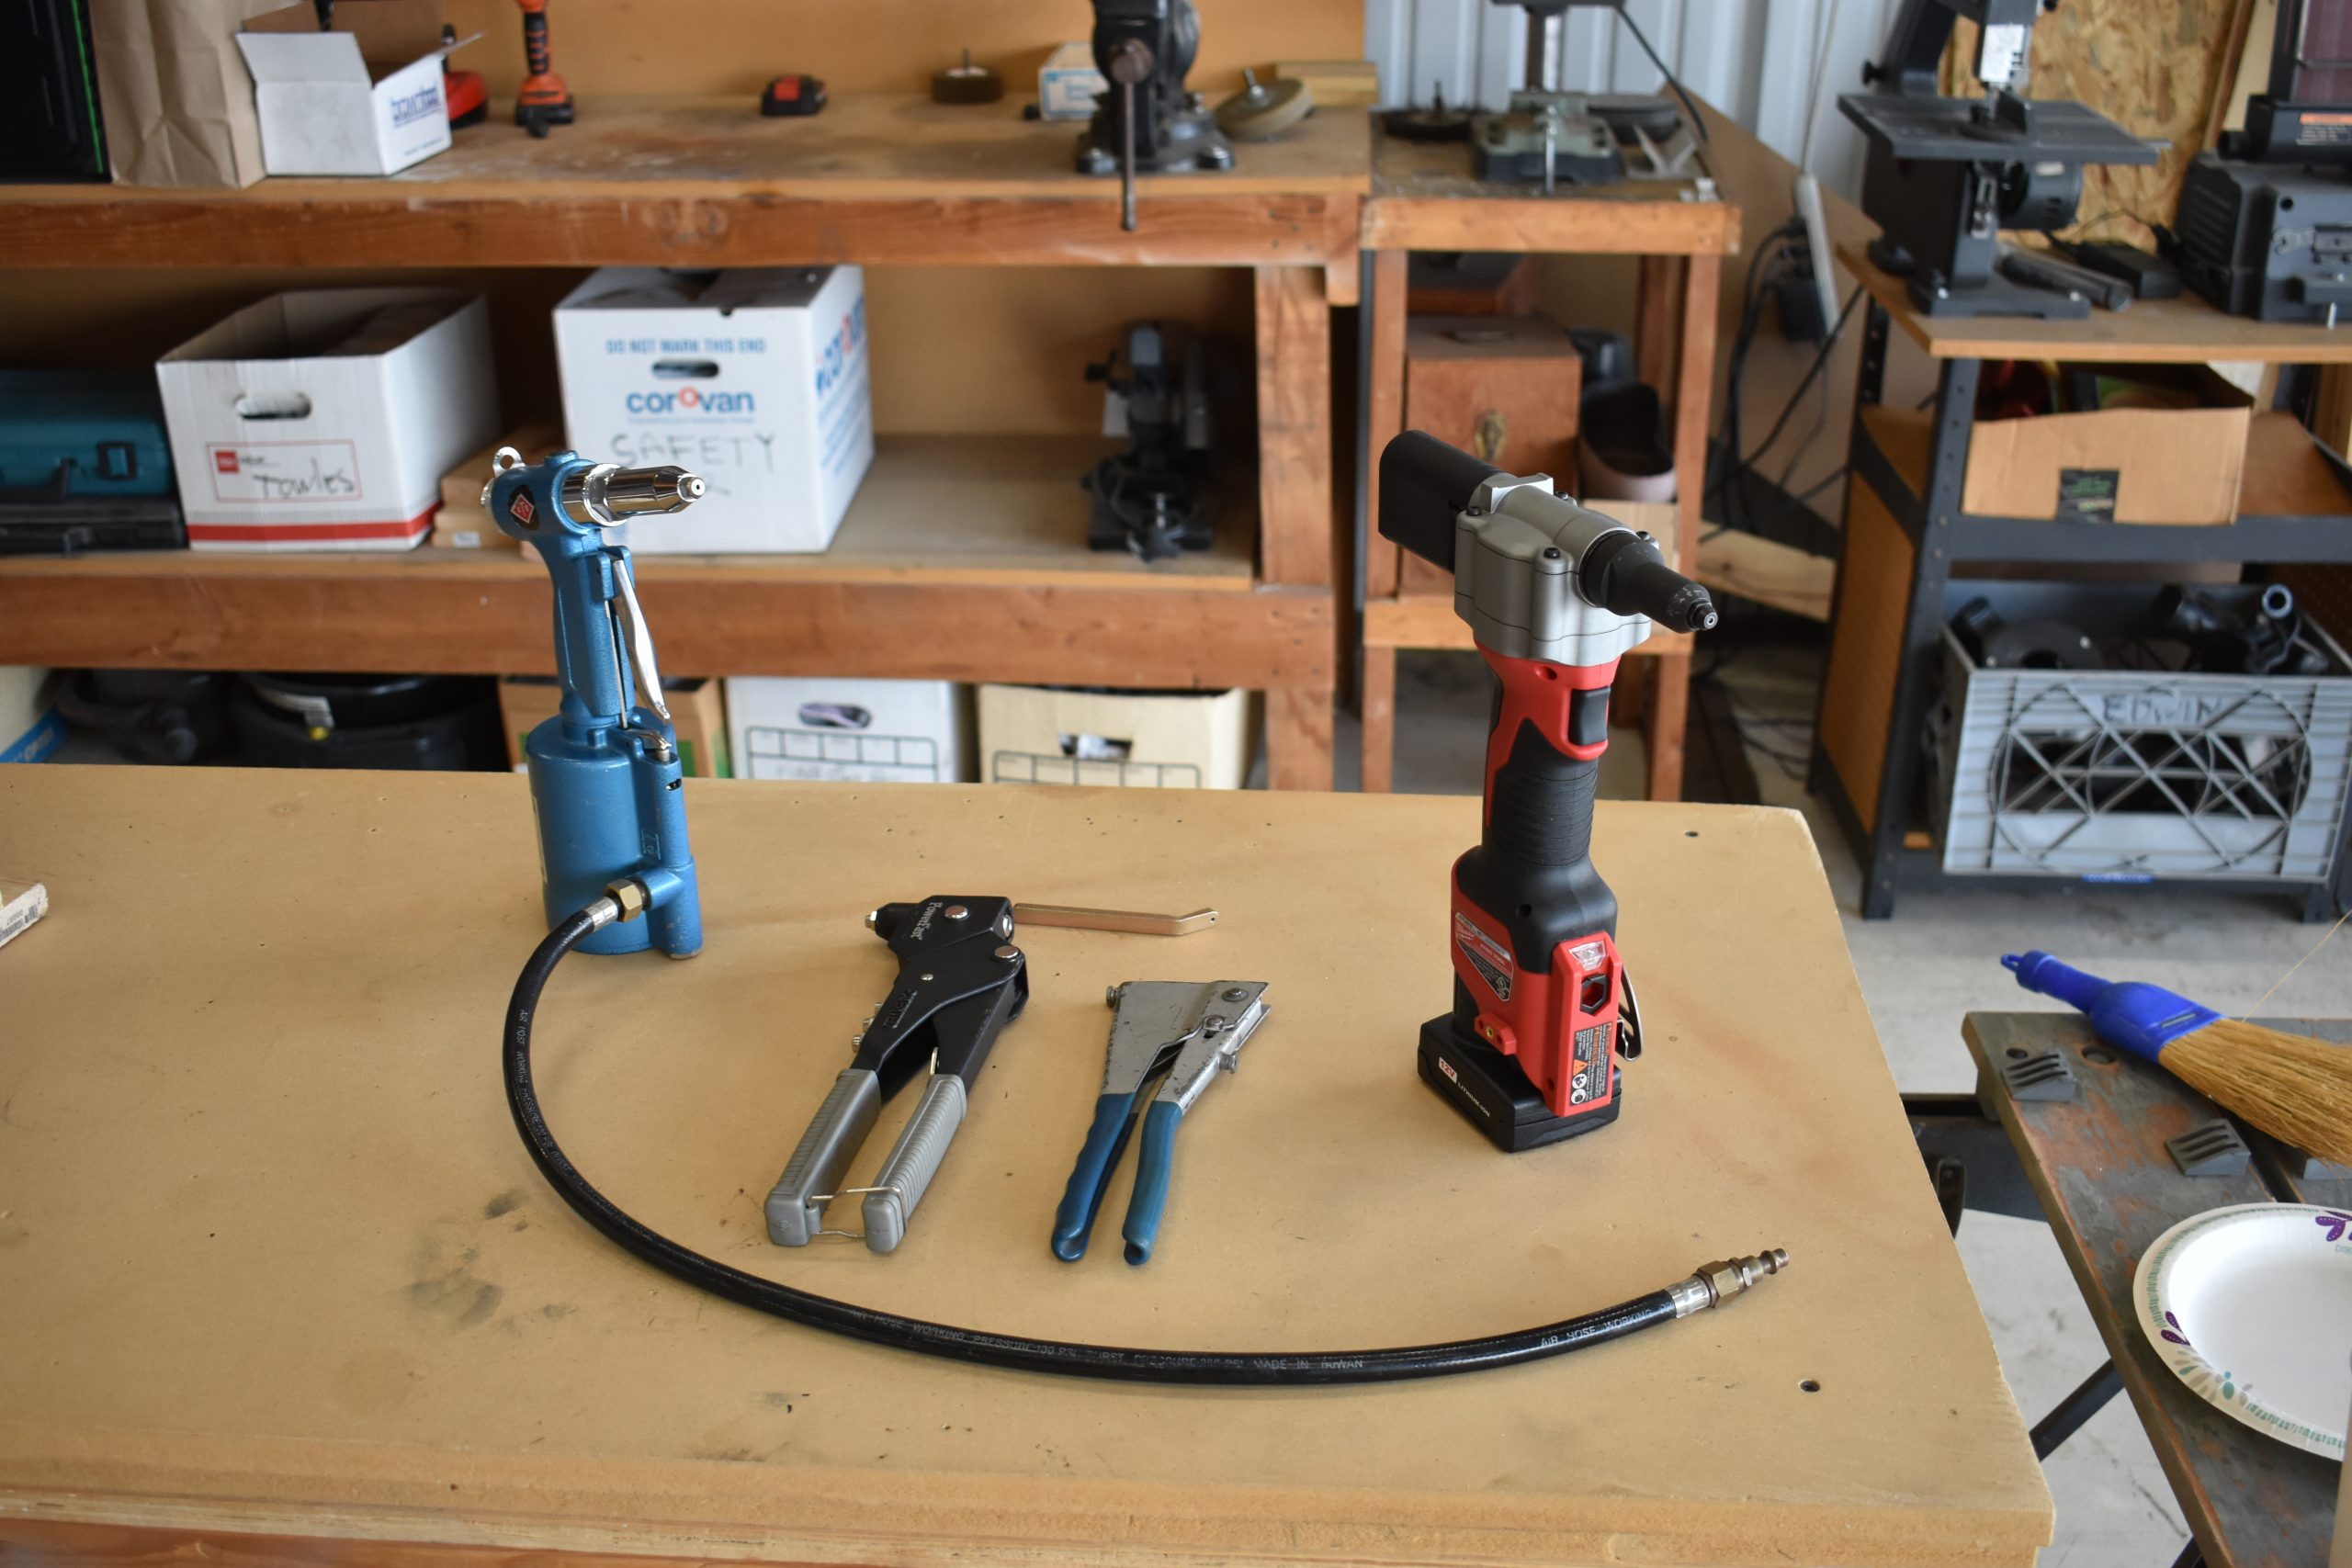
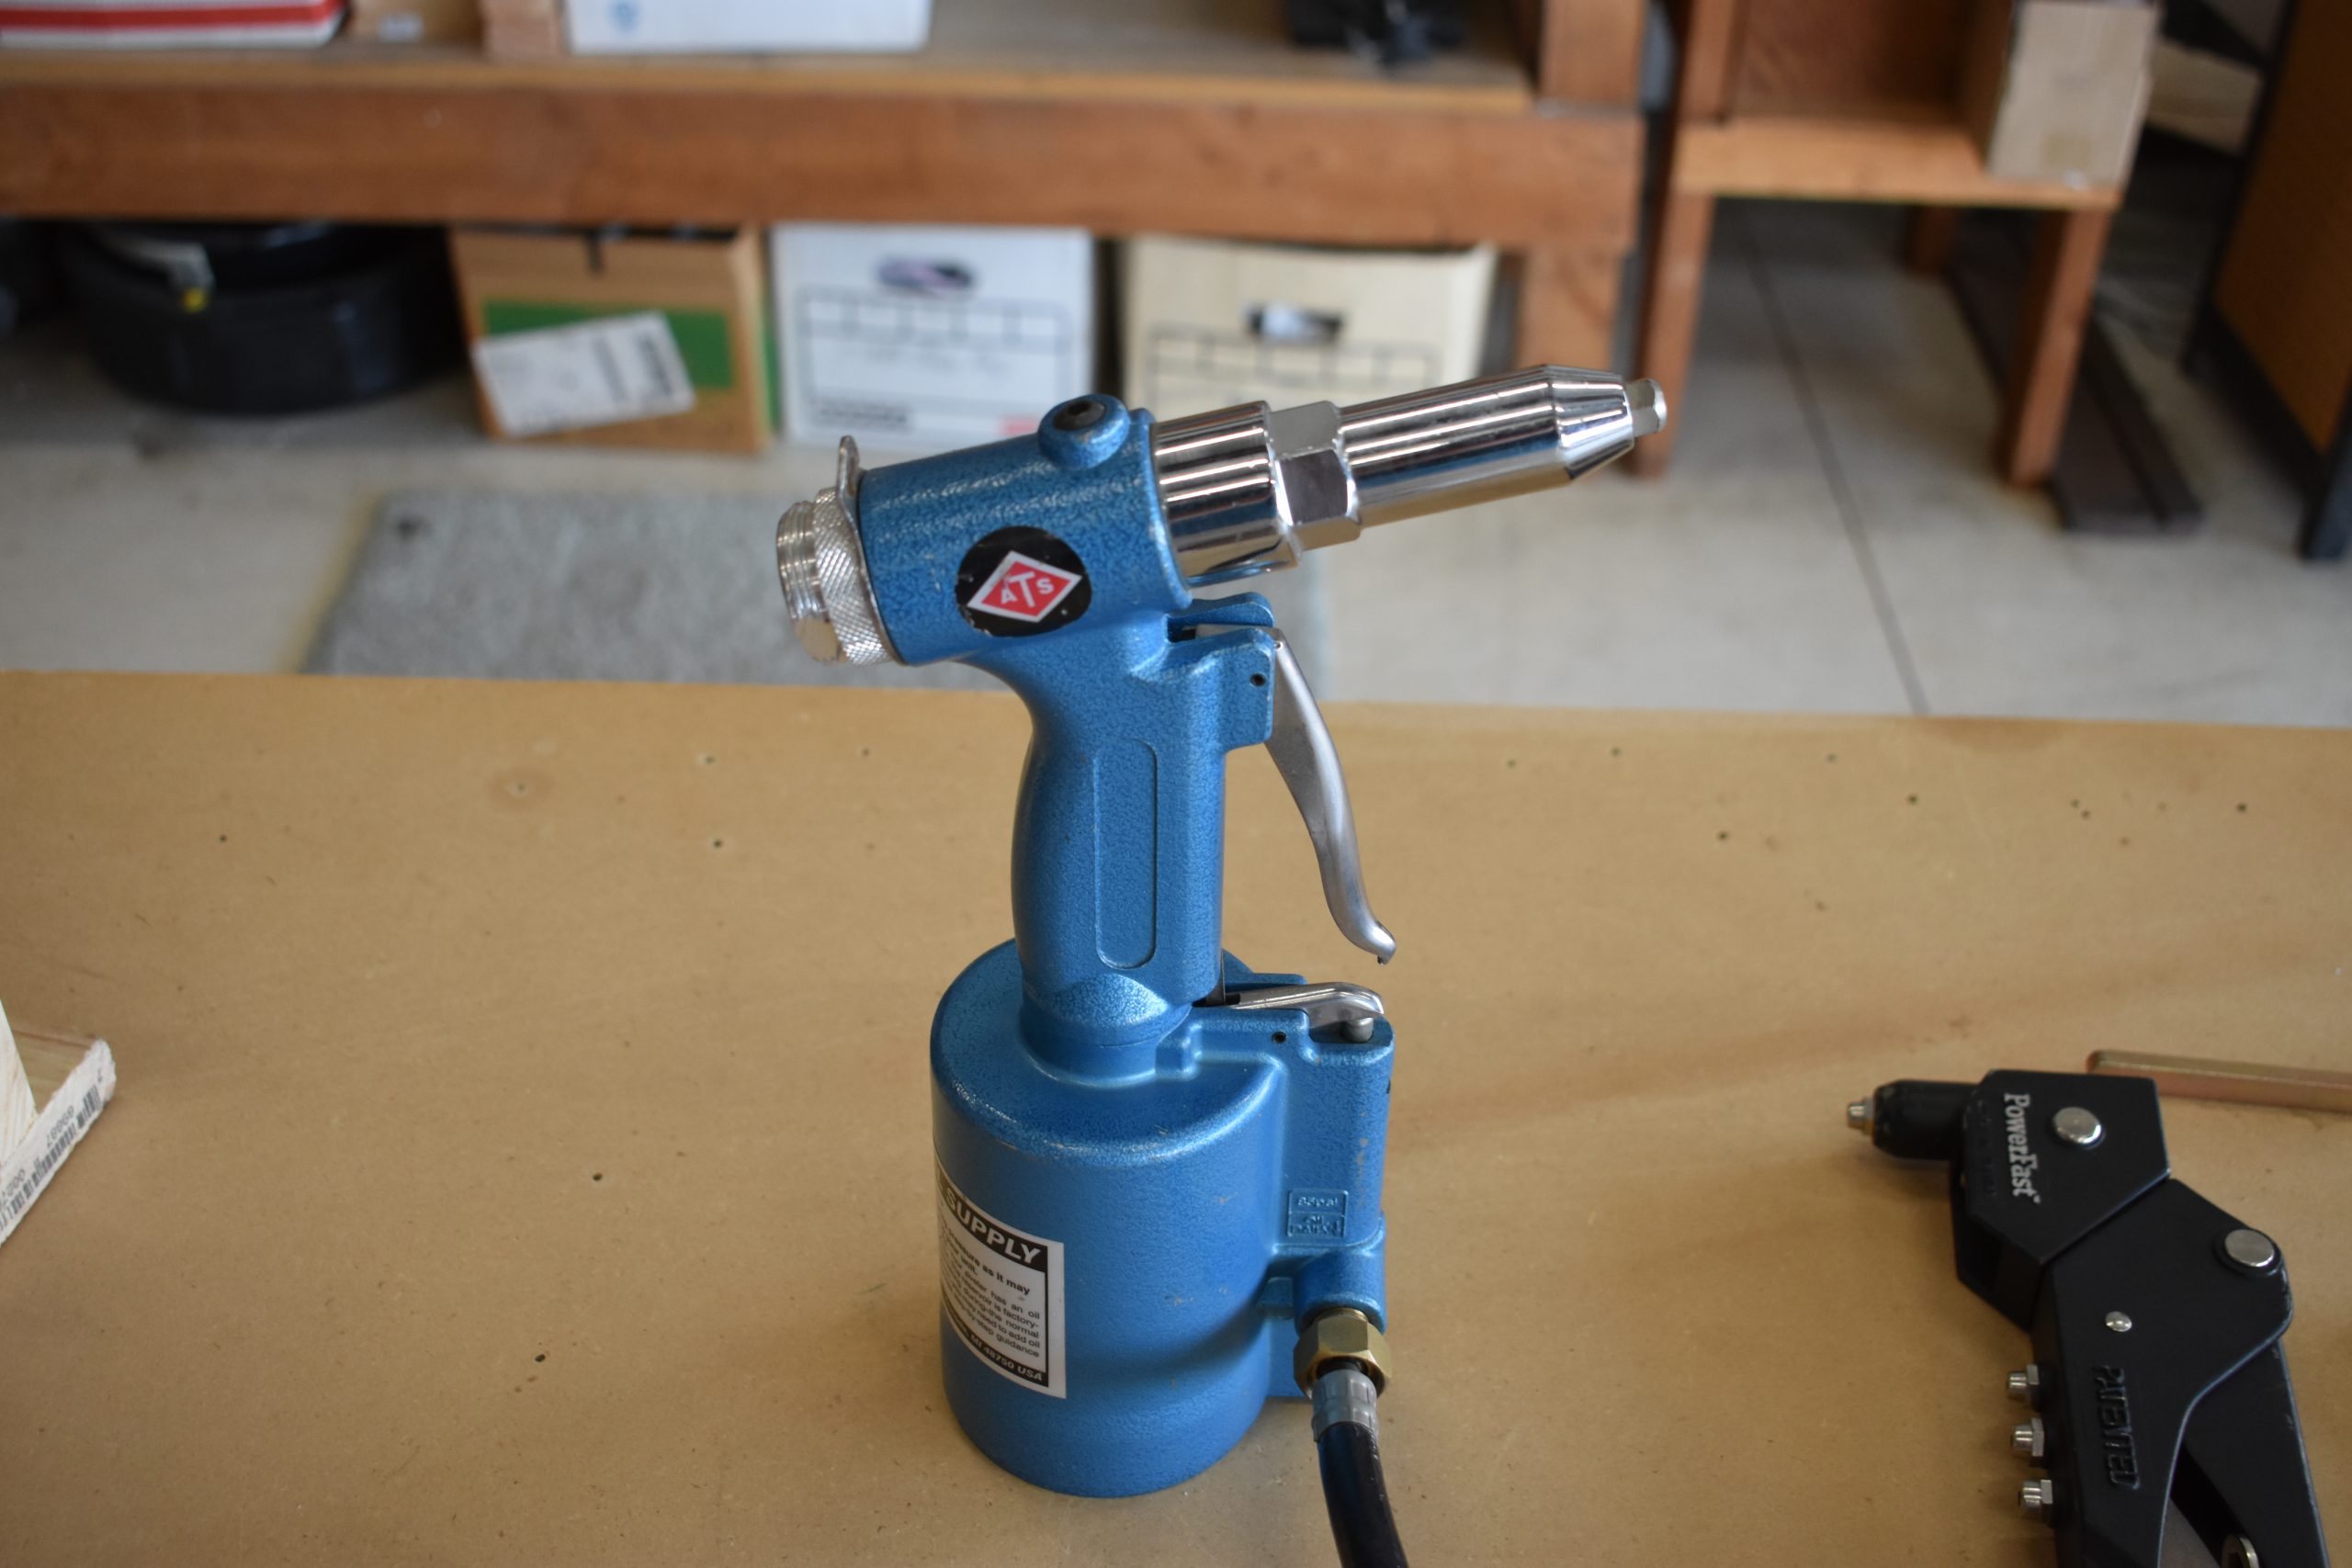
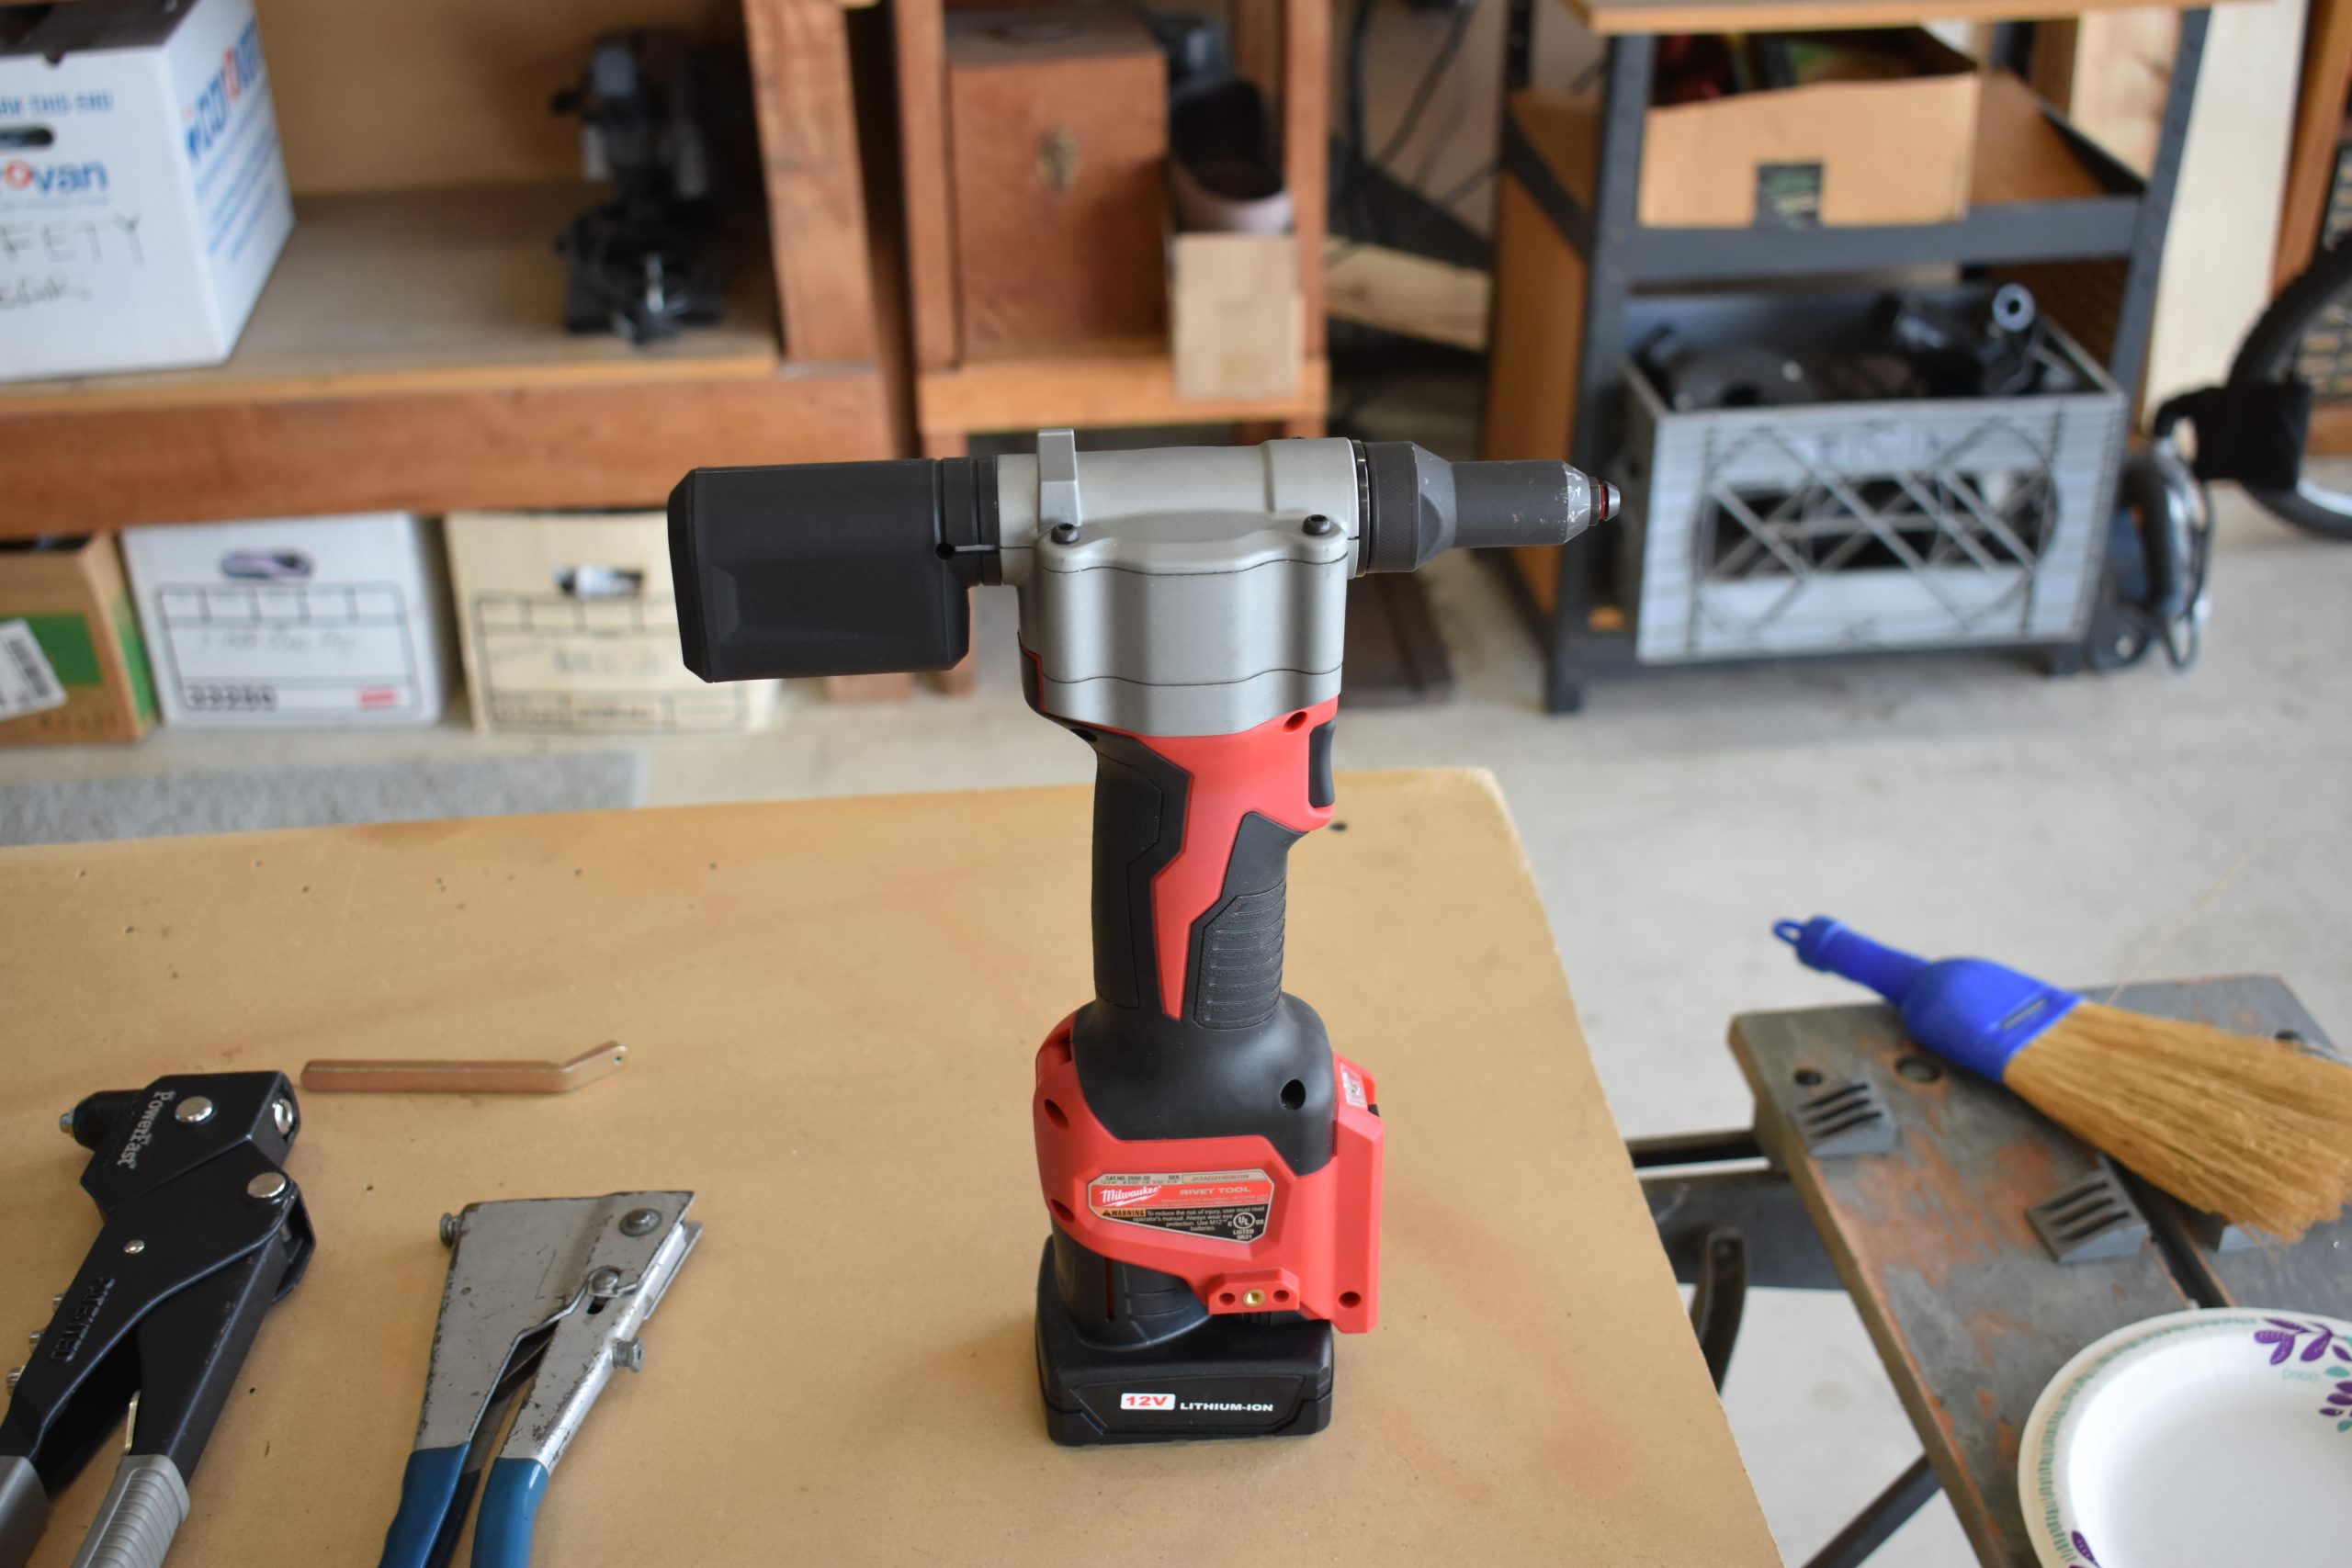
That said, there are some new tools you will need to build the Sonex. You can use a hand squeezer, but unless you want forearms like Popeye, and add a year or two to the project, you will want a power tool. Now there are two flavors: pneumatic or electric. The pneumatic type is available from your favorite aircraft supply or from Harbor Freight Tools.
For the electric, I bought a Milwaukee with the small battery (for lighter weight) and I bought two batteries. They do sell blind rivet tool adapters for cordless drills. These looks a little iffy to me but I have no experience with them.
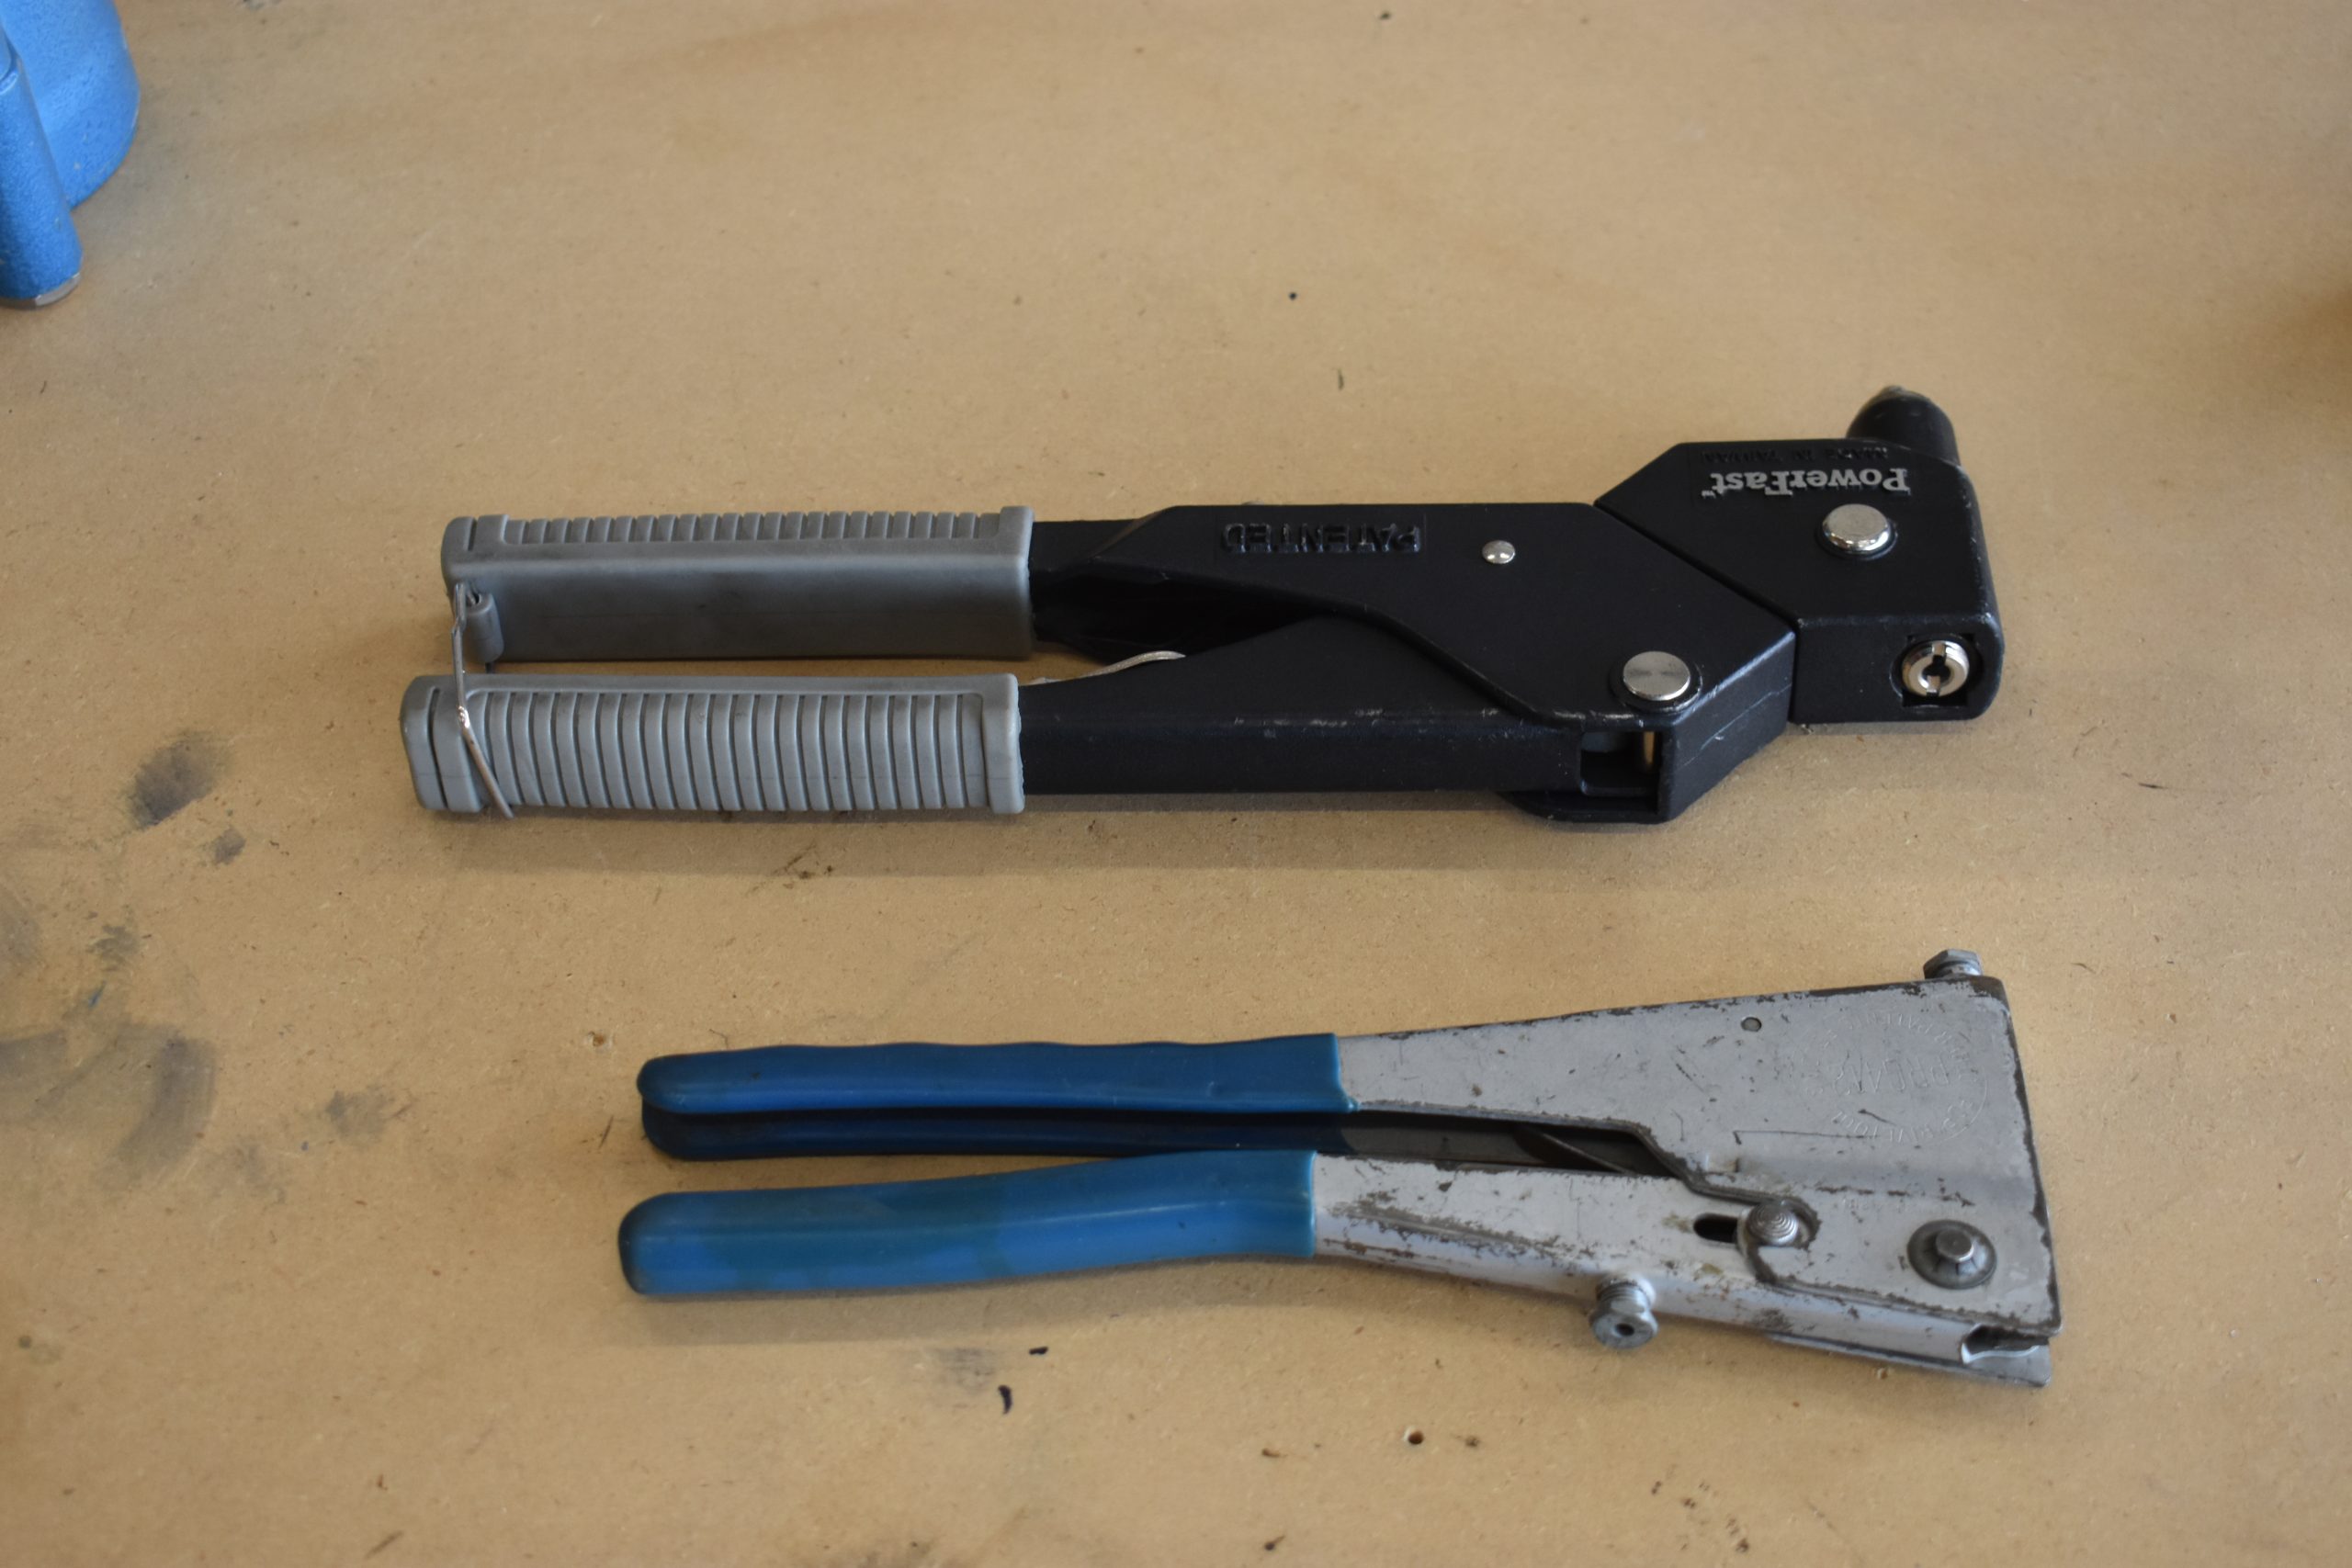
You will still need a hand rivet puller for tight spaces, and I scored a VERY thin model at a garage sale for $5. Look for one with a small profile.
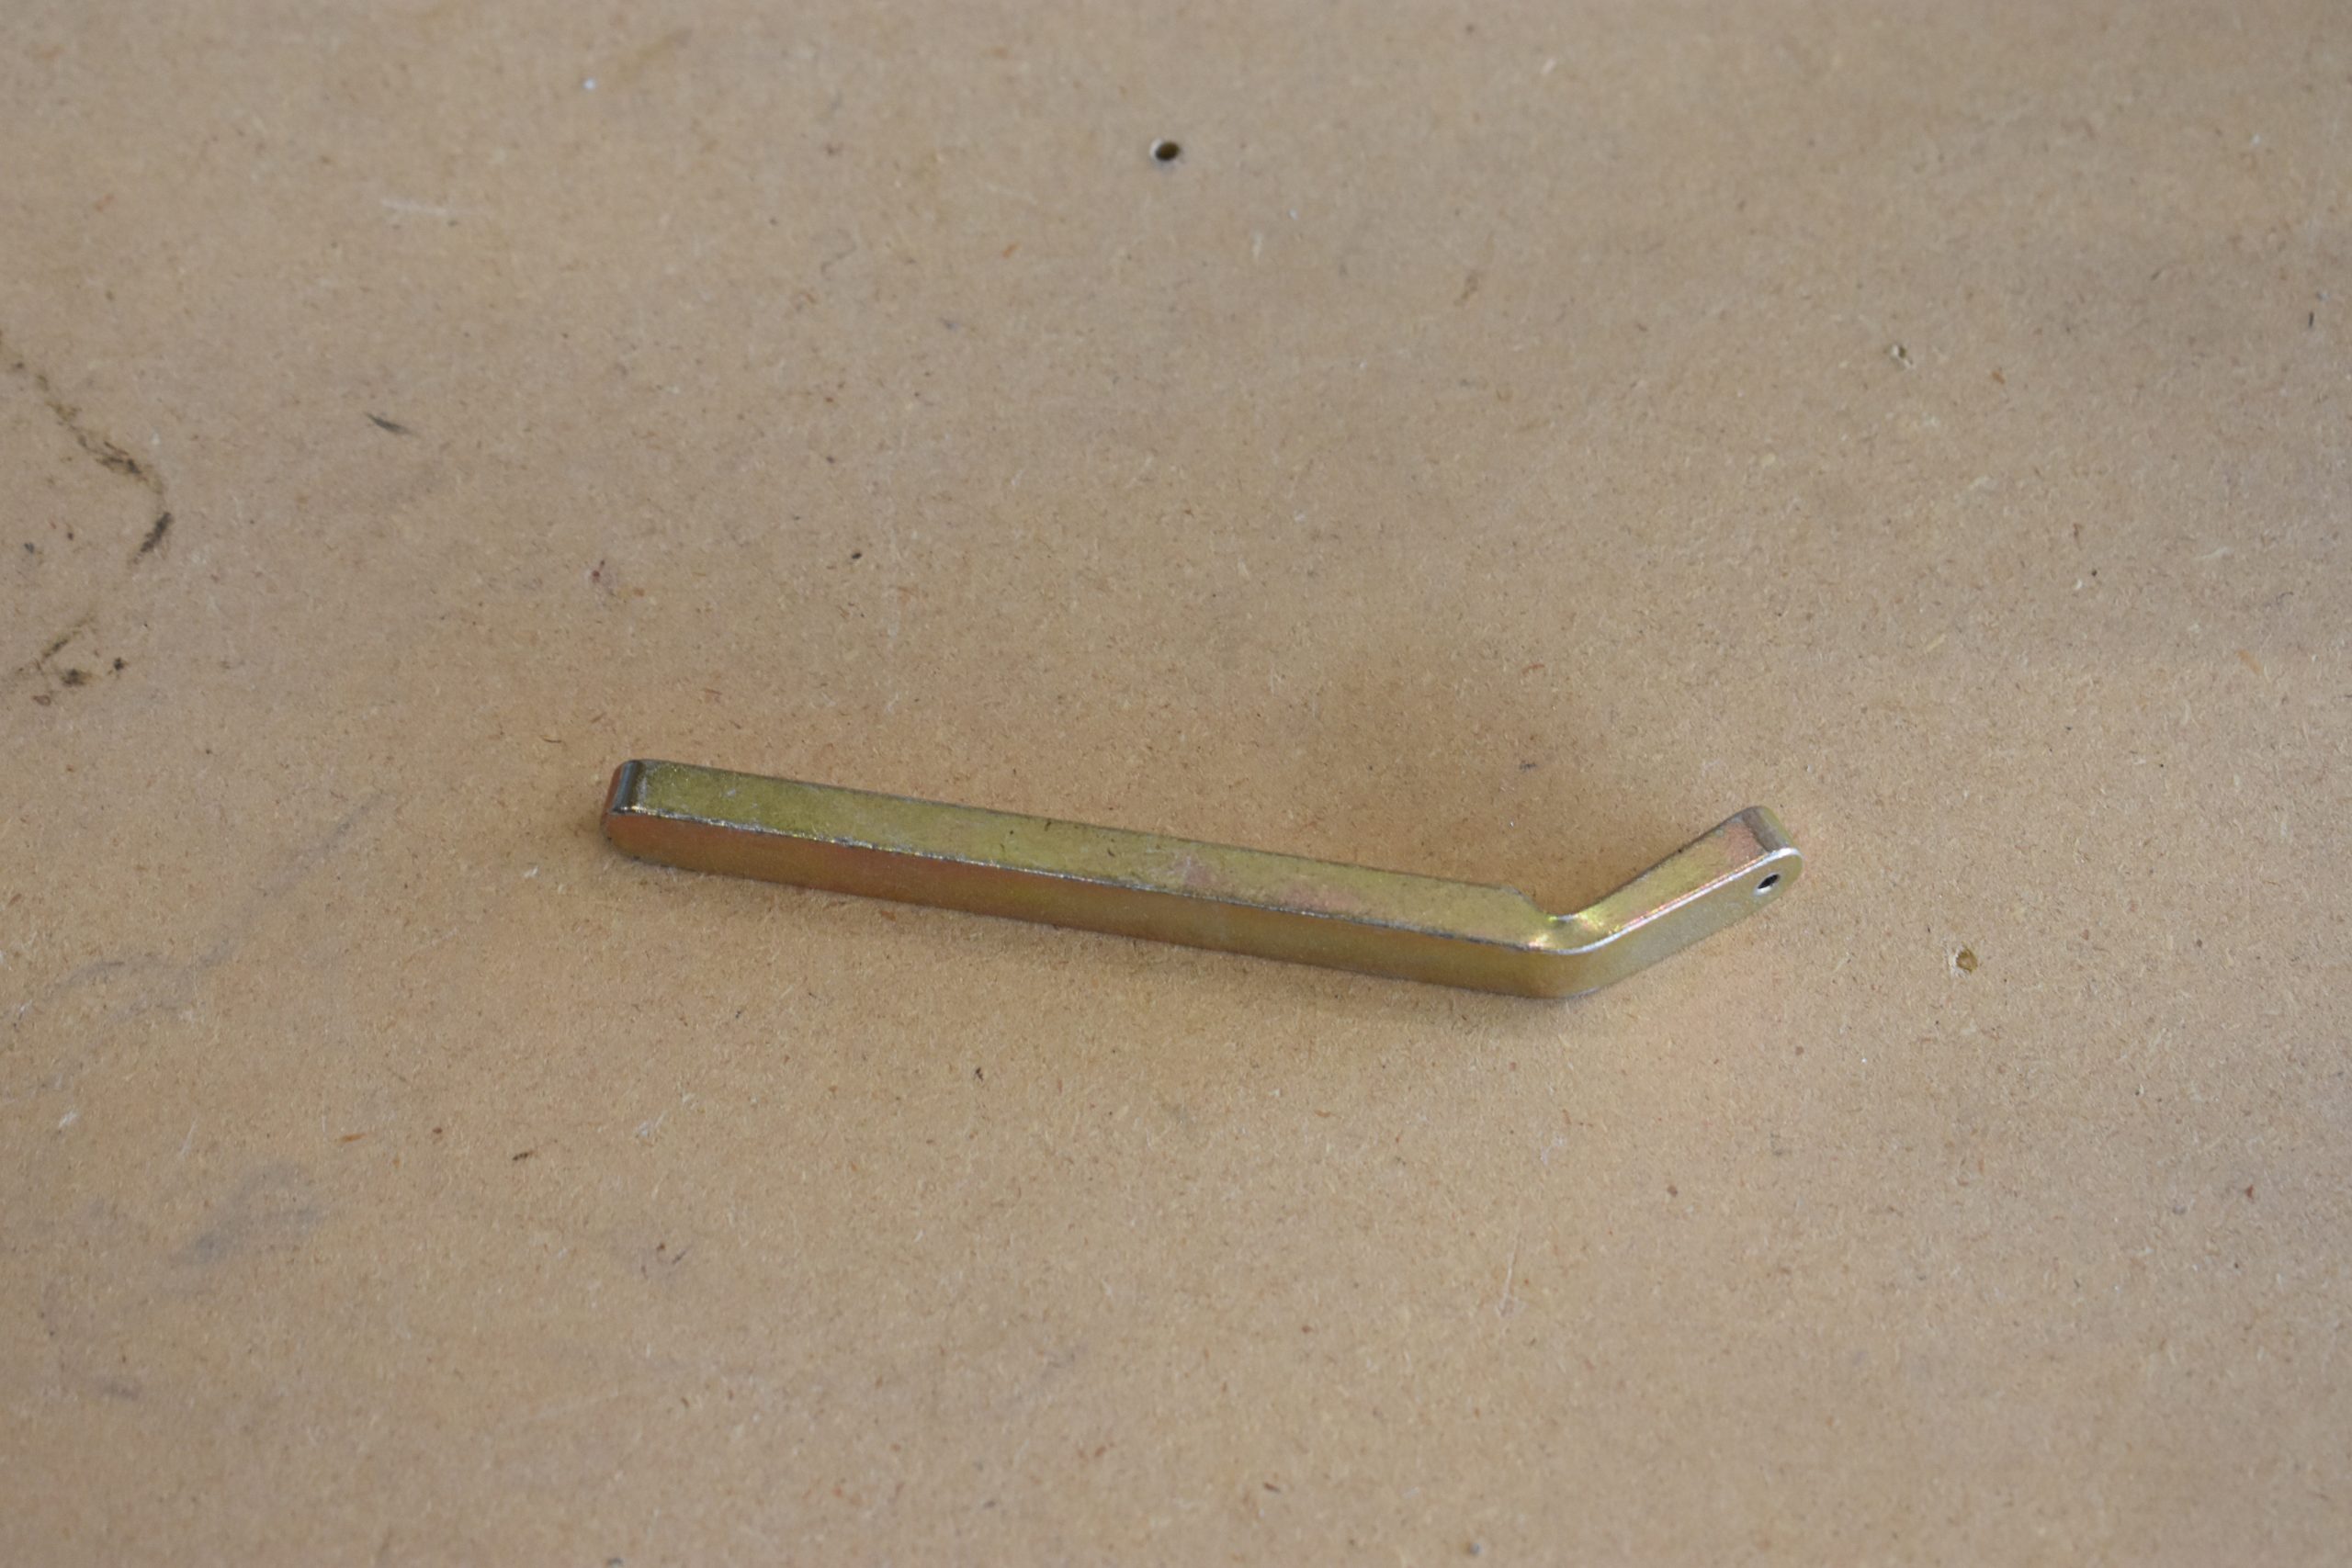
You should also get a close quarter rivet pulling wedge (about $25) that allows pulling a straight rivet at a slight angle. I got mine from cleavelandtool.com
OK! Back to work. For the RV guys, they usually say “Keep pounding those rivets!” For the Sonex guys, “Keep Pulling those Rivets!”