Well, lots of stuff getting done. We even organized our nuts and bolts. Nice plastic boxes for AN hardware. We have both aircraft hardware as well as automotive hardware in the shop, so we have to be REAL careful to organize them and keep them separate.
Part 1 – The wing
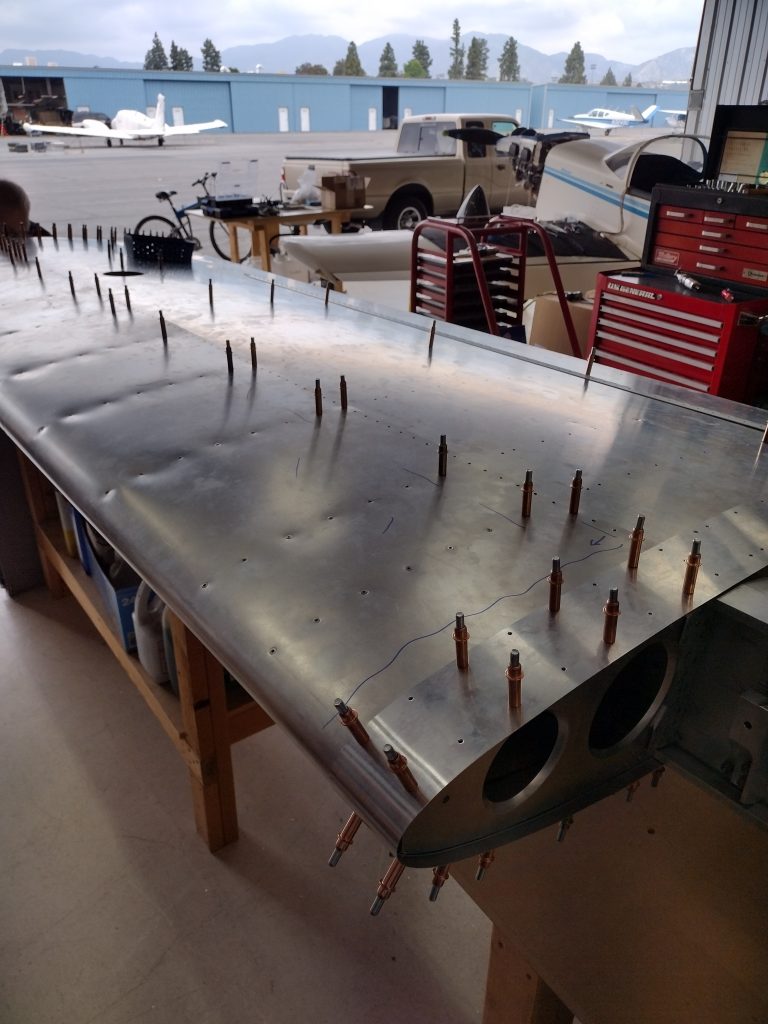
Top skin is riveted. Forward top skin is riveted. Bottom skin is drilled and de-burred. All holes are full size and de-burred
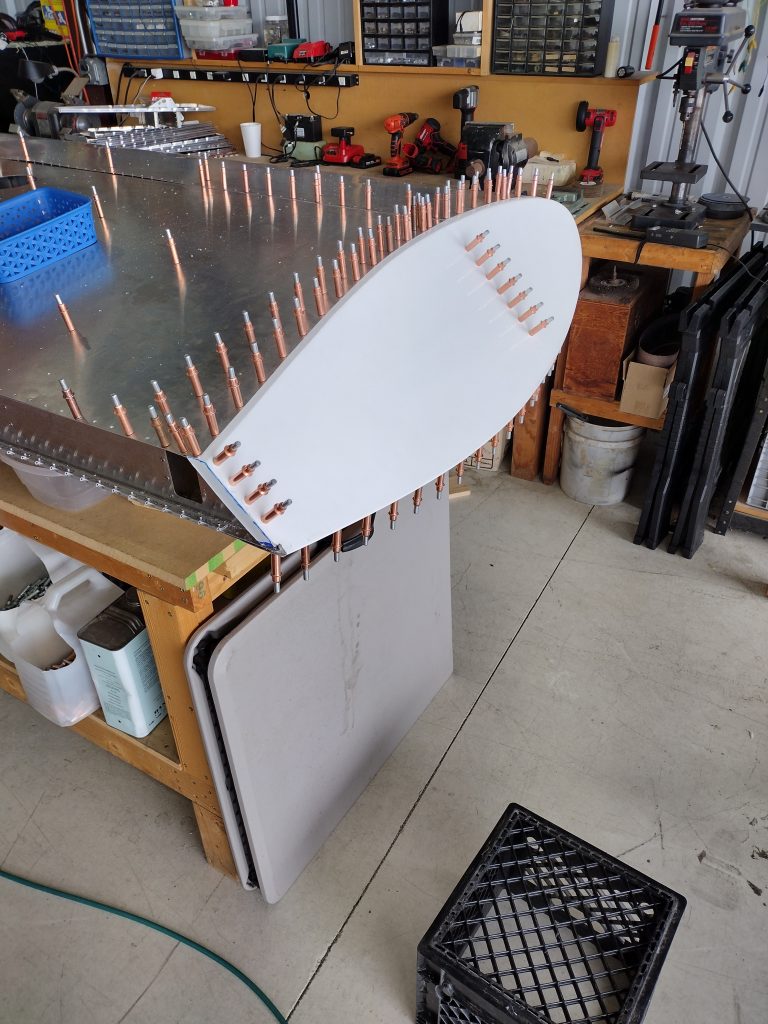
Wing tips are a challenge but with lots of patience we are able to get a good fit. Will need a little filler and sanding though. We need to add navigation light here.
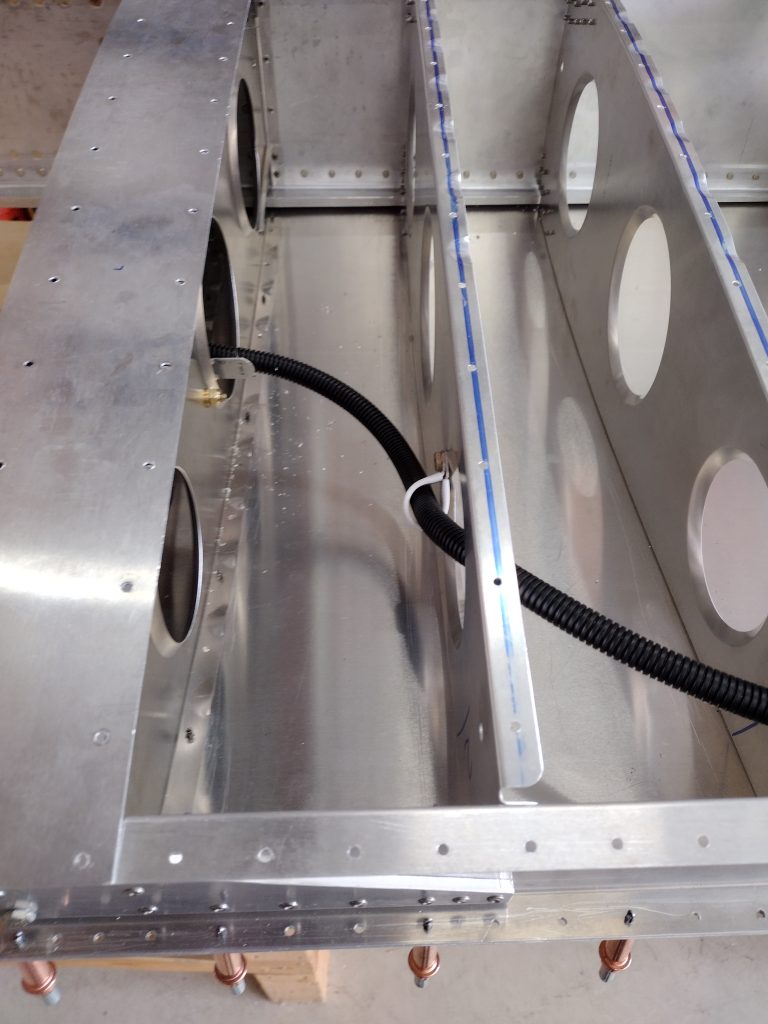
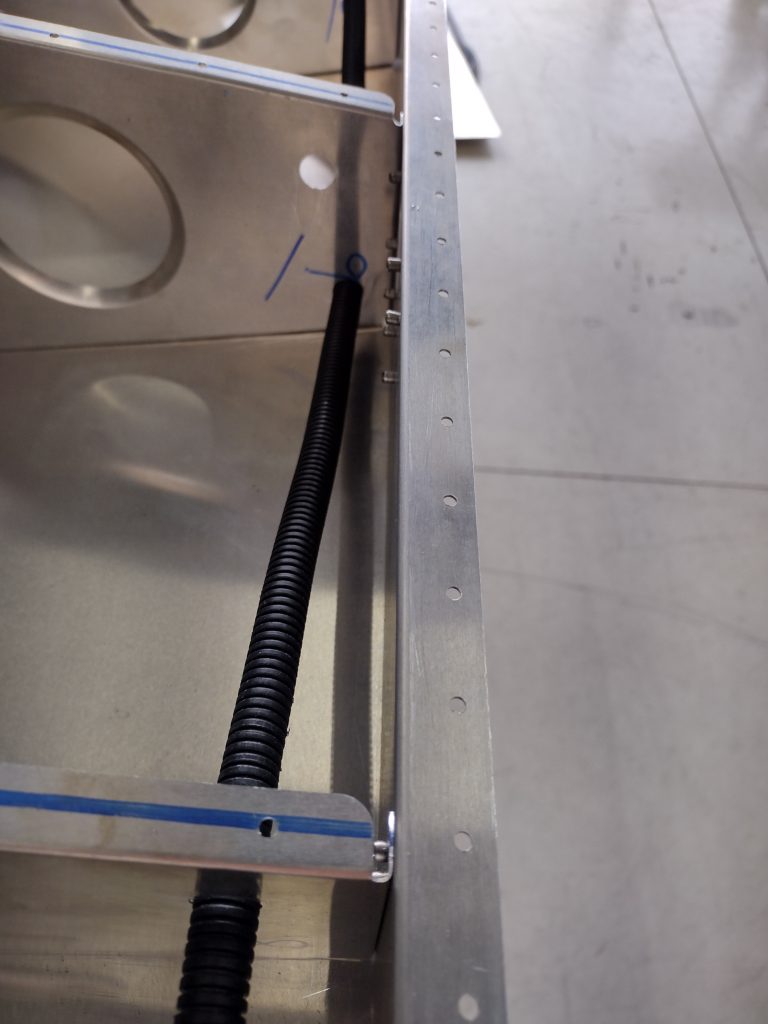
Electrical conduit is installed and wire to the landing light. Cool!
The landing light will be LED from Duckworks. Nav lights will be Aveo PowerBurst DayLite units.
Part 2 – Building a Wing Stand
Some 2×4’s (stud grade), casters from Harbor Freight, scrap wood from the shipping boxes and a couple of feet of indoor/outdoor carpet from Lowe’s.
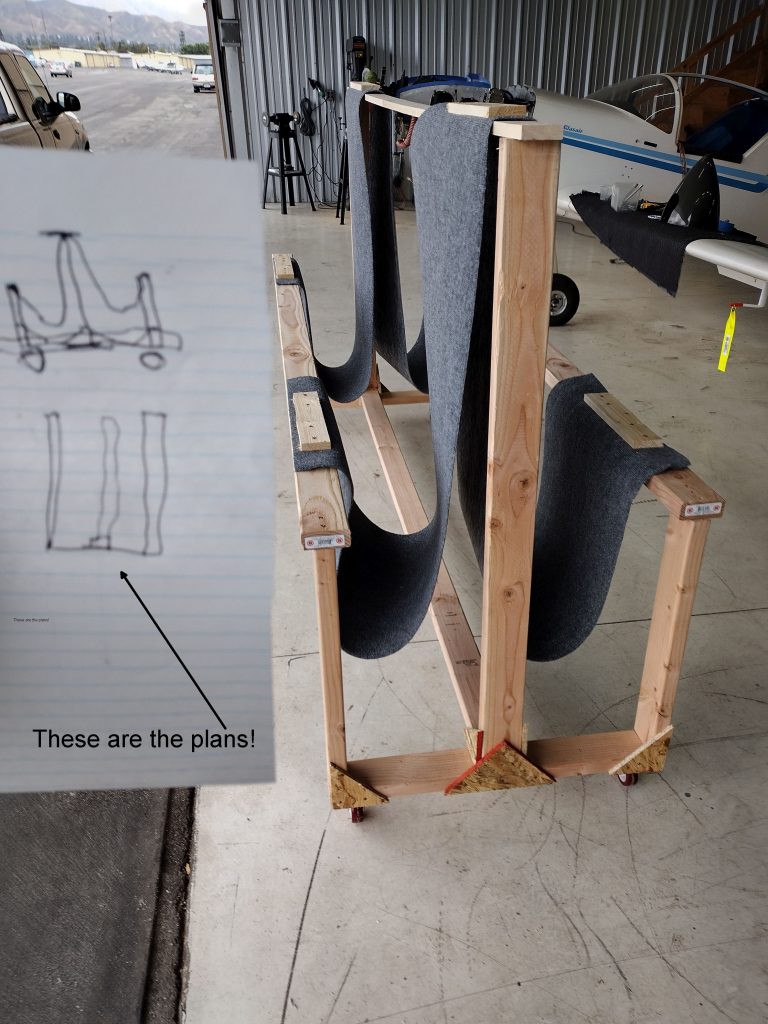
The carpet comes in 12 foot widths (Perfect!) so I had two 1 foot pieces cut. Rough drawing so Tom and I had an idea what it was supposed to look like, and Bingo! Wing stand! Now, where to store it while we build the fuselage?

IF you mount Nav lights (this was supposed to be a Day VFR sportplane, but mine has them…) make sure you do NOT just slap them flat on the angled wingtips; they will NOT have the proper arc of coverage. You need a spacer or shim so they project through an arc from straight up to God, and straight down to the center of the Earth.