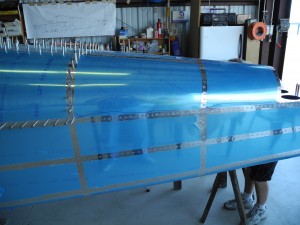
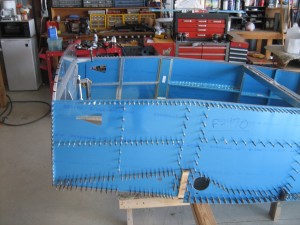
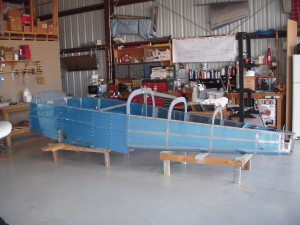
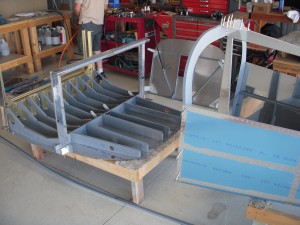
Rear Turtle Desk is ON!

We have been making quite a bit of progress.  Fuel pump is in, brake lines are inside, wiring movers forward, and the rear turtle desk is now riveted on.  we wanted to be sure we did not have any more wiring to do before installing that. That area is now a tight fit if we need changes.  Also, the seat belt shoulder harness restraint cables are in!

RV-9A top deck

Many small tasks make it look like we have had little progress, but when you get a big piece on, it looks like you did a TON of work.  Remember, the small stuff is important too.

The brake valve had to go back because the bottom fitting threads were wonky (an advanced aviation term) and will get a new fitting.  I bought EZ Lube for all pipe thread fittings on brakes and fuel lines.


Brakes!

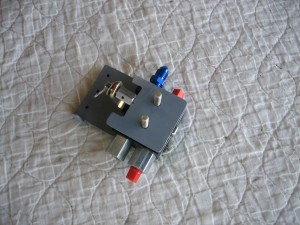
Well, we went off-plans (a rare thing for us) and added a parking brake. We used a Matco valve and a friend showed how he mounted his. Took a couple of extra work days to get everything right, but things are working out OK.

Parking brake valve and mounting plate

Matco parking brake and custom bracket


One thing I REALLY LOVE about Van’s aircraft is that they work hard to get a safe, secure, easy to complete plane in the air while controlling costs. I get to make some decisions along the way if I was to add a little more. For example the brake lines in the cockpit. They are fully functional, and very low cost. BUT having worked on this before, I realized I wanted to spend a few extra bucks on different lines and hoses. My choice. And adding the parking brake? My choice. If you did a heads down, by the book build, you would have a safe plane that did wonderful things. Add a few touches and you will have a plane you built and will be proud of.

What I did on my Summer Vacation…

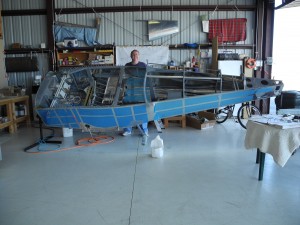
So, check out the new photos for what Tom and I have been doing this summer.  We got wire, floors, seat, brake lines, and lots of small stuff done.

Dave and the RV-9A fuselage

Summer fuselage


Check out:

Fuselage 2

in the pictures section for a bunch of new photos.

So, the tail is done, wings are done, the flight surfaces are done, and we are well along on the fuselage. we’re gonna need a motor soon.  O-320 Dynafocal mount. Got a spare you don’t need?

New Blog Tool!

I have installed a new version of Window’s live Writer for editing blogs, and I’m interested in seeing how this is going to work.

Finally, I’ll get back to keeping my site up to date. Tom and I have made a TON of progress that is not posted yet, but will be if this new editor is as easy and they say.


DSCN0168

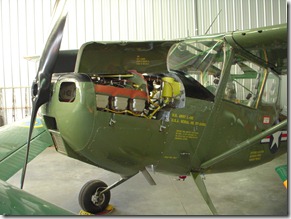
(No, this is NOT an RV9A)

More Pics!

Forward fuselage with clecos

Forward Fuse

Finally, I’ve added the pictures of the fuselage completed to date. Go to the Pictures menu above and choose “Fuselage”

We have actually made quite a bit of progress, and this coming Superbowl Sunday will be our 4 year anniversary.

So, all flight surfaces are completed. Wings and tanks are done. We are actively looking for a Lycoming O-320 E2D or E3D or ?

I had a nice chance at an O-320 H2AD but too many changes are required to make that fit under the cowl I have. Oh well.

Dkb

A step back…

Saturday was a day that appeared to be a step backwards. Going from something that looks like an airplane to a stack of aluminum sheet.

Building a plane is made up of the three D’s: Drill, Deburr and Dimple. We have completed the forward skin drilling and making of ribs, longerons and brackets.

Before


It was now time to dissassemble for deburring and dimpling.  So, what looked kinda like an airplane, now once again looks like a pile of aluminum.

After


Hmmmm… Maybe we need to have a Cleco party?  Sounds like fun!  Gotta borrow a BBQ, and do a little planning.


More later.

Basic Metal Skills

Yesterday, we began with the fire wall, and we did the usual drill, de-burr and dimple (the three D’s) and I was about to take my hand and sweep all the metal filings to the floor with my hand. WAIT A MINUTE!!! WHAT WOULD MY SHOP TEACHER SAY!!! Ok, MANY years ago I took metal shop and quickly learned that shavings are brushed off with a brush, not your hand.

It is a good idea to remember some of the shop basics as you get started with your project. Safety glasses? Hearing protection (oh, com’on it’s just ONE rivet!) How about a quality ventilator mask when using shaker-can spray paint? (ESPECIALLY self-etching)

For us old folks, take a minute and remember the skills we learned in school. For you younger guys (and gals) who took computer skills lab instead of metal shop, find a gray-haired person who is building or has built a metal plane, and spend a friendly hour in your workshop and chat about the old days. Esp metal shop.

HMMMM??? I wonder where Mr. Bradshaw is today?

Thanks Mr. Bradshaw, I’m doing fine.

-Dkb

Wings are Done!

FINALLY!
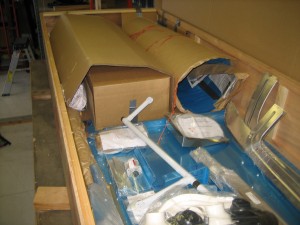
The wings are now completed. We spent the week-end putting the wings up and away where they will not get damaged. We also opened the Fuse box! Found some interesting stuff. Like a manual elevator trim cable (we have electric trim). Also we found the manual aileron trim, and we want to go with electric with that as well. Oh well.

We also spent a day getting the shop ready. Cleaning, re-packaging hardware, and doing an inventory of the kit. We also put weights on the plans so they will lie flat, and we loaded the plans holders we have.

At each step, it is a good idea to re-set the shop and make sure everything is back where you can quickly get your hands on it. This is REALLY worth the time investment later.

Dkb