Basic Metal Skills

Yesterday, we began with the fire wall, and we did the usual drill, de-burr and dimple (the three D’s) and I was about to take my hand and sweep all the metal filings to the floor with my hand. WAIT A MINUTE!!! WHAT WOULD MY SHOP TEACHER SAY!!! Ok, MANY years ago I took metal shop and quickly learned that shavings are brushed off with a brush, not your hand.

It is a good idea to remember some of the shop basics as you get started with your project. Safety glasses? Hearing protection (oh, com’on it’s just ONE rivet!) How about a quality ventilator mask when using shaker-can spray paint? (ESPECIALLY self-etching)

For us old folks, take a minute and remember the skills we learned in school. For you younger guys (and gals) who took computer skills lab instead of metal shop, find a gray-haired person who is building or has built a metal plane, and spend a friendly hour in your workshop and chat about the old days. Esp metal shop.

HMMMM??? I wonder where Mr. Bradshaw is today?

Thanks Mr. Bradshaw, I’m doing fine.

-Dkb

Riveting Teamwork!

Riveting with two people requires a good communications channel.  If you have an agreed upon procedure, you will have a better final product (with fewer replacement parts).

Here is how Tom and I do it.  Query, response, check.

Tools Required…

There are LOTS of sites that will tell you about the tools required to build a plane. Besides a set of regular mechanics tools, you will need drills, deburring tools, dimplers, bucking bars, sheet metal tools, and a host of electrical stuff.   Oddly enough, folks often forget to tell you about the other tools required: Wood Working Tools.  When building an aluminum plane, you really need a small set of wood working tools. A good handsaw, or better, a circular saw, or better still, a table saw is required to build all the extra stuff you are going to need.  I also suggest a Sabre saw for both the aluminum and for the jigs you will build.  Be sure to keep your wood drill bits away from your metal drill bits. For my belt sander and disc sander, I avoid using the same abrasive discs for wood and metal.

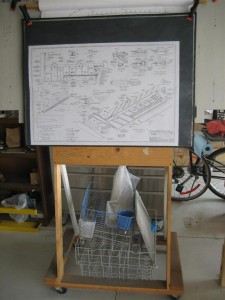
Wood Plan Stand

Homebuilt Plan Stand

Resist Temptation!

There is a common riveting mistake we will all make. Sometime, the bucking bar holder (usually me) will push the rivet slightly out of the hole, and when the hammer hits, is squeezes funny, and the rivet head stands out slightly.  You might be tempted to say “Well, maybe if I hit it again, it will look ok…”

STOP!!!!

Anytime you use the word “maybe” in a sentence like that, you are probably about to make a mistake.  Don’t even try. Just drill out the old rivet (these are usually pretty easy) and start again. Don’t give into the temptation of a quick fix that you will regret later.

Murphy’s Law of Thermodynamics:
“Things get worse under pressure”

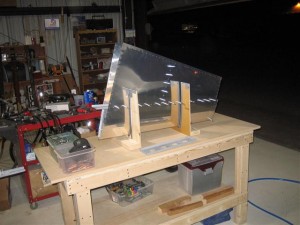
Rudder

Sharp tools..

When I was first setting up my empennage, I went over to my shop partners band saw and cut a stiffner down a little.  It was aluminum, and not very thick, but still too a great deal of time to cut.  Since I had never used a band saw before on aluminum, I did not think much about it.  Later I was talking to my hanger partner and told him I had used the band saw, he said “That blade needs replacing.  It is a scroll blade and not very sharp.”  So, I went out and got a new blade (the right size, and type) and MAN! what a difference it made! Clean, smooth and FAST cuts are now the standard.

So, just a reminder:

  • Start your project with new, sharp blades in all cutting equipment.
  • Buy NEW drill bits (stay away from eBay). They are not expensive and it will make a BIG difference as you start your new project.
  • Get GOOD tin snips. Pay the extra few bucks.
  • NEVER try to cut hardened steel with your band saw.  You’ll kiss the blade good-bye.
  • Never be holding your cat when you turn on your shop vacuum.

Vertical Stabilizer

When working with pre-punched parts…

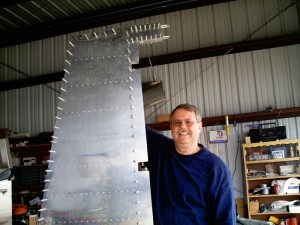
When working with pre-punched parts, do not be shy about writing on them with a Sharpie©.  Getting the correct orientation is half the battle, and keeping the victory means documenting it.  Sharpie marks can be easily removed with MEK or Acetone.  Keep a gallon of each around.  Keep it away from kids tho!

I discovered that if a pre-punched part from Van’s does not appear to fit correctly, I’m probably doing something wrong. Almost NEVER is it a Van’s problem.

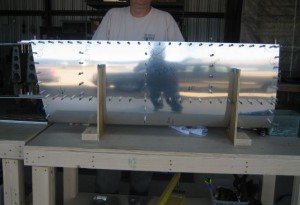
Horizonal Stab with writing on it

Keep Writing!

Getting the Blog Started!

Greetings Friends!

Well, after two and a half years of building, I’m finally building the blog!  I’m Dave of Tom and Dave and we are building a 2 seater experimental airplane.  Since there are thousands of these planes flying, I believe it is more accurate to say we are assembling an aircraft.  This is an aluminum design, with a standard aircraft engine with a cruise speed in the 180mph range (we hope). The plane is a Van’s Aircraft RV-9A. This is an aluminum, two-seater side-by-side cross-country plane with a 160 hp engine.  Check out the factory at www.vansaircraft.com

So, how does all this start?  With a little aluminum.

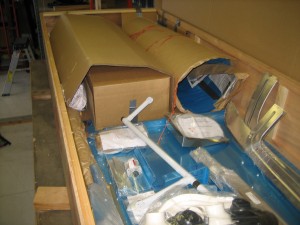
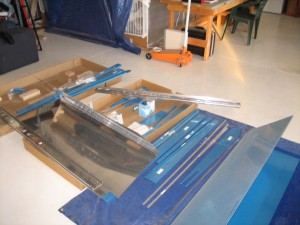
Empennage kit for a Van's RV-9A

Empennage kit for a Van's RV-9A