Removing a Drill Chuck…

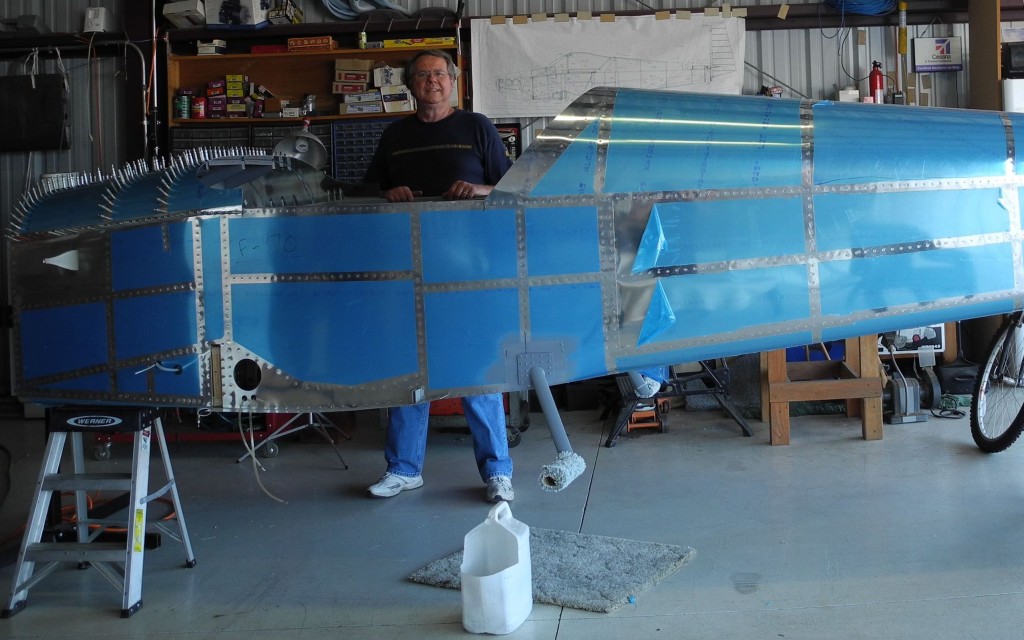
First of all, we have mounted the battery box on the firewall, and are working to finish the Panel Frame. I bought the Affordable Panels XL three piece panel and I’m very happy with the fit and finish. We are building the substructure that the frame attaches to, and we will do a final mount to be ready for the panel parts. We will have some grief with the stack tho. No much room for radios with a support rib right smack in the middle!

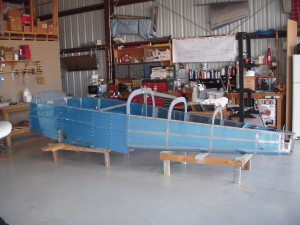
Dave with RV-9A fuselage

Dave with Fuse

Now for a tool tip.  I had a battery drill go south, but the chuck was still good. Normally, in the old days, You would put the chuck key in the chuck, and whack it with a hammer (counter-clockwise) to cause the chuck to unscrew. BUT in the new days:

1. No chuck key
2. Drill is reversible, so just going backwards does not unscrew the chuck!

No worries. First, the chuck probably has a screw in it, so you need to open the chuck fully, and put in a screwdriver to remove the retaining screw. Here’s the secret: The screw has Left-hand threads! So turn it opposite to remove it!  Next, put the short side of an allen wrench (1/4 or so) in the chuck and whack it with a rubber mallet (counter-clockwise) and that baby will spin right off!

Forward!

Dkb


Interior paint!

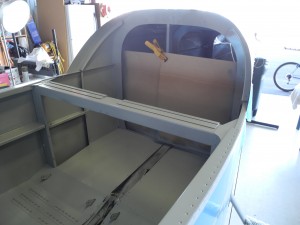
I finally got the interior paint selected and started painting. We chose Light machine Gray for the interior color. We are using Rustoleum Professional enamel and it looks GREAT!


RV 9 interior

RV 9 interior

We also installed the frame for the battery box and we are looking for a heater control valve we like.

We also glued in the air vents.  These came our really nice.


Air vent on RV-9A

Prosealed Air Vent


Top is on! (Kinda)

Today is the first offical day when folks stopped asking “Why are you building a canoe at the airport?”

My baby is looking like a real airplane!

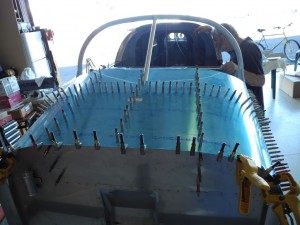
RV-9A top panel

No more Canoe jokes!

We have painted the floor and removable siding (Rust-Oleum Professional Machinery Light Gray) and primed the rest of the cockpit. we installed the top for match-drilling and looks at the fit and finish of the pre-punched parts. Perfect of course.

I ordered the three part-panel from Affordable Panels, and we should that that in the next day or so.  I also got an ELT (old style) that will work until I get out of the 40 hour phase I.

Off plans…

Anytime you go off plans, it creates a bunch of work and can add significantly to the timeline. However, adding cool features is what an experimental is all about.

Now, I’m not an aeronautical engineer, so I NEVER just go off plans by myself.  I have some pretty strict rules:

1. Does the mod affect safety of flight? I never go off plans on these mods. No mater who else did.

2. Would Cessna do this? I keep this thought in the back of my head as a guideline. Cessna Safe.

3. Is this a well documented mod? Are the parts involved aircraft parts?  Like adding parking brakes.  I’m in.

4. Is the mod a kit I can buy that many others have done? My Nav lights fall into this category.  LED lights for wings and tail. Thinking about Electronic ignition.

5. Have many before me done this mod?  Flap up travel limit switch falls here and in 4 above. I may buy the kit or do the Automotive relay thing.

6. Are the risks small?  Fairings on the rudder cable go here. My Avionics tray fits here too.

7. Cost appropriate? Am I overbuilding for the plane I want?

8. Is this a Real mod or am I just fantasizing about it? Rotary Engine?  Retractable landing gear?  Three seats?  Propane operated simulated machine guns????  Wow!  Nah…


For now, I’m building a standard, 150HP Lycoming, Mags and a carburetor with a wood prop. BUT after I’m flying a bit????  We’ll see…

Dkb


This Site is run on WordPress…

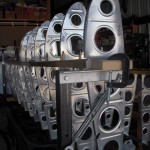
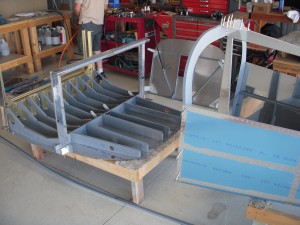
RV-9 Ribs

RV9 – Ribs

Someone asked about how this site is run and hosted.

I use WordPress for this site and I host it myself (about $70 a year including the domain registration) The theme is called “Notepad” but there are thousands of themes.

If you go to WordPress.com, you can get a free web. If you want your own domain name, add $13/yr  I always recommend that you own the domain name, no matter what path you choose.

If you want to do the whole thing yourself, I use Netfirms.com They have a one-button WordPress setup.

WordPress is very  fast to setup, easy to use, and easy to load pictures and other media.

So:

To use a WordPress site:  www.wordpress.com

To get WordPress software (free):  www.wordpress.org

To do easy self hosting: www.netfirms.com

Cheers!

Dkb

Turtle Deck is Complete!

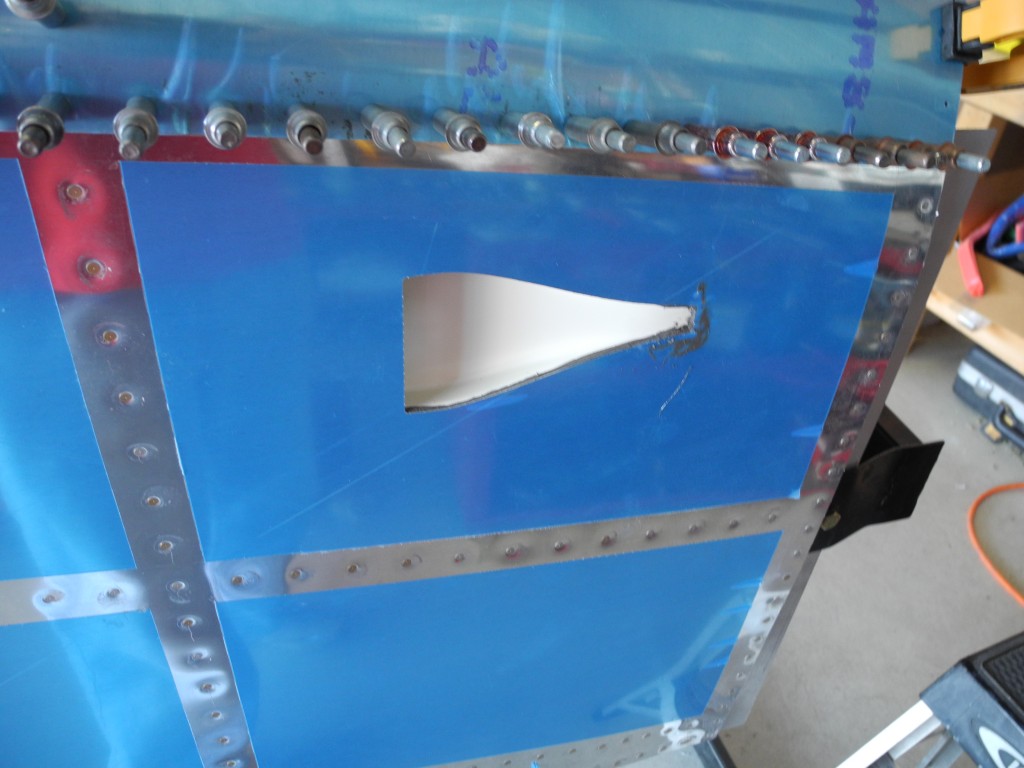
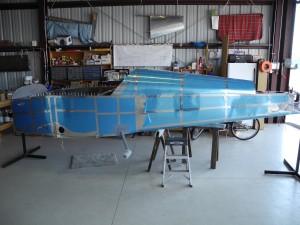
Finally!  It is starting to look more like a plane than a canoe. *sigh* Lots of small stuff and you see no change. Do a little BIG stuff and it looks like real progress.  So, top skin is on, and parking brake valve is back.

Fuselage under construction

Fuselage under construction

We had a visit from the man who will be giving us the pink slip tonight. I wanted him to see how we are working, and get an idea what to expect when we are done.

I think it is VERY worthwhile to have professional eyes have a look at the project every once in awhile.  We have an A&P/IA wander by. The local EAA guru has been by, and now the future DAR has had a look.  We do careful work, but extra looks are always welcome.

When getting advice from more than professionals (friends, relatives, other builders, etc.) it is a good idea to listen and evaluate. There are a ton of OWT, SB, and OCITIHIOTI out there that will need to be evaluated. Always look for stuff in writing before you believe everything you hear.


OWT: Old wives Tales

SB: Superstitious behavior

OCITIHIOTI: “Of course it’s true, I heard it on the Internet”

Dkb


Avionics tray…

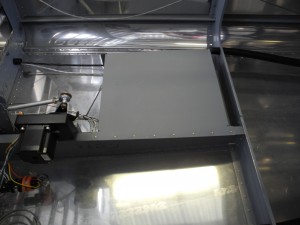
I had an avionics tray in my Skyhawk, and we had a lot of stuff to put there.  As electronics got more modern, and smaller, the tray was almost empty. Now the pendulum is swinging the other way again with EFIS and Radio avionics going remote.  Add a tray. Pretty light, and leaves more room at the panel.


avonics tray

I have an inspection this week, so I’m trying to be real careful to get the shop clean.  I also got my parking brake valve back so that will go in next week-end.

The battle of the fuel pump(s) is/are over!

I want to use mogas in my plane.

Mogas is getting up to 10% alcohol in it, and that is not going away. Now in California, you can no longer get gas without alcohol at any regular gas station. So a good solution is to use electric only fuel system that pushes fuel instead of trying to pull it.

No worries about vapor lock, and no worries about the effects of alcohol on rubber parts in manual pumps! Two pumps with two independent switches would eliminate the need for a valve. Fuel pump placement at the root of the wing would eliminate considerable plumbing inside the cockpit.  I talked with lots of folks about the idea. Many support it, and in fact fly with it today. Many poopoo’d the idea as too risky. What if this and that and that happen???

Well, after considerable thought, and the ringing of my motto in my head: “What would Cessna do?” I decided to wimp out and stay with the plans.  Keep the valve, one electric pump and one engine driven pump.

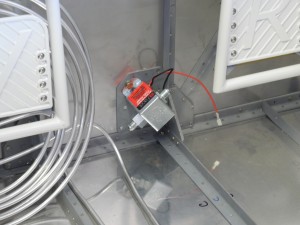
Fuel pump

Fuel pump


Yes, this is an experimental  aircraft, but I’m not an engineer.  Also, when you go off plans (which i have done once or twice) you add many hours to the process.  So, I’ll live with the current plan, and maybe do some experimentation later.

A step back…

Saturday was a day that appeared to be a step backwards. Going from something that looks like an airplane to a stack of aluminum sheet.

Building a plane is made up of the three D’s: Drill, Deburr and Dimple. We have completed the forward skin drilling and making of ribs, longerons and brackets.

Before


It was now time to dissassemble for deburring and dimpling.  So, what looked kinda like an airplane, now once again looks like a pile of aluminum.

After


Hmmmm… Maybe we need to have a Cleco party?  Sounds like fun!  Gotta borrow a BBQ, and do a little planning.


More later.