Bad Flap

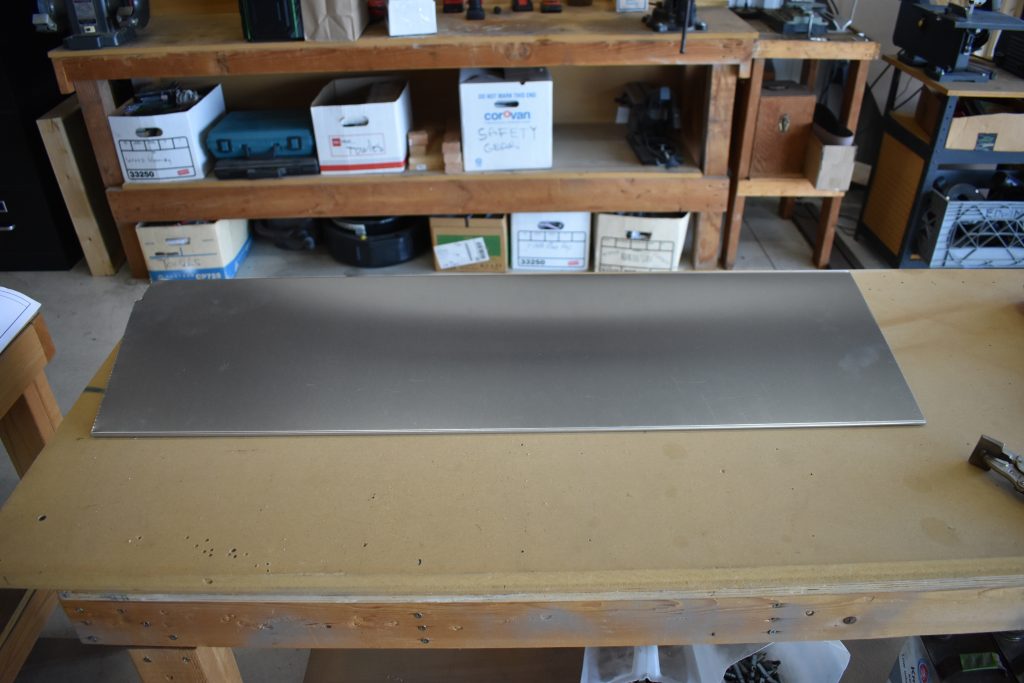
Well, I have to confess that I have ruined the flap. I incorrectly installed the flap hinge and not only is it crooked (too crooked to install the hinge pin) but it rises the flap into the wing in such a way that it will produce considerable drag.

Yikes!
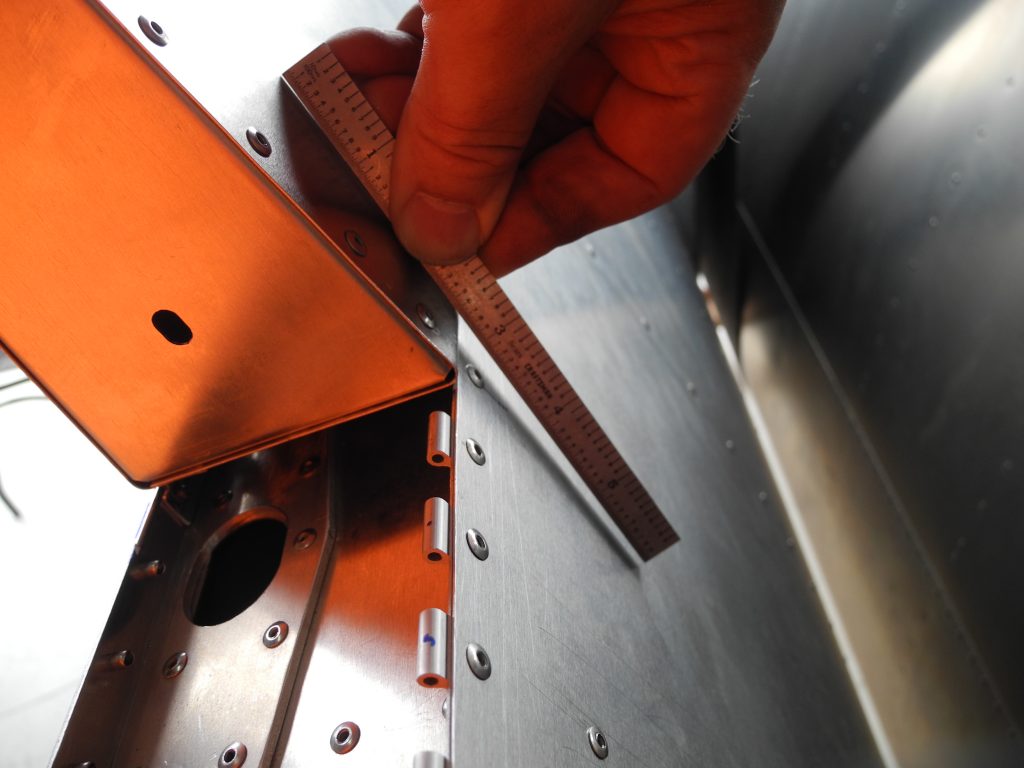
Drilling out the hinges to try to reposition the hinge would create elongated holes that rivets would never set correctly.
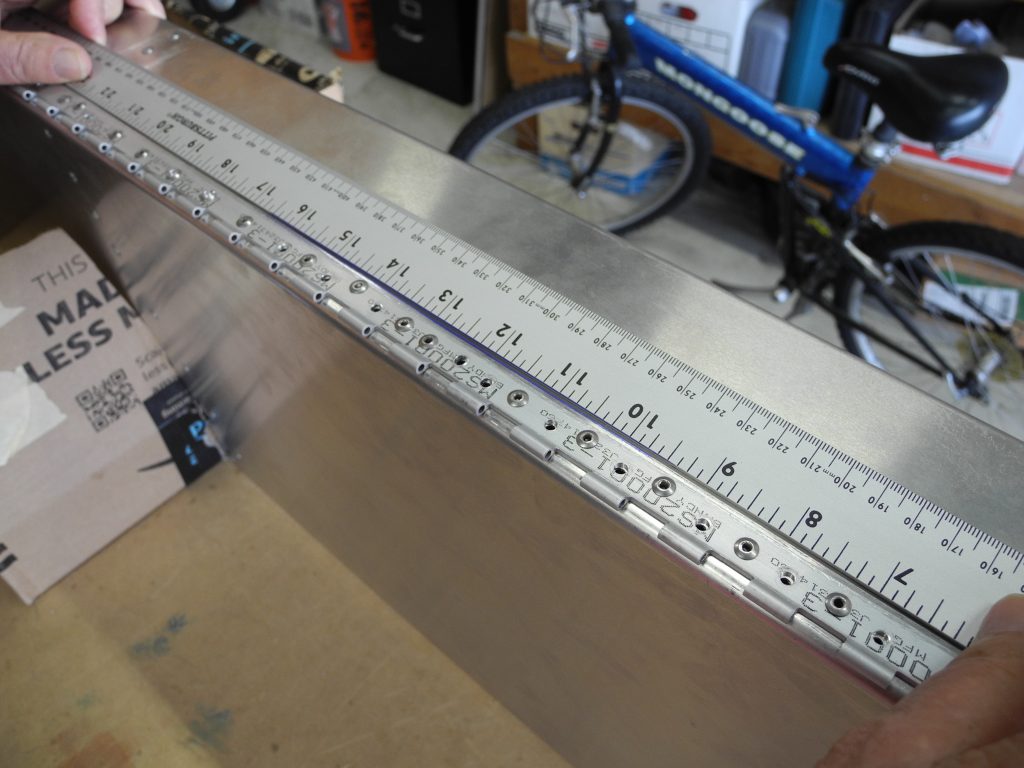
This is my most expensive error yet.

After a few back and forth emails with the mother ship, I got pictures of the correct way to position and space the hinge. Use a flat table, use a 1/16 ruler for spacing, apply weights to keep the flap flat, and drill holes with both flap hinges connected. I wish I had seen pictures of this process earlier.

Since I ruined the flap anyway, I used the bad flap to experiment with the correct process. Too many holes to be safe, but with the new process, the hinge fit correctly.

Customer service was great, and the new parts for the flap shipped quickly.

Flaps are done, and on to the ailerons. Actually, I have been working on both flaps and ailerons together. Lucky for me the goof in flap hinges did not occur with the ailerons.

Wing work has begun!

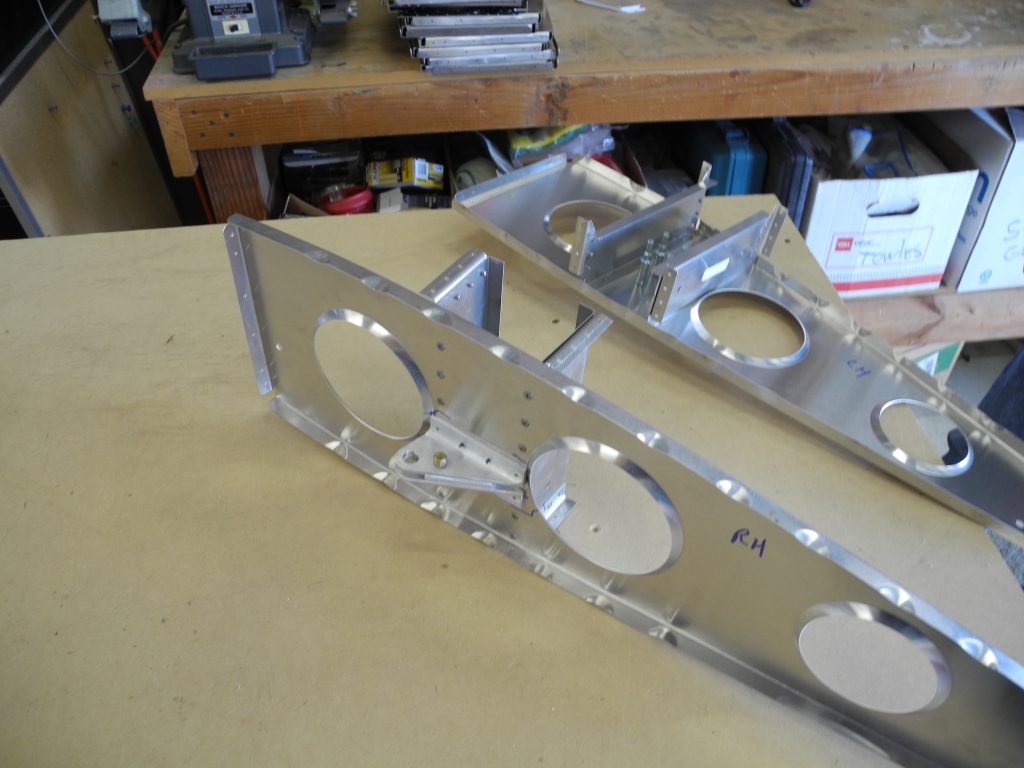
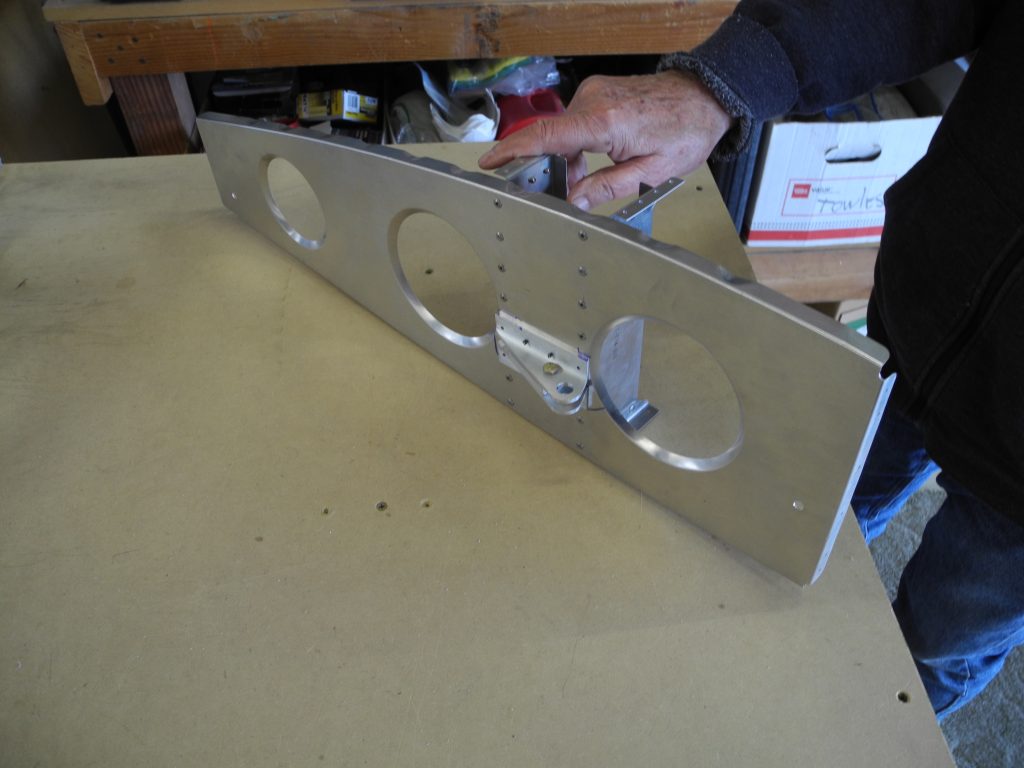
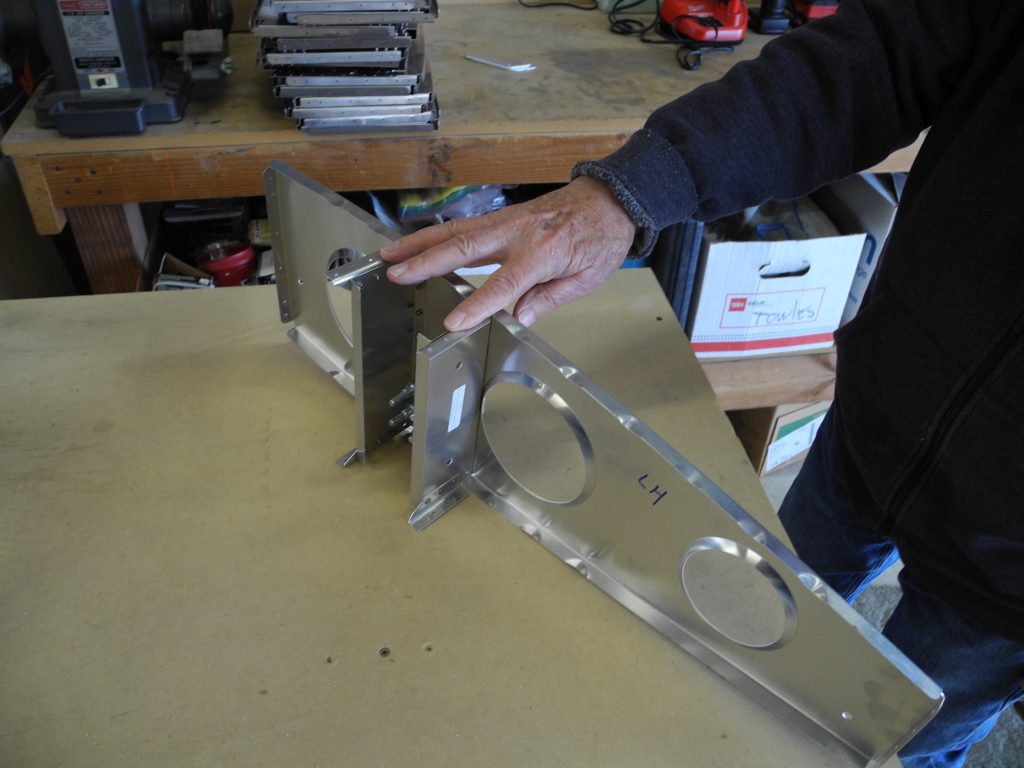
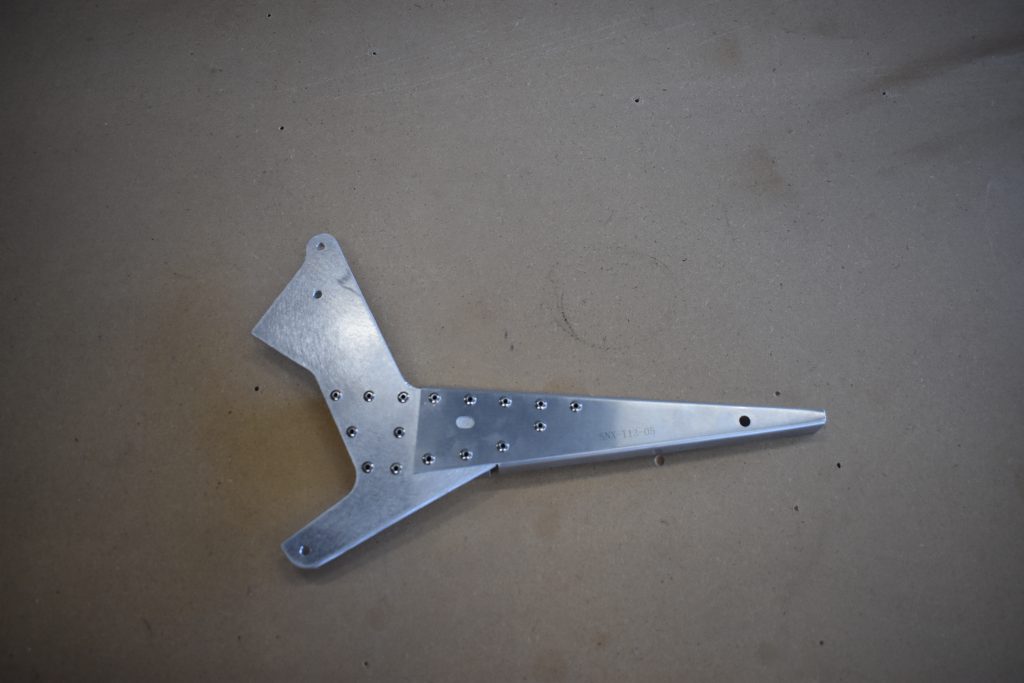
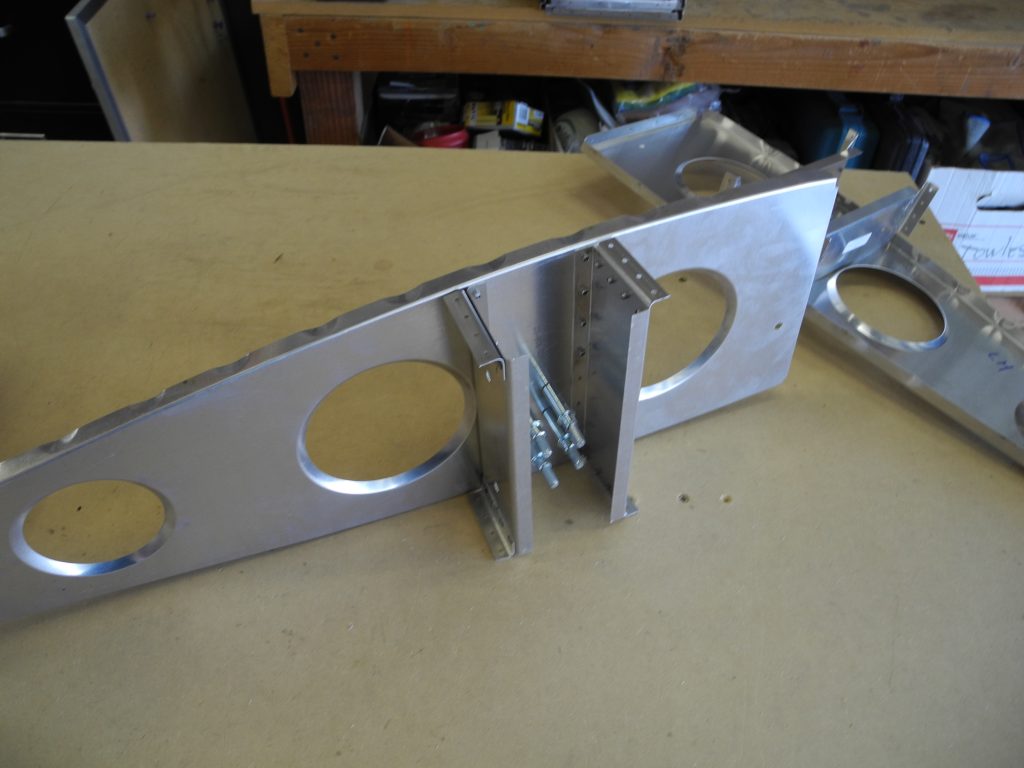
Rib #9 now has the aileron bell crank in place for both left and right sides. We are currently missing the bearings so this will not be completed right now. Parts on back-order

I thought the holes were incorrectly punched but it turns out the bell crank is on different sides of the ribs for left and right.  Who knew? The PLANS knew.

Right hand bell crank. On the inside of the rib.
Left hand bell crank. On the outside of the rib.
Left hand rib.

We have some stuff on back order so we will  not be progressing at full speed just yet. We are doing what we can for now.

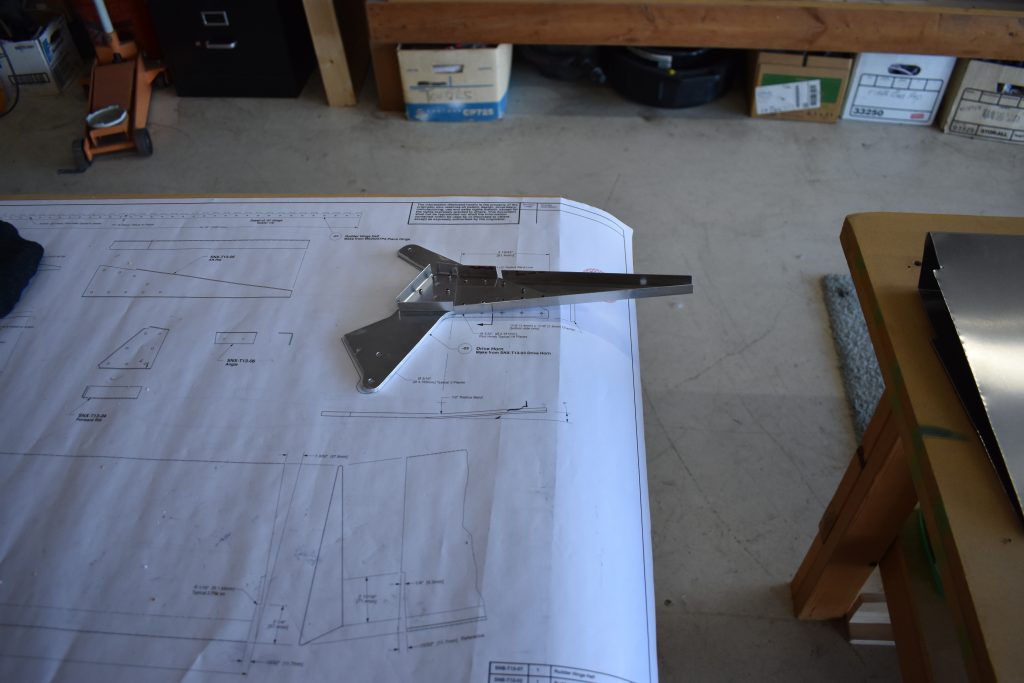
We are reading the plans very carefully.

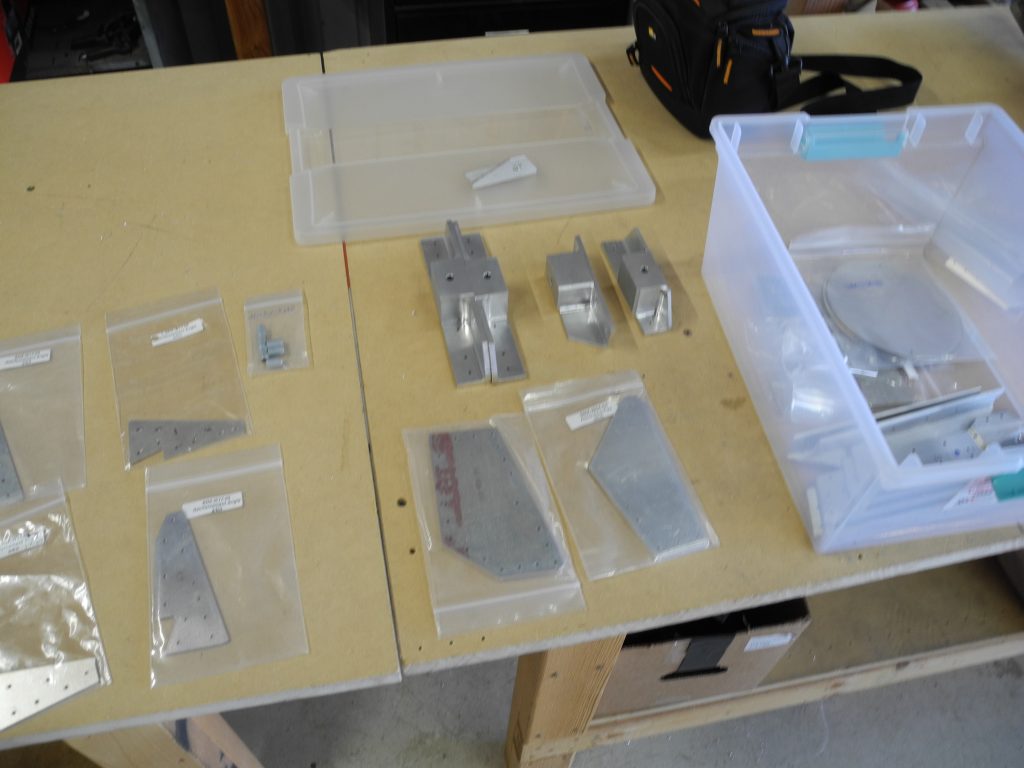
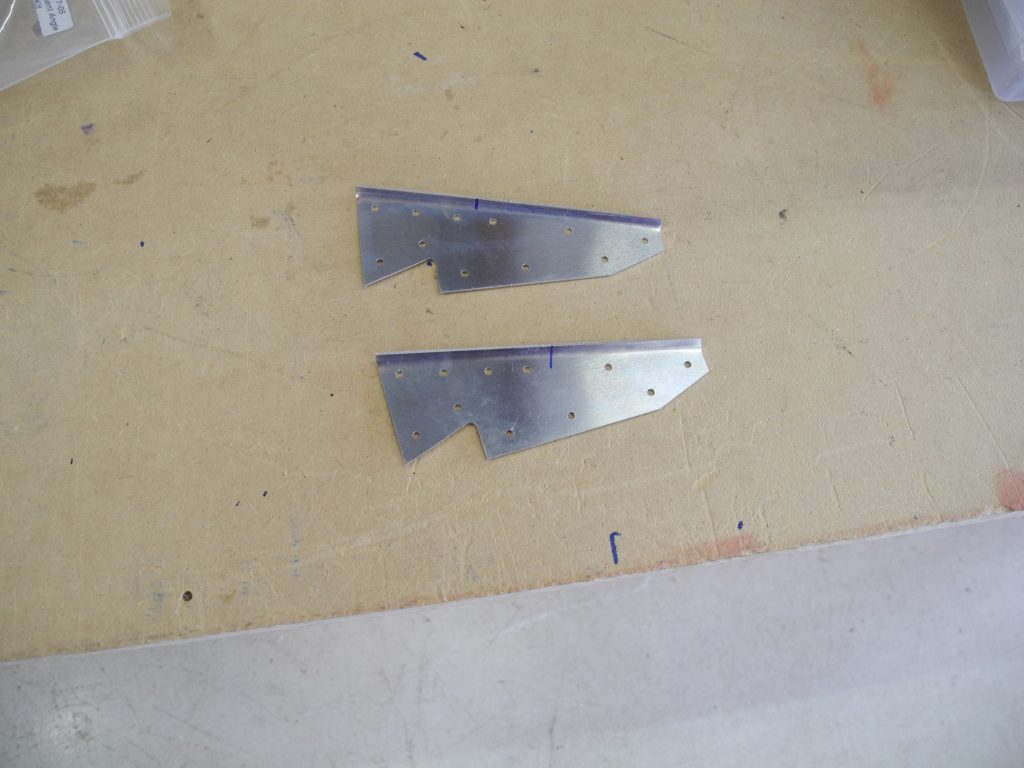
Lots of little parts! Deburr and clean. Some holes to drill.
Bending a lip is VERY easy with a brake. Glad I’m not pounding these in a vise.

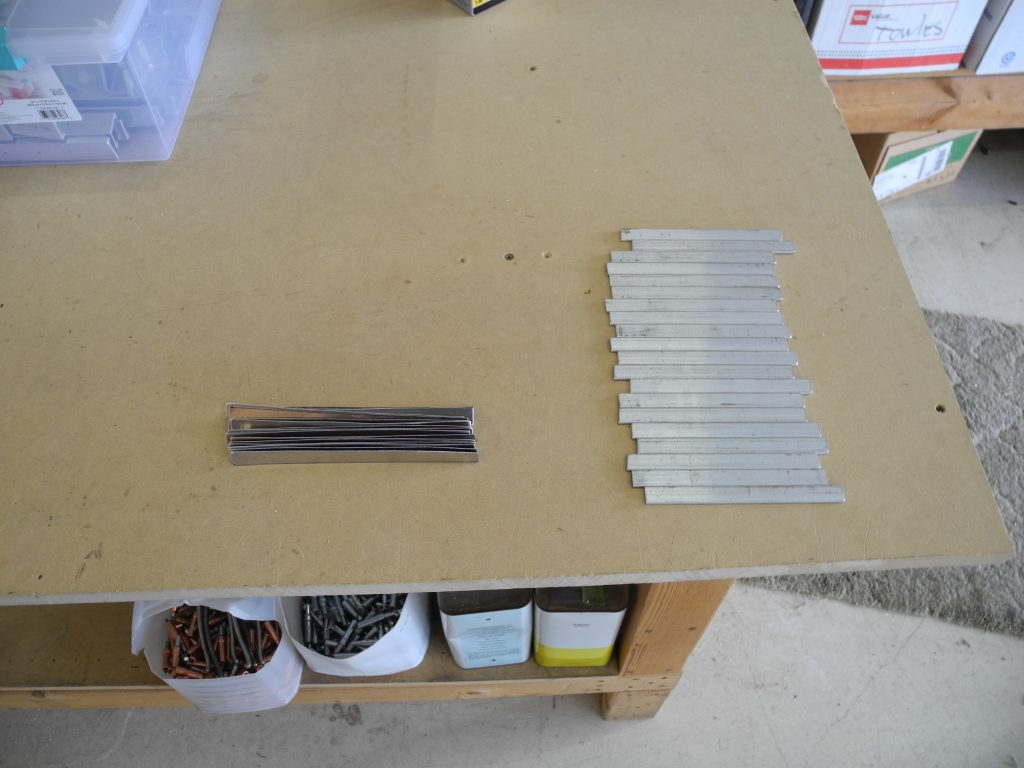
Lots of shims to make. Two kinds. They go between the rib and the spar.

All Nestled and Snug in their Beds

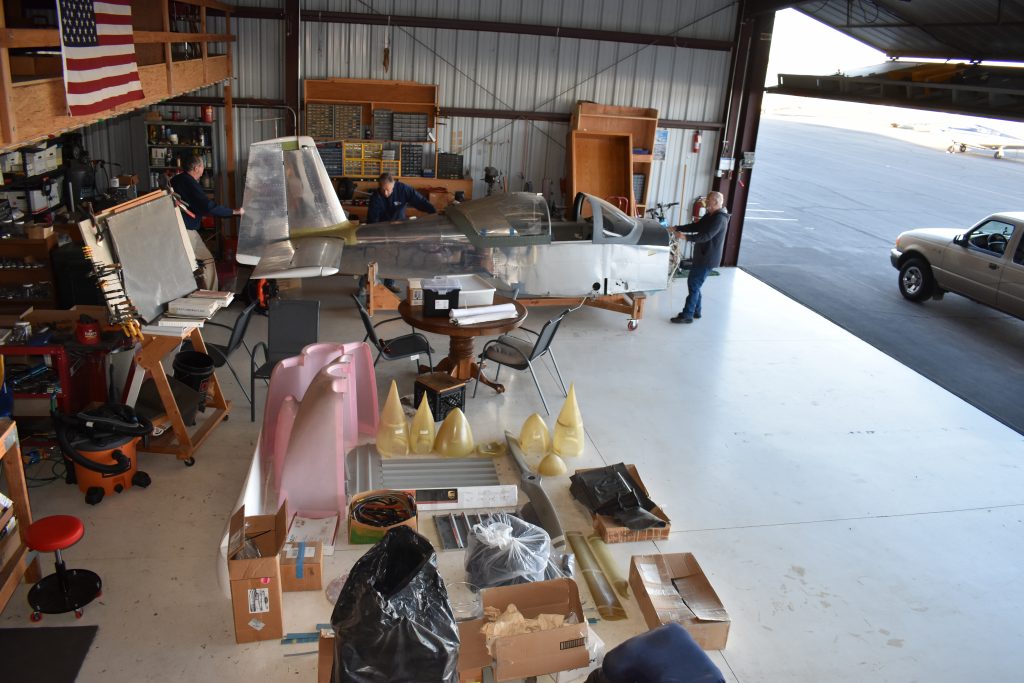
The airframe kit has arrived.

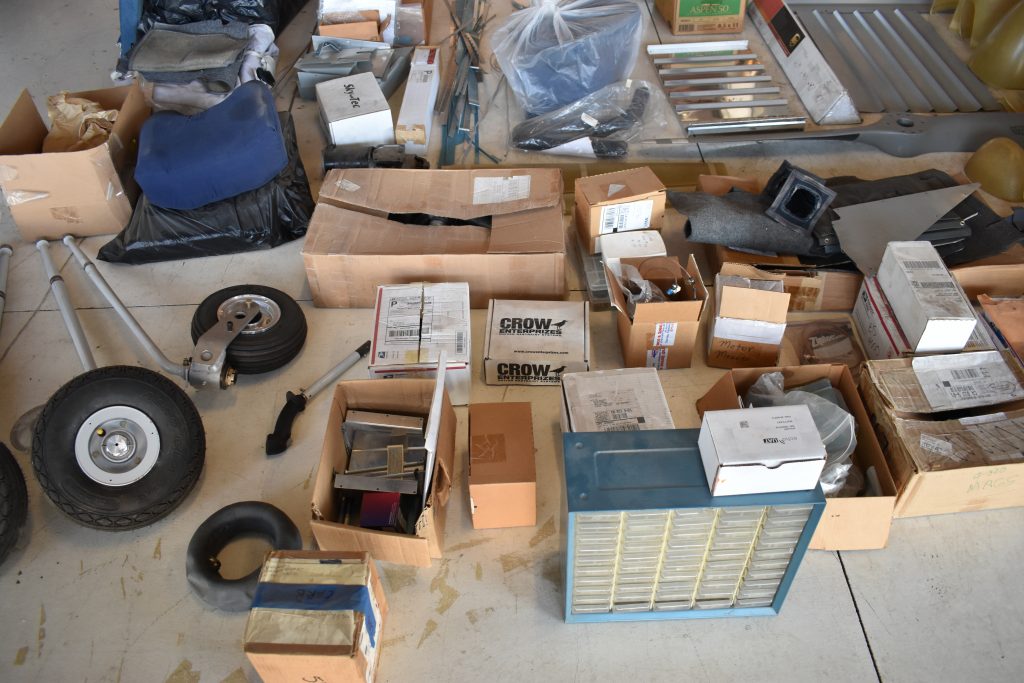
I have completed the inventory, and all is well.

Inventory Sheets

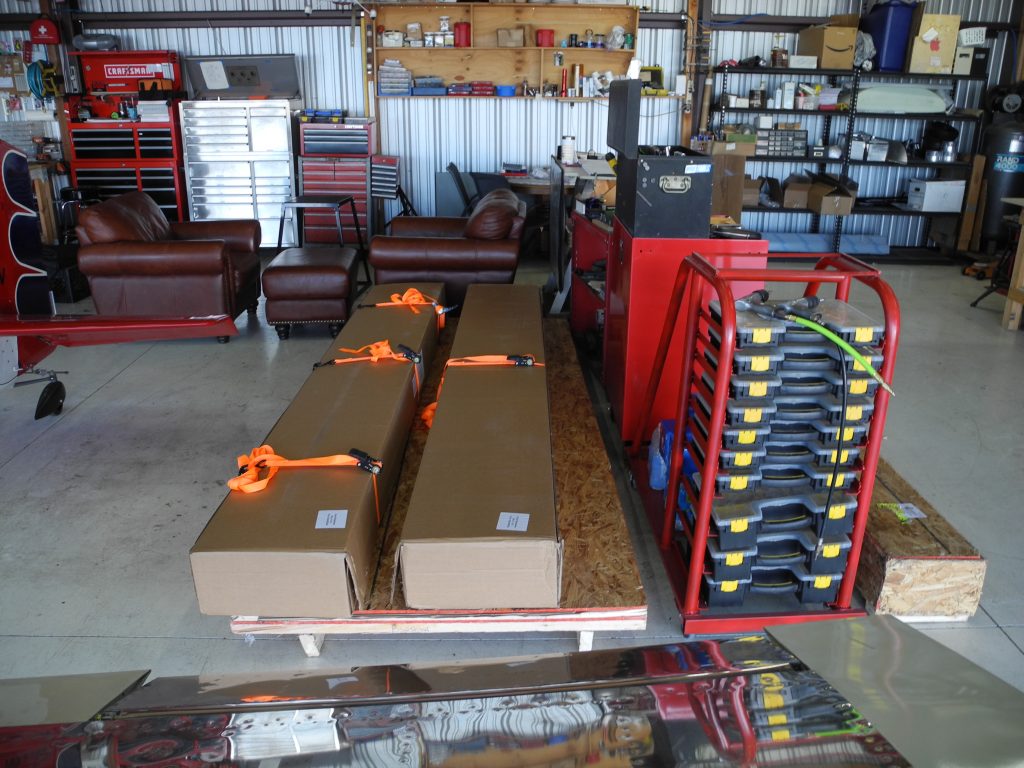
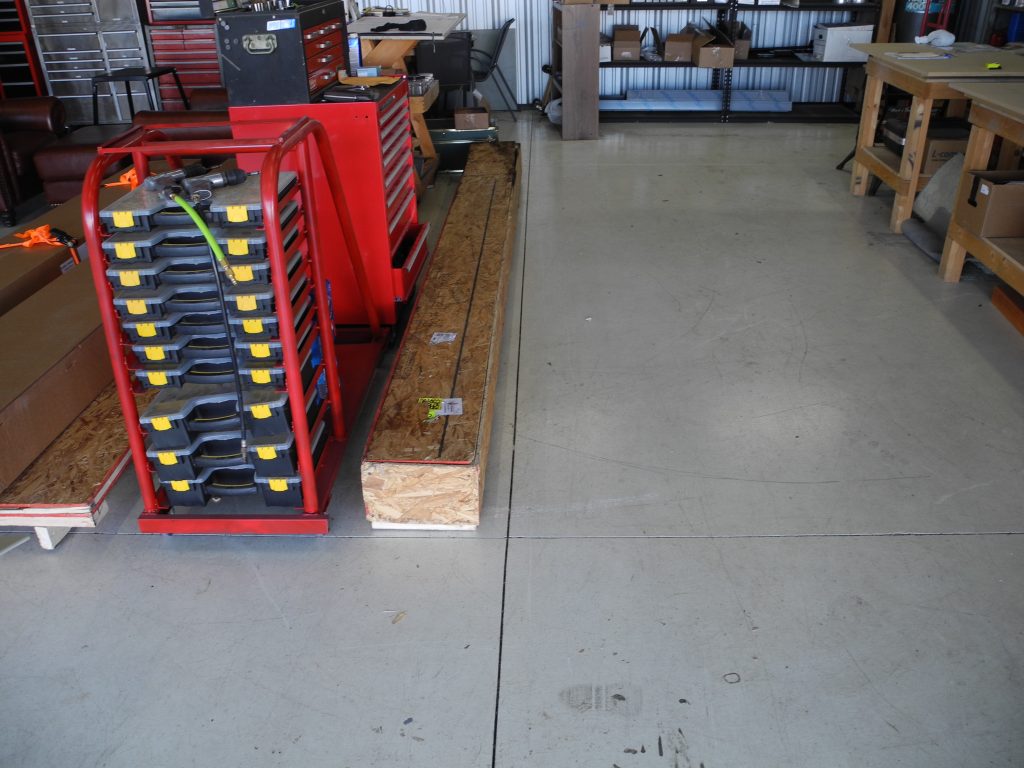
Long boxes holding skins, tubes, and angle brackets are stacked where we can get at them as required. The box with the three orange straps is holding the leading edge skins closed.

Sonex Model B

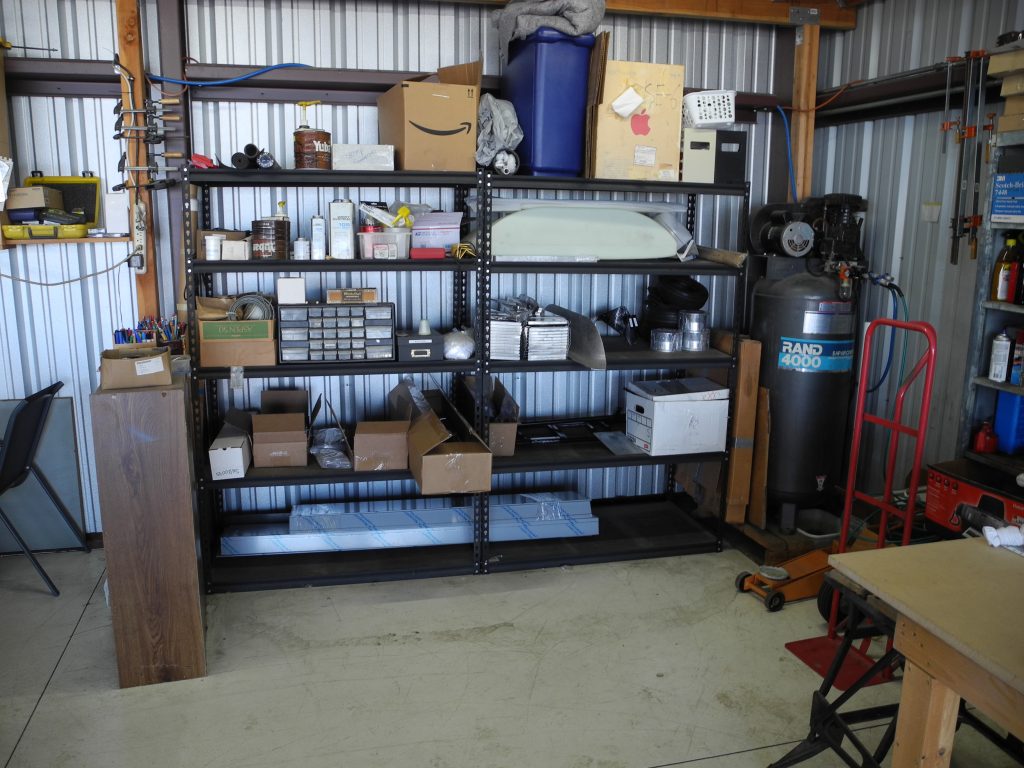
Small hardware and misc partsd are stored on shelving. This will require better organization.

Small parts

I do have some back-ordered stuff but I believe I have enough to get started. All the parts are organized to level 1 (more organization to do) but the stuff I will not need for a long time is safely stored upstairs.

The stuff I need first is right up front and almost ready to begin.

I made a mistake while doing the inventory because that would have been the best time to separate all the Wing stuff  (Wxx-xxx) from the Fuselage stuff (Fxx-xxx) and now I have to go back and do that (Level 2) Oh well, it will help with orientation.

The spars are completed and are here ready to get ribs and skin.

I’m doing the wings first because they will be easy to store while I work on the fuselage.

We start Monday.

To bend to our wills…

For the Sonex Model B there are a couple of heavy aluminum pieces that need to be bent. To do this, we really need a press. I’m at an airport with lots of experimental aircraft and many shops. Do you think I could find someone with a press? NOPE! Most folks in the experimental community and friendly and helpful. I went to shop after shop and folks were even opening other people’s shops to find a press. No luck.

So here is the request: A press is rarely used with the Sonex kits. AND require careful setup AND are hard to find, I would like to suggest that Sonex go ahead and bend the parts that need bending. They have the tools and setup (some Sonex parts do come pre bent) to ship the few bent parts we need pre bent.

Because I did not have a press, I did not build the rudder bottom first, AND I read the plans incorrectly (missed the hidden line) I incorrectly cut the notch  in the bottom rudder skin.

My first big goof.

Back on course and moving forward again.

Good Bye RV9A

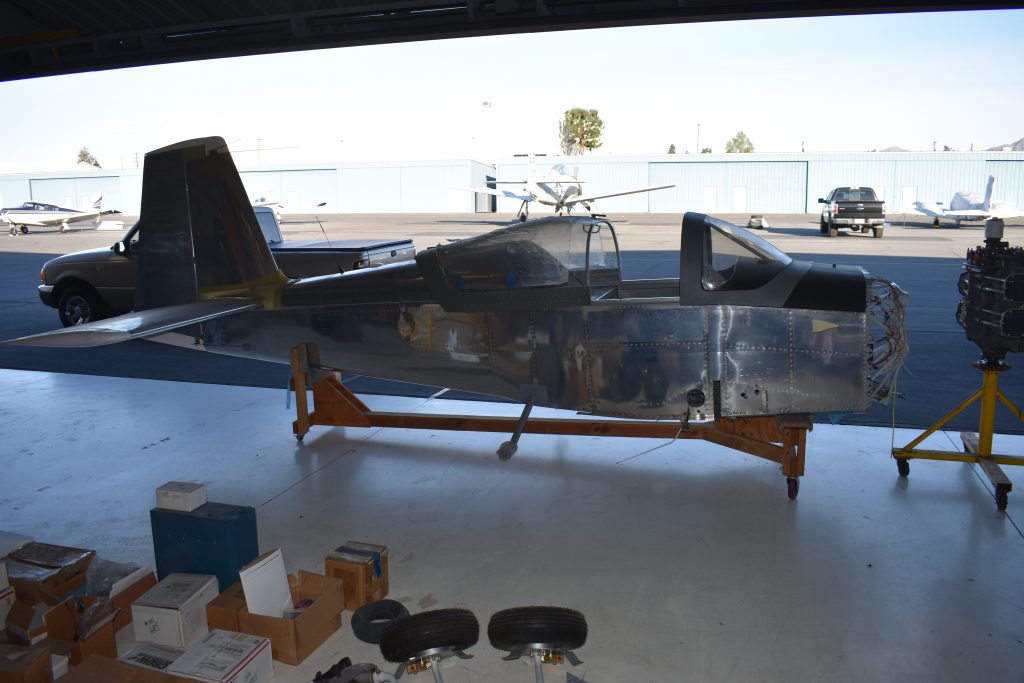
It is January 2021 and I’m still working full time and my mom needs more attention. I have not worked on my RV9A for over a year, and it looks like no work in the near future.

I visit the hanger now and then on the way home from work, and it is sad to see the project collecting dust.

An experienced builder has come along and made me an offer on the project, so I’m going to let it go. The project left the hagner for a new home on Febrary 28, 2021.

I’m sad to see it go, but glad it will be in the air in a year or so.

I’m keeping the hanger and my tools. I’ll retire in a few years and I’ll be looking for an LSA kit to build.

I’m keeping my tail number too:   N18TD

Dkb

Chasing Skirts! (Ah, to be young again!)

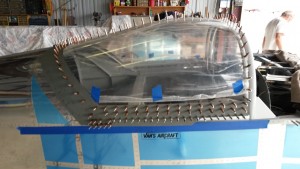
Well, we finally got to the canopy skirts and I feel we did  a pretty good job!  We talked about using fiberglass for perfection, but I deceided to go with the aluminum skirts that came with the kit. I must say I’m pretty happy.

Beautiful!

Beautiful!

The sides did require a little forming, but nothing like the back skirts!  After about 9 hours over two week-ends, we are pretty happy with the resaults.

rear skirt on RV-9A slider

rear skirt on RV-9A slider

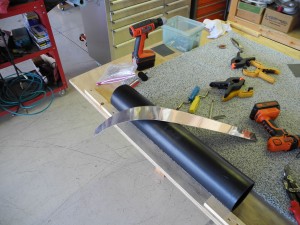
All in all, they came out pretty nice.  The secret? Get a 3 foot piece of 4″ PVC and screw it to the table top. Install the part on the plane, and make location and direction of the required bend. Remove, bend, and replace.  Repeat about a zillion times.  Be real careful with clecos because they will be going on and off a bunch of times.

Bender with scrap

Bender with test scrap.

Paneling…

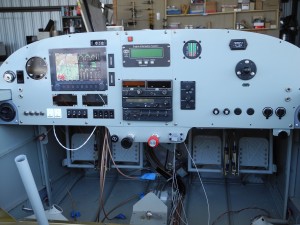
Wow. What a journey!  Here is what we have today:

RV-9A panel

RV-9A panel

All the parts are in, but we are just starting to wire the stuff. Easy to say, tough to do (at least for me) But we will move forward.

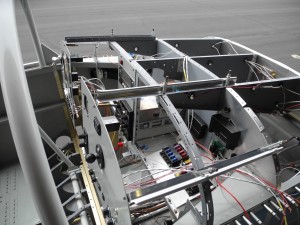
One of the design features will be the ability to pull the panel section (left, center, right) out a bit to work behind. To help with that, we have built extension to put in place while we are building to make sure the wires are long enough after installation. Here is how we did that:

Working panel supports

Working panel supports

These brackets are just to support the panel during construction.  We will move the panel back, and anchor the wires when completed.

Electrical Work…

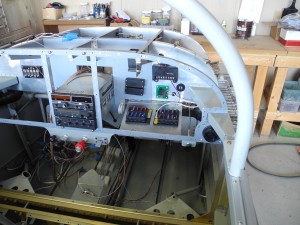
We are underway on electrical and things are going well.  Long wires are run, and we are starting panel stuff.  we installed fuses and circut breakers in this project. Two fuse boxes (essential bus and master bus) that are not available in flight. If you get an electrical short in flight, wait until you are on the ground before trying to fix it. In-flight fires can ruin your day.

The fuse blocks are mounted on a hinged flap that can be lowered by removing two screws.

We also have 4 circuit breakers on the left panel, for alternator field, flaps, trim, and auto pilot. These are the kind that can be manually pulled in case of runaway.

Fuse Cluster

Fuse Cluster

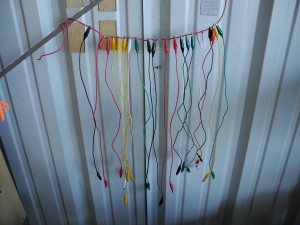
Here is a tip for electrical work.  Buy a handful of alligator jumper wires for testing and fitting. These are pretty cheap, and will help with testing before installing.

Jumper Wires

Jumper Wires

a 12V electrical test light is also a good purchase.

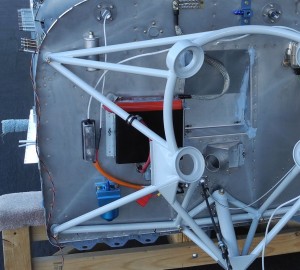
ANL fuse is mounted on the firewall, and an inline fuse for the master is connected right off the master relay contactor (orange, but hard to see in this picture)

ANL fuse on firewall

ANL fuse on firewall


Members of the panel…

Here is a look at the panel plan. Radios are in and here is what I’m looking at for flight information systems. Pretty cool huh?

RV-9A instrument panel design

Panel so far…

We started the installing tail today.

FYI: Next week-end (July 13th) is an aviation swap meet at Cable airport in SoCal. Free to get in and you get to see TONS of stuff. If you ever wondered what it takes to build an airplane, here is your chance to see the stuff it takes.

Can ya hear me now?

The radio stack is in!

We have installed the frames for the radios.  KX-155, KY97A and a KT76A transponder. Nice King stack, and the frames are in. We are adding an MC-60 digital CDI but that will be installed on the left panel, to the right of the EFIS display. If the GPS goes south, I’ll still have a NAV with CDI to use.  No wiring yet.

King Radio Stack

Radio stack

We also installed the engine monitor, the EIS4000 from Grand Rapid Technologies.  By the way, these guys are GREAT to work with and they have really superior customer service! I still have room on the center section to add the warning light for the EIS, a COM switch, and maybe some other switches. Left panel will be busy!  I’m hoping to add an iFLY 720 with AHRS for the GPS backup on the right.  The iFLY is also a really great electronic flight bag.  Check out iFLY for more info.