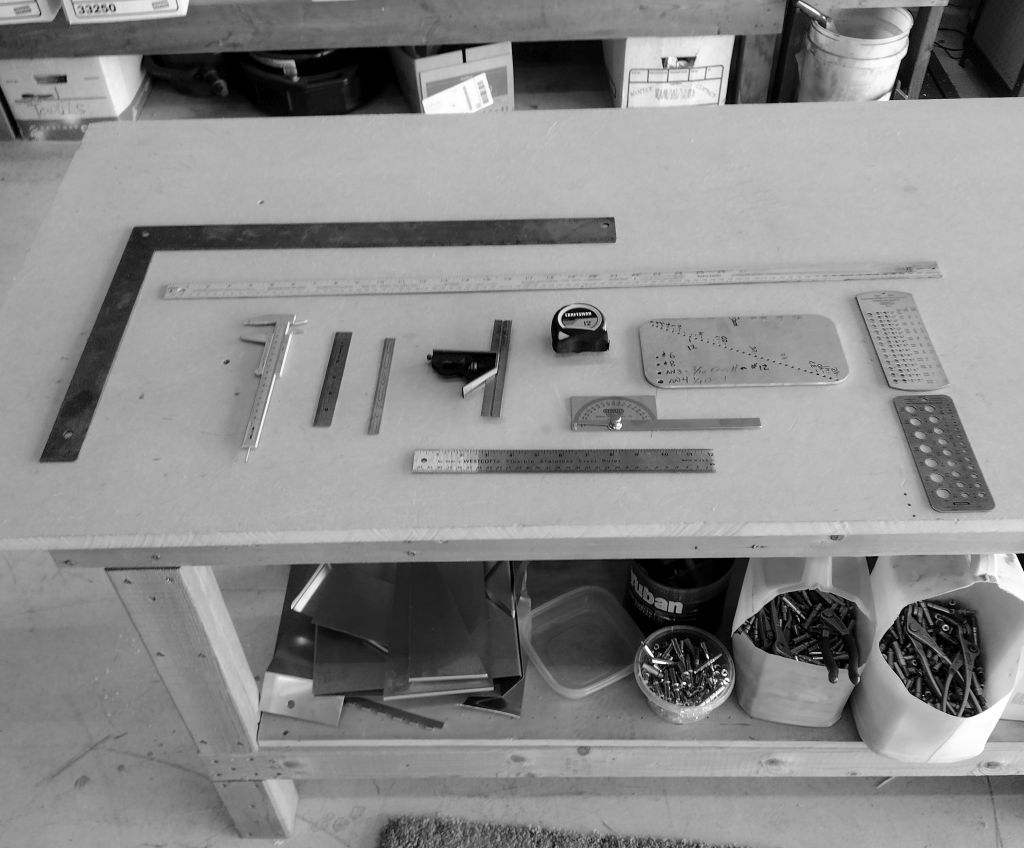
Even though most modern airplane kits are pre-punched, pre-drilled, pre-bent, pre-welded and pre-machined there is still a signifiacnt amount of measureing to do. Do you need high presicion tools like micrometers? Not really, but a collection of good quality measuring tools will be required.
Note: I’m building in the backwards country of the United States and my kit came from the US. My measurements are in inches and feet so my tools are measured in these increments. If you are in a more advanced county, with your kit from there, your tools will probably be in metric.
Squares: You will need two: a large square (18 inches or more) and a small adjustable square (12 inches or less)
Quality tape measure: I suggest a small measure (12 feet or less) and a long one (25 foot)
Steel rules: I suggest three. I use a 48 inch with 1/8 increments. I have a 12 inch steel rule and finally a couple of 6 inch rules measuring increments of 16, 32 and 64th increments (you never really need 64th increments on a modern kits).
Caliper: I have a plastic 6 inch caliper and the plastic ones are fine for kit building. Don’t know how to read a caliper? Digital calipers are available at a relative low cost.
Protractor: A good quality steel adjustable protractor is cool, but a simple plastic one will do.
Bolt Gauge: A template to measure both bolt size and length is important. Plastic ones for both metric and SAE are available for a very low cost. The one you see in the picture is from Van’s Aircraft and came with my RV-9A kit. Many are available for under $15 USD.
Drill Gauges: If you are careful with storage and can read very tiny lettering on drill bits, you probably do not need a drill gauge. If you do need a drill gauge be sure to get two; one that reads fractional bit sizes and one that reads numbered bits.
Finally, marking measurements on aluminum can be done with blue or red sharpies. Blue or red ink will make sure you can clearly read the mark, and sharpie ink is easily removed from aluminum with acetone.

