About admin

Computer geek since we programmed on cards. My first real computer was an Apple II+ and IBM 4341's (a pair of them)

Jaws of Life, Death and other things…

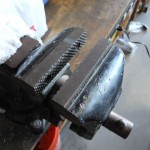
Yikes! I have a butt-kicking vise in my shop that will grab a hunk of metal, and hold on like a Gila monster!

Jaws of vise

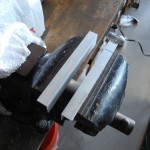
But sometimes, you want to hold something a bit easier, and not make marks in the item clamped in the vise.  A simple solution is to cut a 3/4 by 3/4 angle into a 4 to 6″ length. Place that in the vise, and voila!  An easy holder for small parts.

Aluminum insert for vise clamping.

Aluminum inserts

But wait. These baby’s are always falling out and on to the floor every time I try to put something into them.   So, HERE IS THE TRICK:

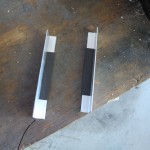
Buy some self-stick magnets from your local stationary store, and cut to size, and glue them on to the angle.  They stay in place, and make it easy to move the insert around.

Vise Inserts with magnets

Aluminum vise jaw inserts with magnets.

Remember to put the magnets on top of the vise so you do not try to squeeze them.

CC

Removing a Drill Chuck…

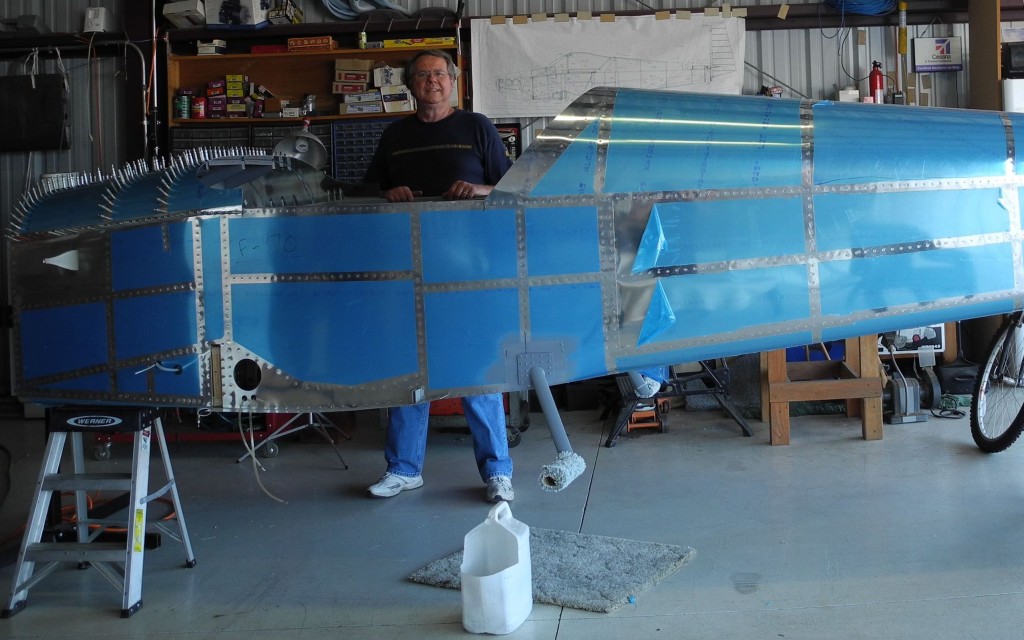
First of all, we have mounted the battery box on the firewall, and are working to finish the Panel Frame. I bought the Affordable Panels XL three piece panel and I’m very happy with the fit and finish. We are building the substructure that the frame attaches to, and we will do a final mount to be ready for the panel parts. We will have some grief with the stack tho. No much room for radios with a support rib right smack in the middle!

Dave with RV-9A fuselage

Dave with Fuse

Now for a tool tip.  I had a battery drill go south, but the chuck was still good. Normally, in the old days, You would put the chuck key in the chuck, and whack it with a hammer (counter-clockwise) to cause the chuck to unscrew. BUT in the new days:

1. No chuck key
2. Drill is reversible, so just going backwards does not unscrew the chuck!

No worries. First, the chuck probably has a screw in it, so you need to open the chuck fully, and put in a screwdriver to remove the retaining screw. Here’s the secret: The screw has Left-hand threads! So turn it opposite to remove it!  Next, put the short side of an allen wrench (1/4 or so) in the chuck and whack it with a rubber mallet (counter-clockwise) and that baby will spin right off!

Forward!

Dkb


Back to the three D’s…

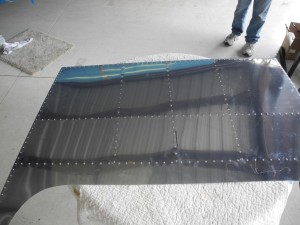
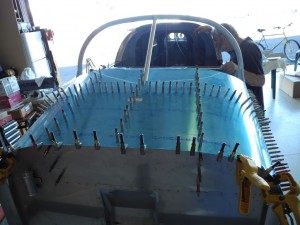
Drill, Deburr and dimple. Back to the plan. We did the top skin today. Nice!

top Skin in an RV-9A

Top skin in an RV-9A

We also installed the heater control valve, a Fire-wall pass-through, and did some additional painting. Was a nice but rainy day.  Bad day to fly, but good day in the hanger. Actually, I guess any day is a good day in the hanger.

I’m starting to think about the EMS (engine management/monitoring system). I have an EIS 4000 from Grand Rapids Technologies, but I’m also getting a Skyview from Dynon Avionics. I’m also thinking about a EFIS/EMS from MGL (the Xtreme) which would be an EMS AND a backup EFIS for not a lot of extra $$$.  I really do not want to build a plane where the panel costs as much as the rest of the plane.  Simple Avionics, (like VAL radios and Nav) and a nice simple panel that is VFR/IFR Day/Night. Maybe something like:

Dynon Skyview
2 -Val Avionice Comm radios
1- Val INS-429 NAV
King KLN-94 GPS (enroute and approach certified)
Dynon Transponder

Keep the panel under $15K?

More later.


This part shows….

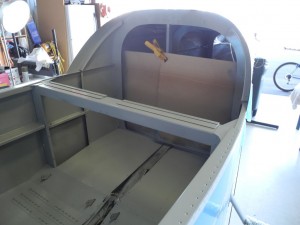
We have started painting the interior and it is turning out GREAT!  Tom has a lot of experinece wih paint, so I’m letting him do the most. Really nice too.  We are using simple shaker can paint in the inside with Dupli Color self etching primer and Rustoleum Professional Light Machine gray enamel as the top coat. Easy to put on, easy to fix and low cost.  I got the idea from Van’s Airforce where other folks have used the same.

 RV-9A Interior

RV-9A Interior

We are finishing a bunch of little detail stuff, and working on the top skin. I also bought the three part panel from Affordable Panels. I got the XL version with the extended throttle quadrant.  I have pictures of my old Skyhawk, and that is the style I’m looking for.  With digital gauges of course. The Affordable Panels guys are great to work with, but you’ll need to talk to them on the phone to get all the options. The web site is a bit out of date. Go to

http://www.affordablepanels.com/

for an impressive system. Maintenance will be a snap!


Interior paint!

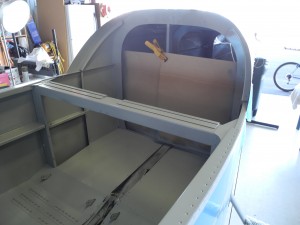
I finally got the interior paint selected and started painting. We chose Light machine Gray for the interior color. We are using Rustoleum Professional enamel and it looks GREAT!


RV 9 interior

RV 9 interior

We also installed the frame for the battery box and we are looking for a heater control valve we like.

We also glued in the air vents.  These came our really nice.


Air vent on RV-9A

Prosealed Air Vent


Top is on! (Kinda)

Today is the first offical day when folks stopped asking “Why are you building a canoe at the airport?”

My baby is looking like a real airplane!

RV-9A top panel

No more Canoe jokes!

We have painted the floor and removable siding (Rust-Oleum Professional Machinery Light Gray) and primed the rest of the cockpit. we installed the top for match-drilling and looks at the fit and finish of the pre-punched parts. Perfect of course.

I ordered the three part-panel from Affordable Panels, and we should that that in the next day or so.  I also got an ELT (old style) that will work until I get out of the 40 hour phase I.

Fuel line are in!

The four fuel lines (one from each tank, one from the valve to the electric pump and the one from the fuel pump to the Gascolator) are in!

Floor is primed, Gascolator is mounted, and we are ready to start work on ?

Plans say wings, be we are not totally done with interior basics yet.

Firewall work, and maybe paint.  *sigh* MANY small details.

Here is my hint of the day: Be sure to add a little Boelube (or oil) to the aluminum tubes when flaring. Looks MUCH smoother.

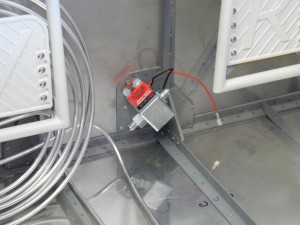
Fuel pump on firewall

Fuel Pump and lines installed.

More to come!


Engine Purchased!

On Friday, October 5th, Tom and I hopped into his truck and drove 600 miles to Green Valley, AZ. We spent a nice night in a Best Western (I really recommend these guys!) and had a nice evening walking around and enjoying the sites.

Next morning, we drove down to the hanger where Ken was waiting for us.

We spent some time discussing the 150hp motor (my new motor), his cool plane (Cessna 150 tail dragger), Ken’s work, a new 160 hp motor, a 250hp Franklin, life, fairness, faith, justice, long-distance running, kids, experimental aircraft, life-long missions, and global freedom.

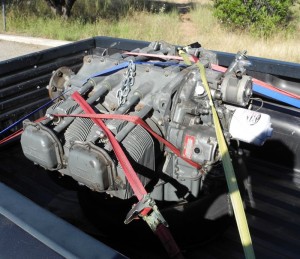
At the end of it all, I purchased a Lycoming O-320 E2A 150HP engine that is going to be the heart of Loud Emily.

Lycoming O-320 Aircraft engine

To slip these surly bonds…

Funny, but every time I see an aircraft engine strapped in for transport somewhere, I envision the engine straining at the straps, not to prevent sliding around, but to burst skyward in escape! To become free and airborne once again, as if the natural place for such an engine is in the sky.

The engine is mid-time, and my intent is to bolt it in and fly as-is. Of course, my A&P will check it out, but I’m hoping to get a few hundred hours before I add upgrades, like electronic ignition, lightweight start and alternator, etc.

So, at 9:00am on Saturday October 6th, Tom and I started the long trek home, to safely deliver the engine to my hanger, and to get home before it was too late. Oh, and the engine has a vacuum pump.

Vacuum pump? What’s that for?


Off plans…

Anytime you go off plans, it creates a bunch of work and can add significantly to the timeline. However, adding cool features is what an experimental is all about.

Now, I’m not an aeronautical engineer, so I NEVER just go off plans by myself.  I have some pretty strict rules:

1. Does the mod affect safety of flight? I never go off plans on these mods. No mater who else did.

2. Would Cessna do this? I keep this thought in the back of my head as a guideline. Cessna Safe.

3. Is this a well documented mod? Are the parts involved aircraft parts?  Like adding parking brakes.  I’m in.

4. Is the mod a kit I can buy that many others have done? My Nav lights fall into this category.  LED lights for wings and tail. Thinking about Electronic ignition.

5. Have many before me done this mod?  Flap up travel limit switch falls here and in 4 above. I may buy the kit or do the Automotive relay thing.

6. Are the risks small?  Fairings on the rudder cable go here. My Avionics tray fits here too.

7. Cost appropriate? Am I overbuilding for the plane I want?

8. Is this a Real mod or am I just fantasizing about it? Rotary Engine?  Retractable landing gear?  Three seats?  Propane operated simulated machine guns????  Wow!  Nah…


For now, I’m building a standard, 150HP Lycoming, Mags and a carburetor with a wood prop. BUT after I’m flying a bit????  We’ll see…

Dkb


This Site is run on WordPress…

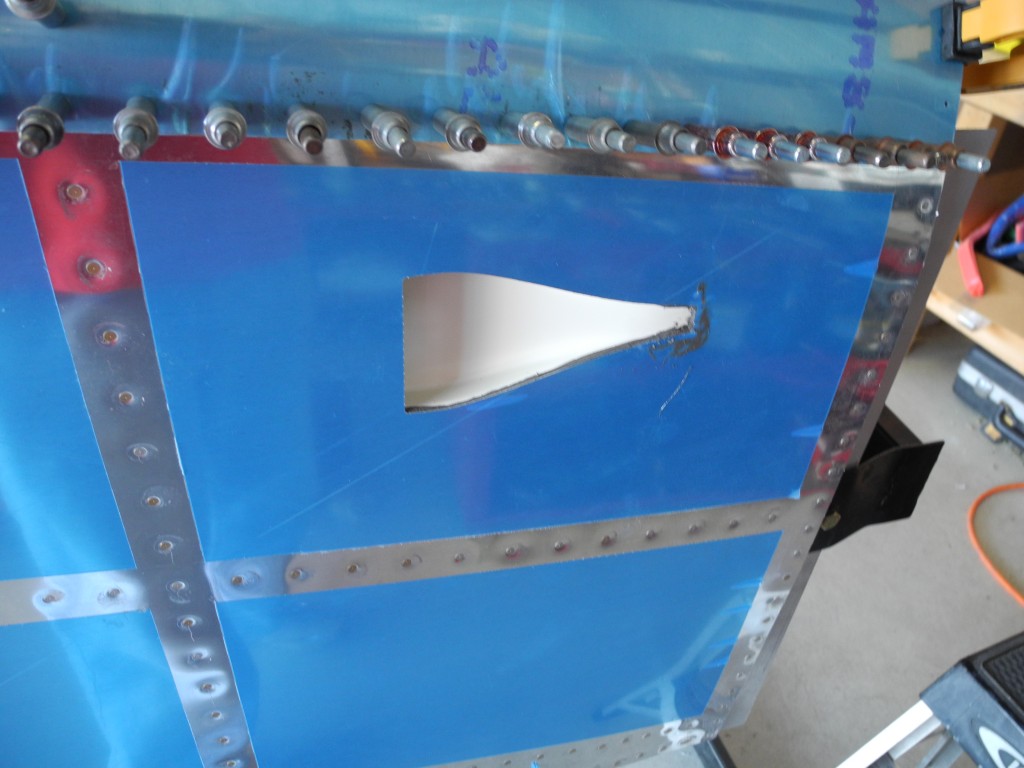
RV-9 Ribs

RV9 – Ribs

Someone asked about how this site is run and hosted.

I use WordPress for this site and I host it myself (about $70 a year including the domain registration) The theme is called “Notepad” but there are thousands of themes.

If you go to WordPress.com, you can get a free web. If you want your own domain name, add $13/yr  I always recommend that you own the domain name, no matter what path you choose.

If you want to do the whole thing yourself, I use Netfirms.com They have a one-button WordPress setup.

WordPress is very  fast to setup, easy to use, and easy to load pictures and other media.

So:

To use a WordPress site:  www.wordpress.com

To get WordPress software (free):  www.wordpress.org

To do easy self hosting: www.netfirms.com

Cheers!

Dkb