This is where I draw the line

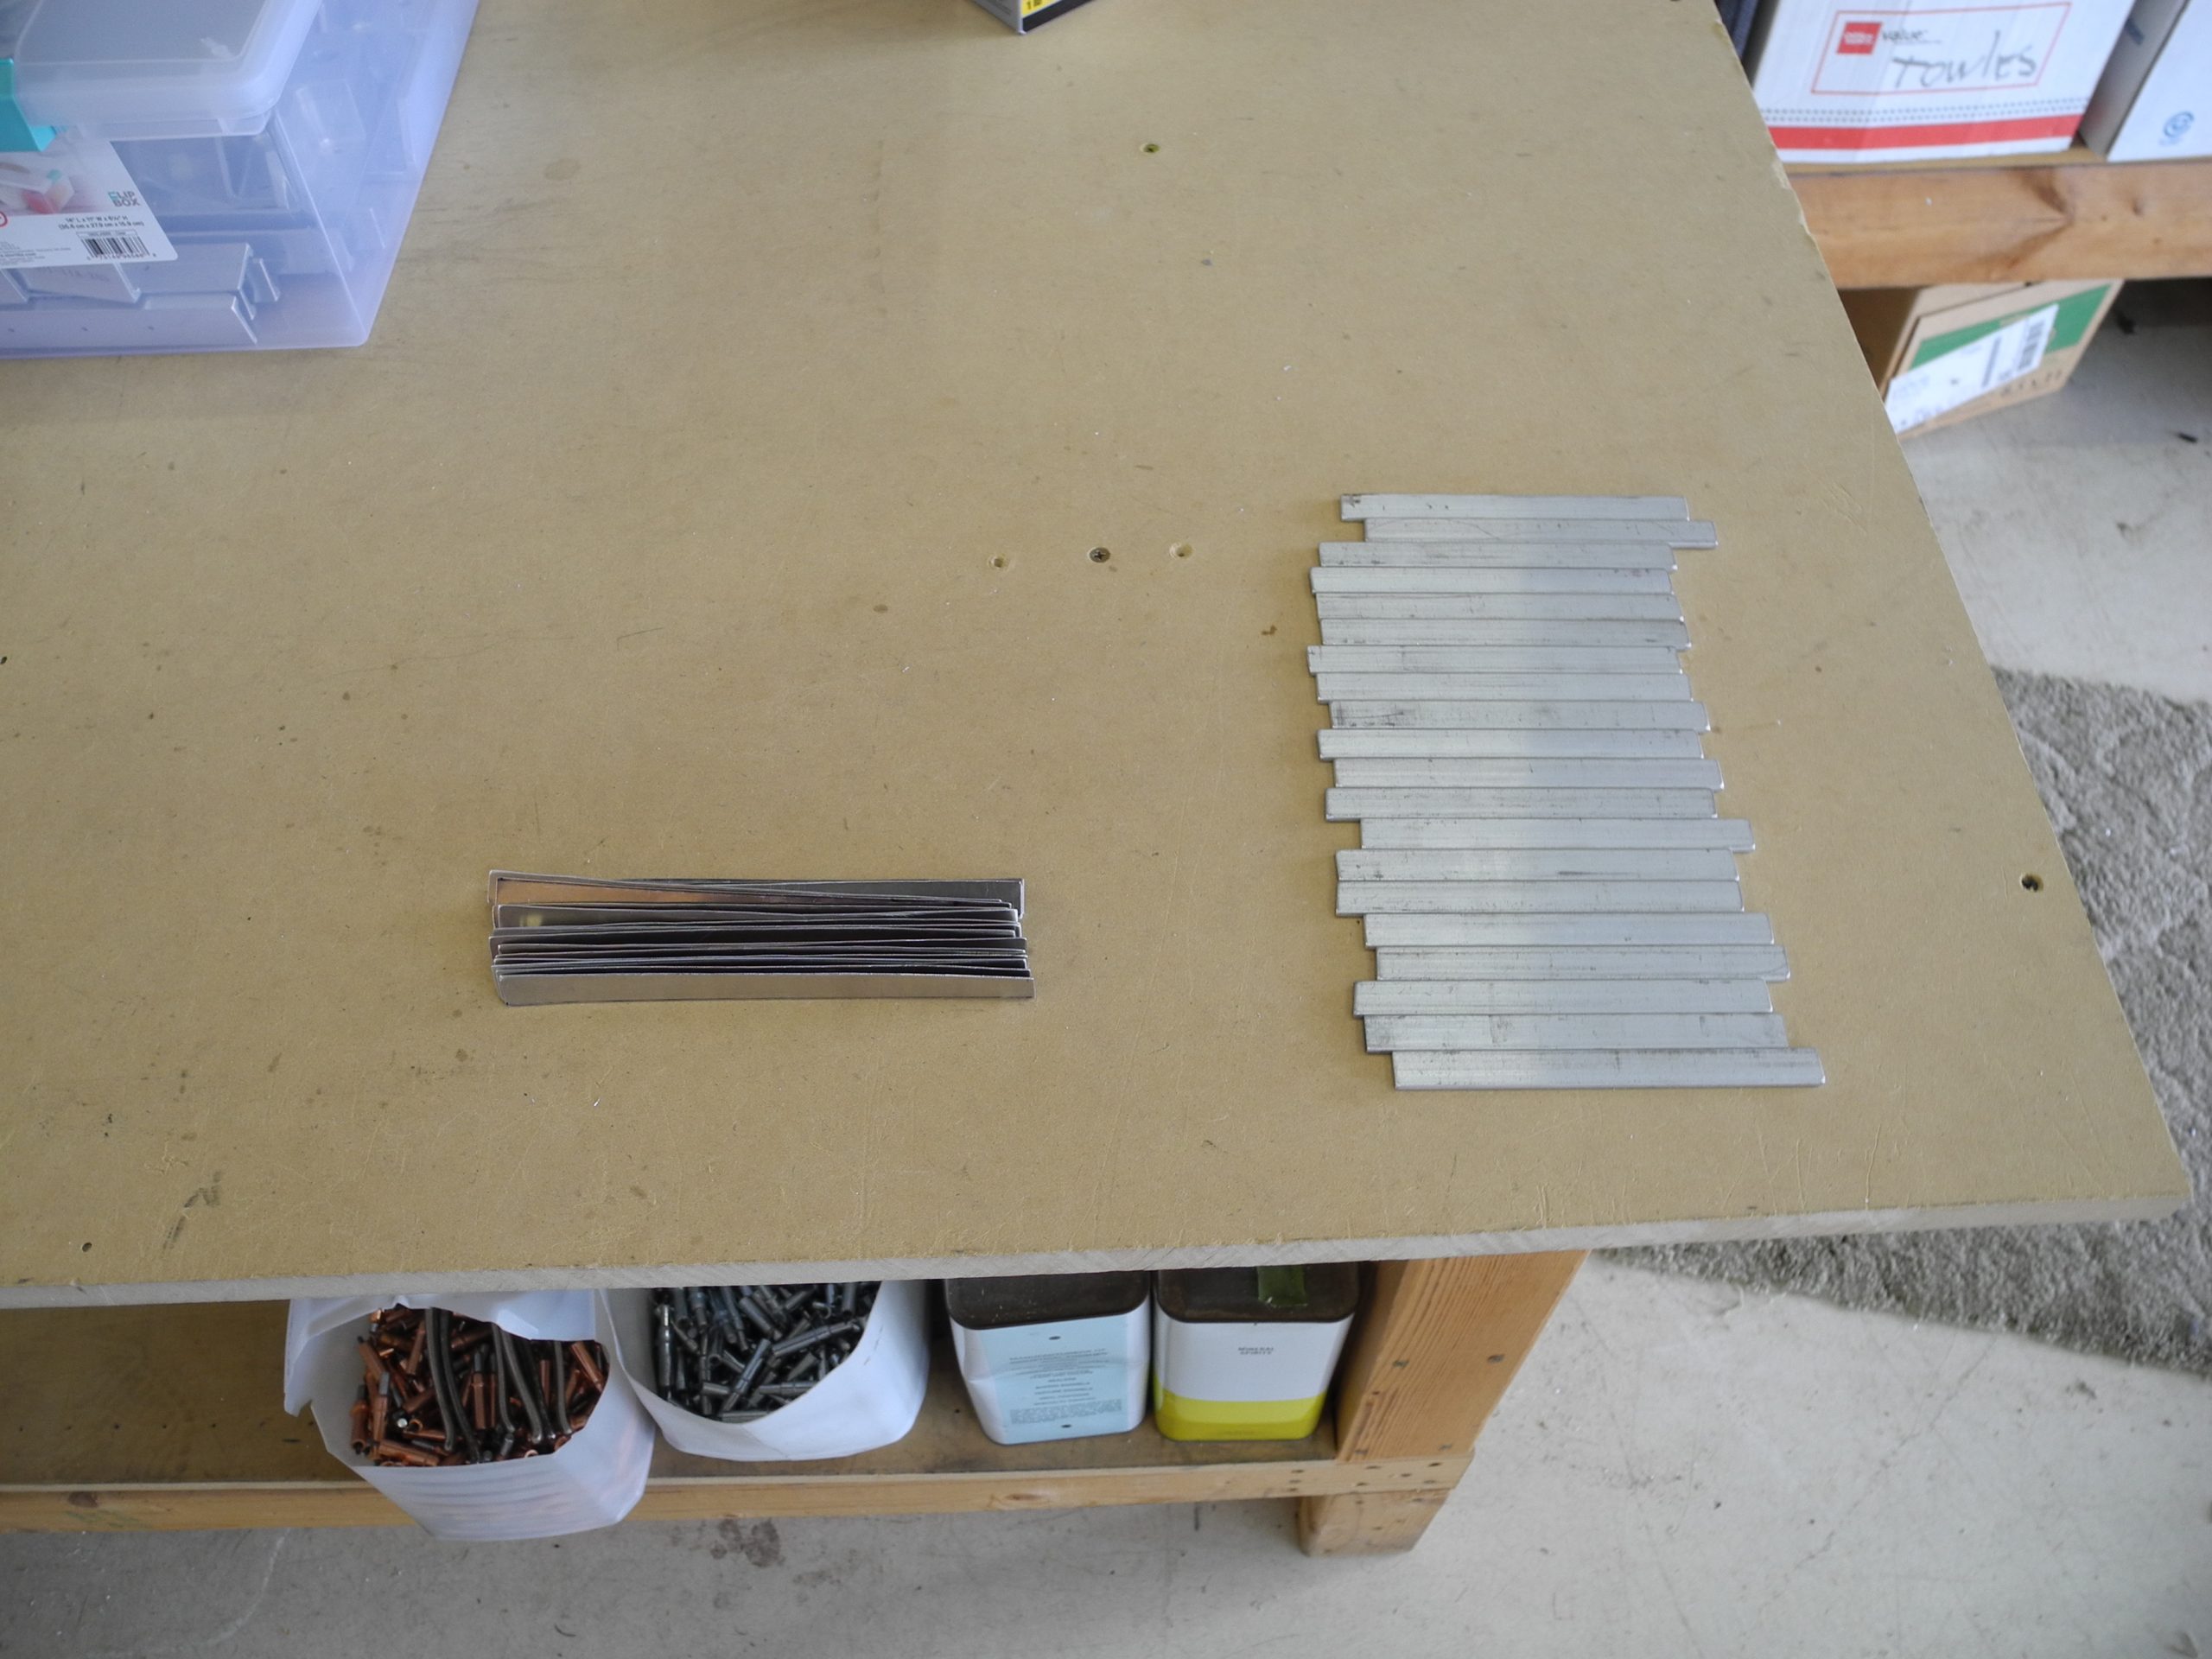
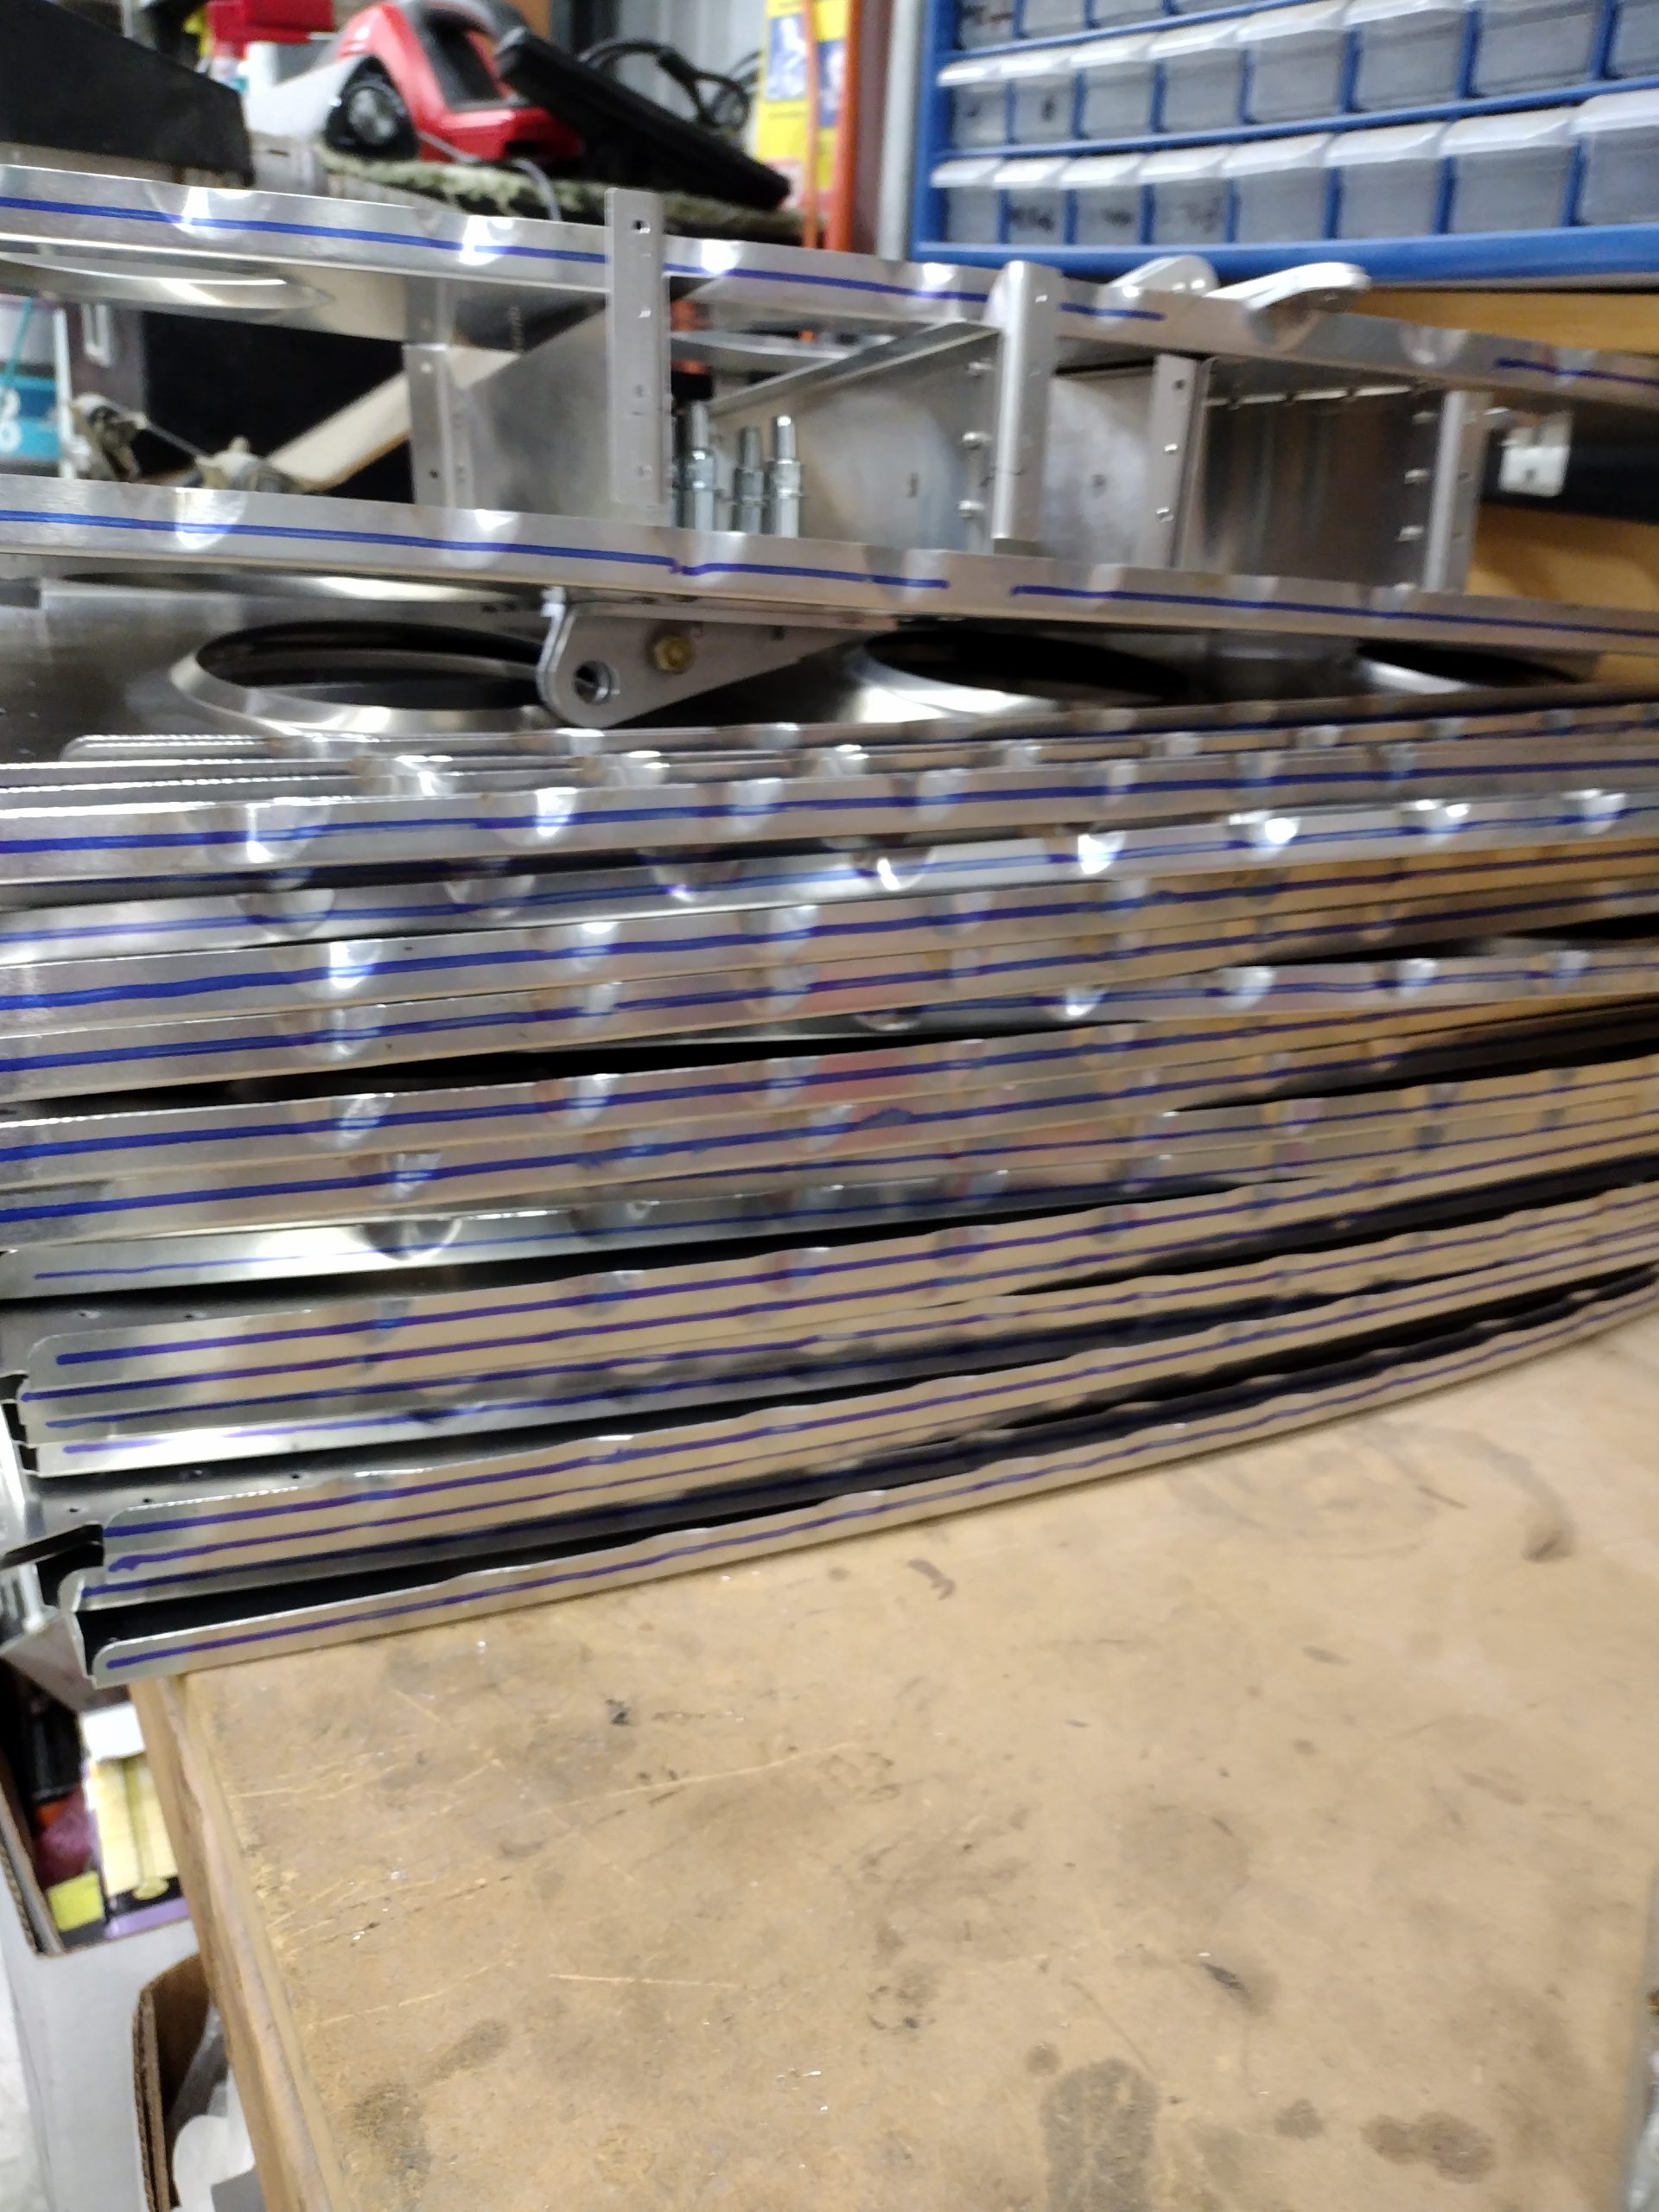
All ribs need to have a center line drawn on them for where to place skin rivets.

48 ribs, two lines per rib and Yikes! A lot of lines!

Ribs

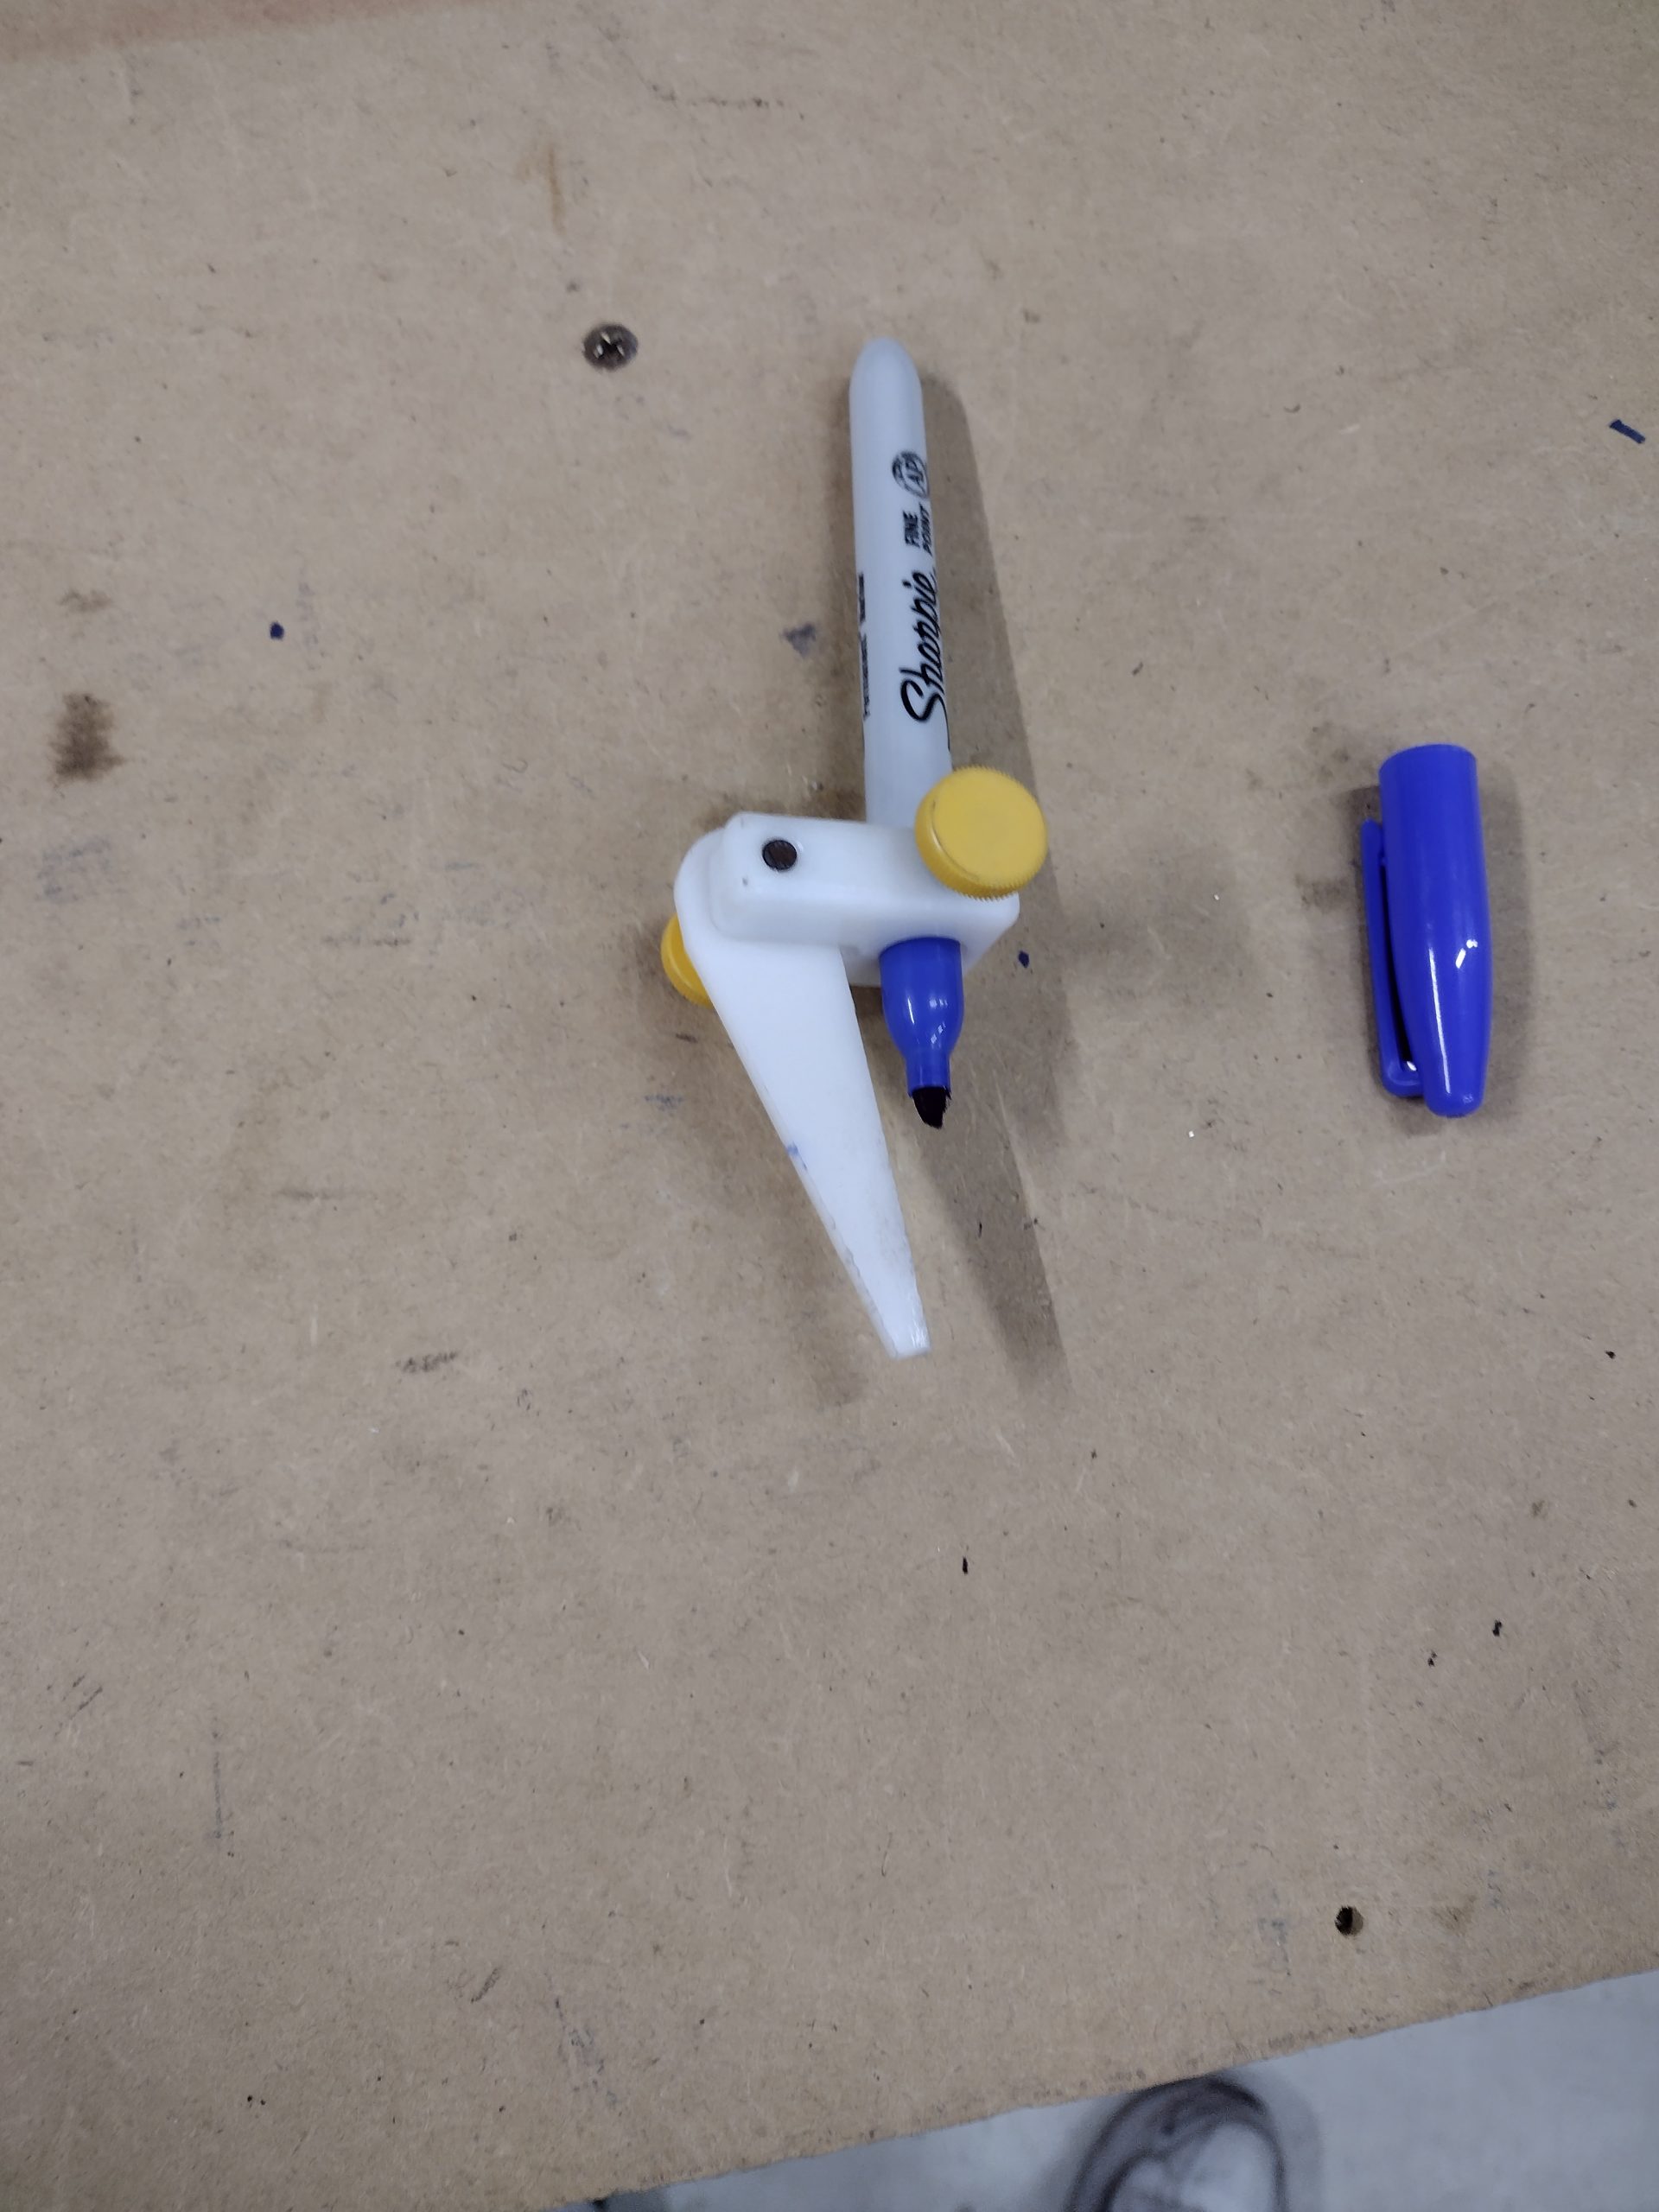
There is an EAA/Sonex Aircraft video about using a Sharpie and holding the pen with your hand.

BUT

I spent a few bucks and got a great tool!

Edge Marker Block

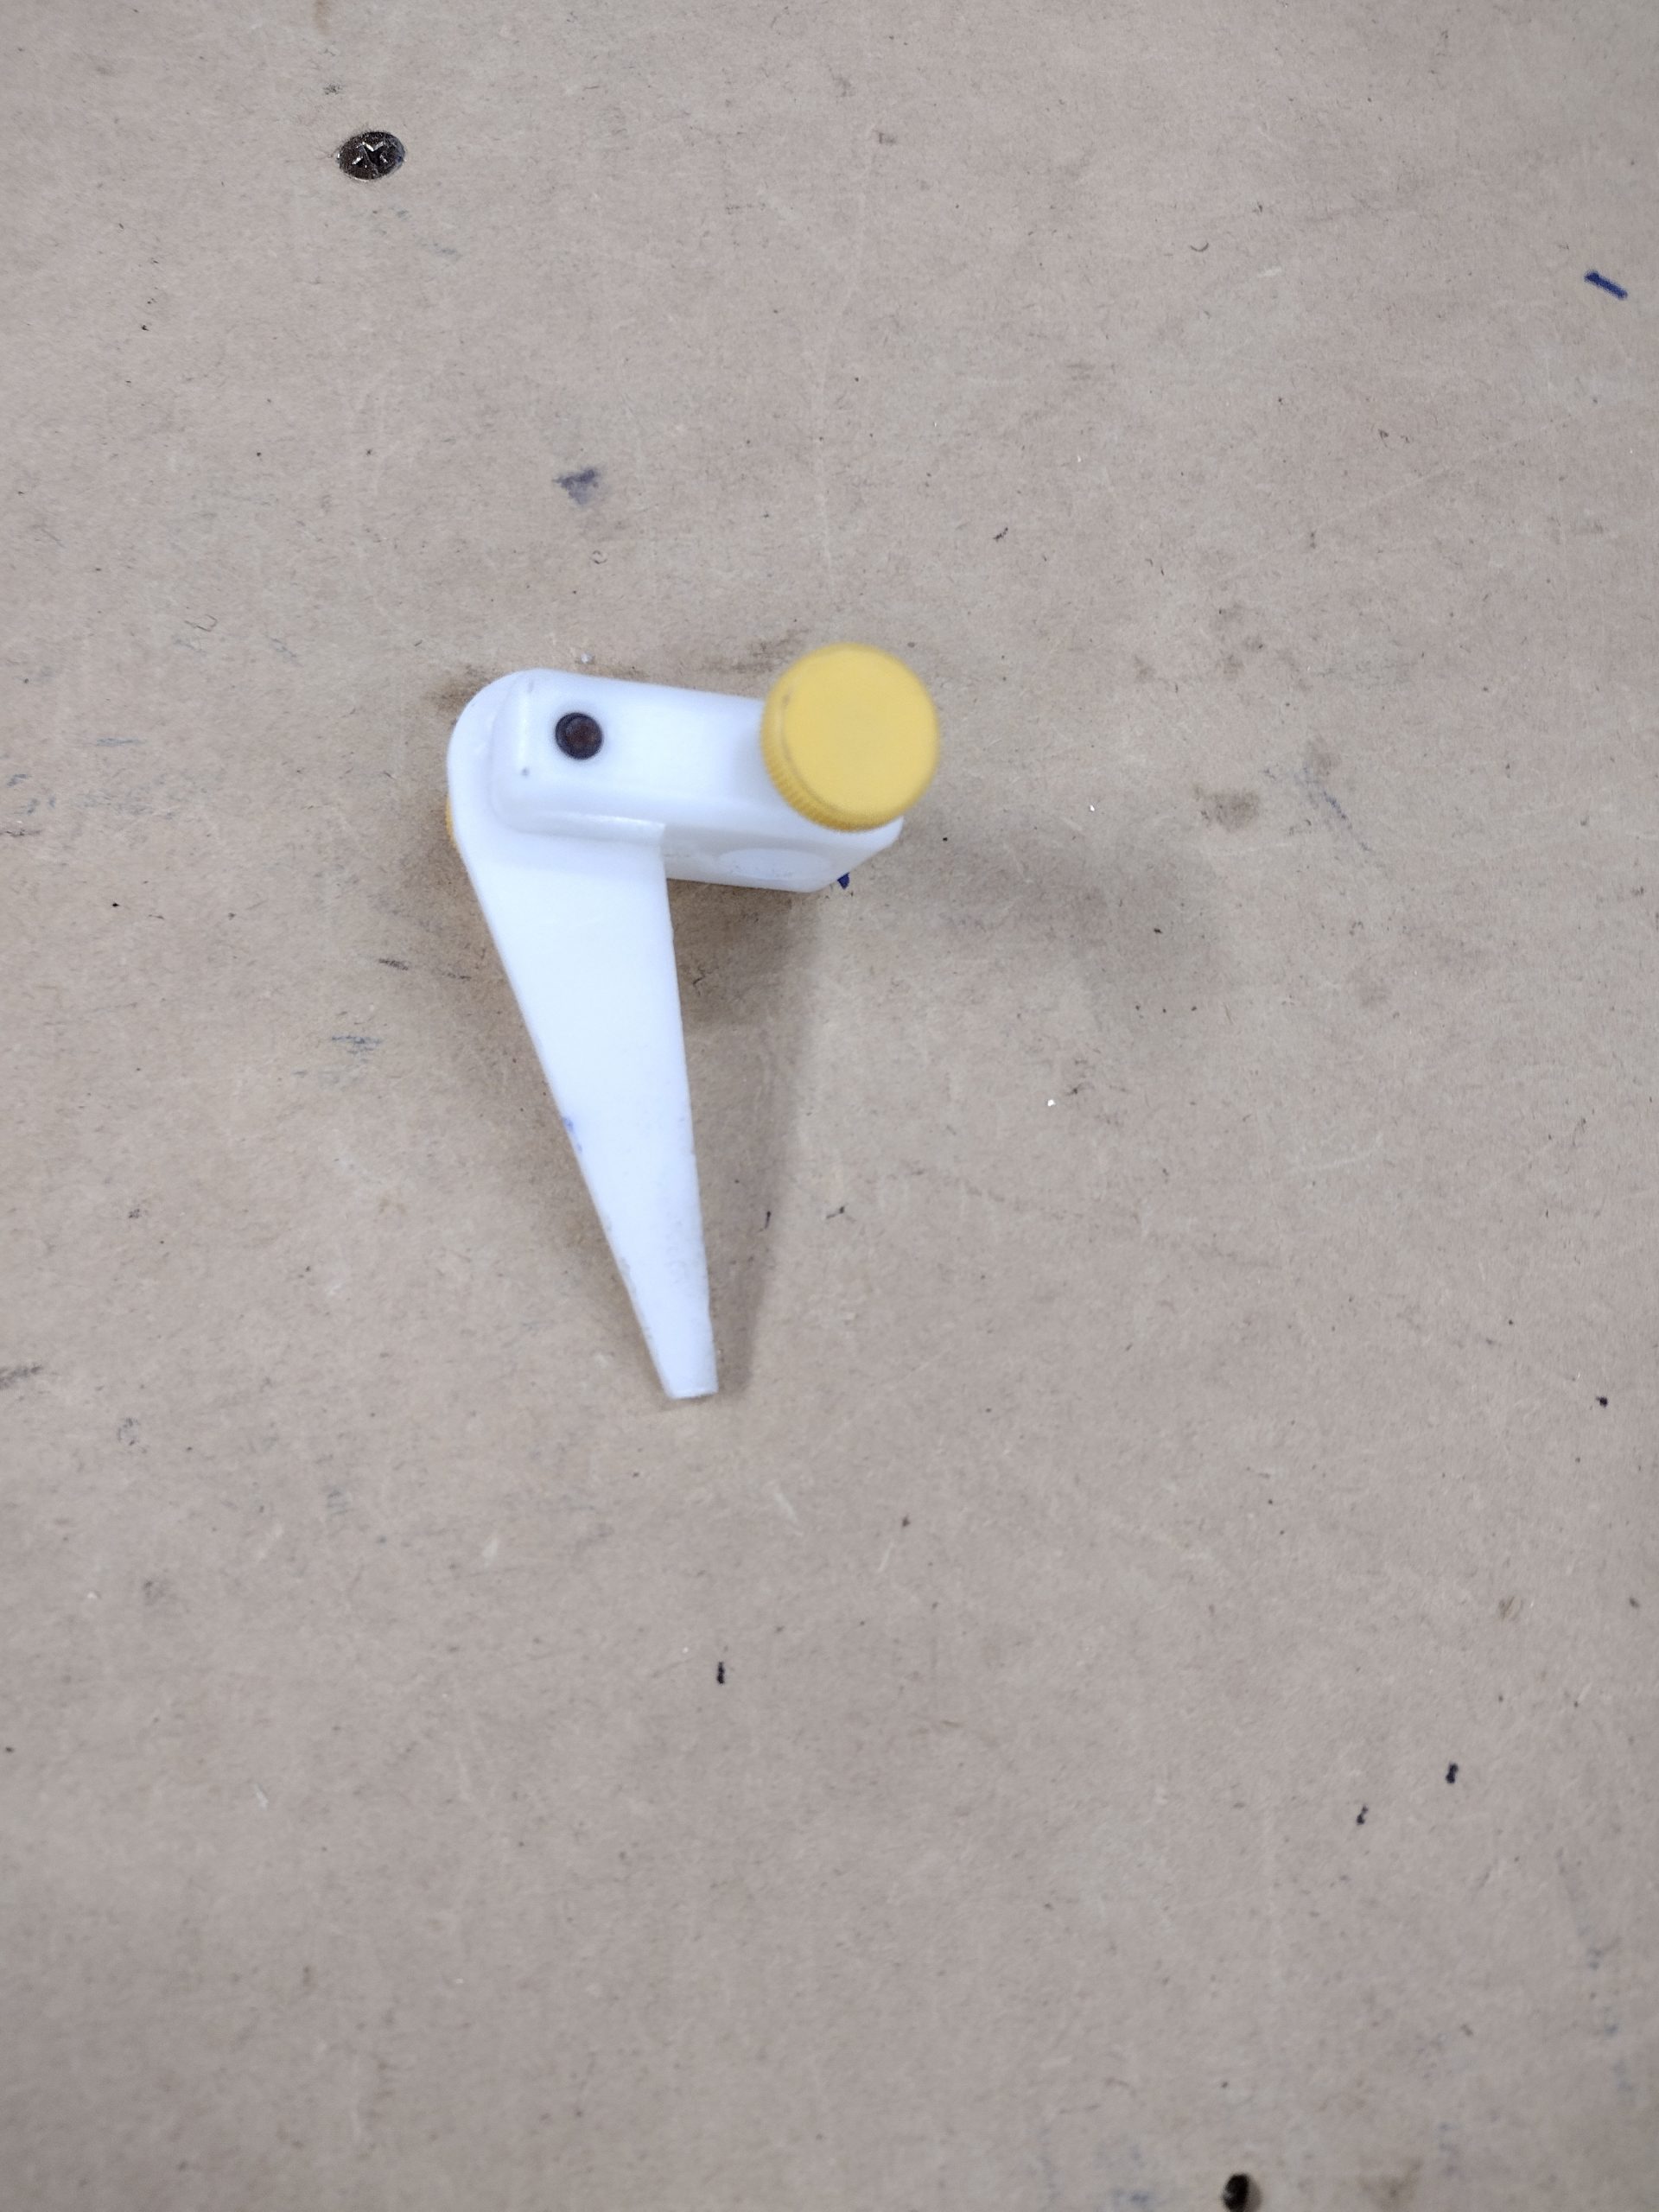
This is called an Edge Marker Block and is available from aircraftspruce.com

One guy to hold the rib, and one guy to mark the line.  Fast and easy.

Remember not to use  a black pen because blue, red or green will help you be sure you got the correct mark.

Blue Sharpie!

FYI: Here is the EAA/ Sonex Video to do this by hand.

Blue Lining a rib for installation (brightcove.net)

Wing work has begun!

Rib #9 now has the aileron bell crank in place for both left and right sides. We are currently missing the bearings so this will not be completed right now. Parts on back-order

I thought the holes were incorrectly punched but it turns out the bell crank is on different sides of the ribs for left and right.  Who knew? The PLANS knew.

Right hand bell crank. On the inside of the rib.
Left hand bell crank. On the outside of the rib.
Left hand rib.

We have some stuff on back order so we will  not be progressing at full speed just yet. We are doing what we can for now.

We are reading the plans very carefully.

Lots of little parts! Deburr and clean. Some holes to drill.
Bending a lip is VERY easy with a brake. Glad I’m not pounding these in a vise.

Lots of shims to make. Two kinds. They go between the rib and the spar.