Horizonal Stabilizer

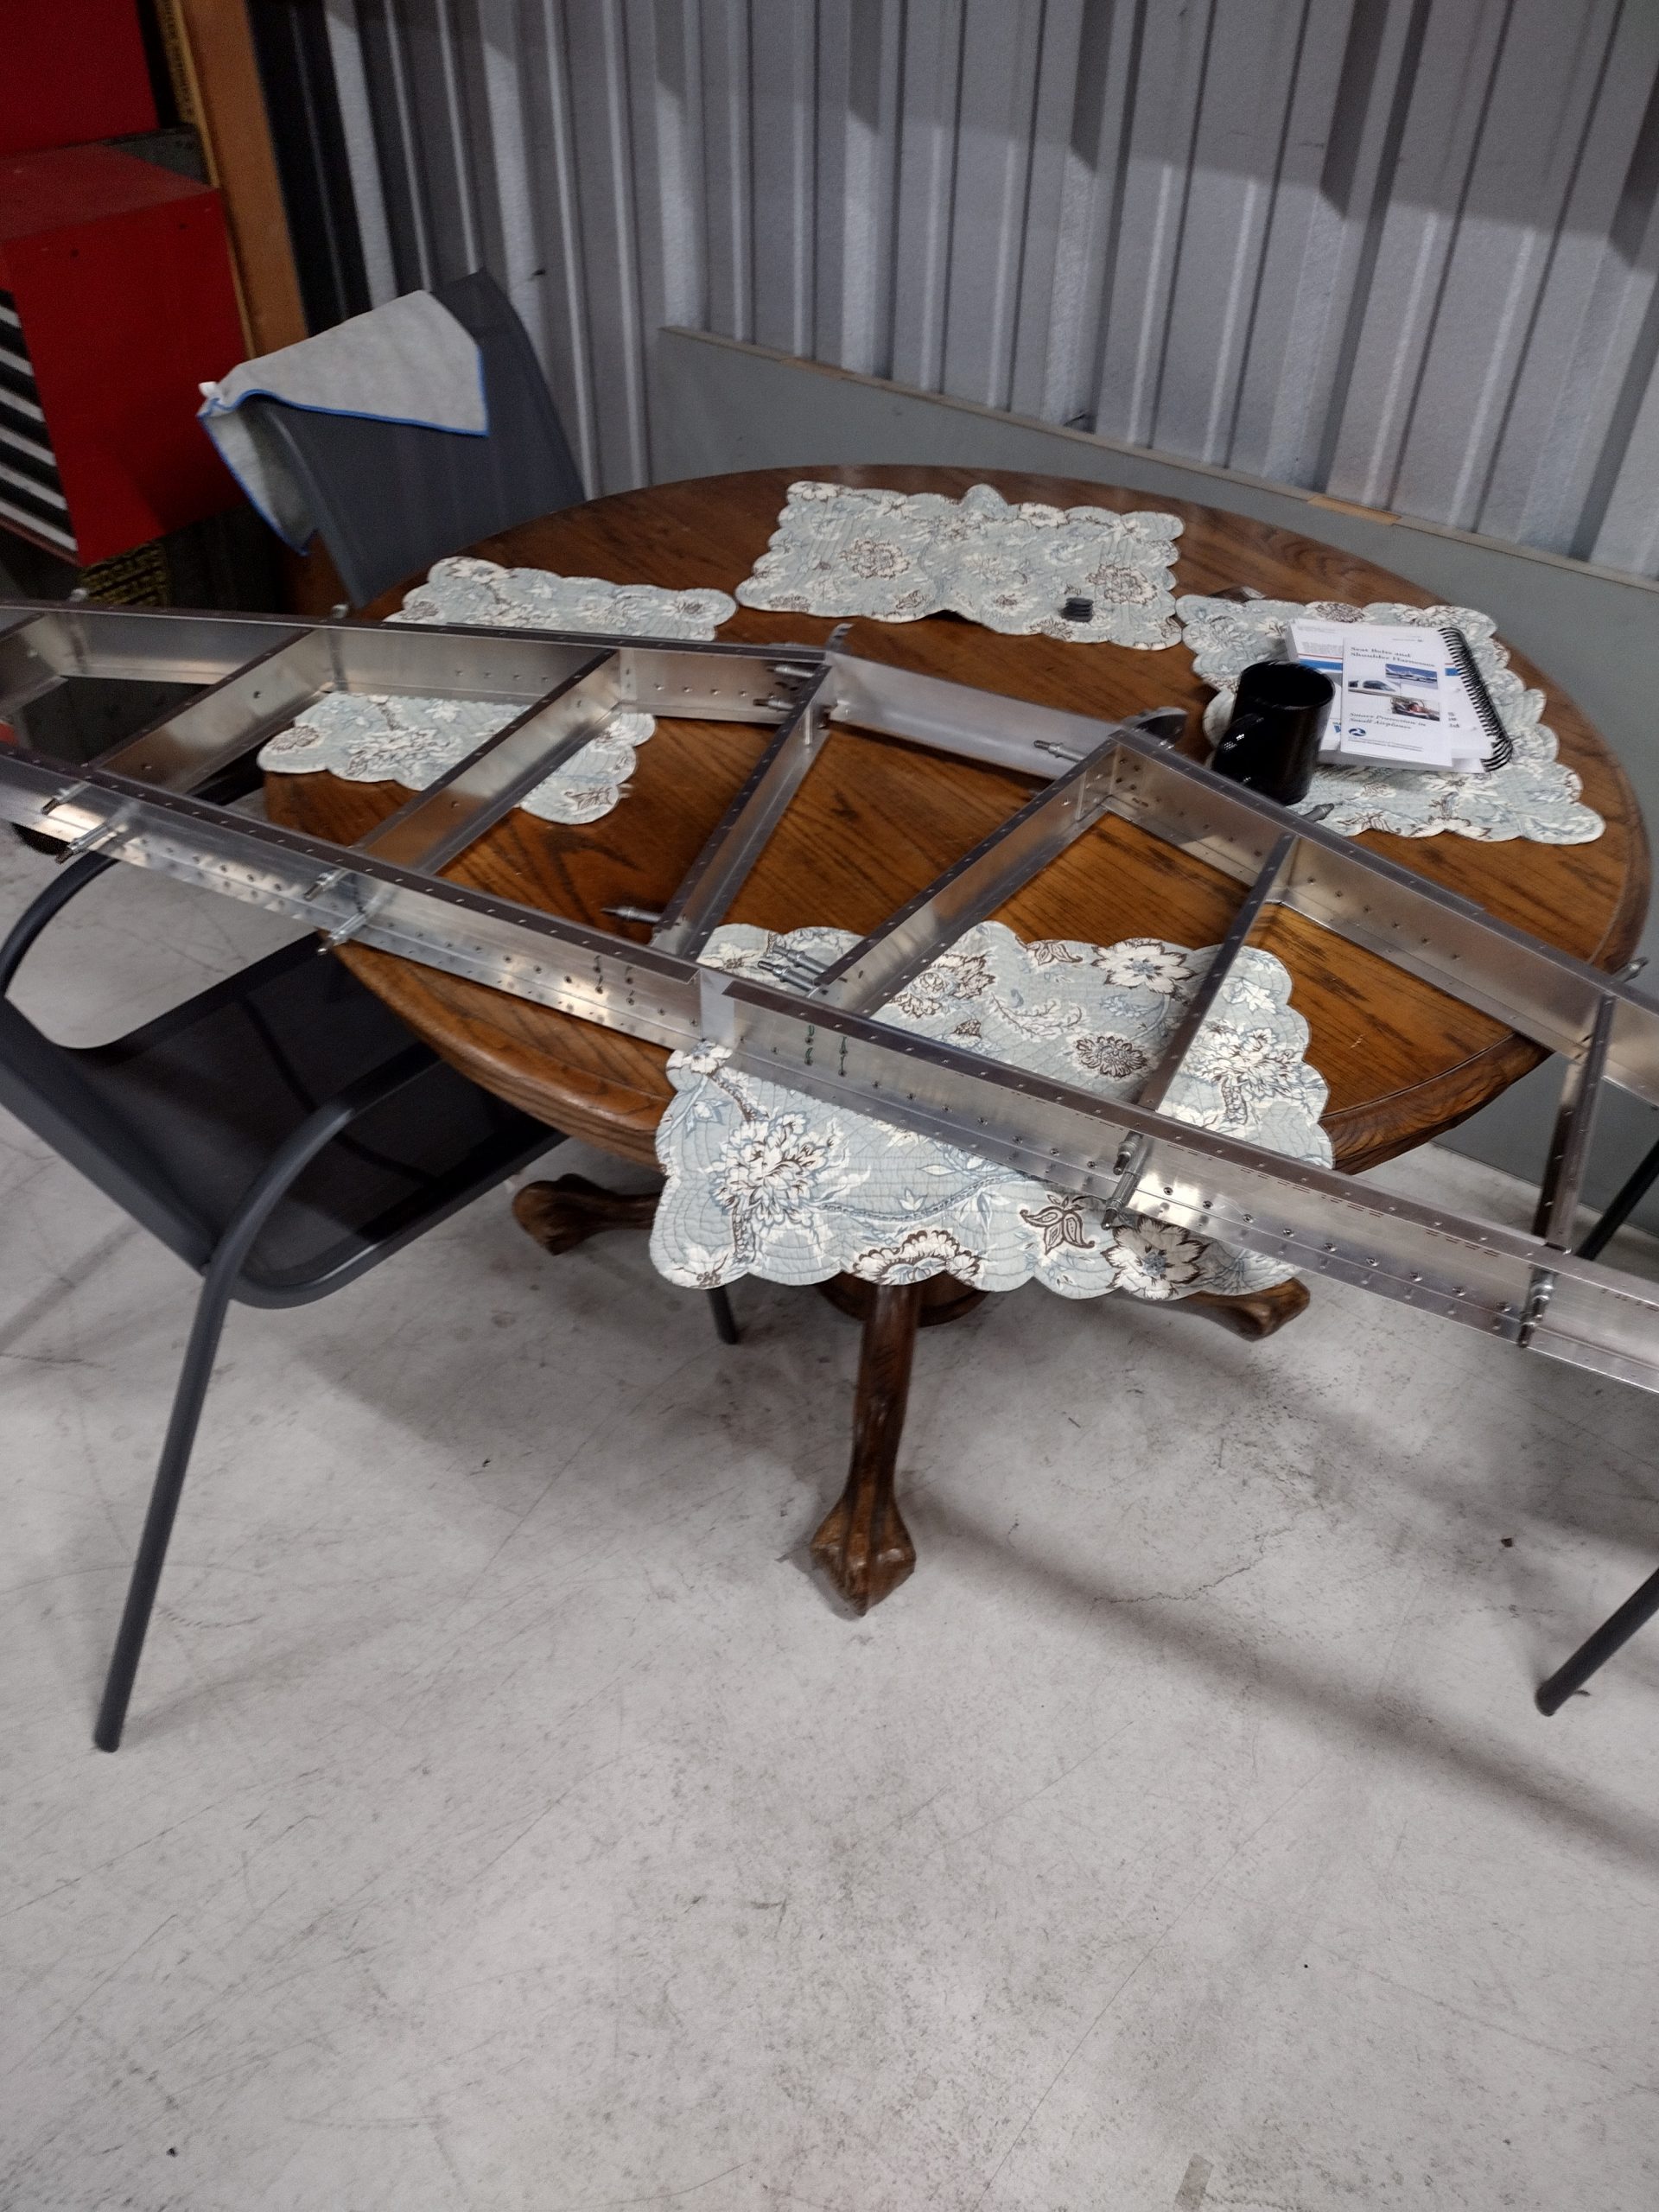
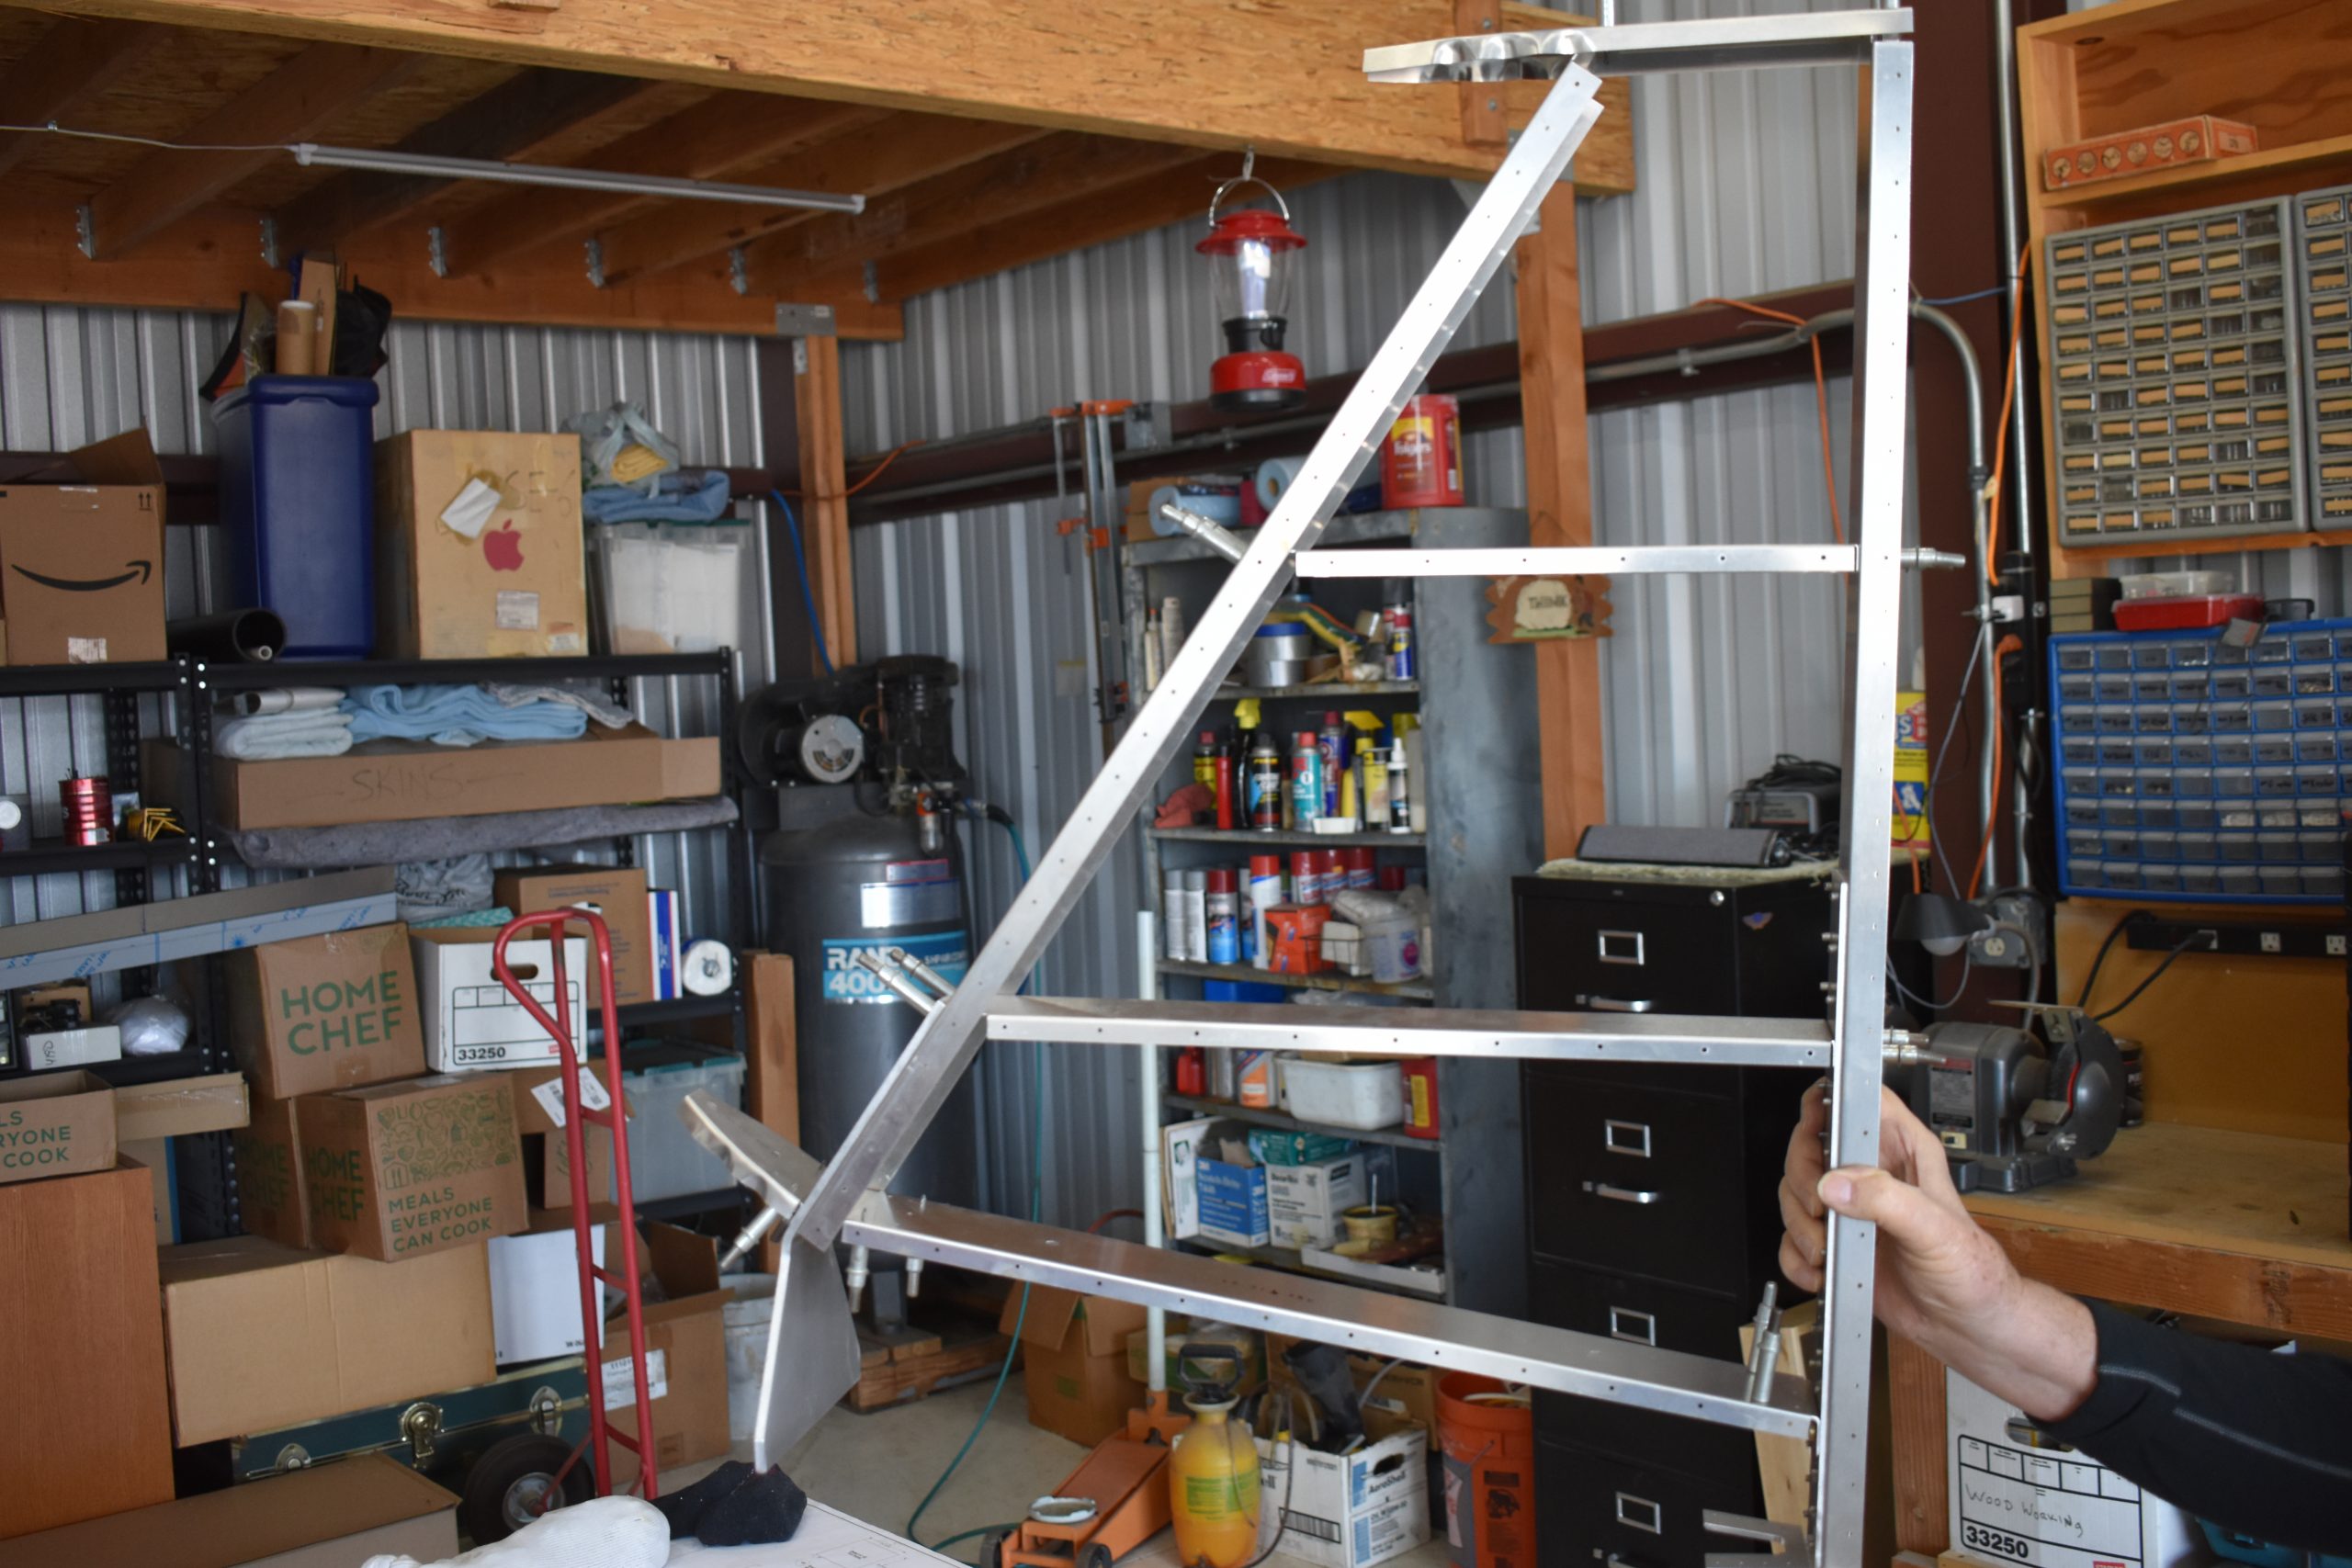
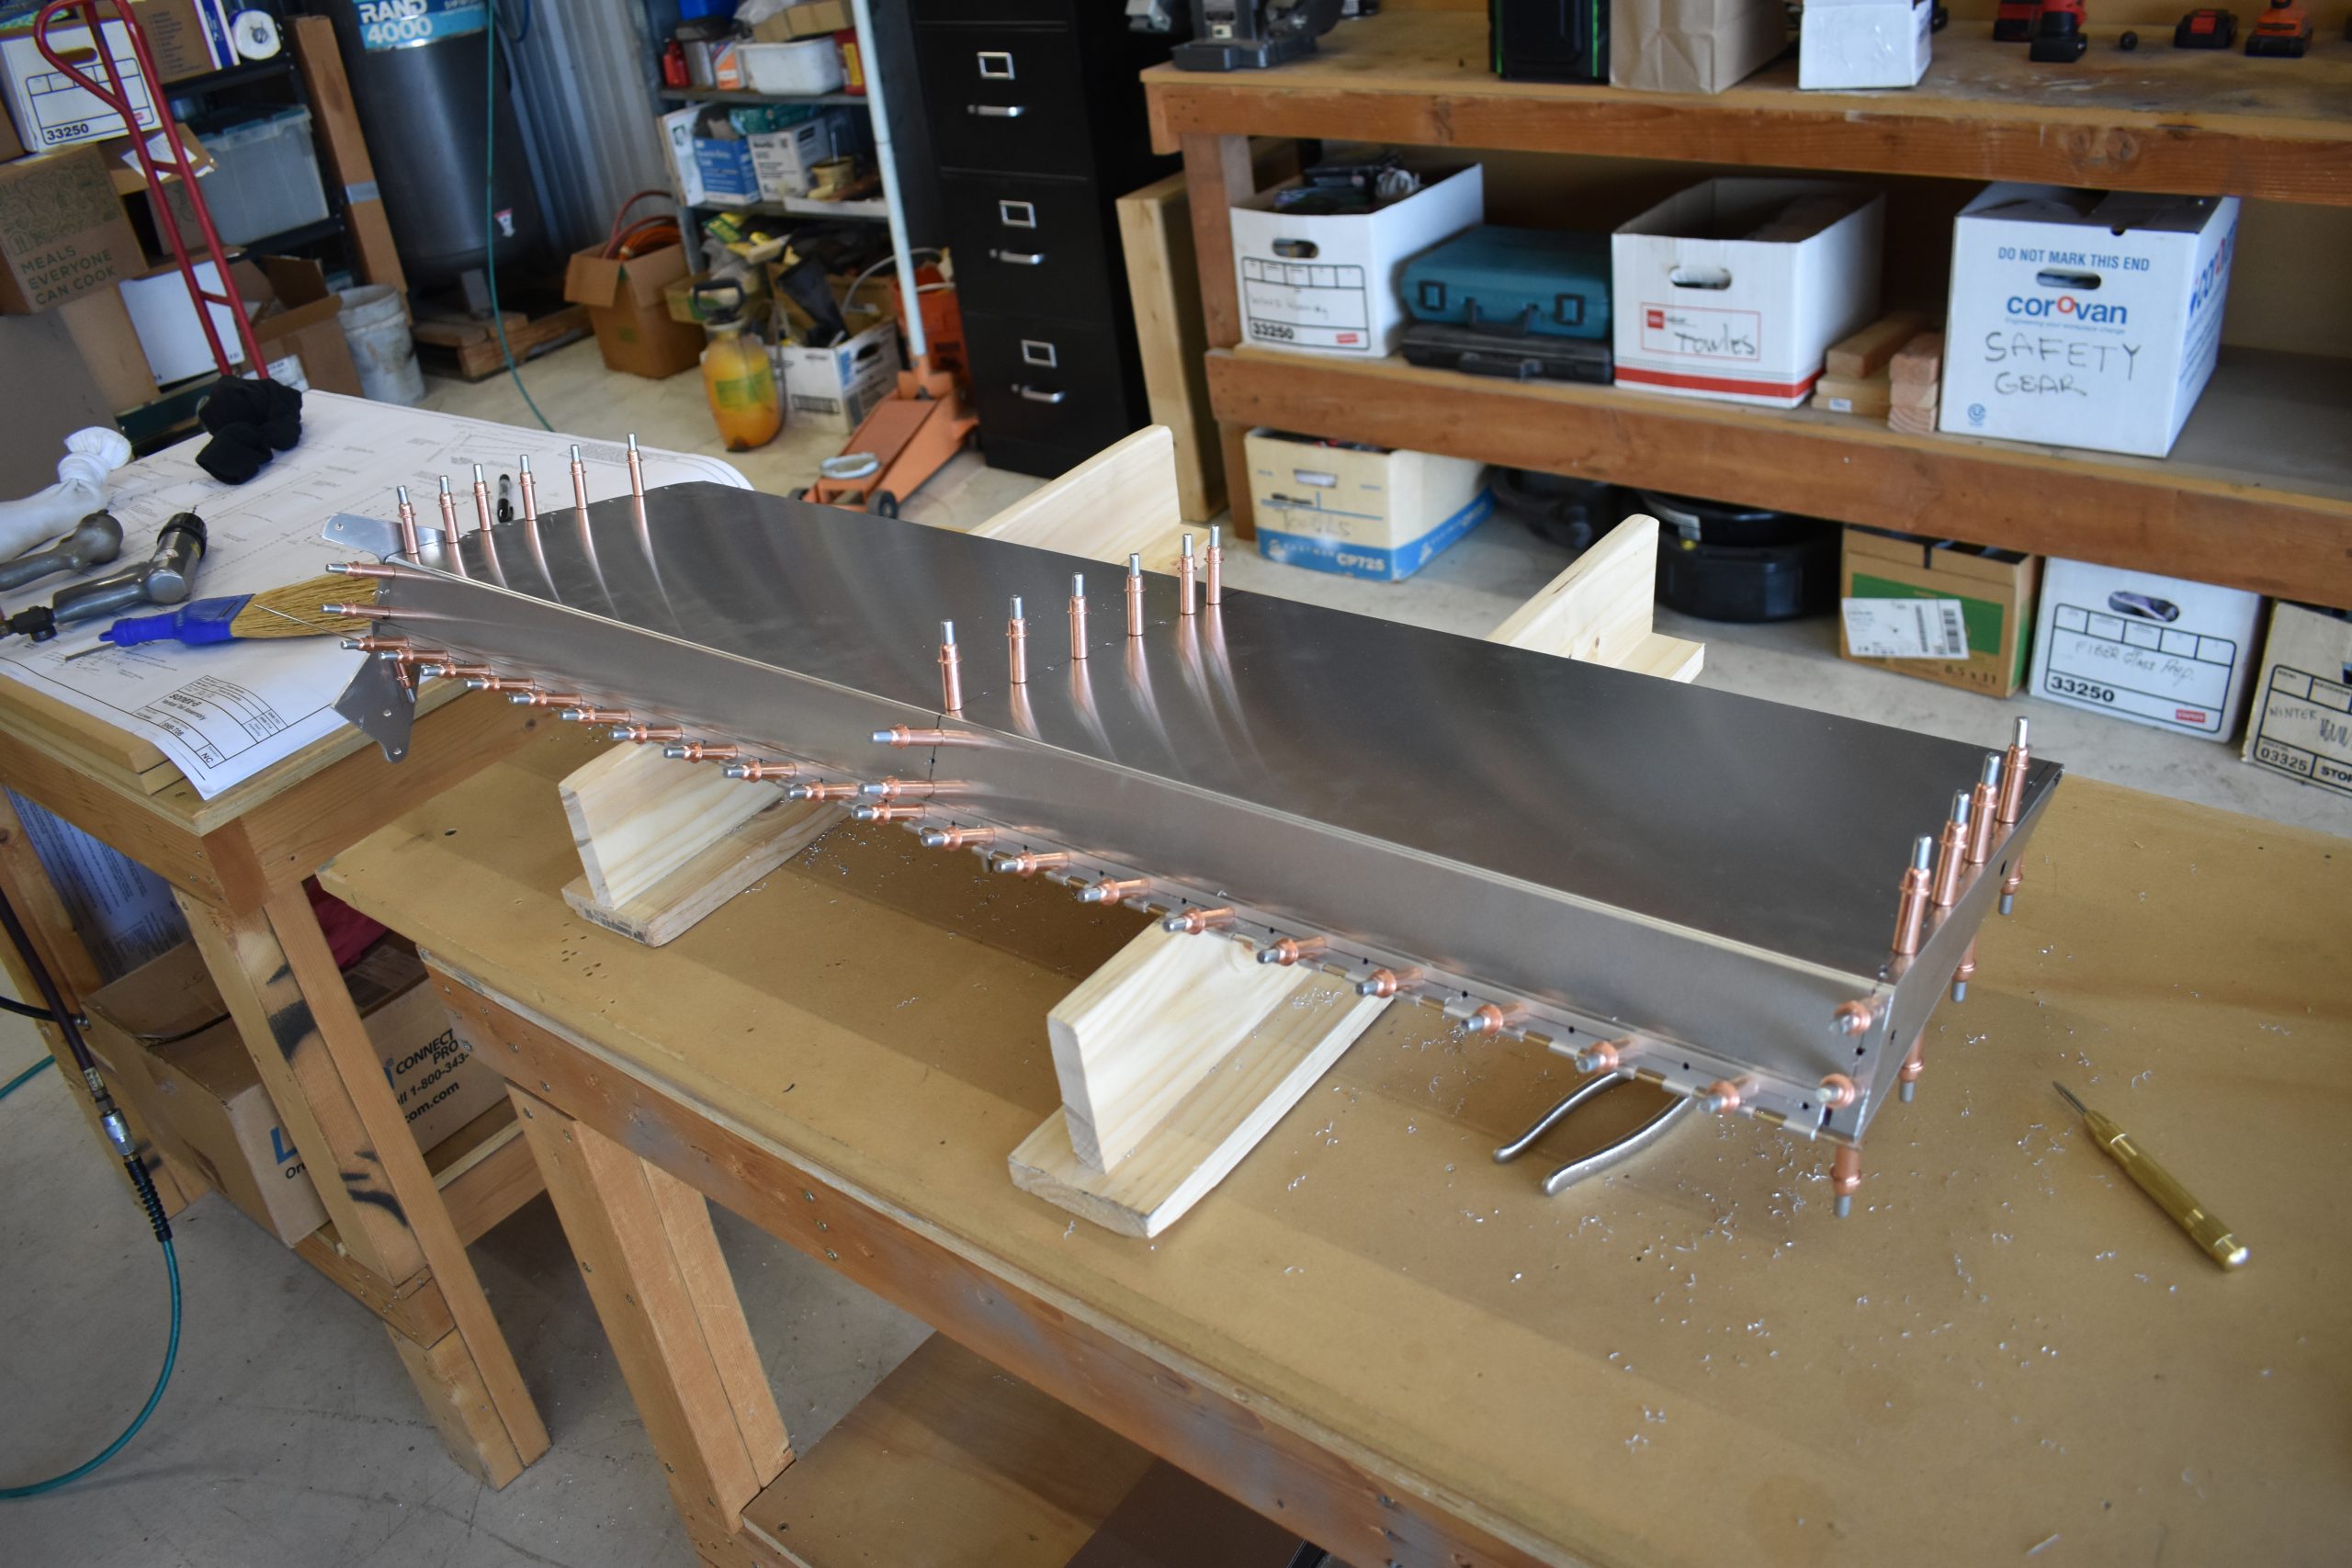
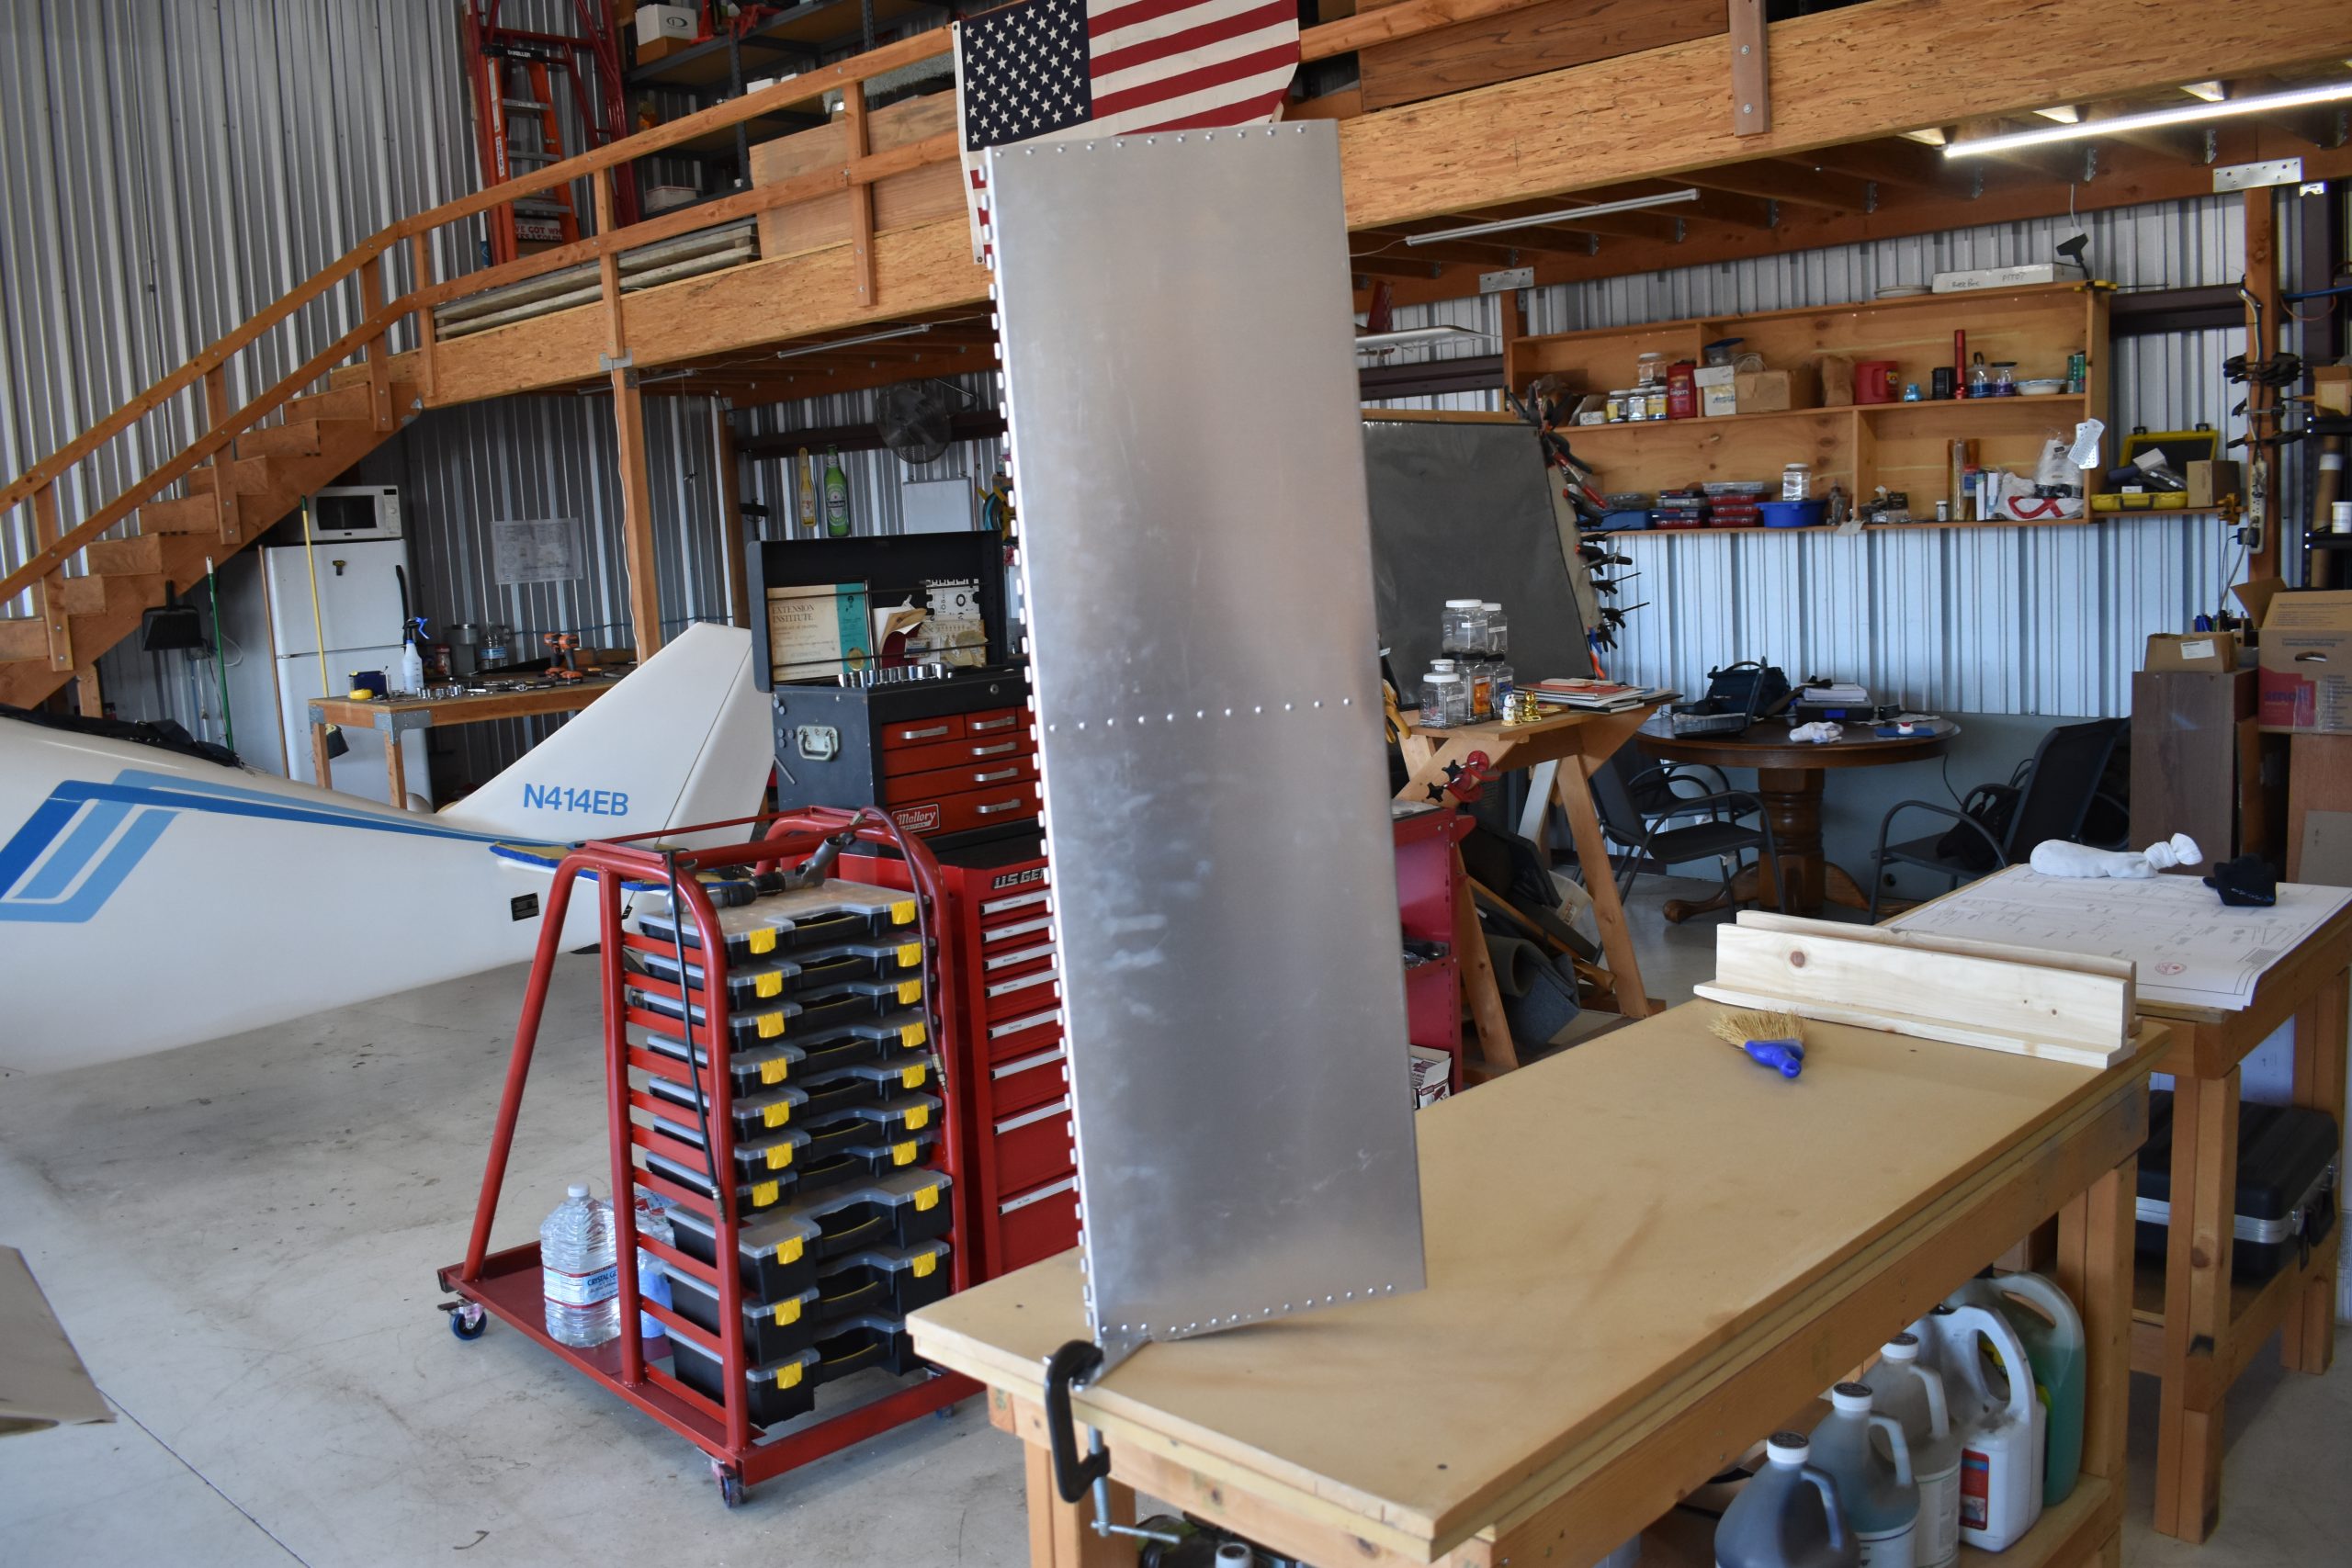
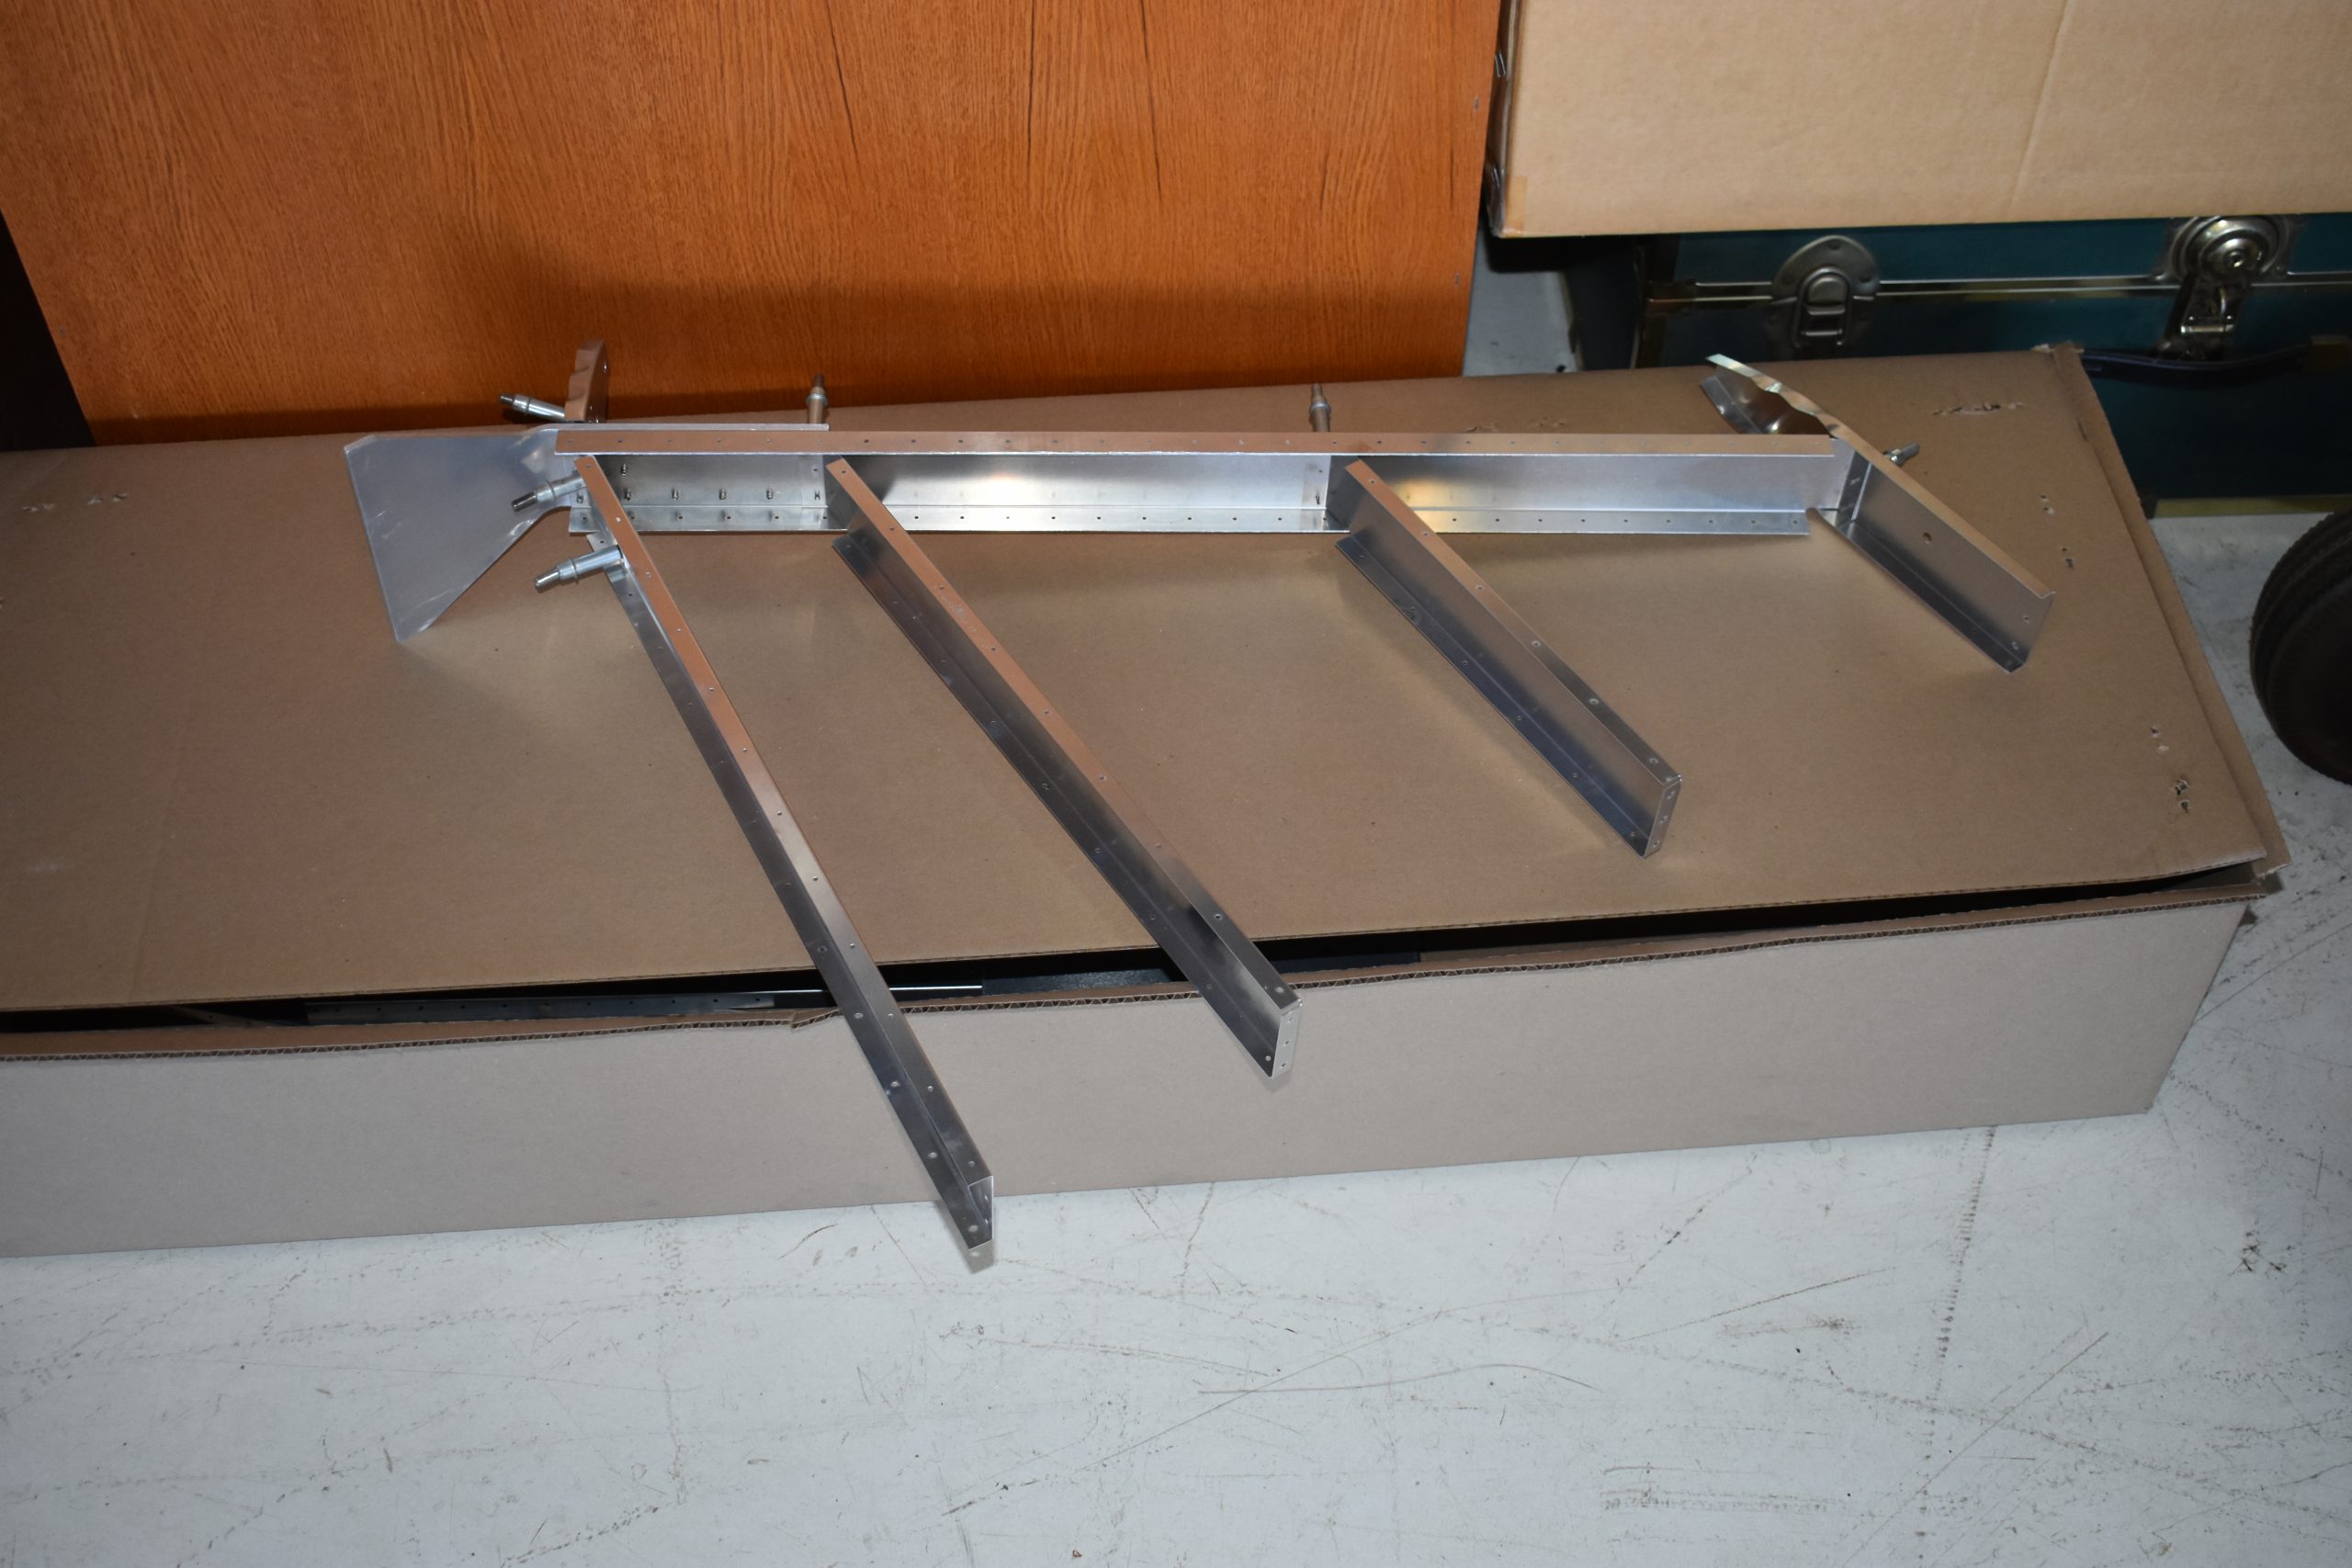
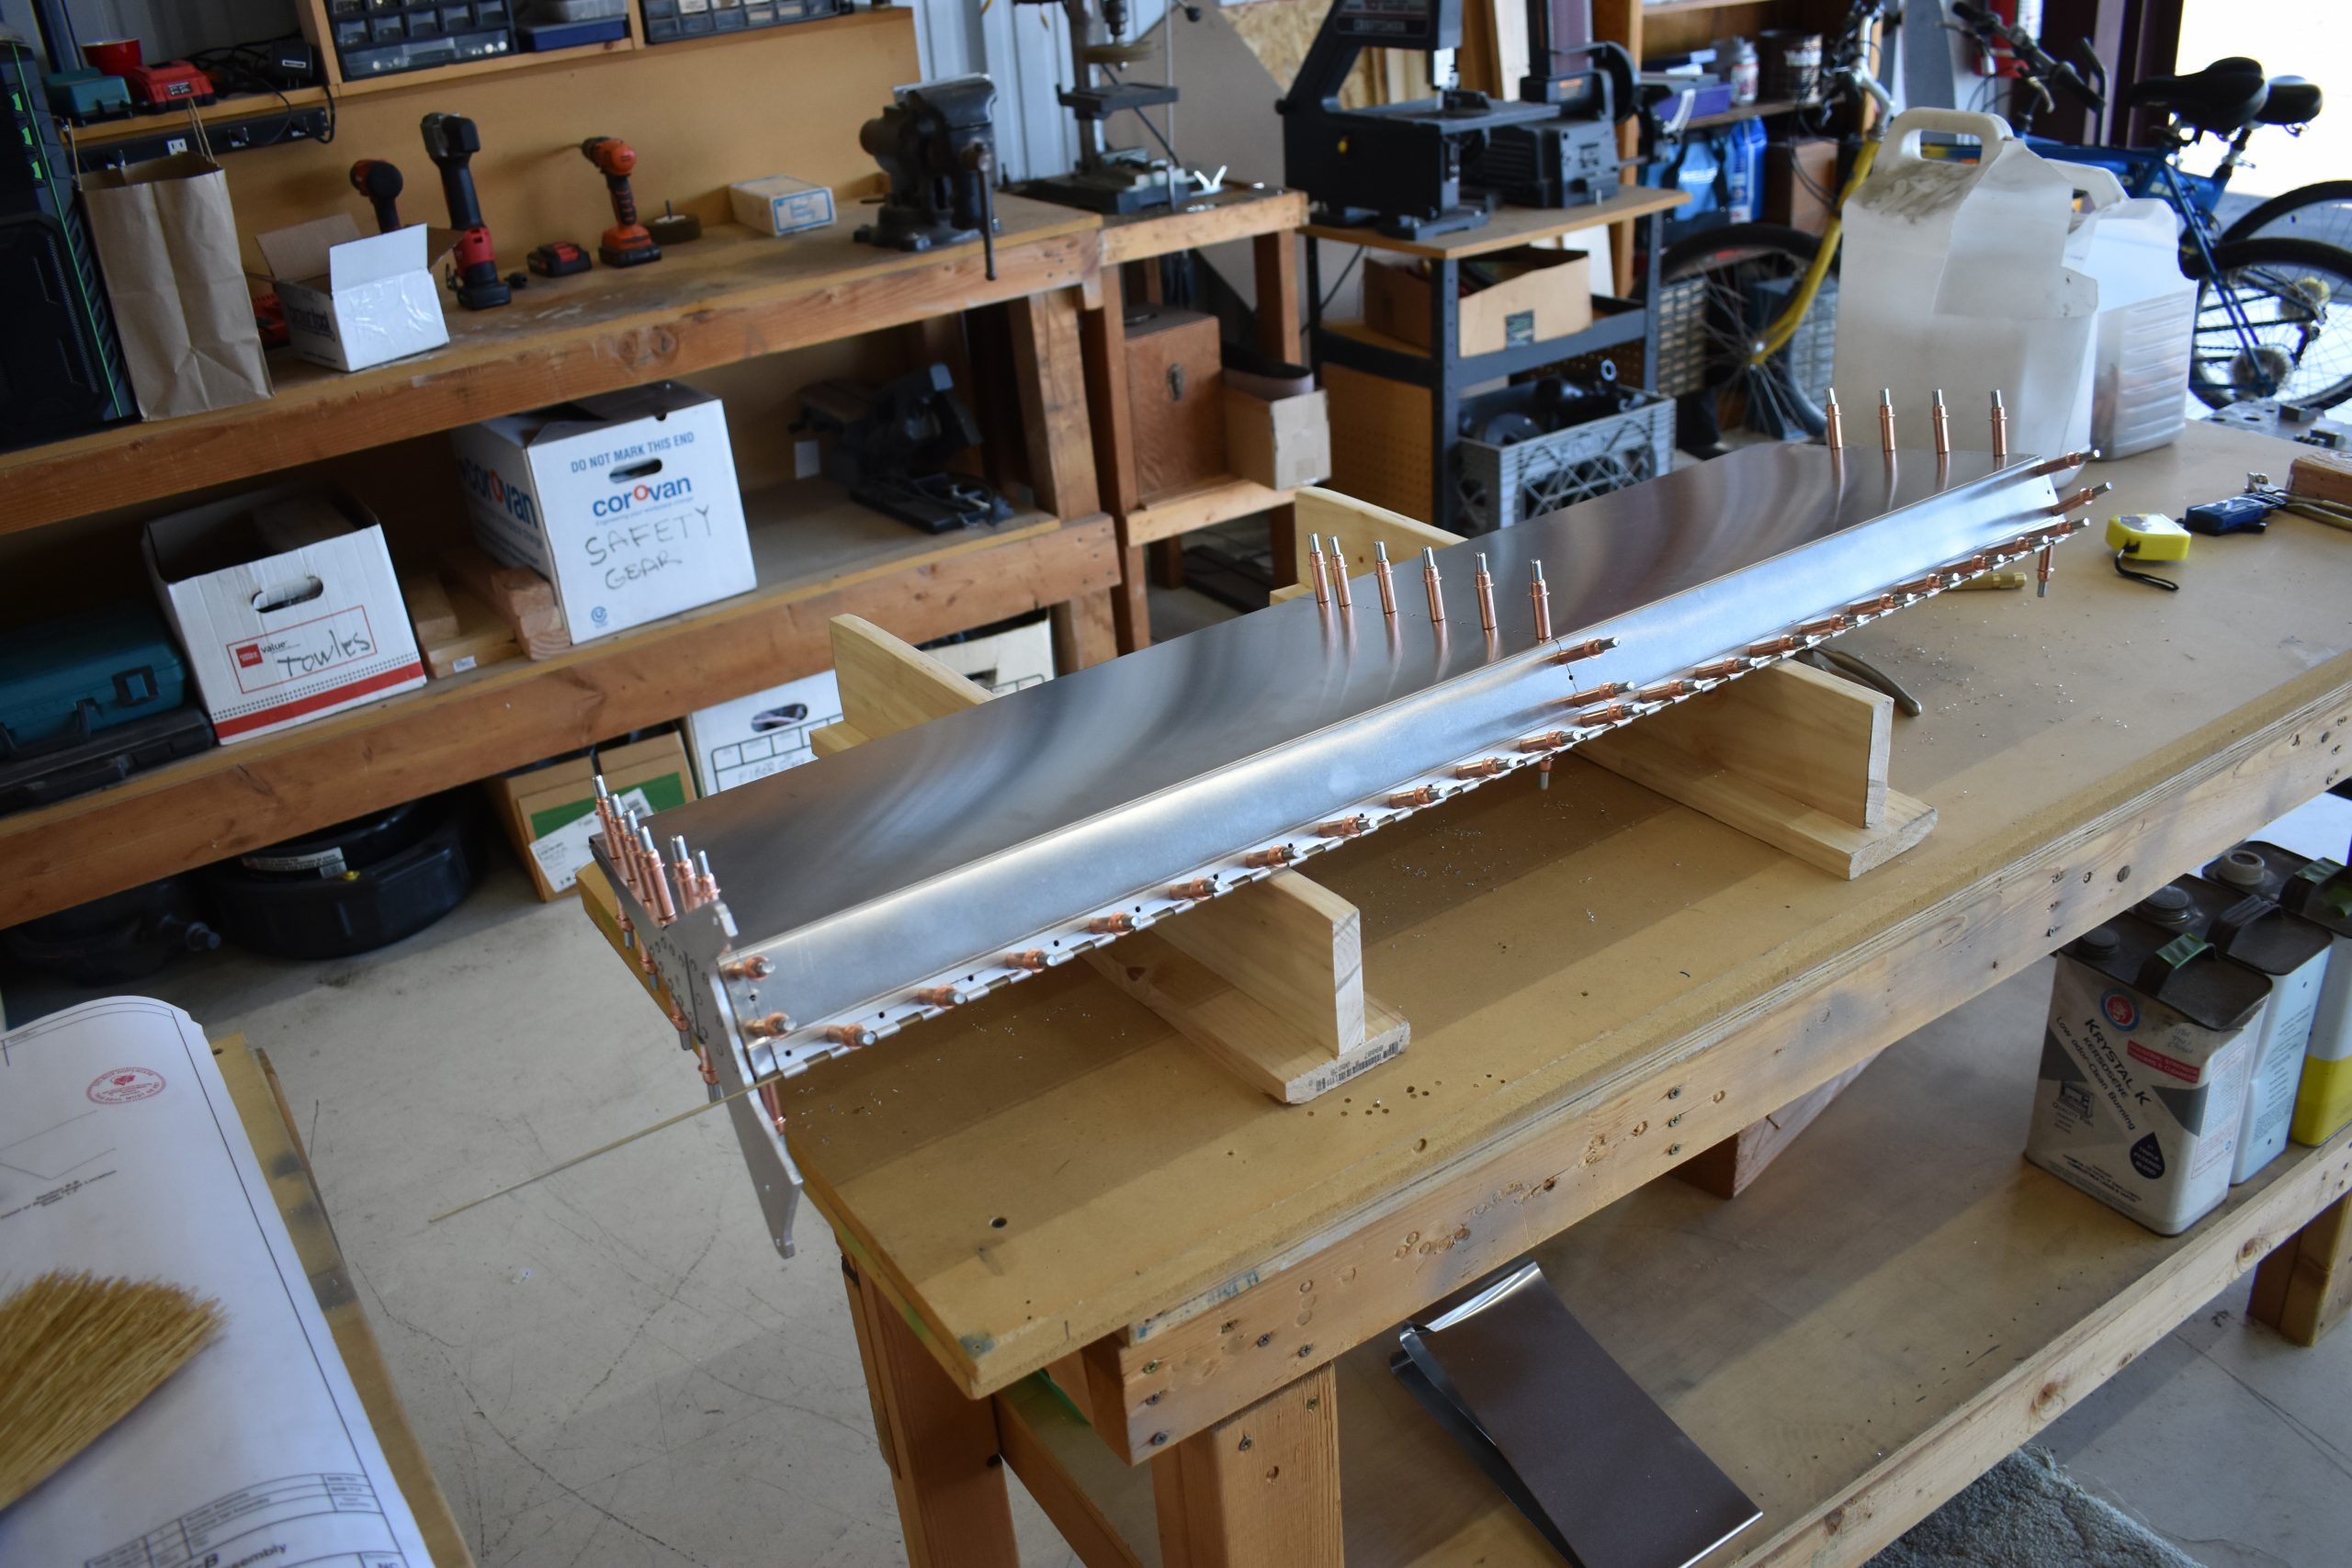
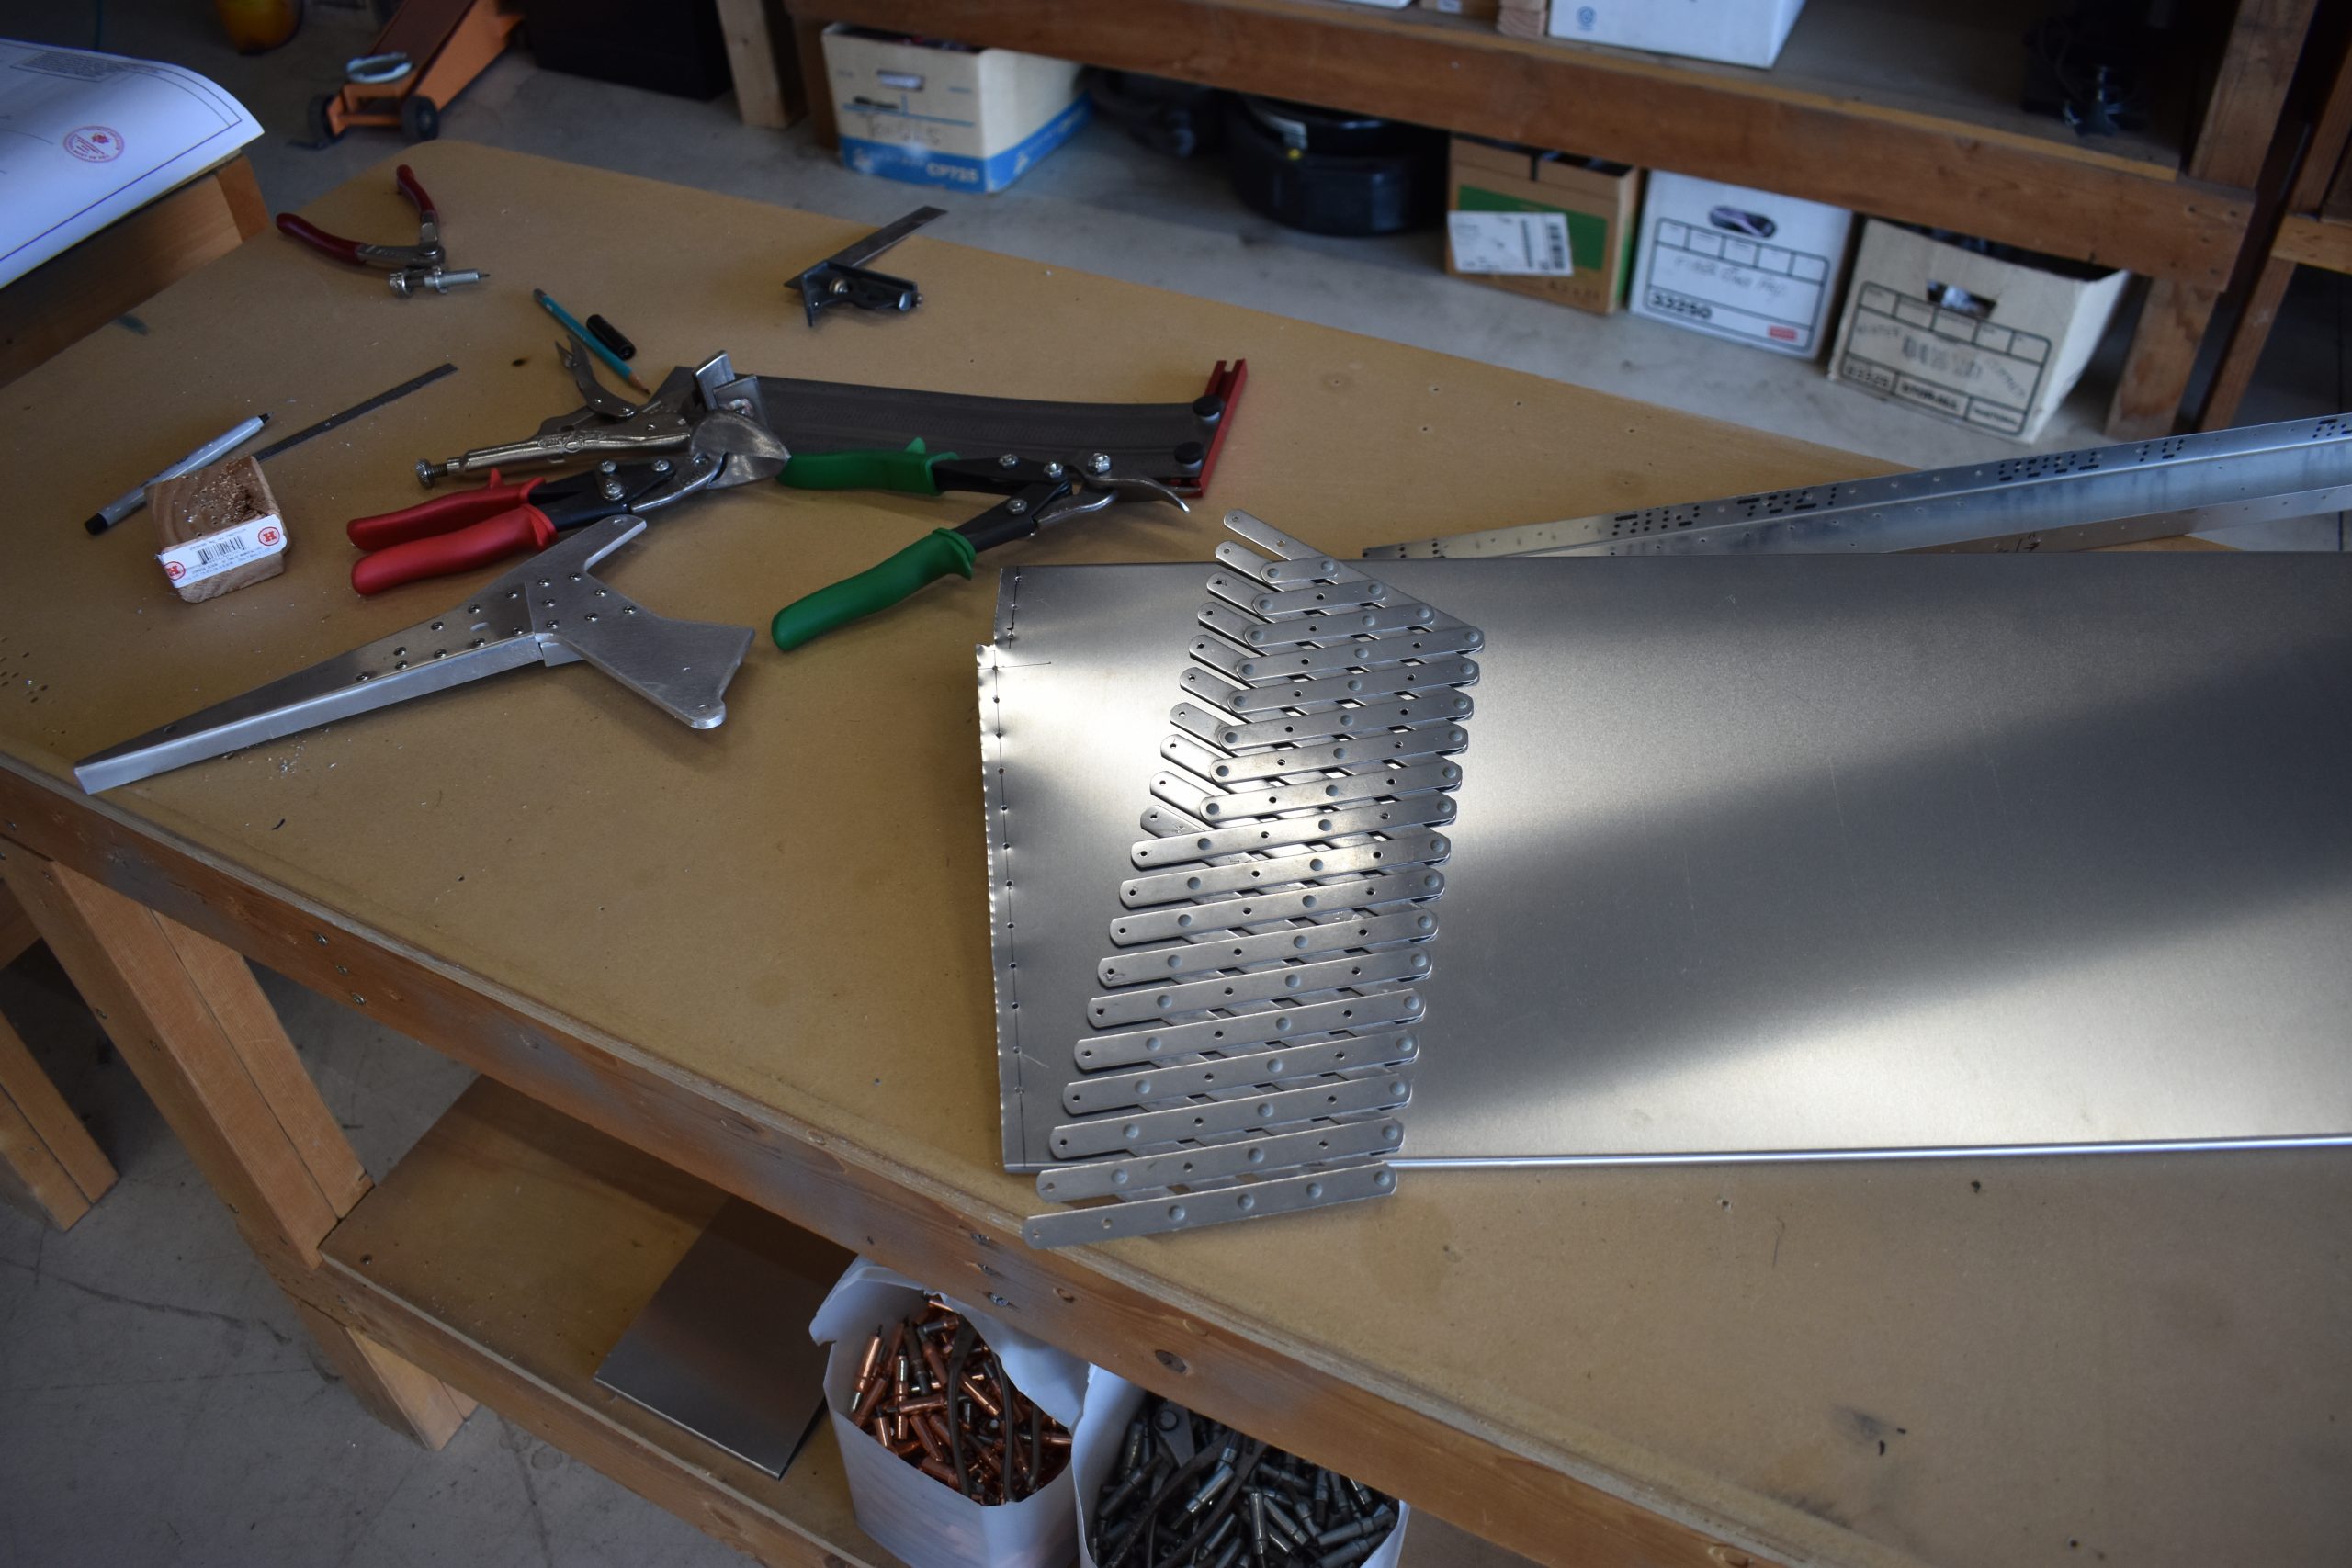
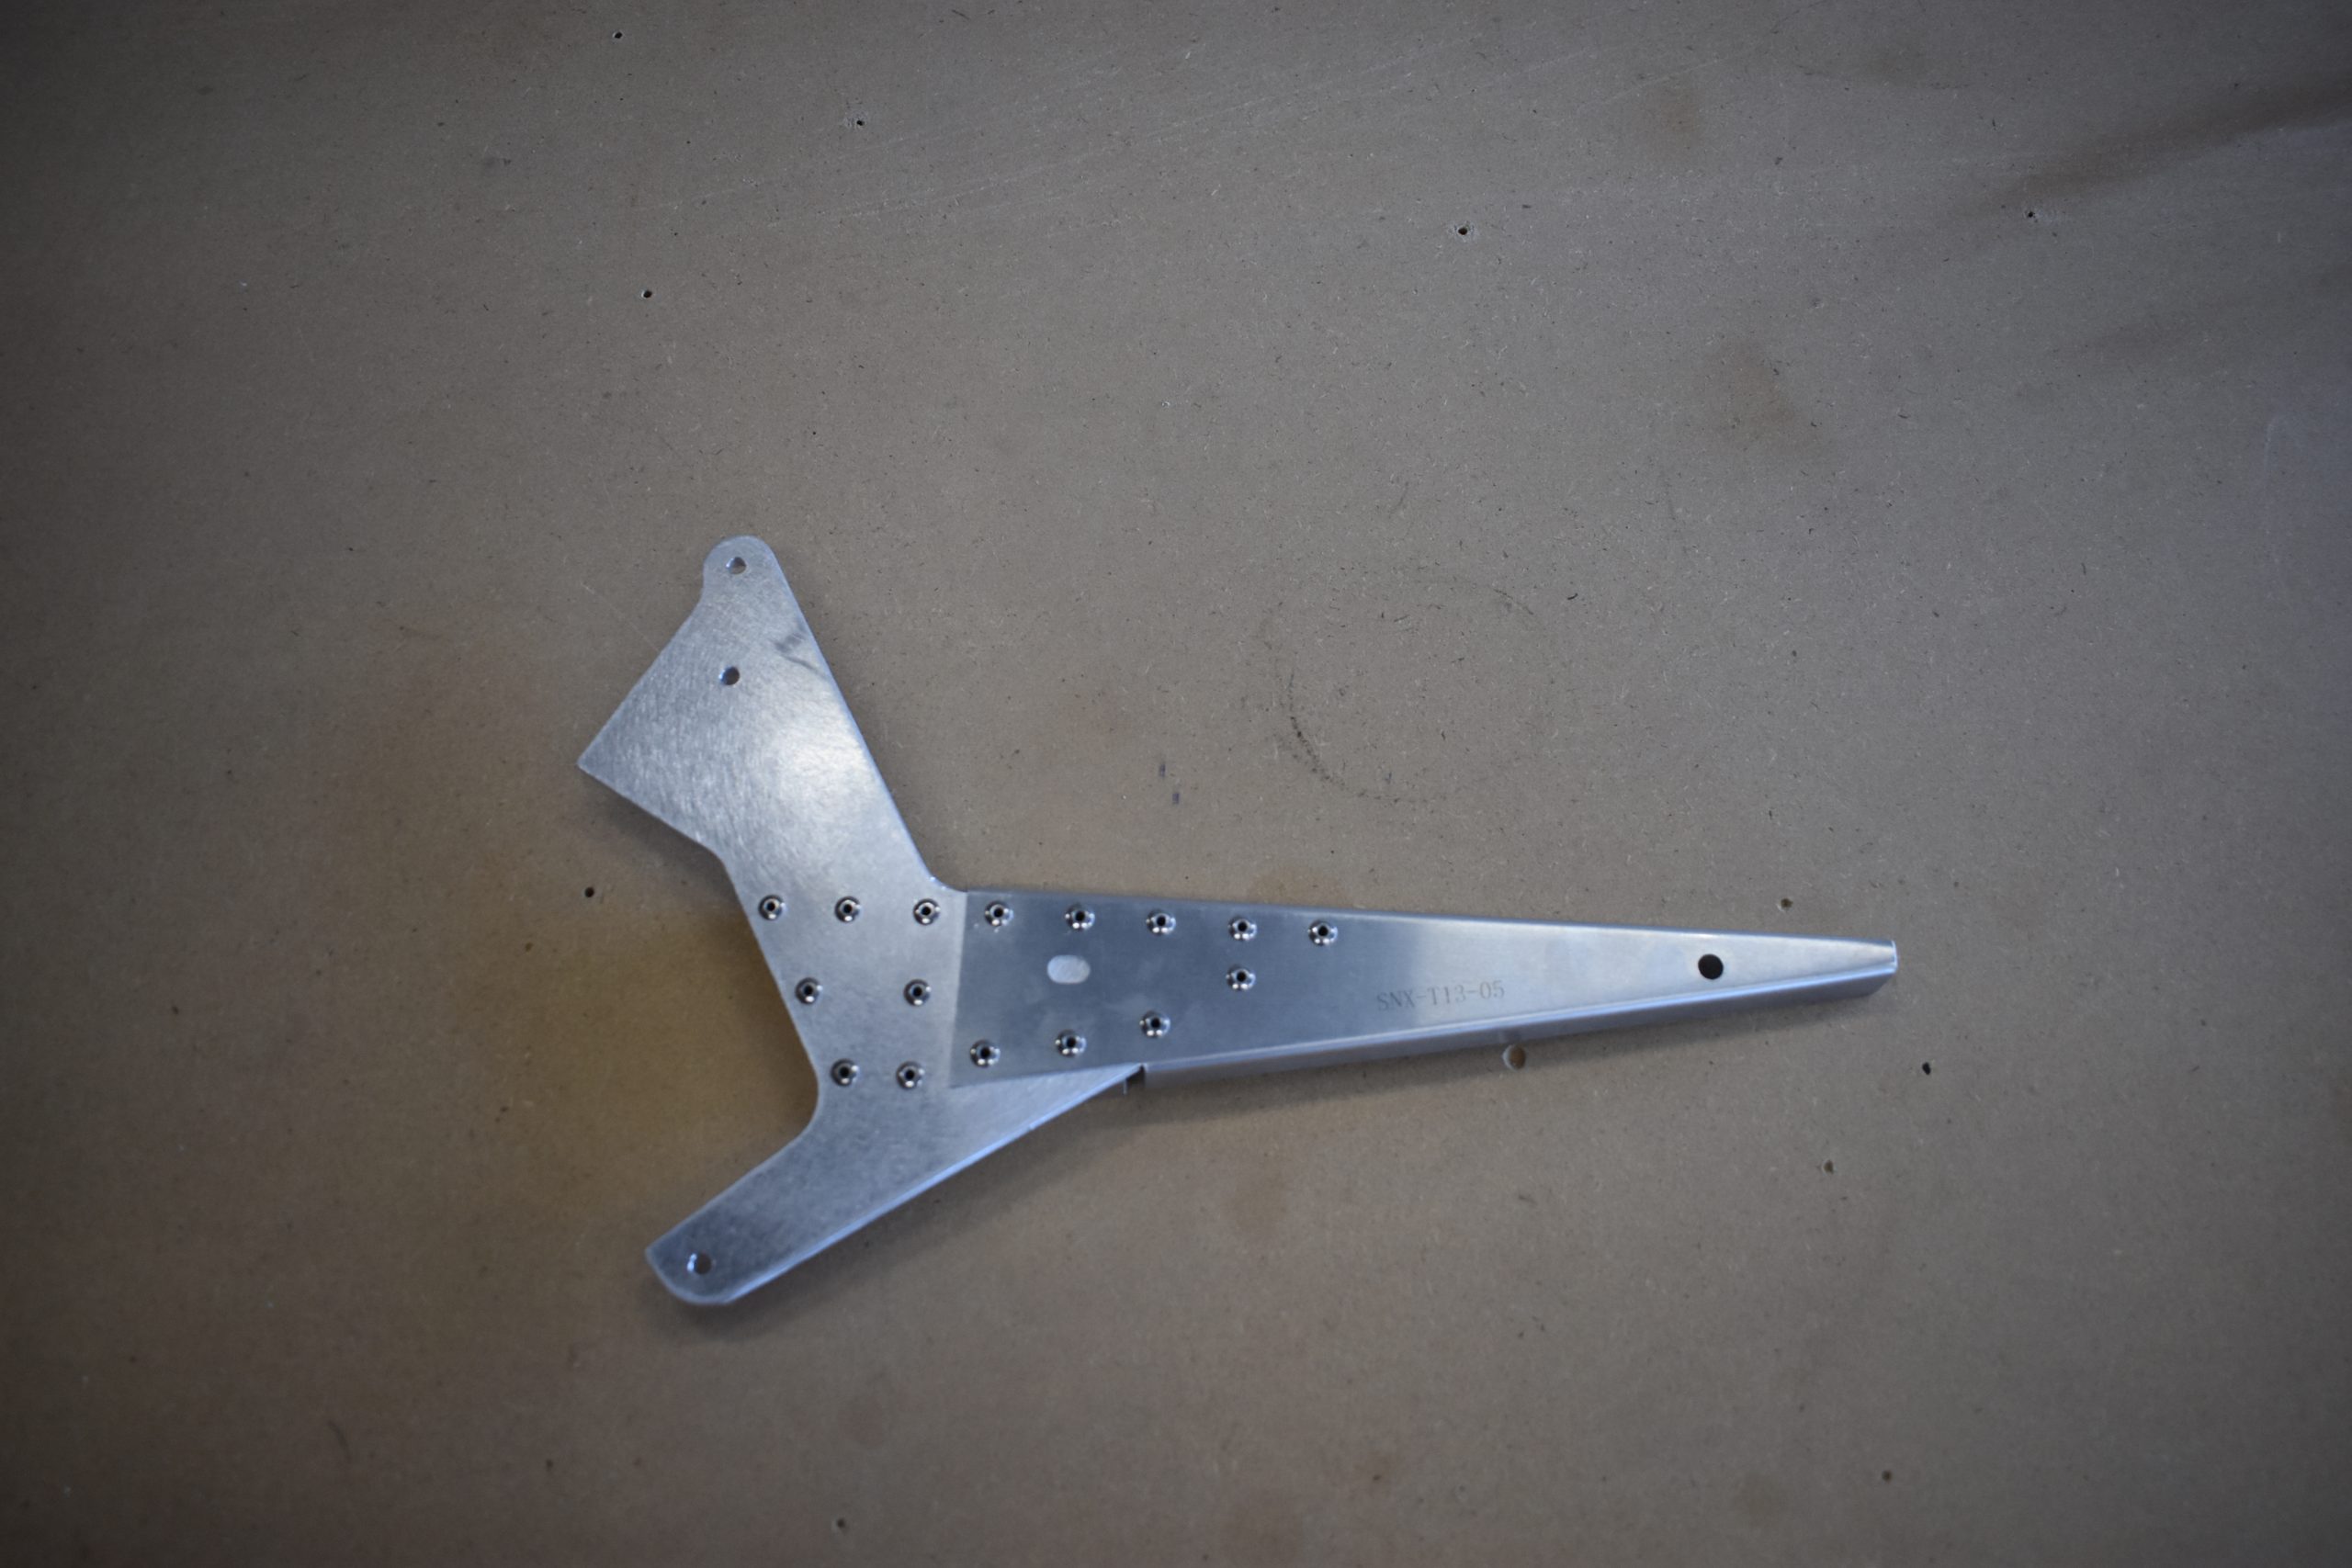
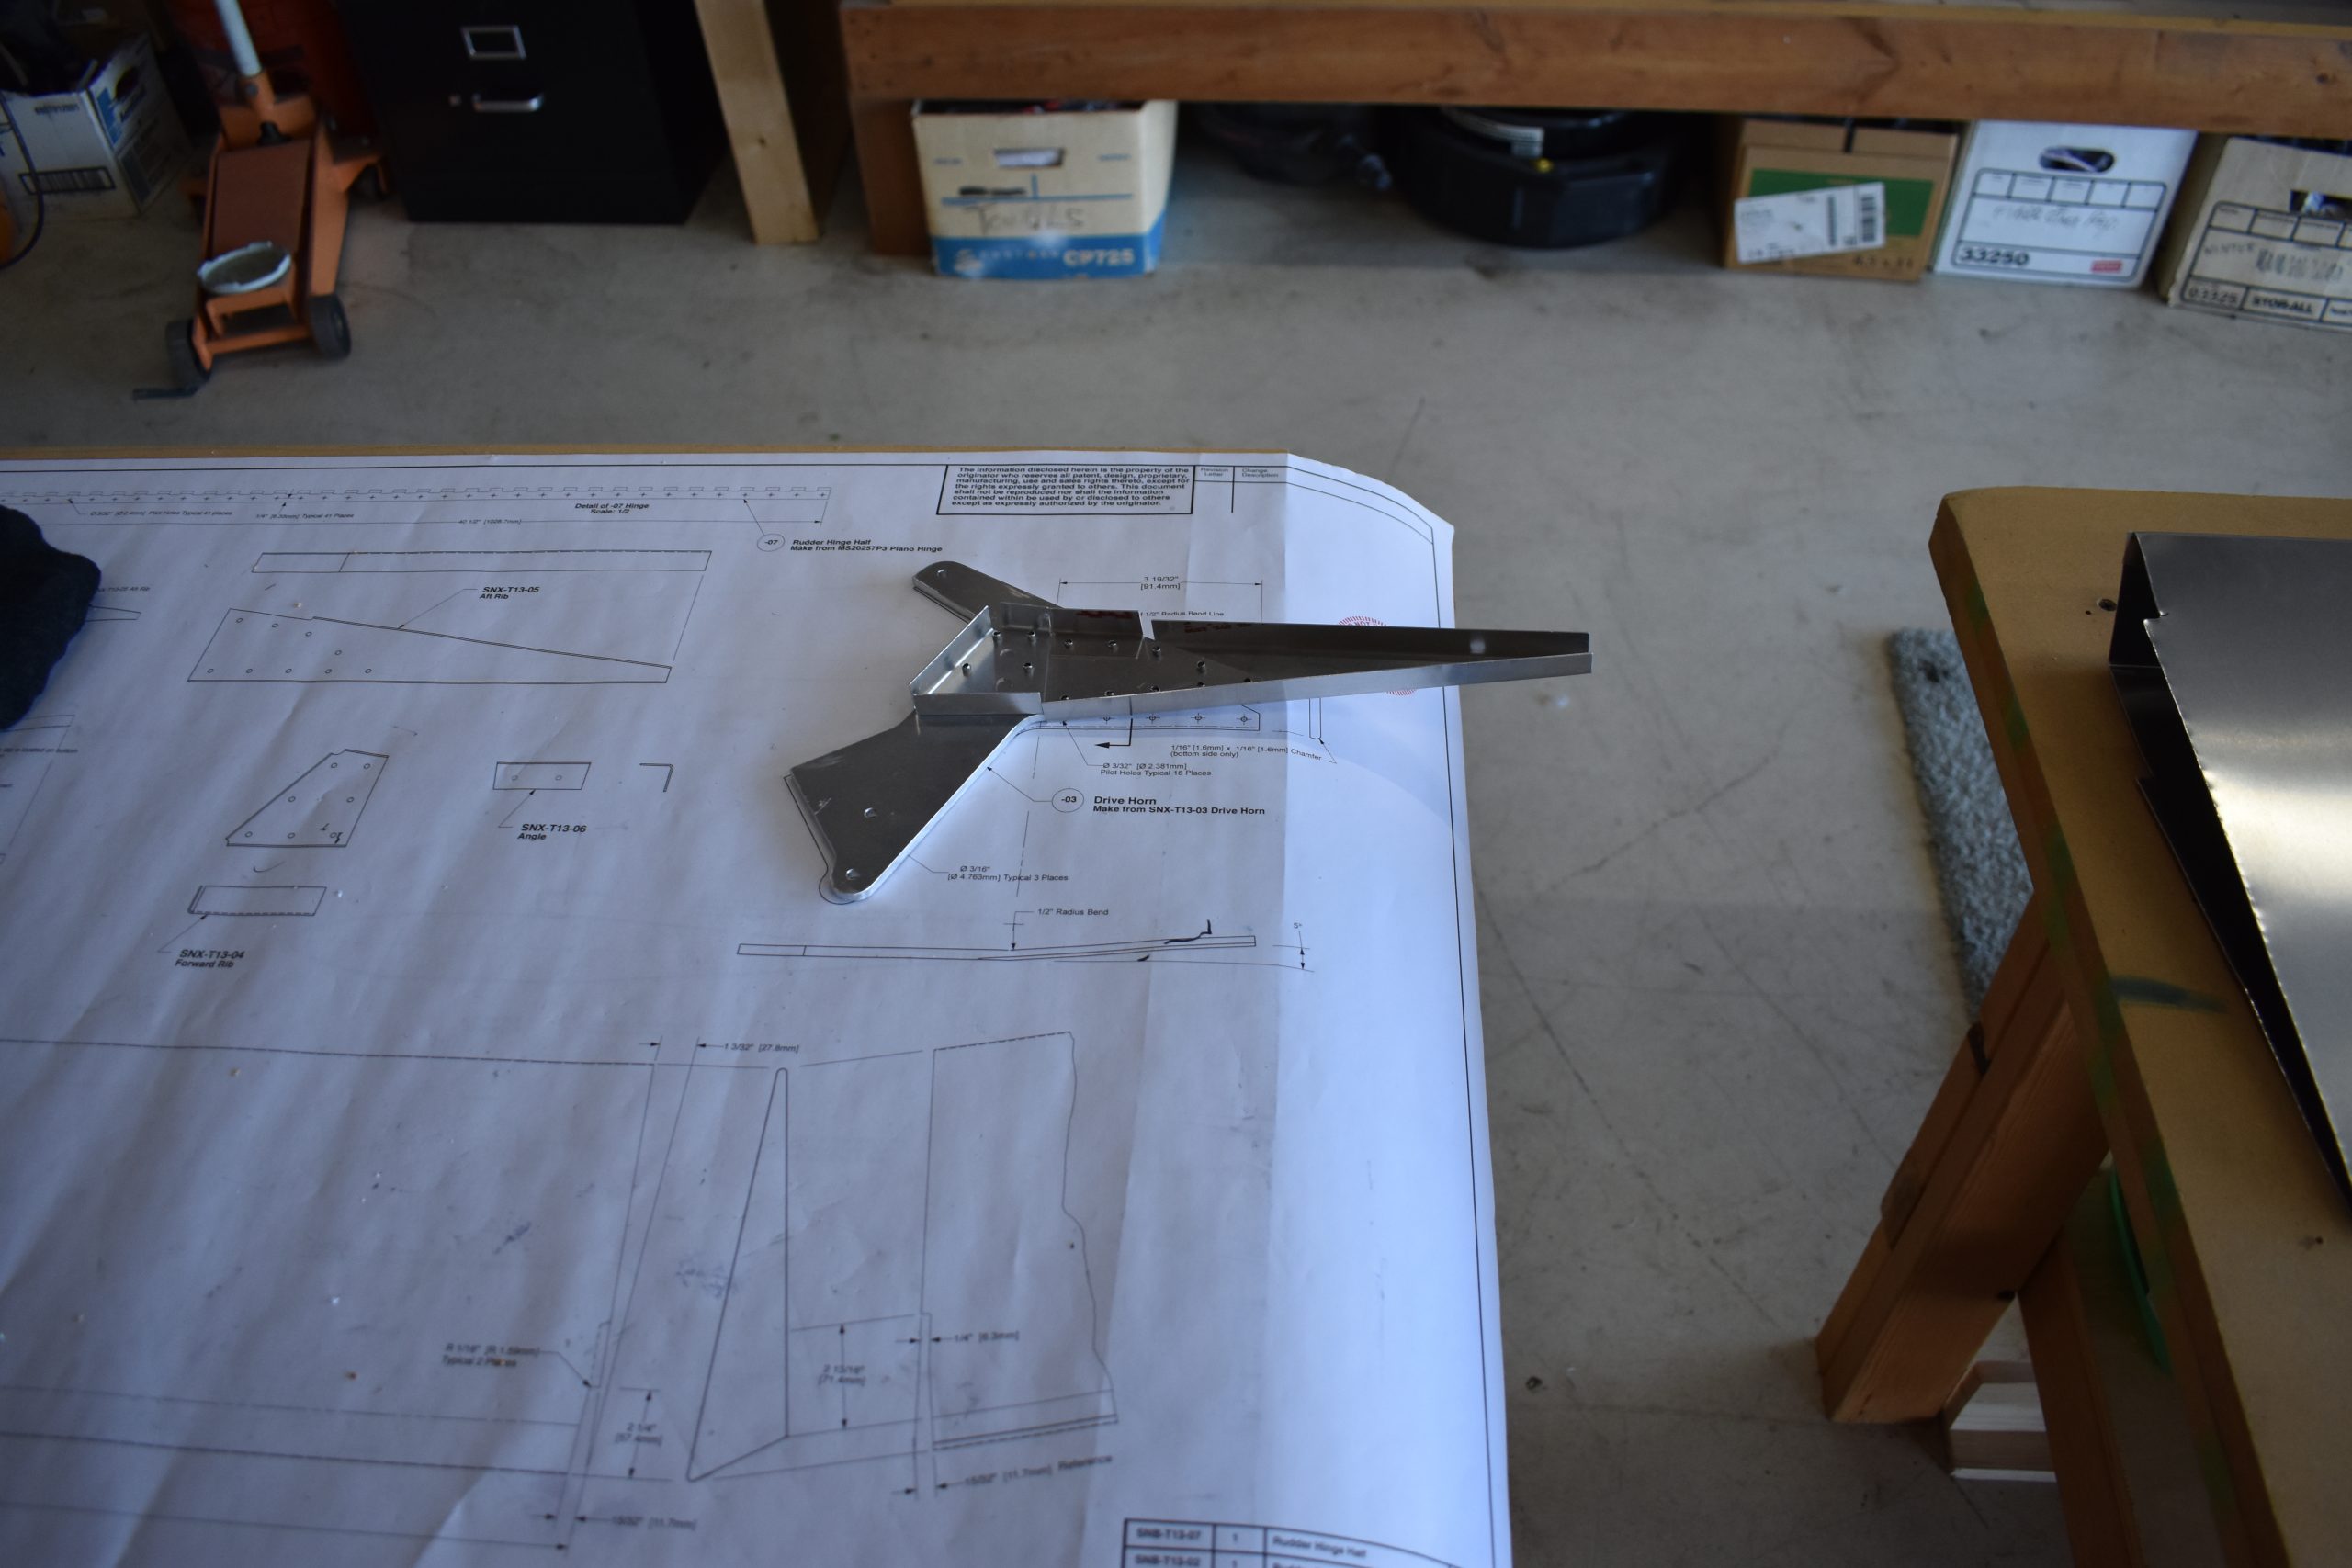
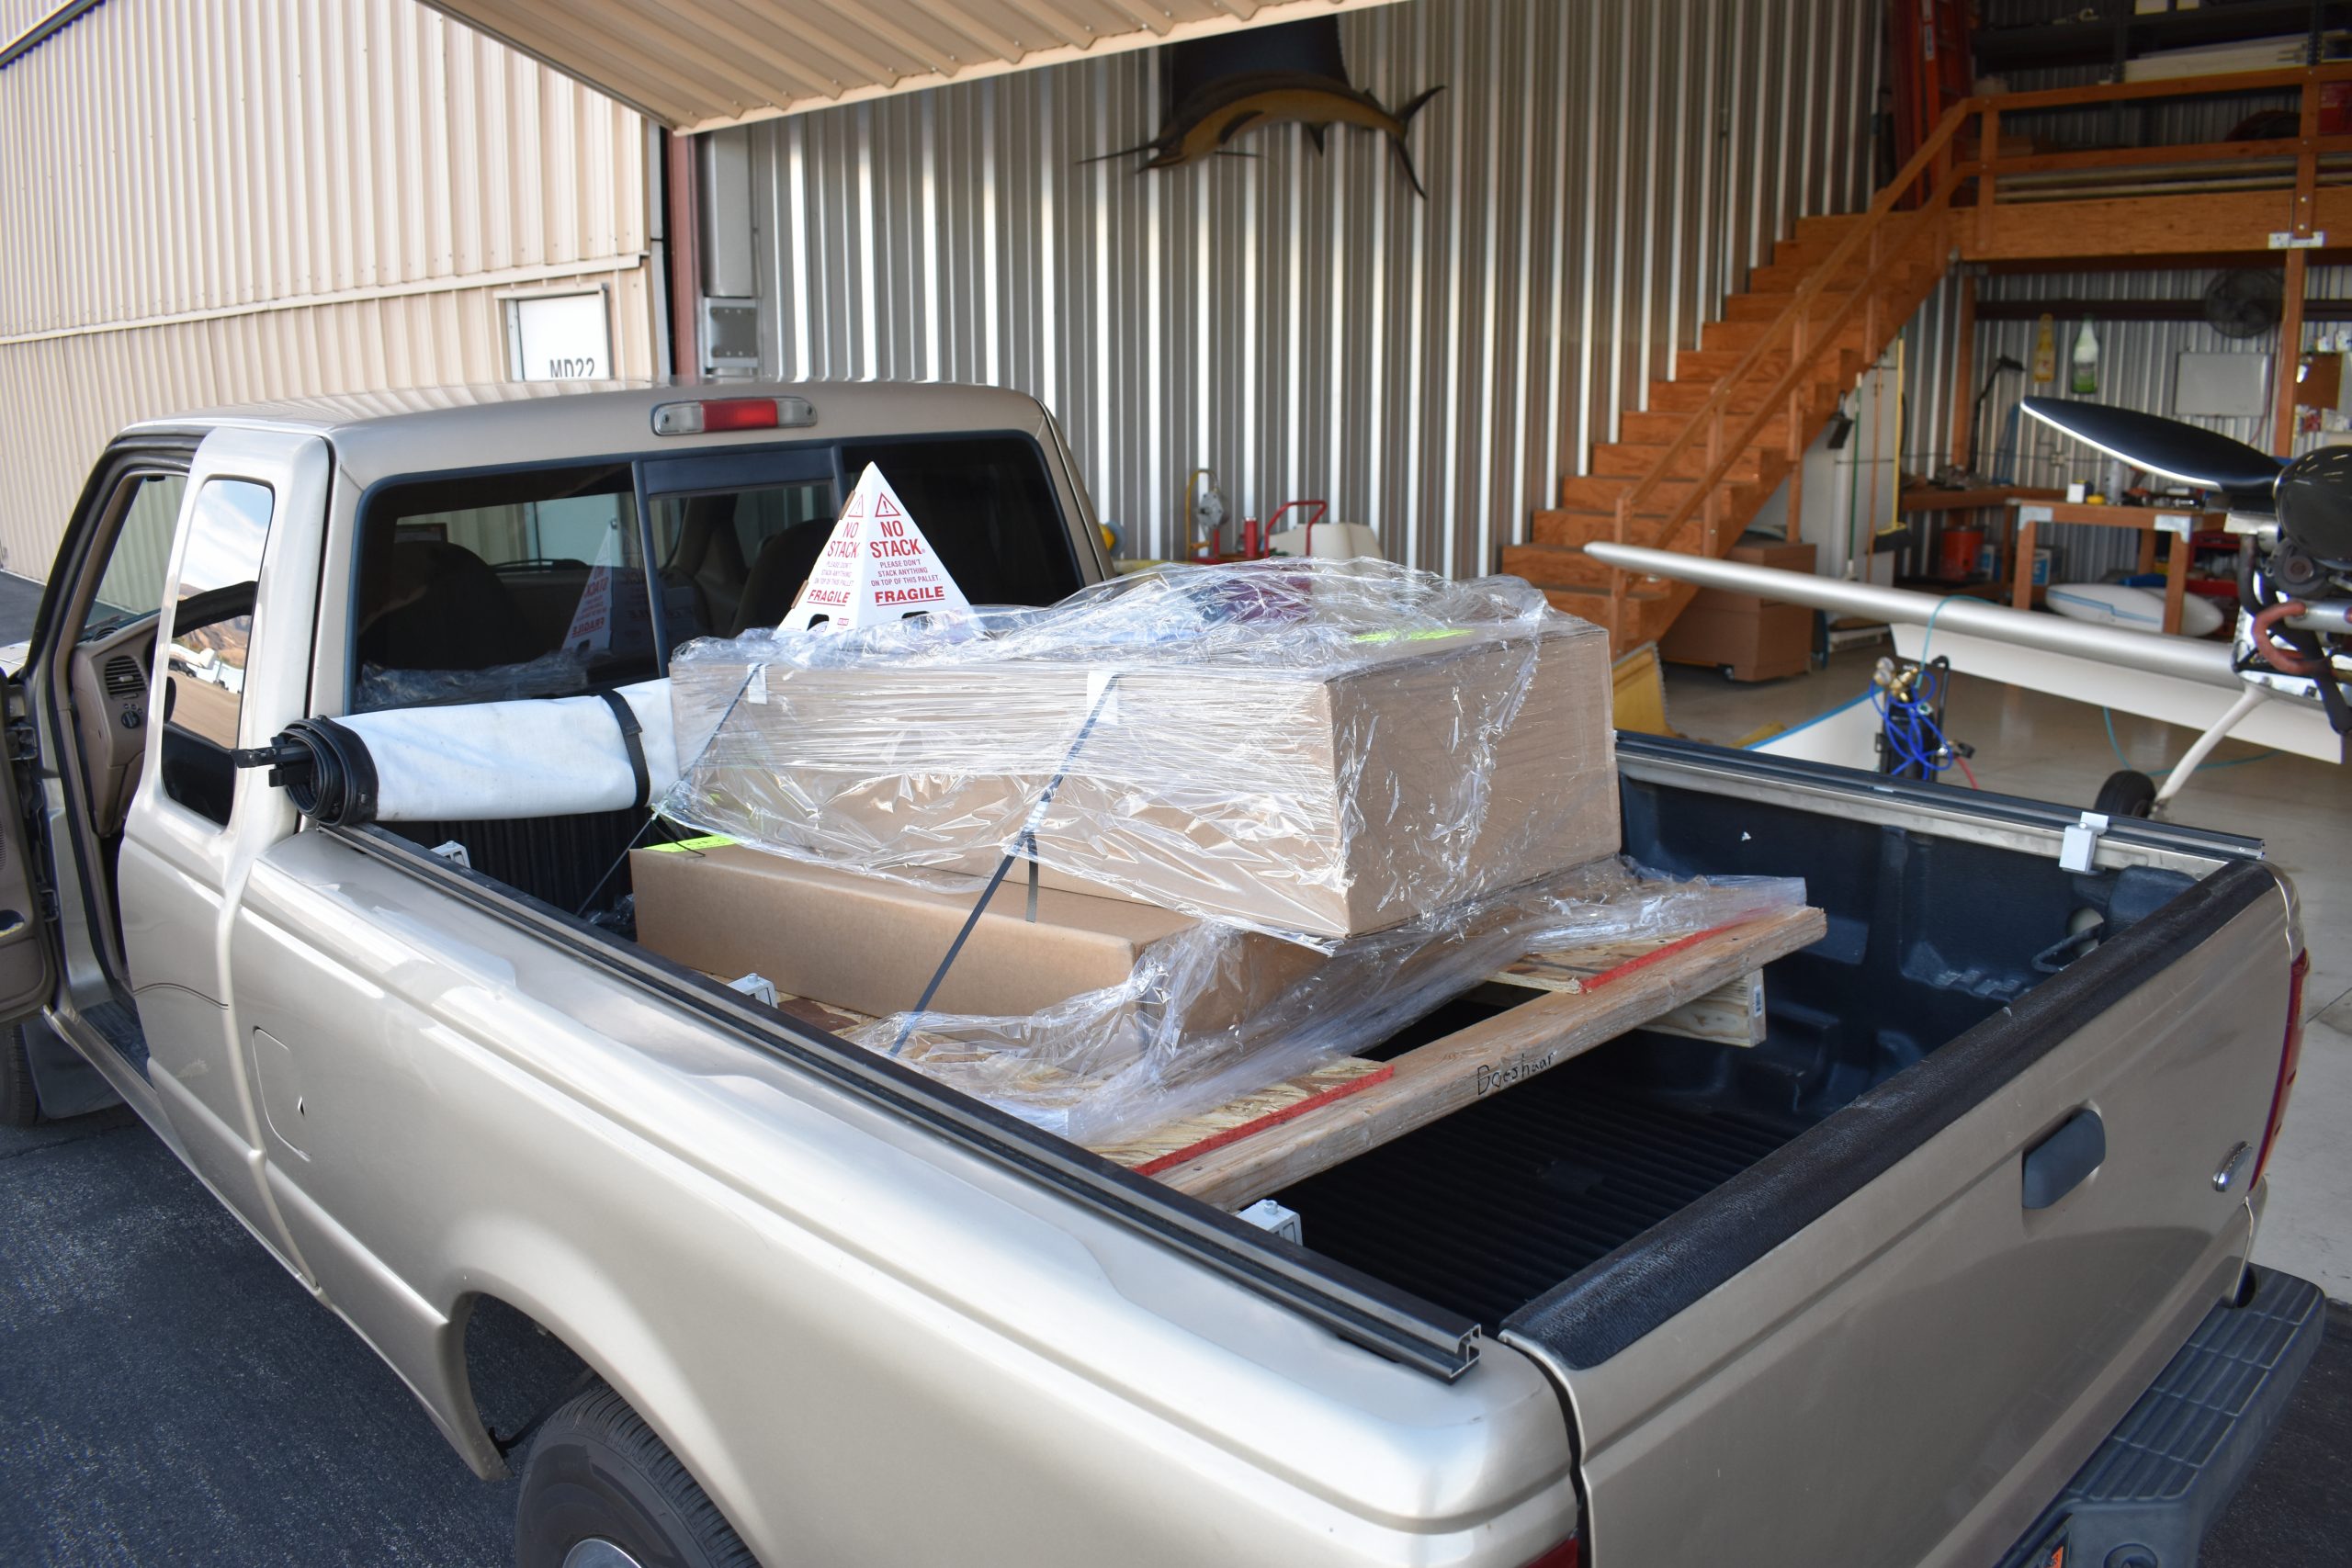
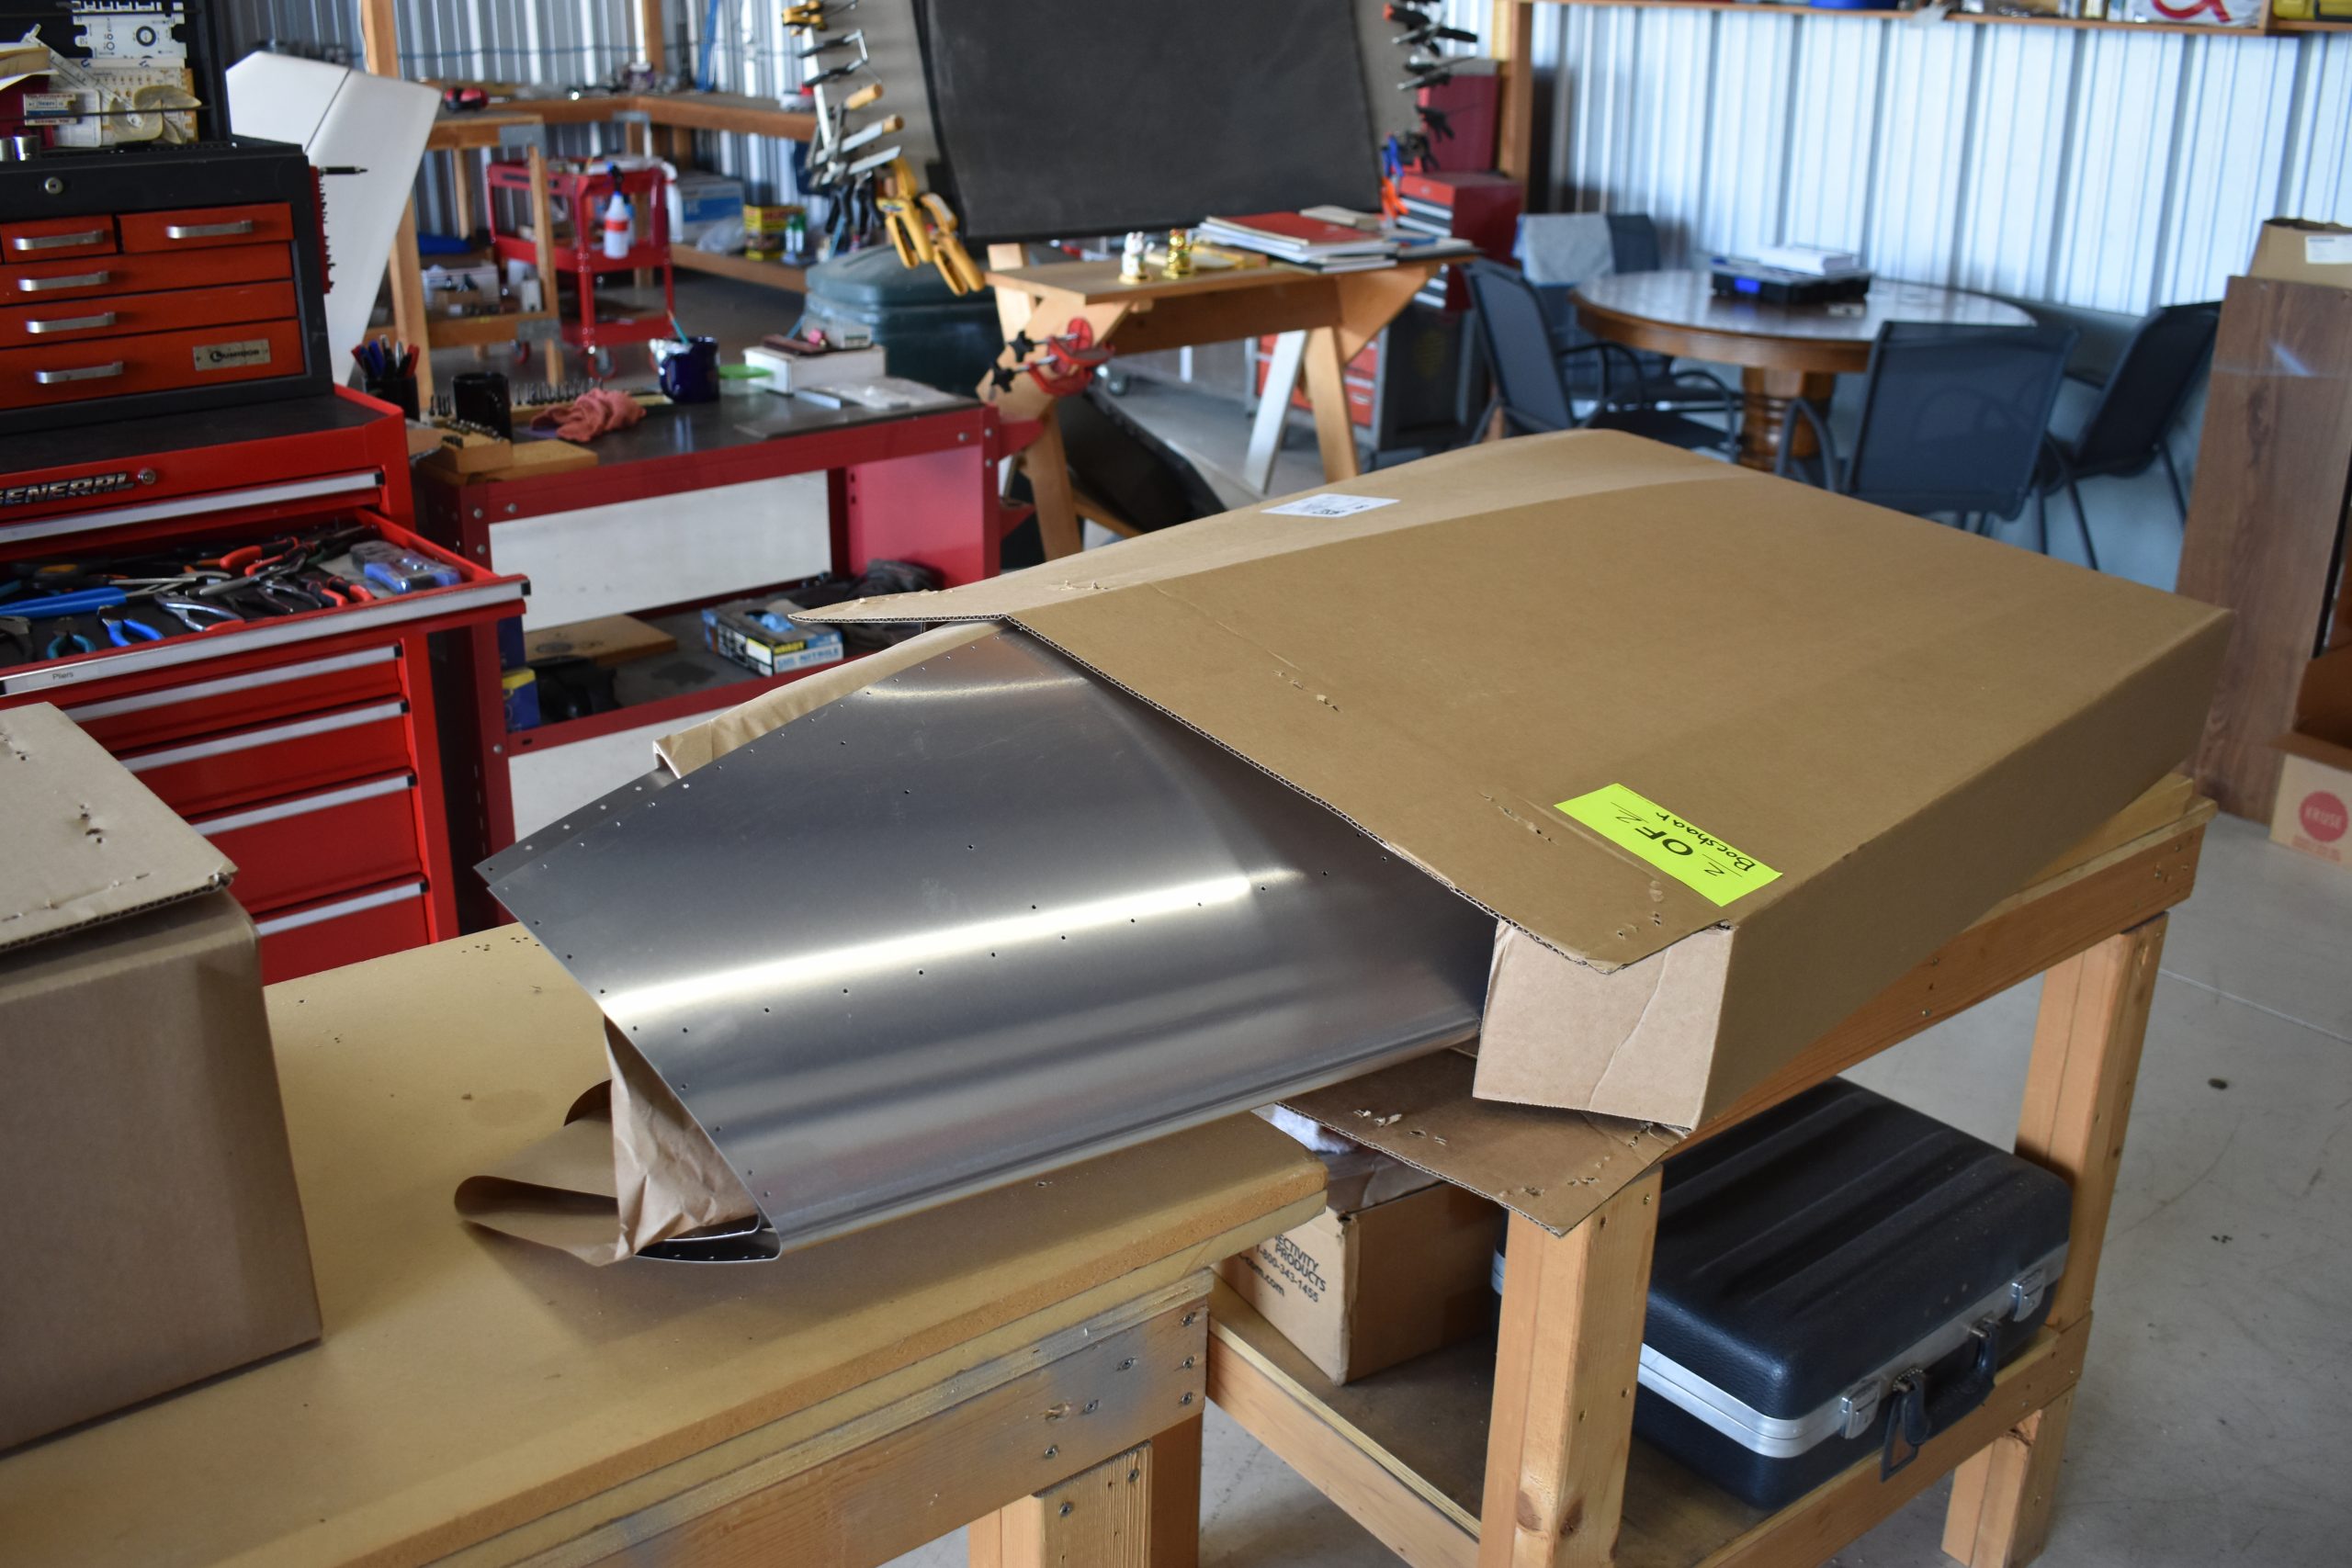
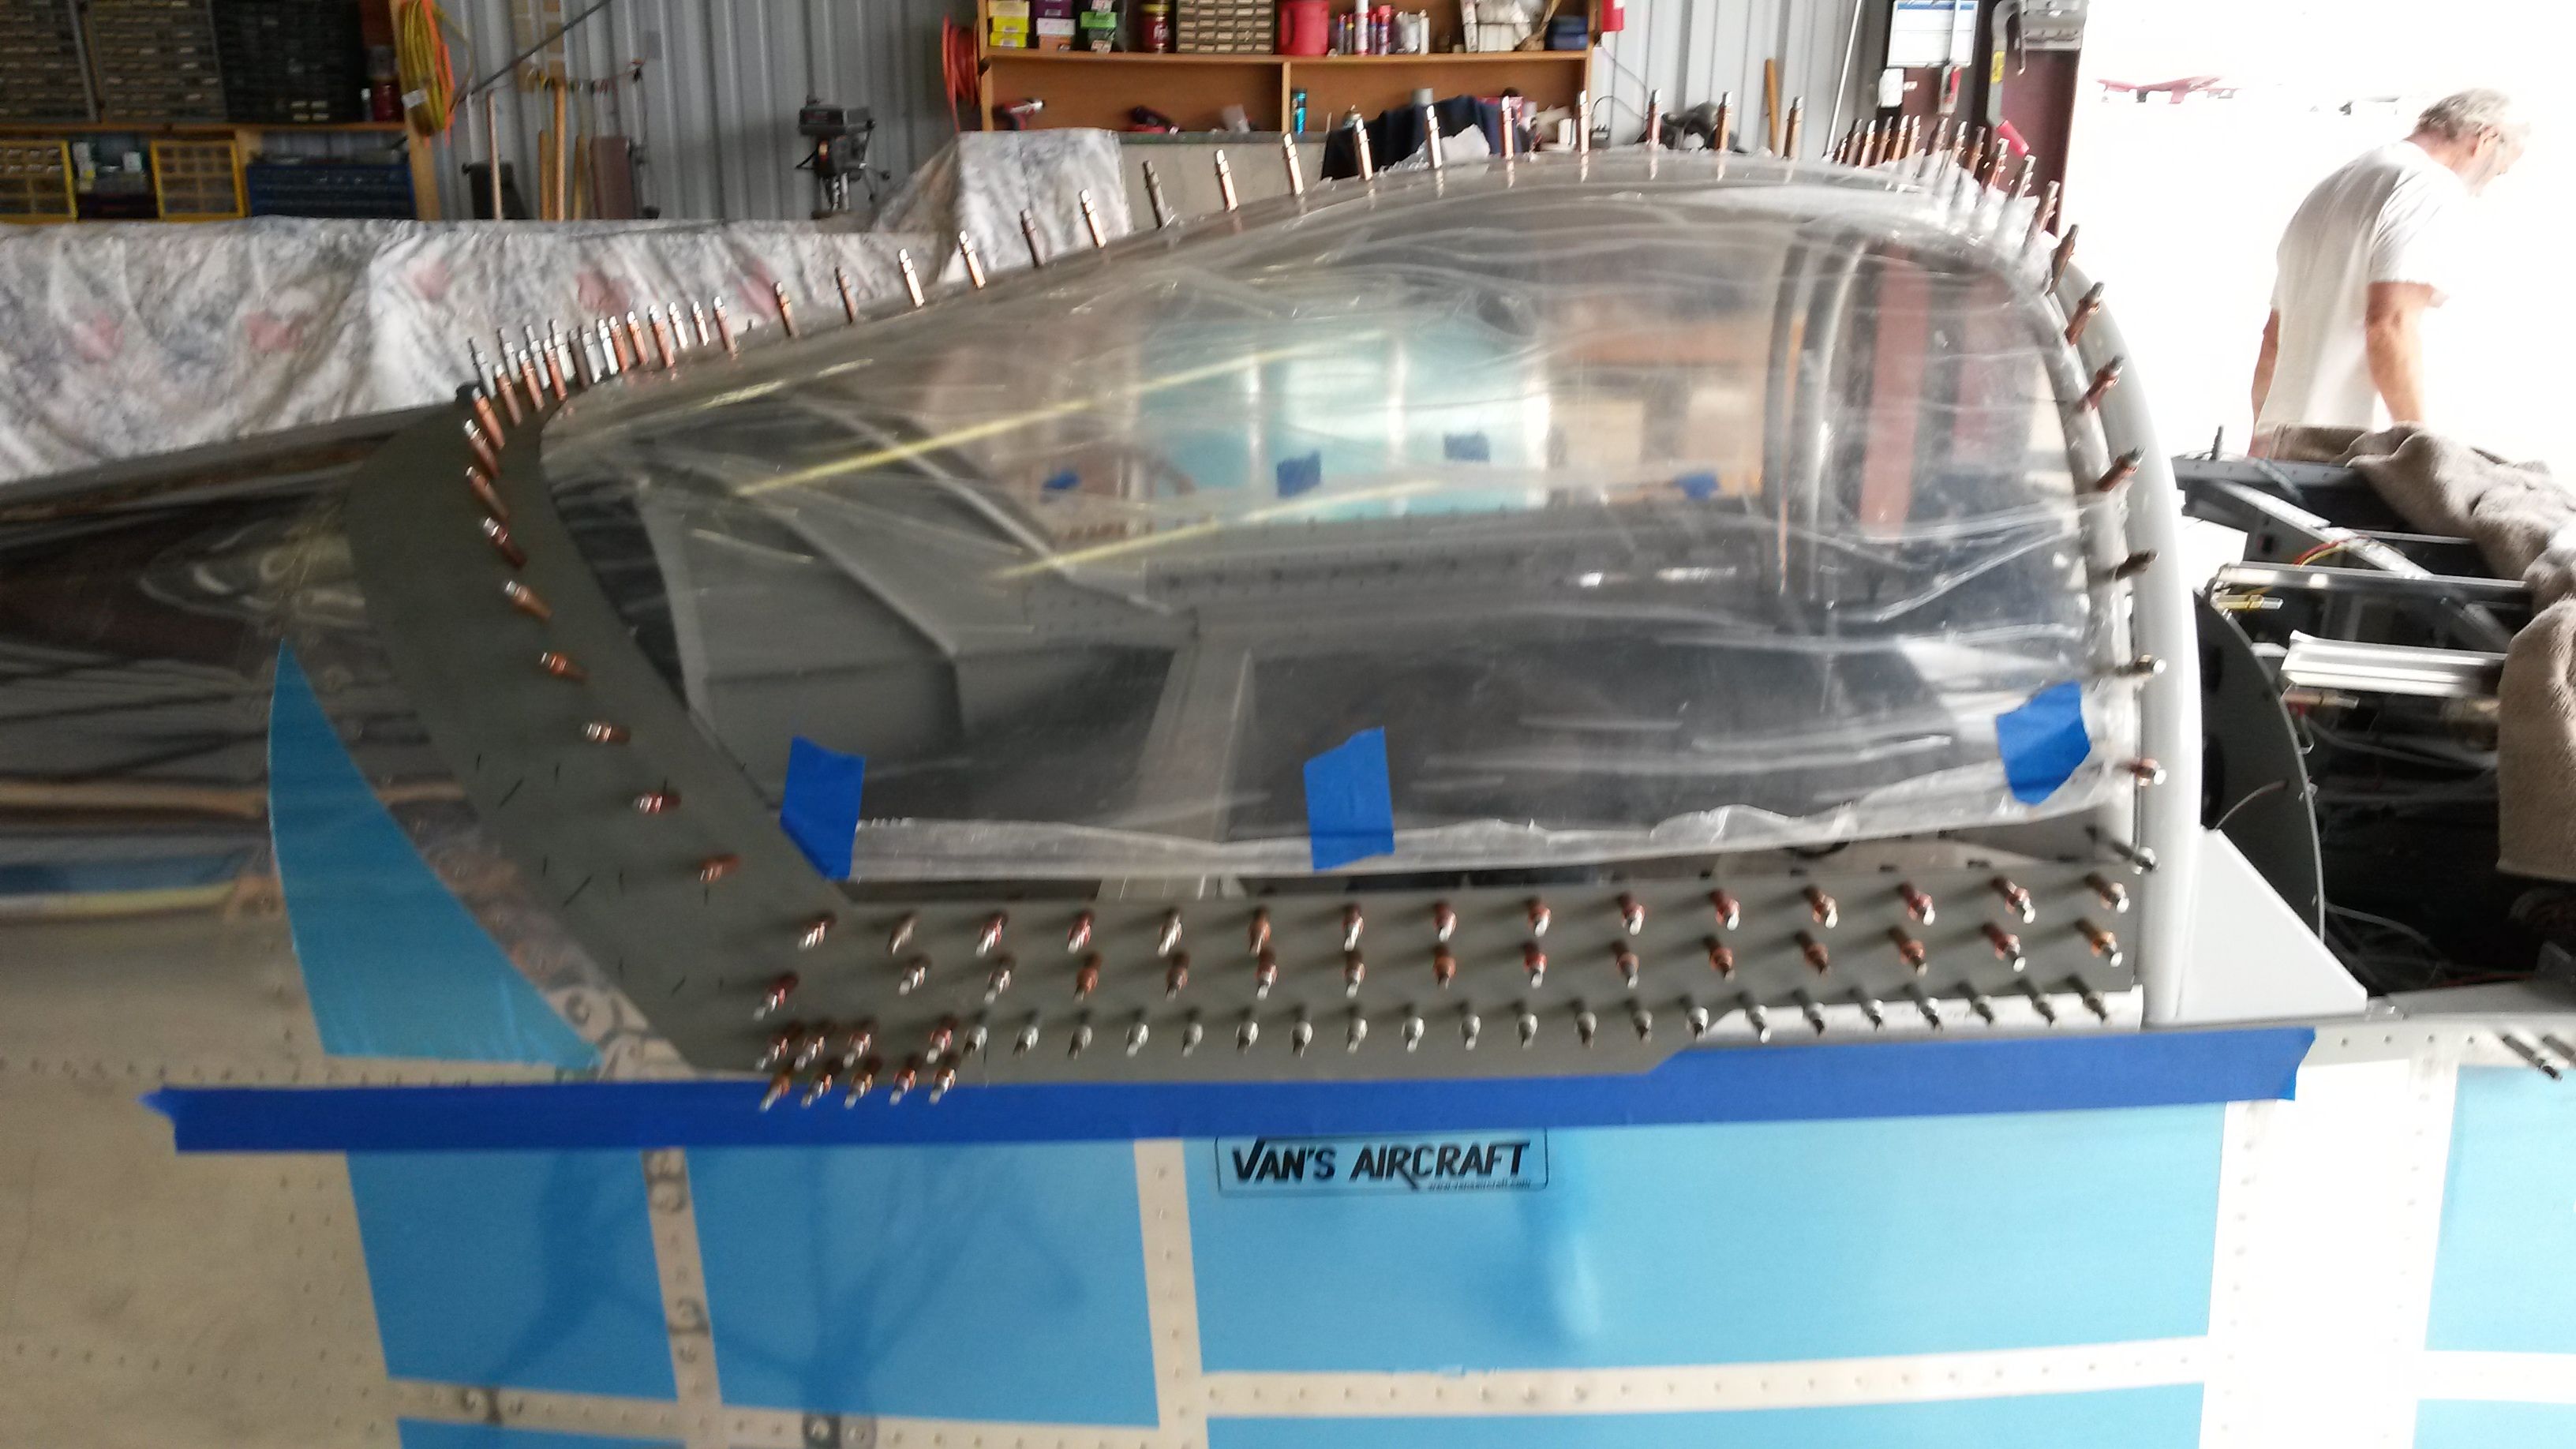
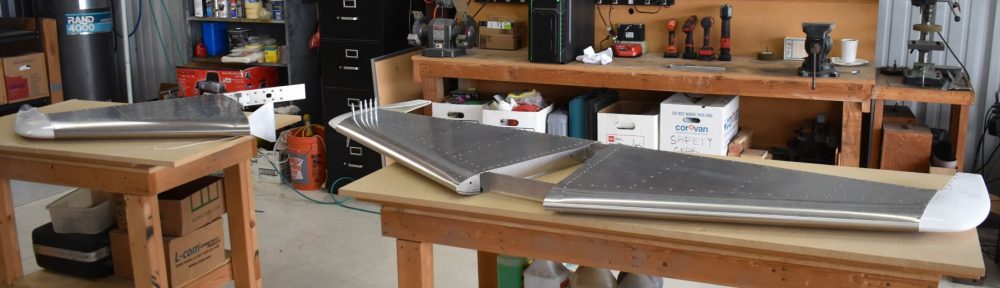
Built forward horizonal stabilizer spar today, and working on the elevators.

My airplane build is a collection of fear. What is the next fear? Then the next, etc. What happens if? what if I do the next thing out of order? What if? What if?

I do get over this, and when the next step is completed, all is good. Until the next fear.

My next fear? How do I build the elevator so it is perfectly straight? How do I make sure it is straight and properly connected to the horizonal stabilizer?

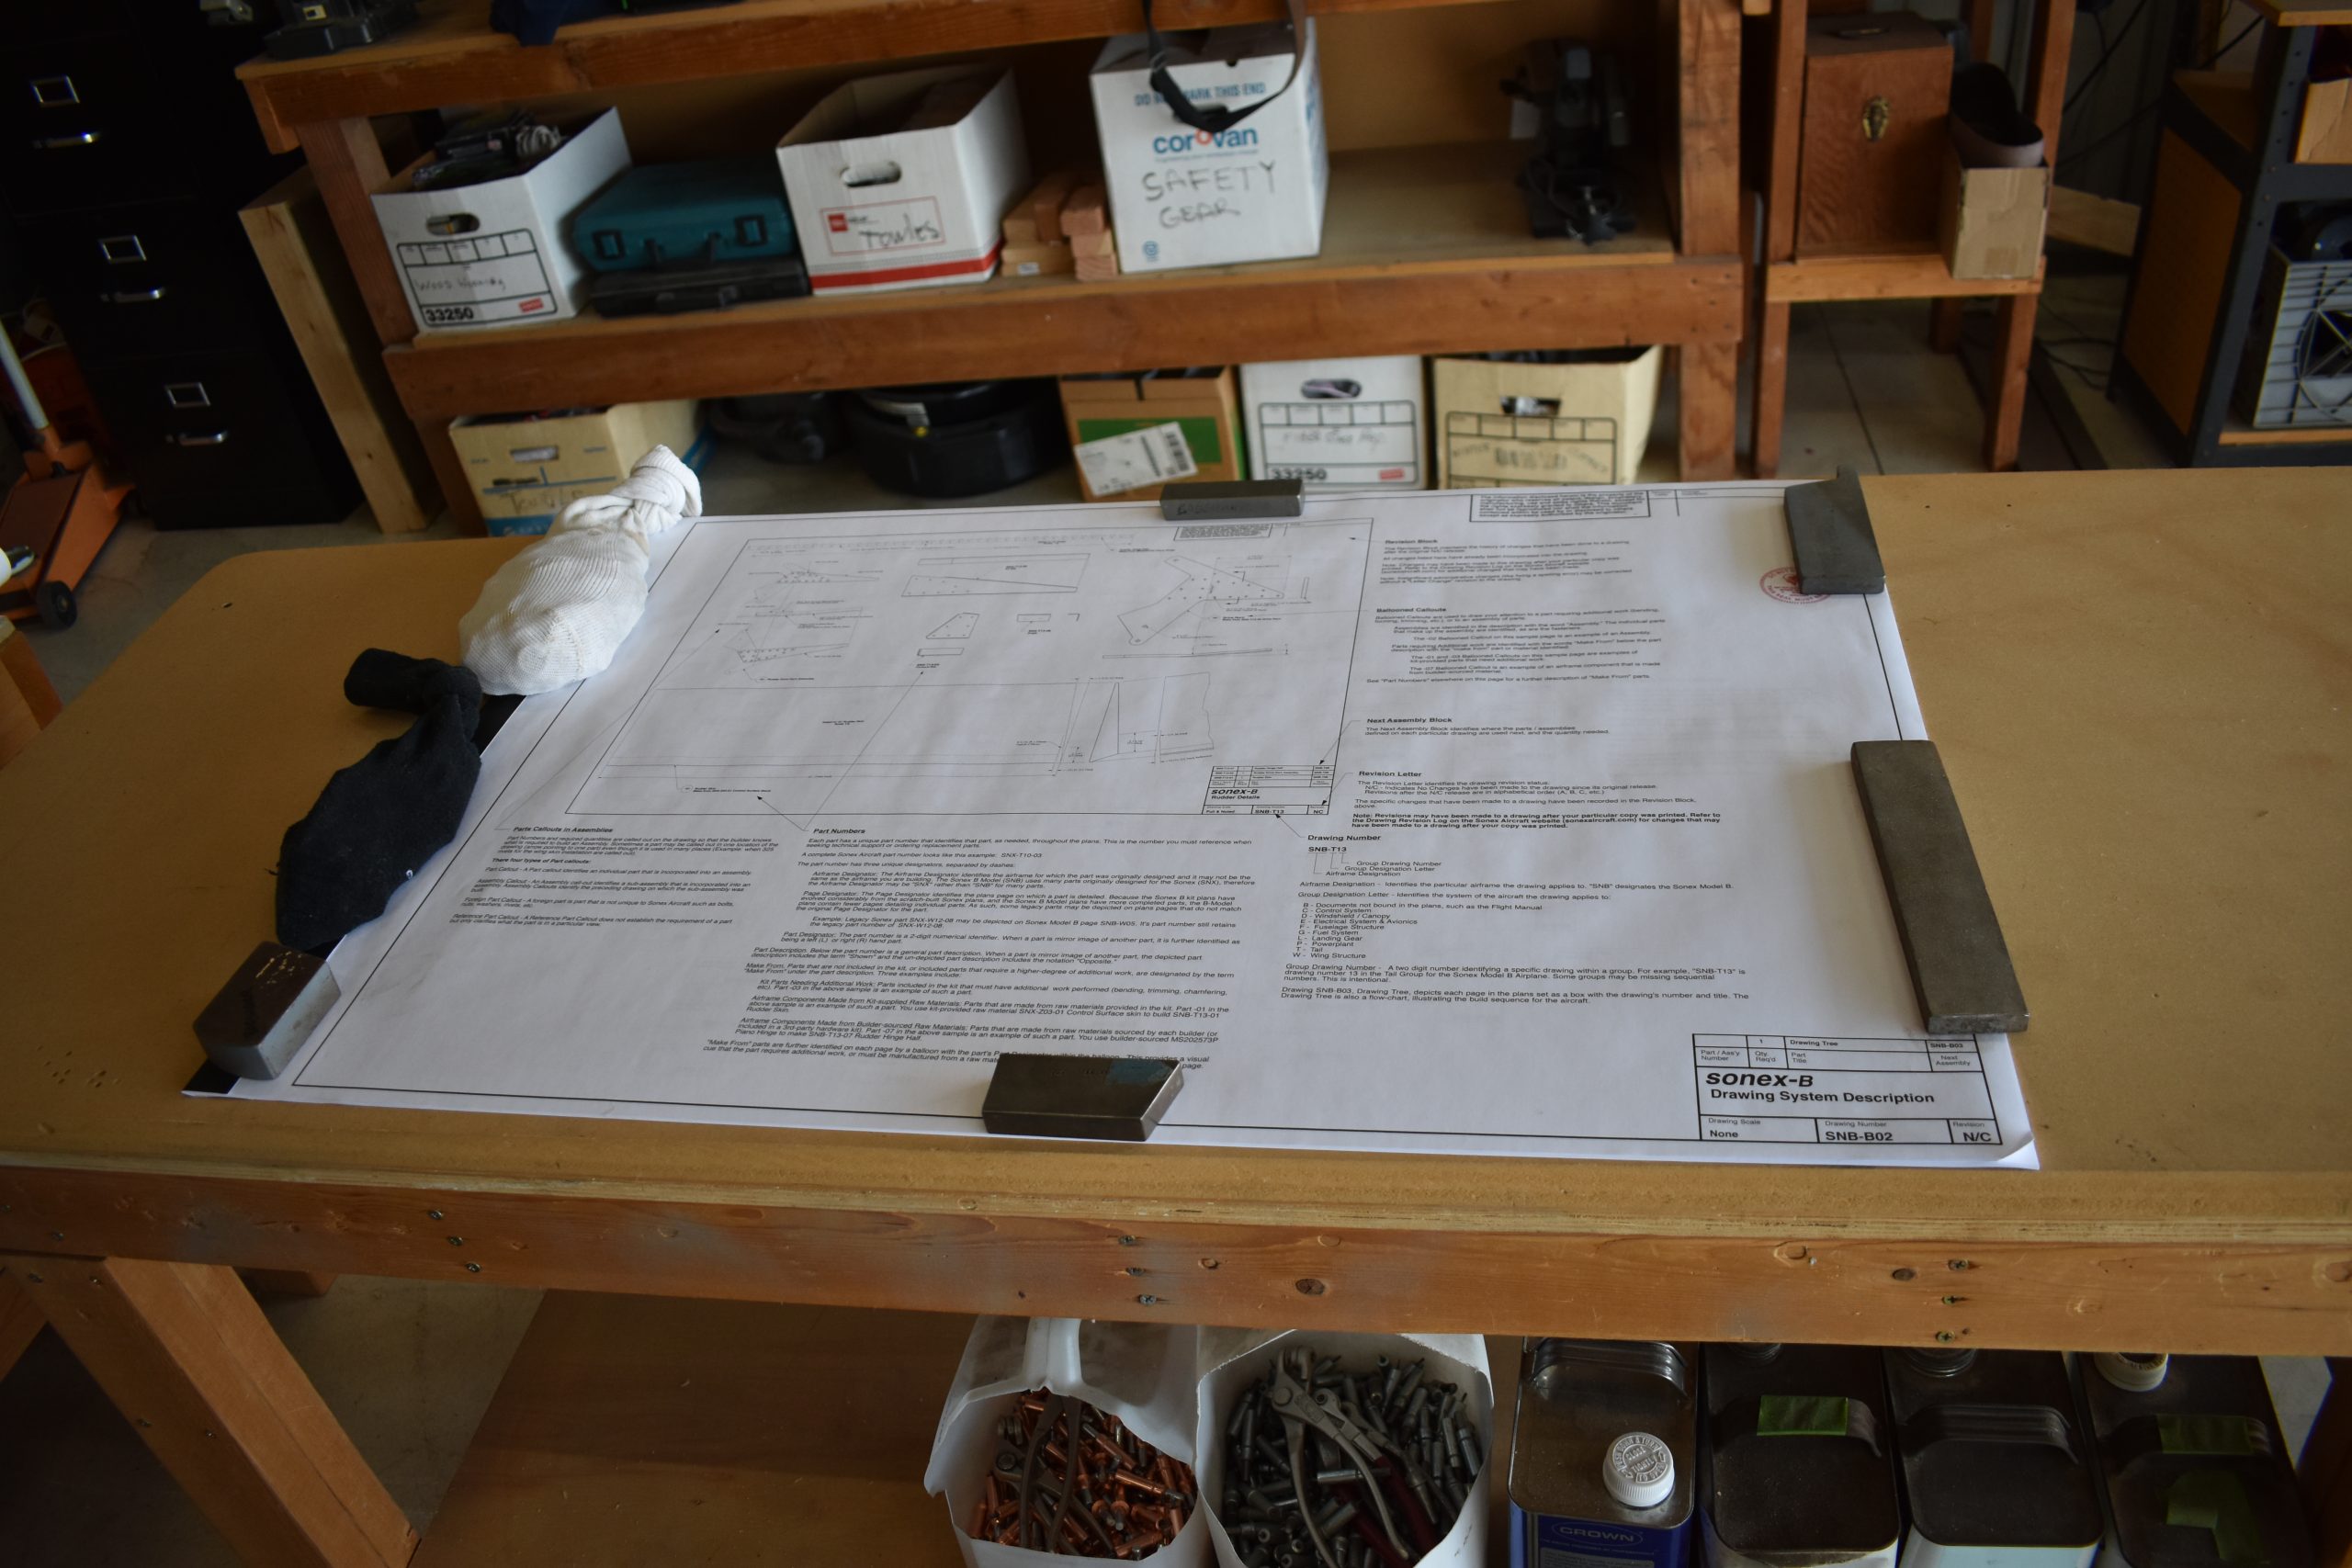
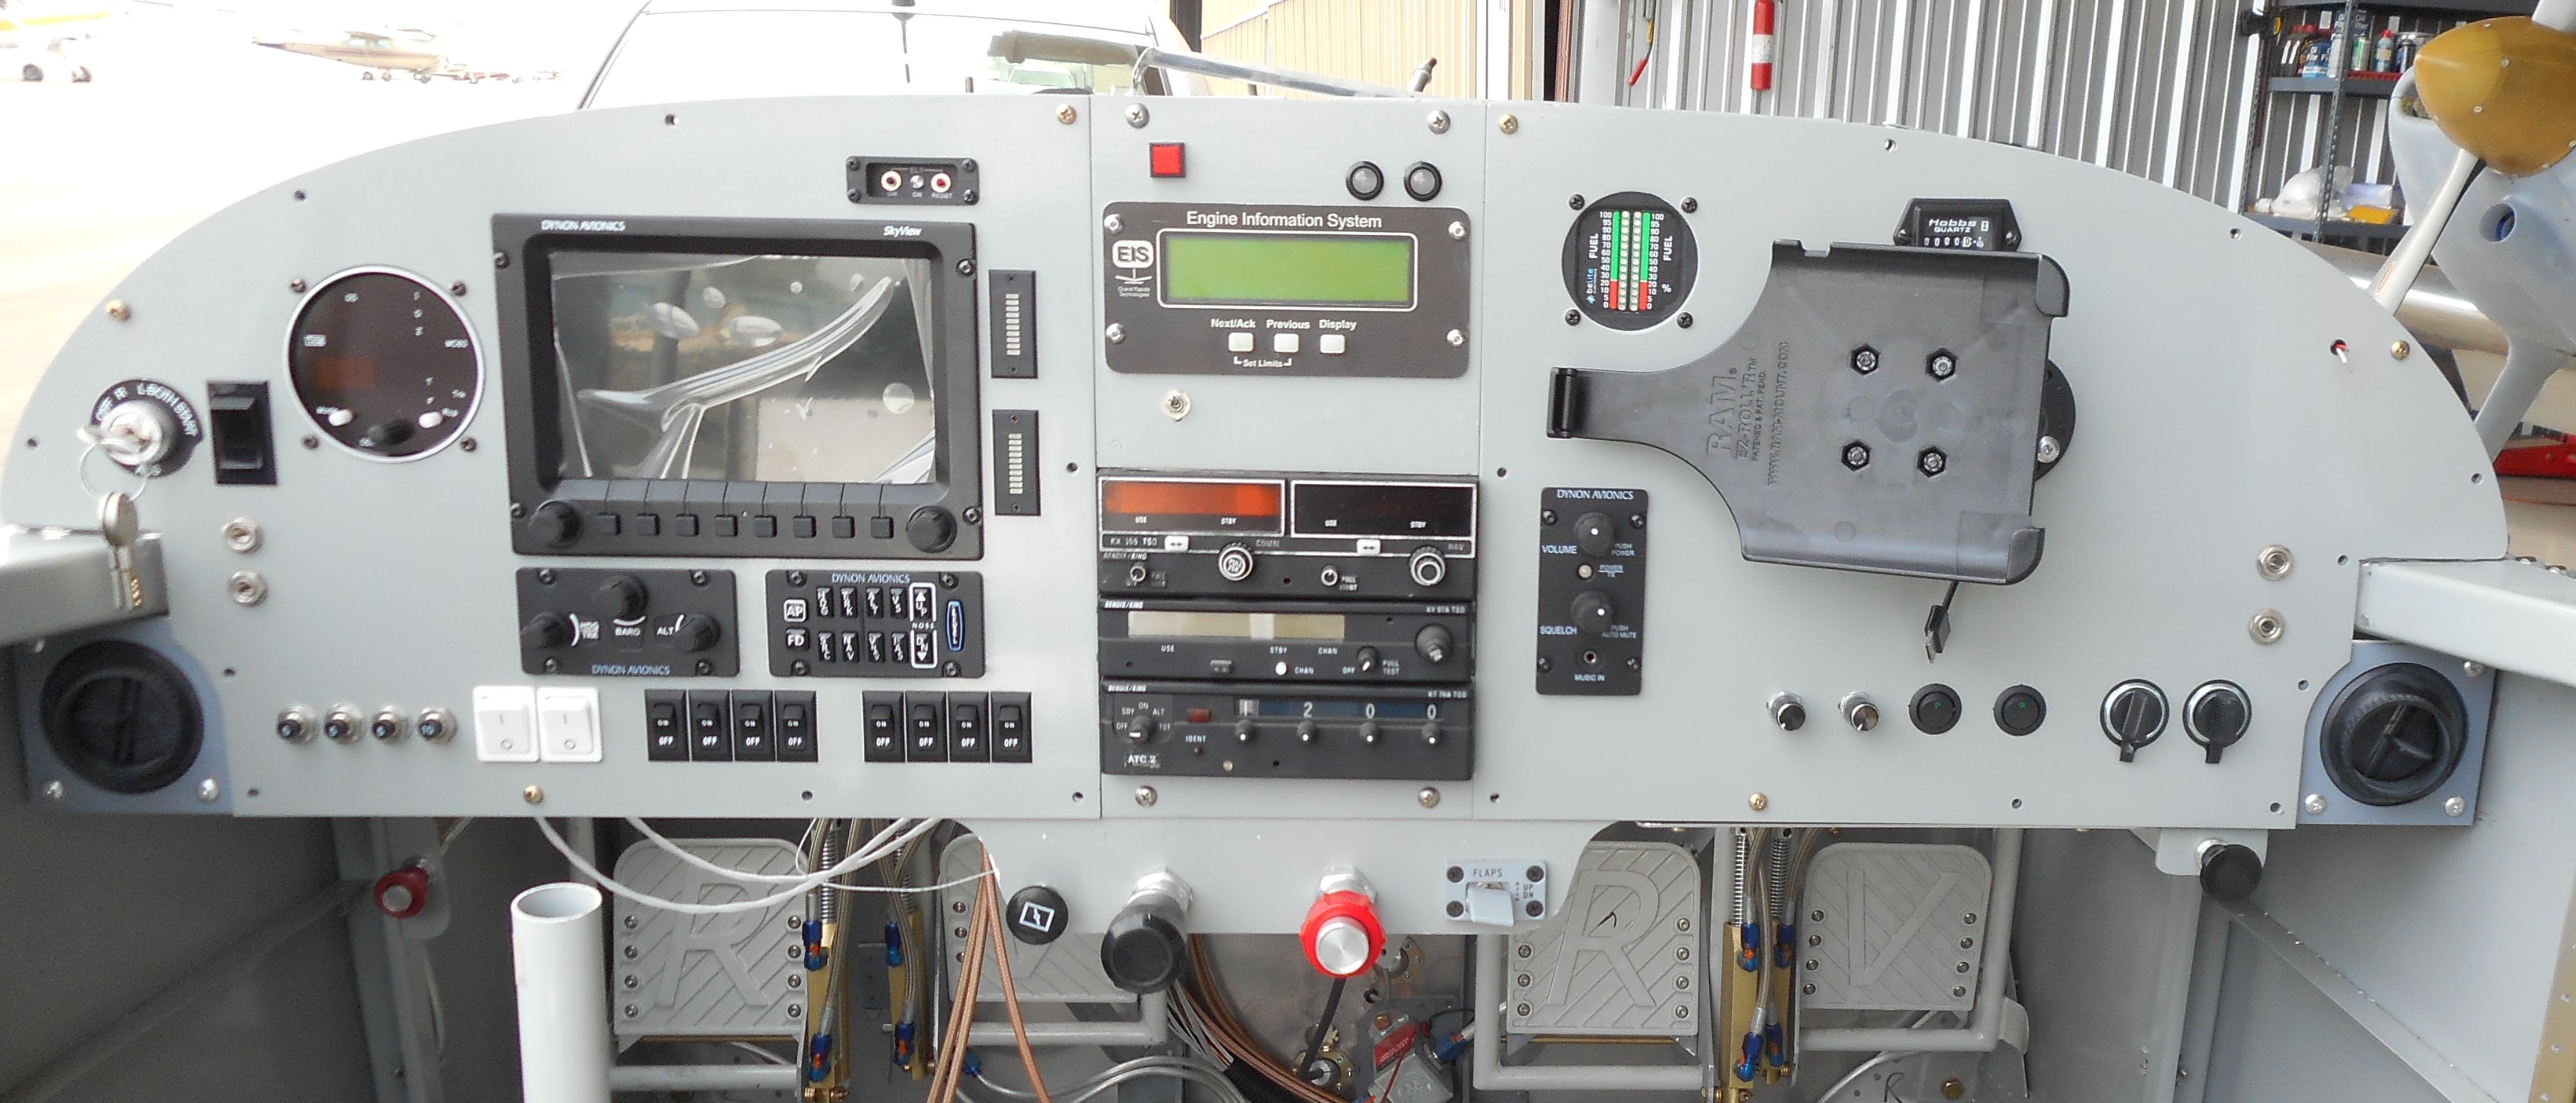
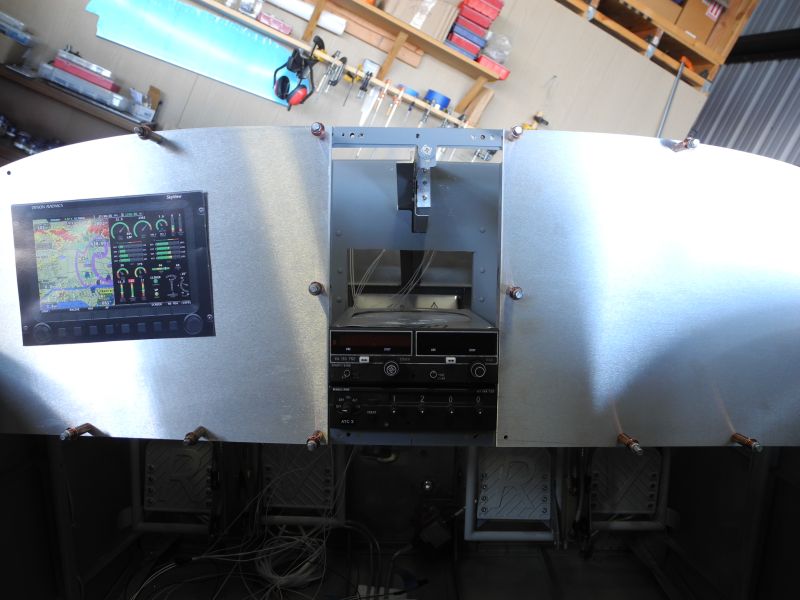
Many places to look from YouTube (lots of help there) as well as sonexbuilders.net.

Rear spar is done

The rear spar for the vertical stabilizer is completed.  I do want to add an electrical conduit for a tail light so I’ll be adding that to the tool holes already drilled.

This electrical conduit is light, durable and available in both split and solid design. Get it from Amazon or even Harbor Freight (I also bought a 25 foot length from Van’s Aircraft)

Skin is next!

Rudder is Complete

We have finished the rudder and the vertical stabilizer forward spar. Cool right?

Building the Sonex is a much different experience than the Van’s RV. While the Van’s Aircraft have an instruction book and plans, the Sonex Kit just has plans. I watch the videos on You Tube (and purchased the same videos to show support). Even though I think the plans are useful and well setup, it would be nice to have a list of instructions to help. The You Tube videos are welcome for the tail, but I’m not sure what I will do when building the rest of the plane. Hopefully, I’ll get the swing of the plans before the rest of the kit shows up.

I did buy an electric Milwaukee pull rivet gun that I find excellent! Bought the small battery for low weight but got two of them. Not sure yet how long they last.

I also built a pair of work stands out of 1X4 pine. Sanded them smooth to prevent damage to aluminum

Finally, a good rivet fence will help getting all the holes in the right place.

To bend to our wills…

For the Sonex Model B there are a couple of heavy aluminum pieces that need to be bent. To do this, we really need a press. I’m at an airport with lots of experimental aircraft and many shops. Do you think I could find someone with a press? NOPE! Most folks in the experimental community and friendly and helpful. I went to shop after shop and folks were even opening other people’s shops to find a press. No luck.

So here is the request: A press is rarely used with the Sonex kits. AND require careful setup AND are hard to find, I would like to suggest that Sonex go ahead and bend the parts that need bending. They have the tools and setup (some Sonex parts do come pre bent) to ship the few bent parts we need pre bent.

Because I did not have a press, I did not build the rudder bottom first, AND I read the plans incorrectly (missed the hidden line) I incorrectly cut the notch  in the bottom rudder skin.

My first big goof.

Back on course and moving forward again.

Rising from the Ashes!

My tail kit for a Sonex Model B has arrived today. We opened all the boxes to check for damage and did a complete inventory. All Set!

Many thanks to Sonex and to XPO Logistics for a smooth day.

Shop cleaned: Check
Tools organized: Check
New materials as required: Check

Since I have already built a Van’s RV-9A I have most of the skills and all of the tools to get underway.

I have not yet received a shipping date for the rest of the kit, but I believe I’ll have the tail completed before the rest of the kit arrives.

Gung Ho!
(Gung: To work, Ho: in harmony)

Is there anything sadder that an empty airplane project hanger?

Because of many life changes, I ordered a new Sonex Model B tail kit last August and it will be delivered in the next few days.

I’m setting up the shop with new worktable tops, new saw blades, new sandpaper, new clecos (we need more copper clecos), new hand cleaner, new first aid kit, new drill bits and a ton of other stuff to be ready to start building my new airplane.

I still have my old tools from the RV-9A build, and I’m ready to get underway.

Project Phoenix

I’m now retired and I’m ready to build again. From the ashes will rise a Sonex Model B with a Rotax engine. Tricycle gear, center stick.

It is Time.

Good Bye RV9A

It is January 2021 and I’m still working full time and my mom needs more attention. I have not worked on my RV9A for over a year, and it looks like no work in the near future.

I visit the hanger now and then on the way home from work, and it is sad to see the project collecting dust.

An experienced builder has come along and made me an offer on the project, so I’m going to let it go. The project left the hagner for a new home on Febrary 28, 2021.

I’m sad to see it go, but glad it will be in the air in a year or so.

I’m keeping the hanger and my tools. I’ll retire in a few years and I’ll be looking for an LSA kit to build.

I’m keeping my tail number too:   N18TD

Dkb

Chasing Skirts! (Ah, to be young again!)

Well, we finally got to the canopy skirts and I feel we did  a pretty good job!  We talked about using fiberglass for perfection, but I deceided to go with the aluminum skirts that came with the kit. I must say I’m pretty happy.

Beautiful!

Beautiful!

The sides did require a little forming, but nothing like the back skirts!  After about 9 hours over two week-ends, we are pretty happy with the resaults.

rear skirt on RV-9A slider

rear skirt on RV-9A slider

All in all, they came out pretty nice.  The secret? Get a 3 foot piece of 4″ PVC and screw it to the table top. Install the part on the plane, and make location and direction of the required bend. Remove, bend, and replace.  Repeat about a zillion times.  Be real careful with clecos because they will be going on and off a bunch of times.

Bender with scrap

Bender with test scrap.

Back at the beginning…

The recent beginning:

The first ground wire

The first ground

It has been a long journey, and this is just the most recent step.  We are still working on the electrical, but we are getting the engine ready as well. We have finished the engine inspection, addition of all external hoses, clamps, gaskets, etc. We have purchased new or rebuilt accessories (Carb, Mags, Alternator, fuel pump, etc) and we just received the propeller. I originally went with a wood prop, but since that would add 15 hours to the Phase I fly-off, I decided to go with a standard Sensenich propeller.

We will soon be at 7 years of building, and here is where we started:

Empennage Kit for RV9A

Empennage Kit for RV9A

Happy Thanksgiving and keep pounding those rivets!

Panel is installed…

We have finally installed all the parts of the panel we need.

N18TD Instrument Panel

N18TD Panel

Not everything is wired, but some stuff works. EIS is wired (not to the engine of course) Ignition switch is in and working. I still need a few components to get everything together, but I feel pretty good.  Even the baggage lights work!

Oh, and how much work is this?  Well, here is where we started:

Empty panel

Empty panel