How do you eat an elephant?

It is the first day of spring and all is beautiful.

First day of spring

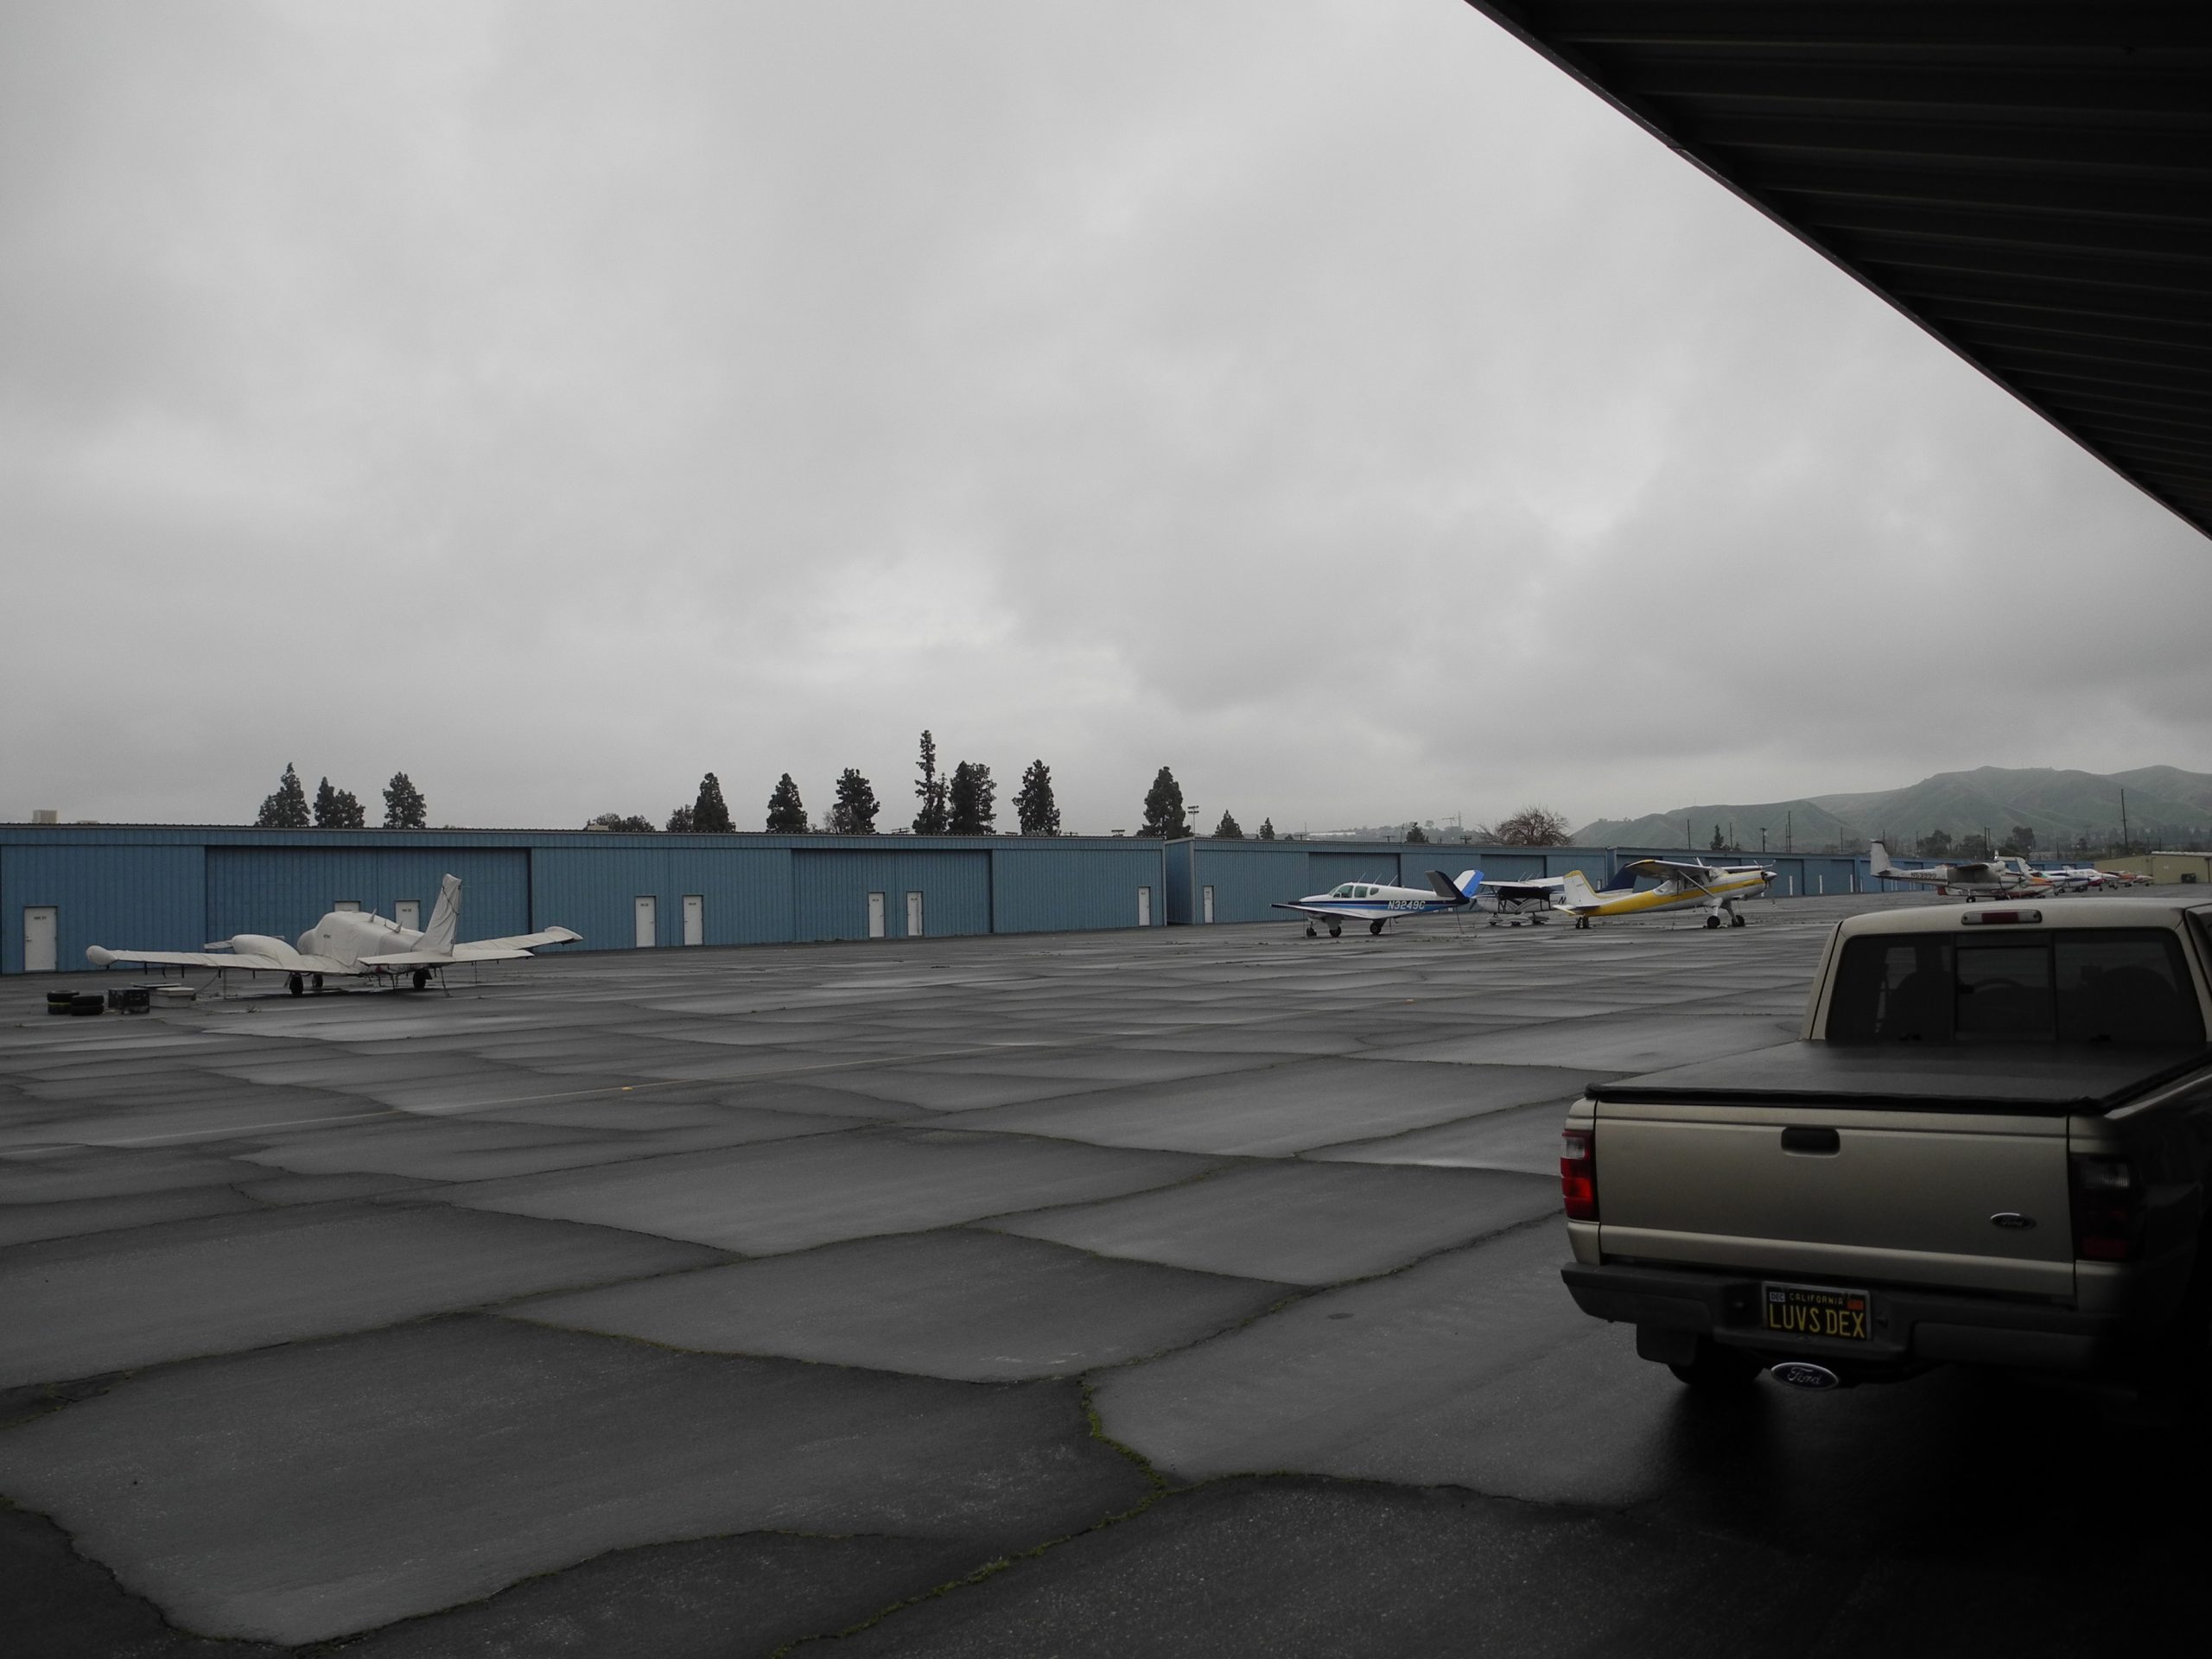
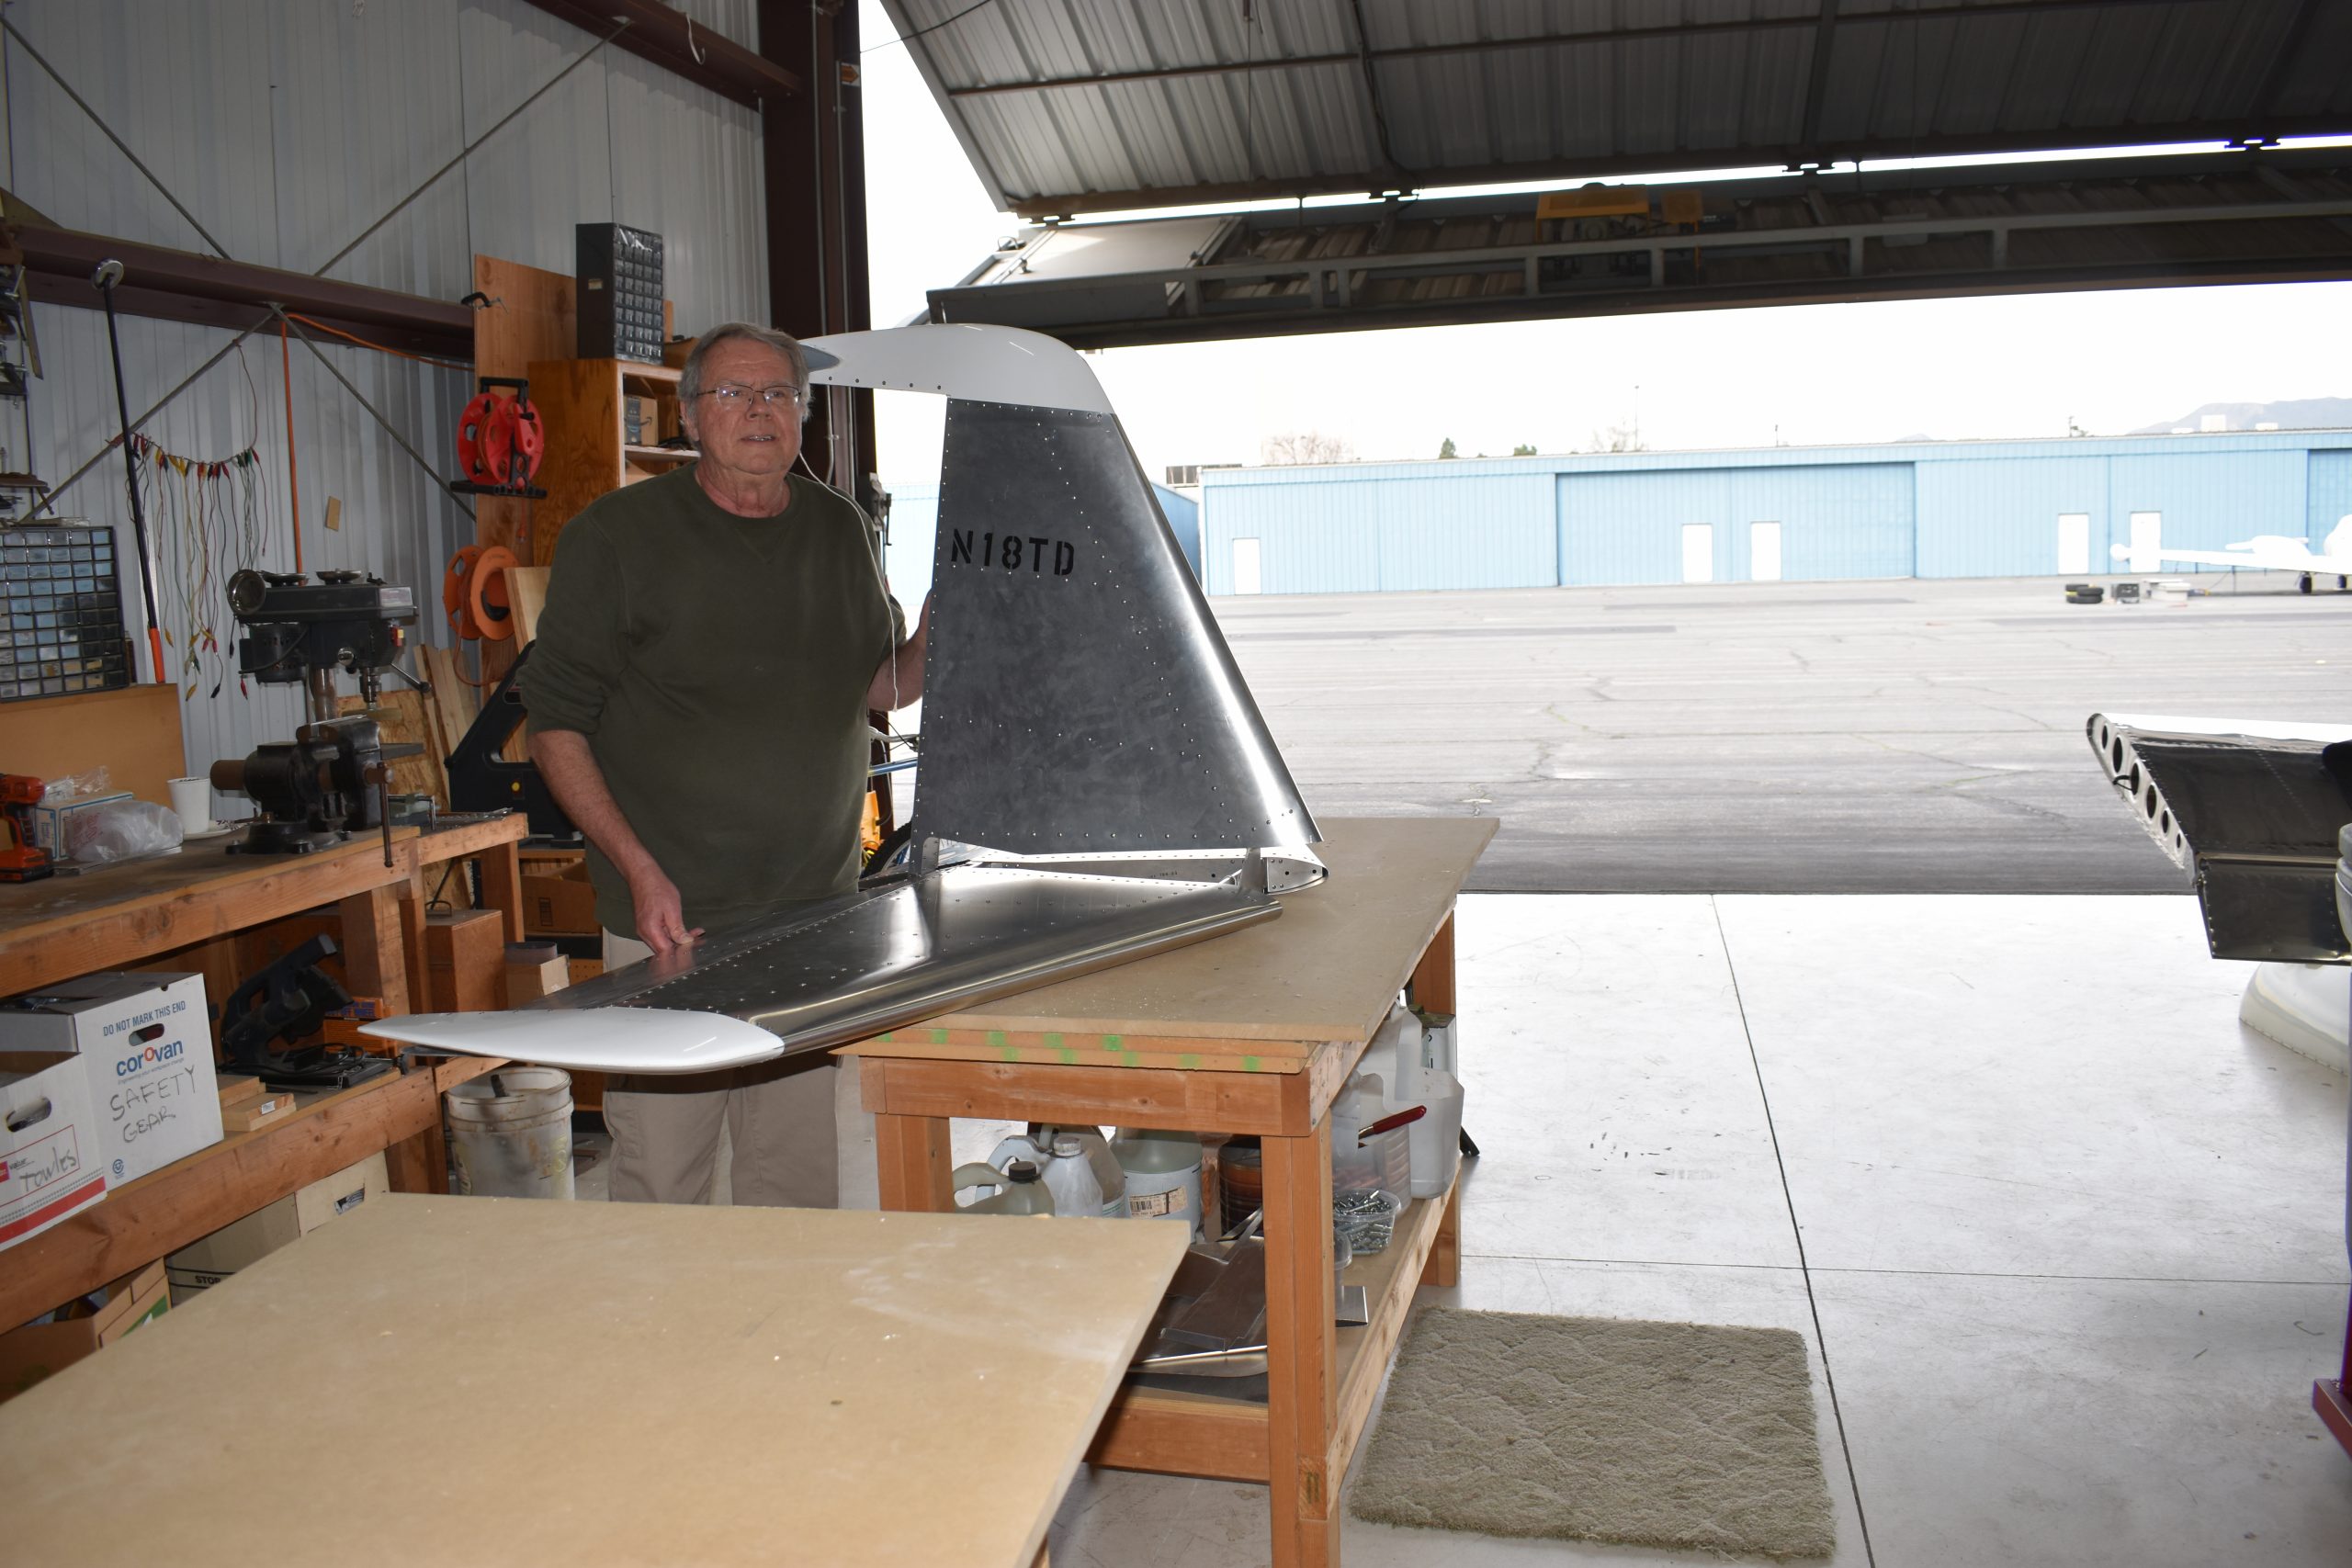
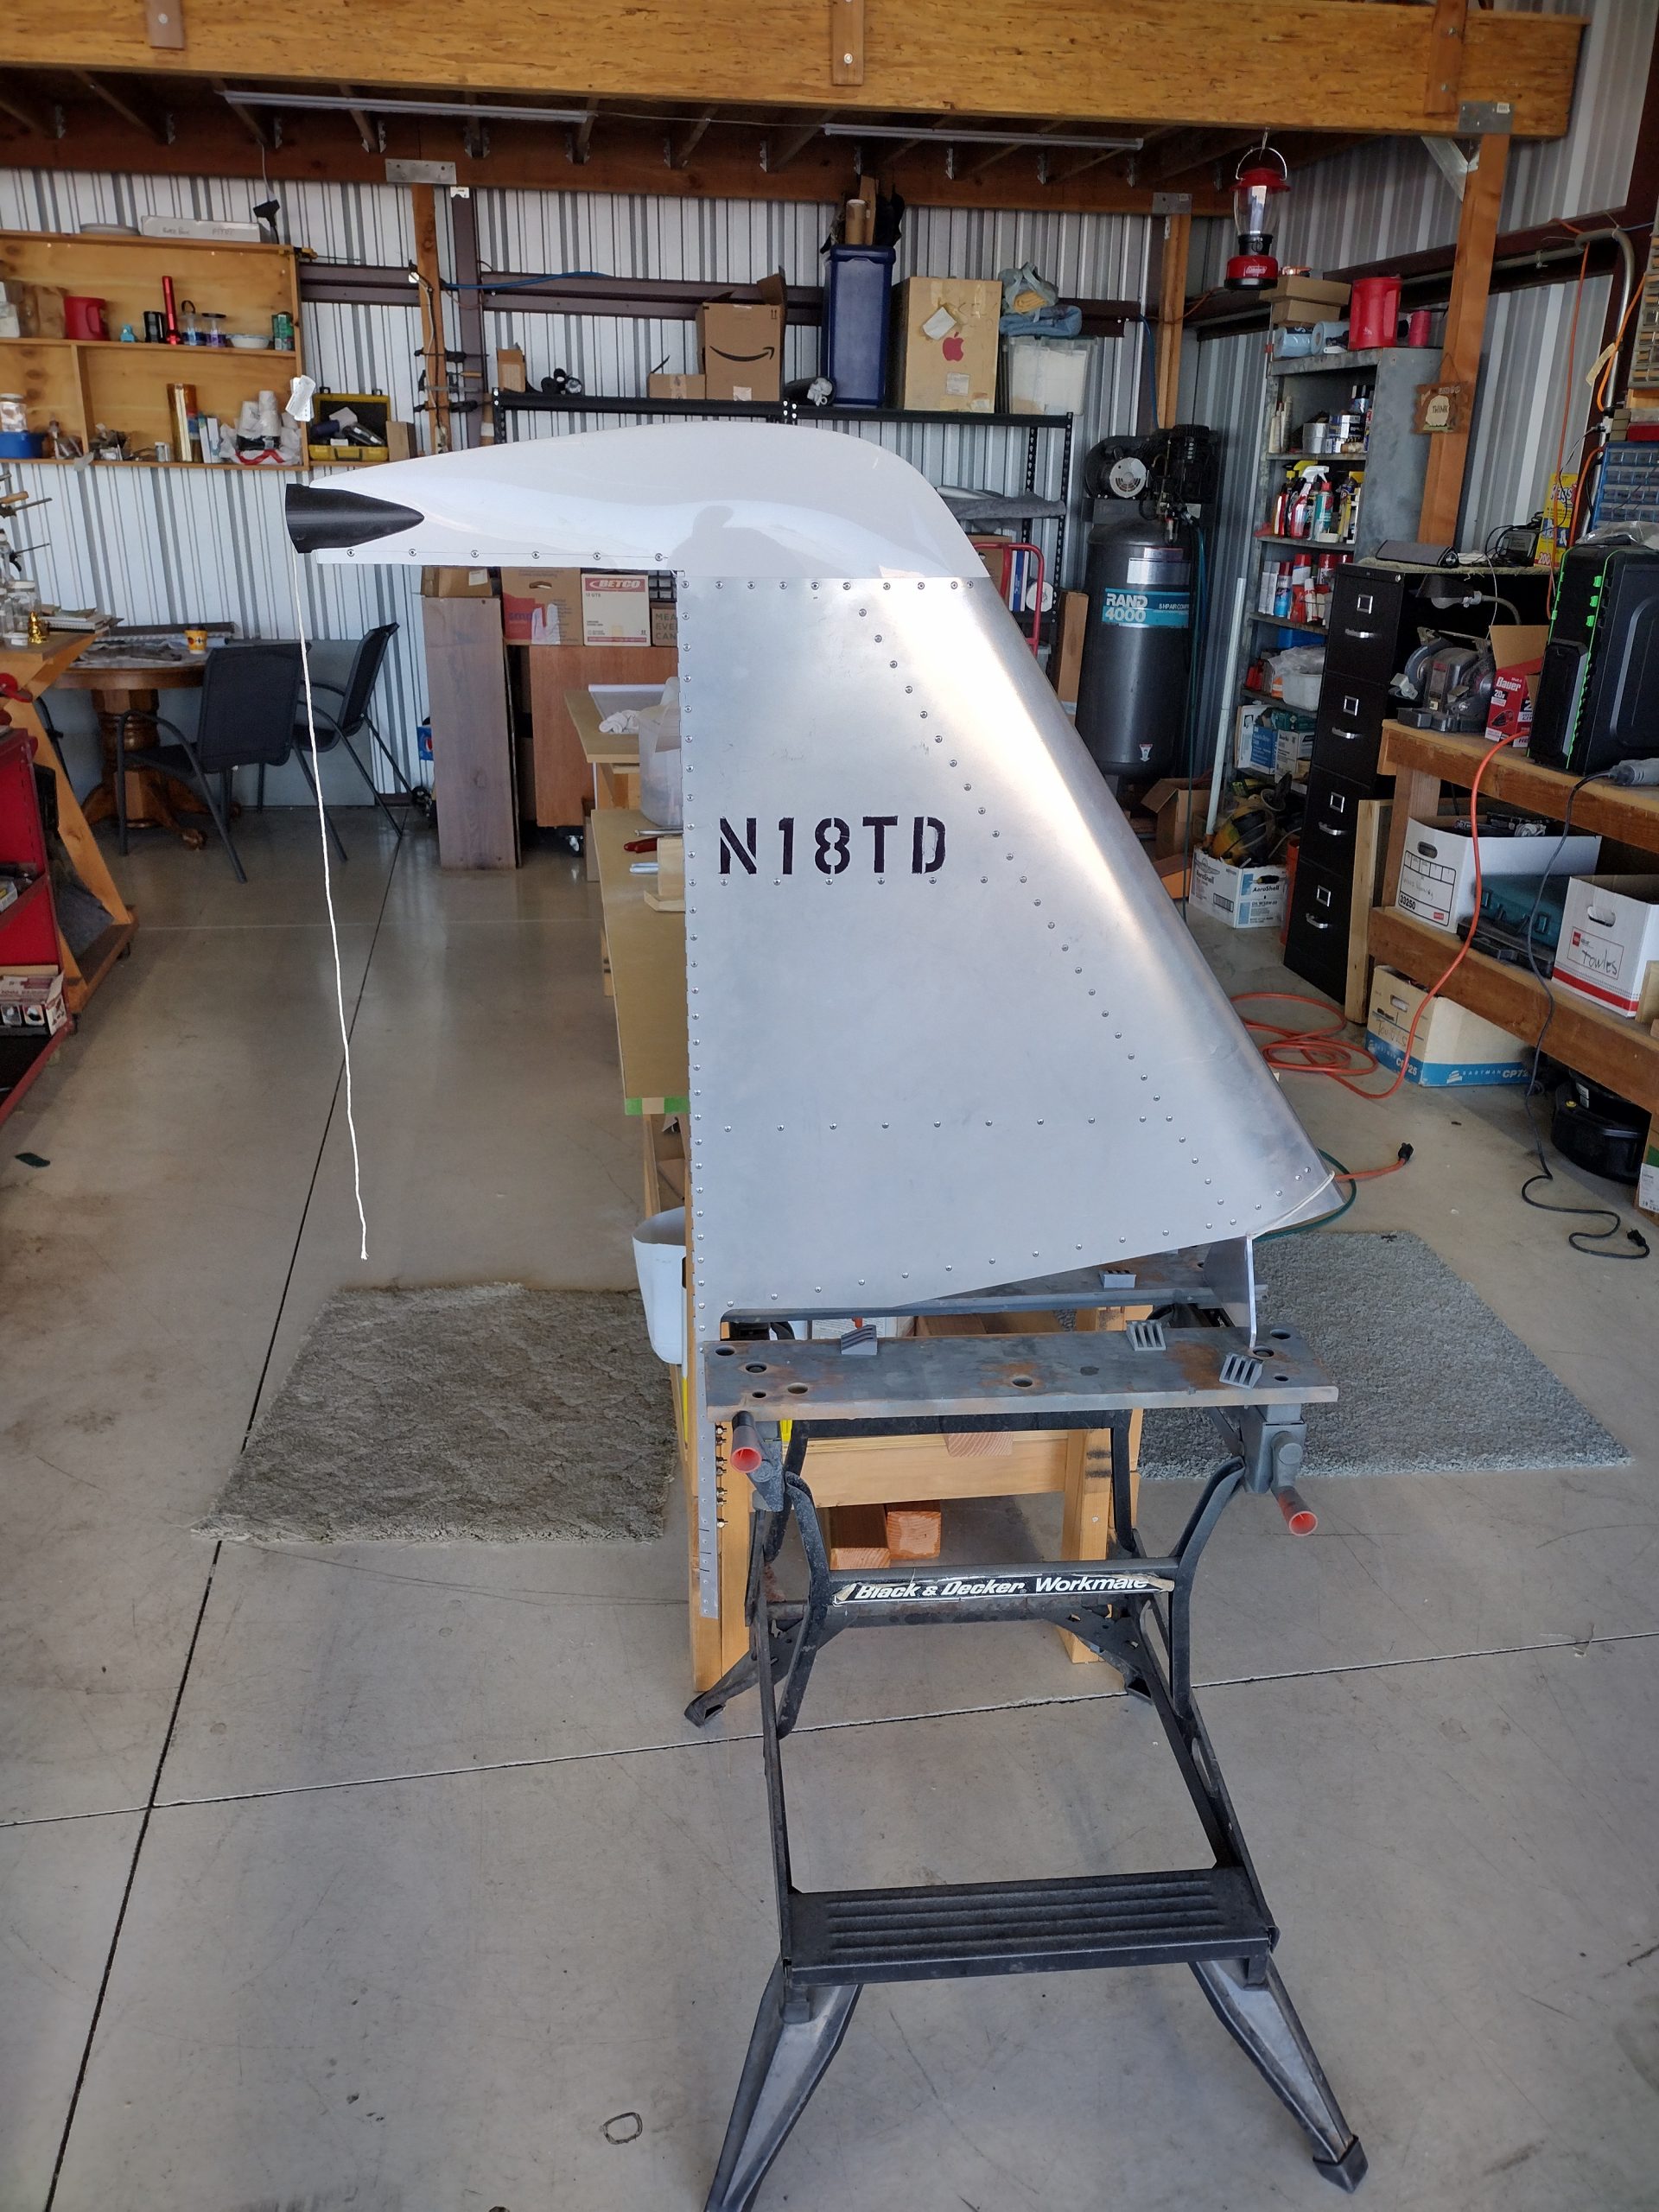
and extra beautiful because this guy is here.

First day of spring AND this is here!

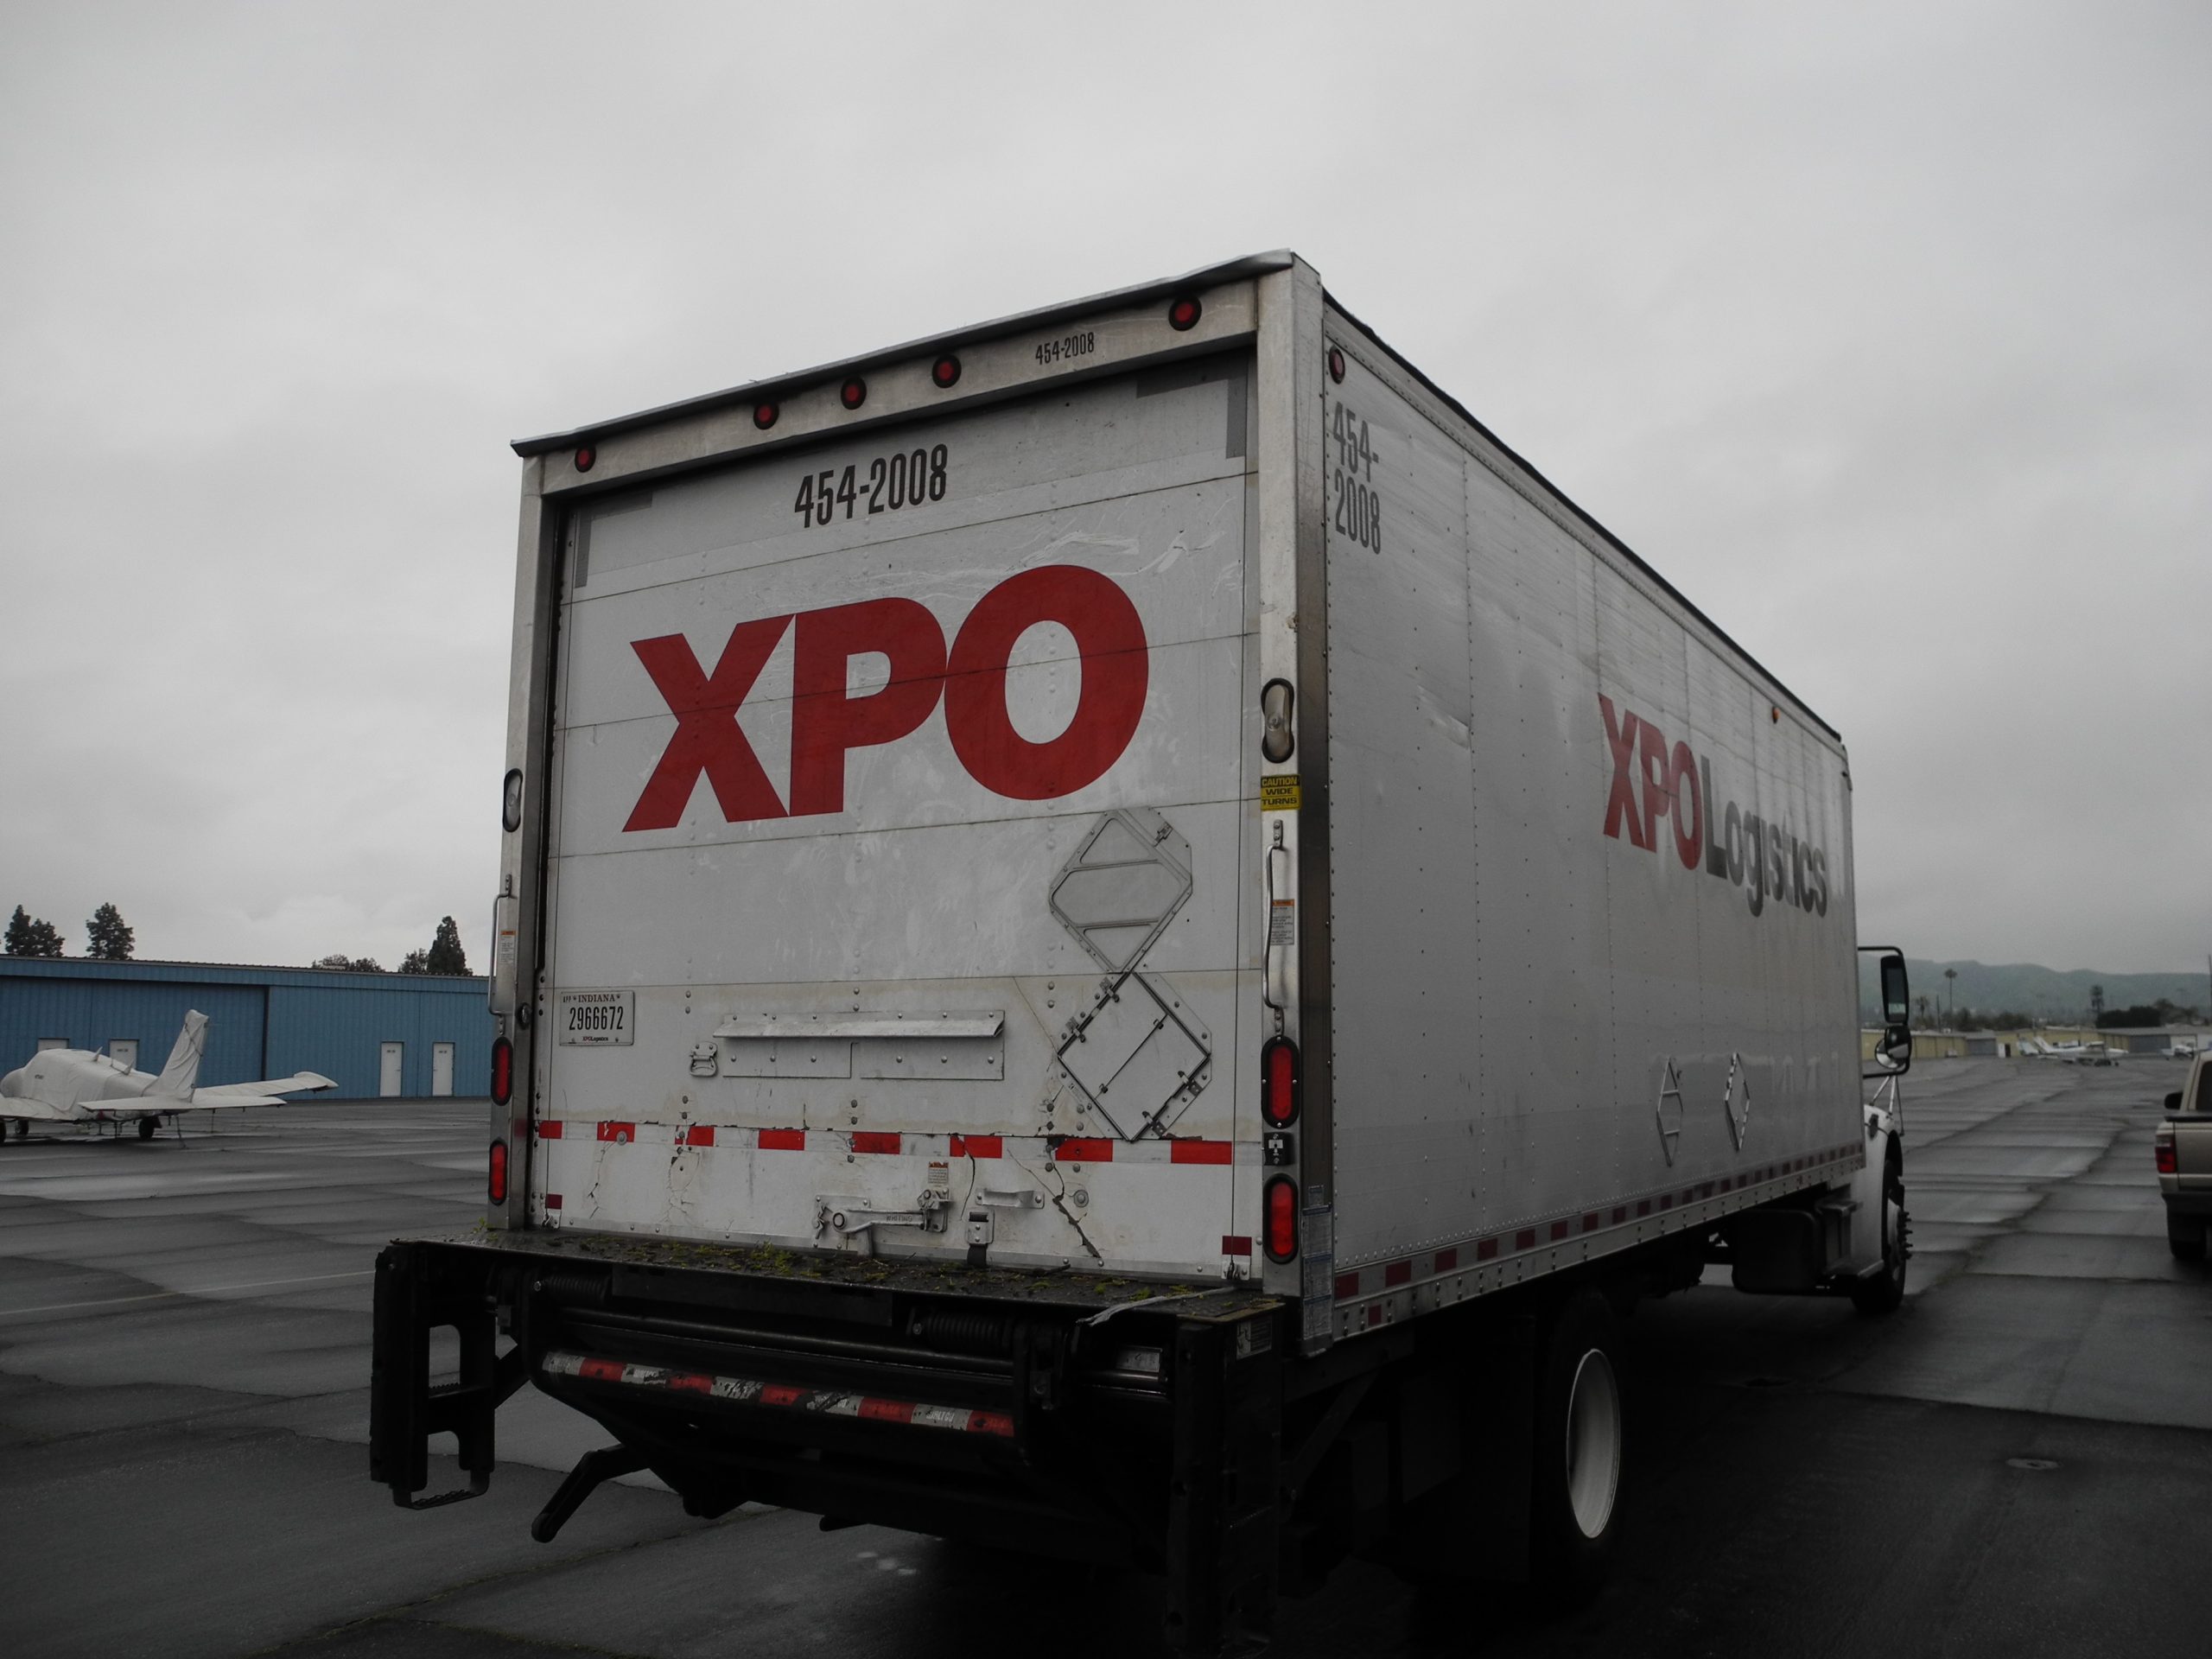
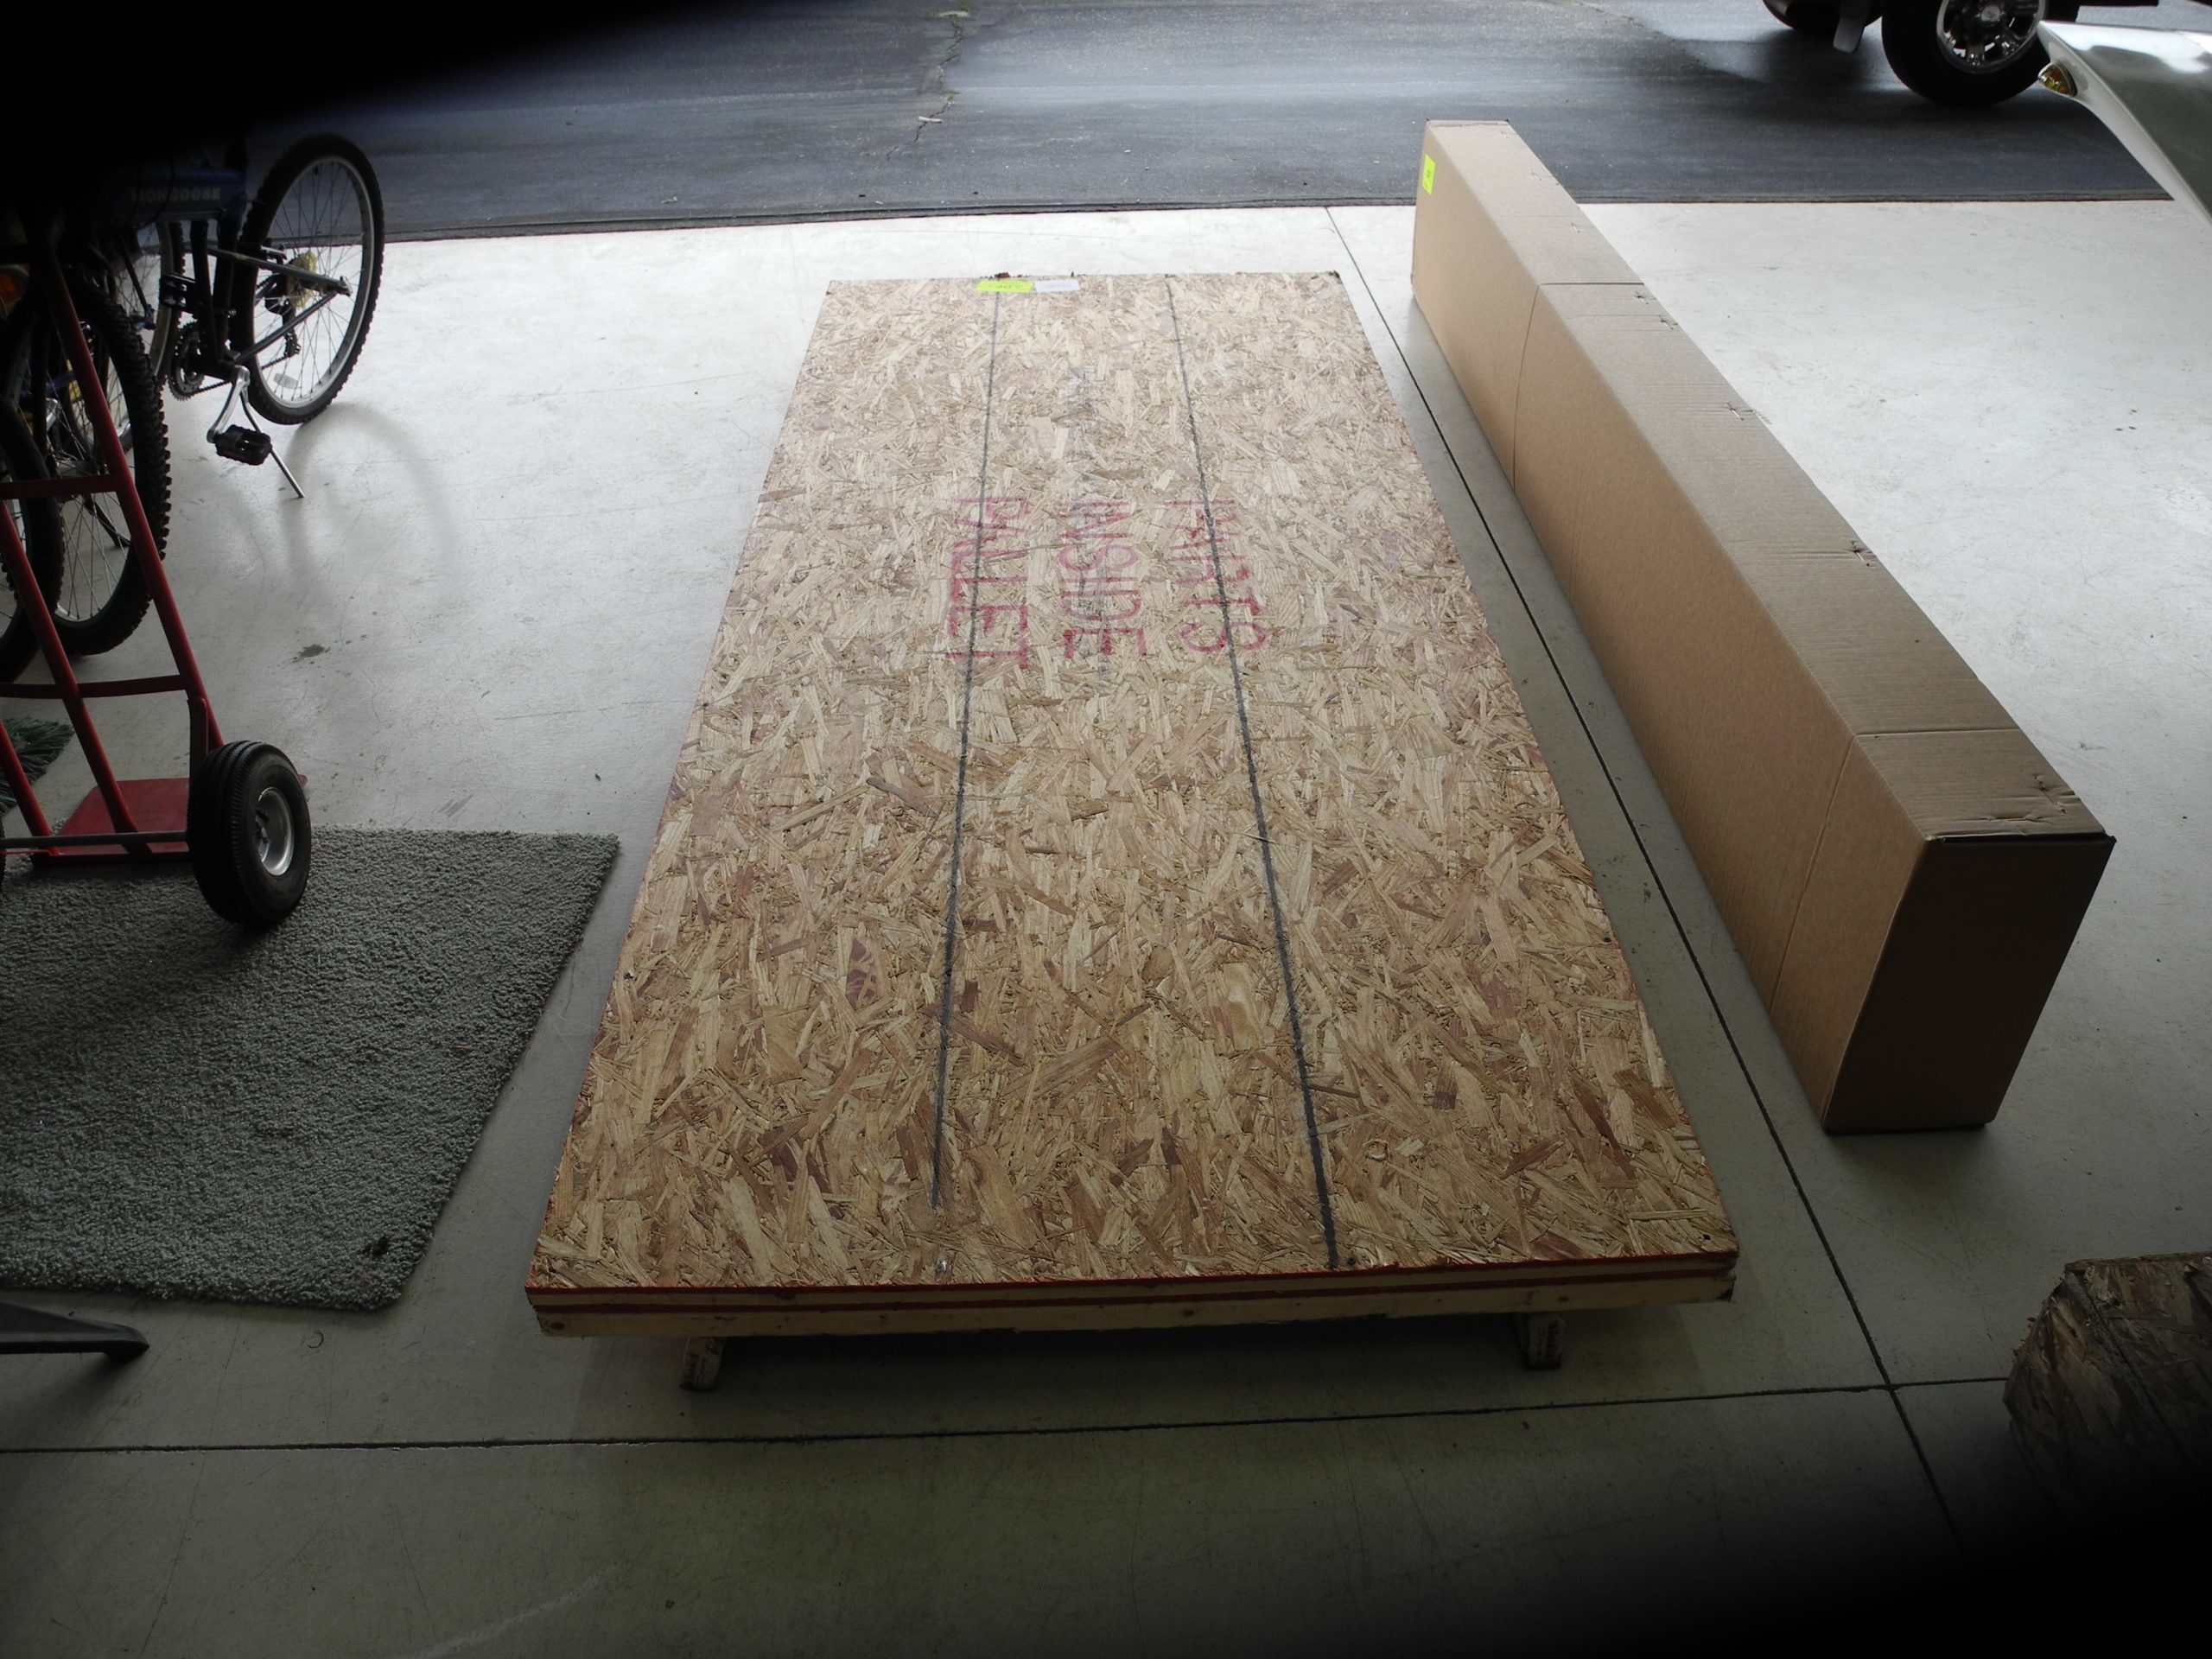
So, XPO Logistics have arrived and I am at the airport (On Friday, my car didn’t make it as far as the airport, but that is another discussion. I said bad words).

Before
After

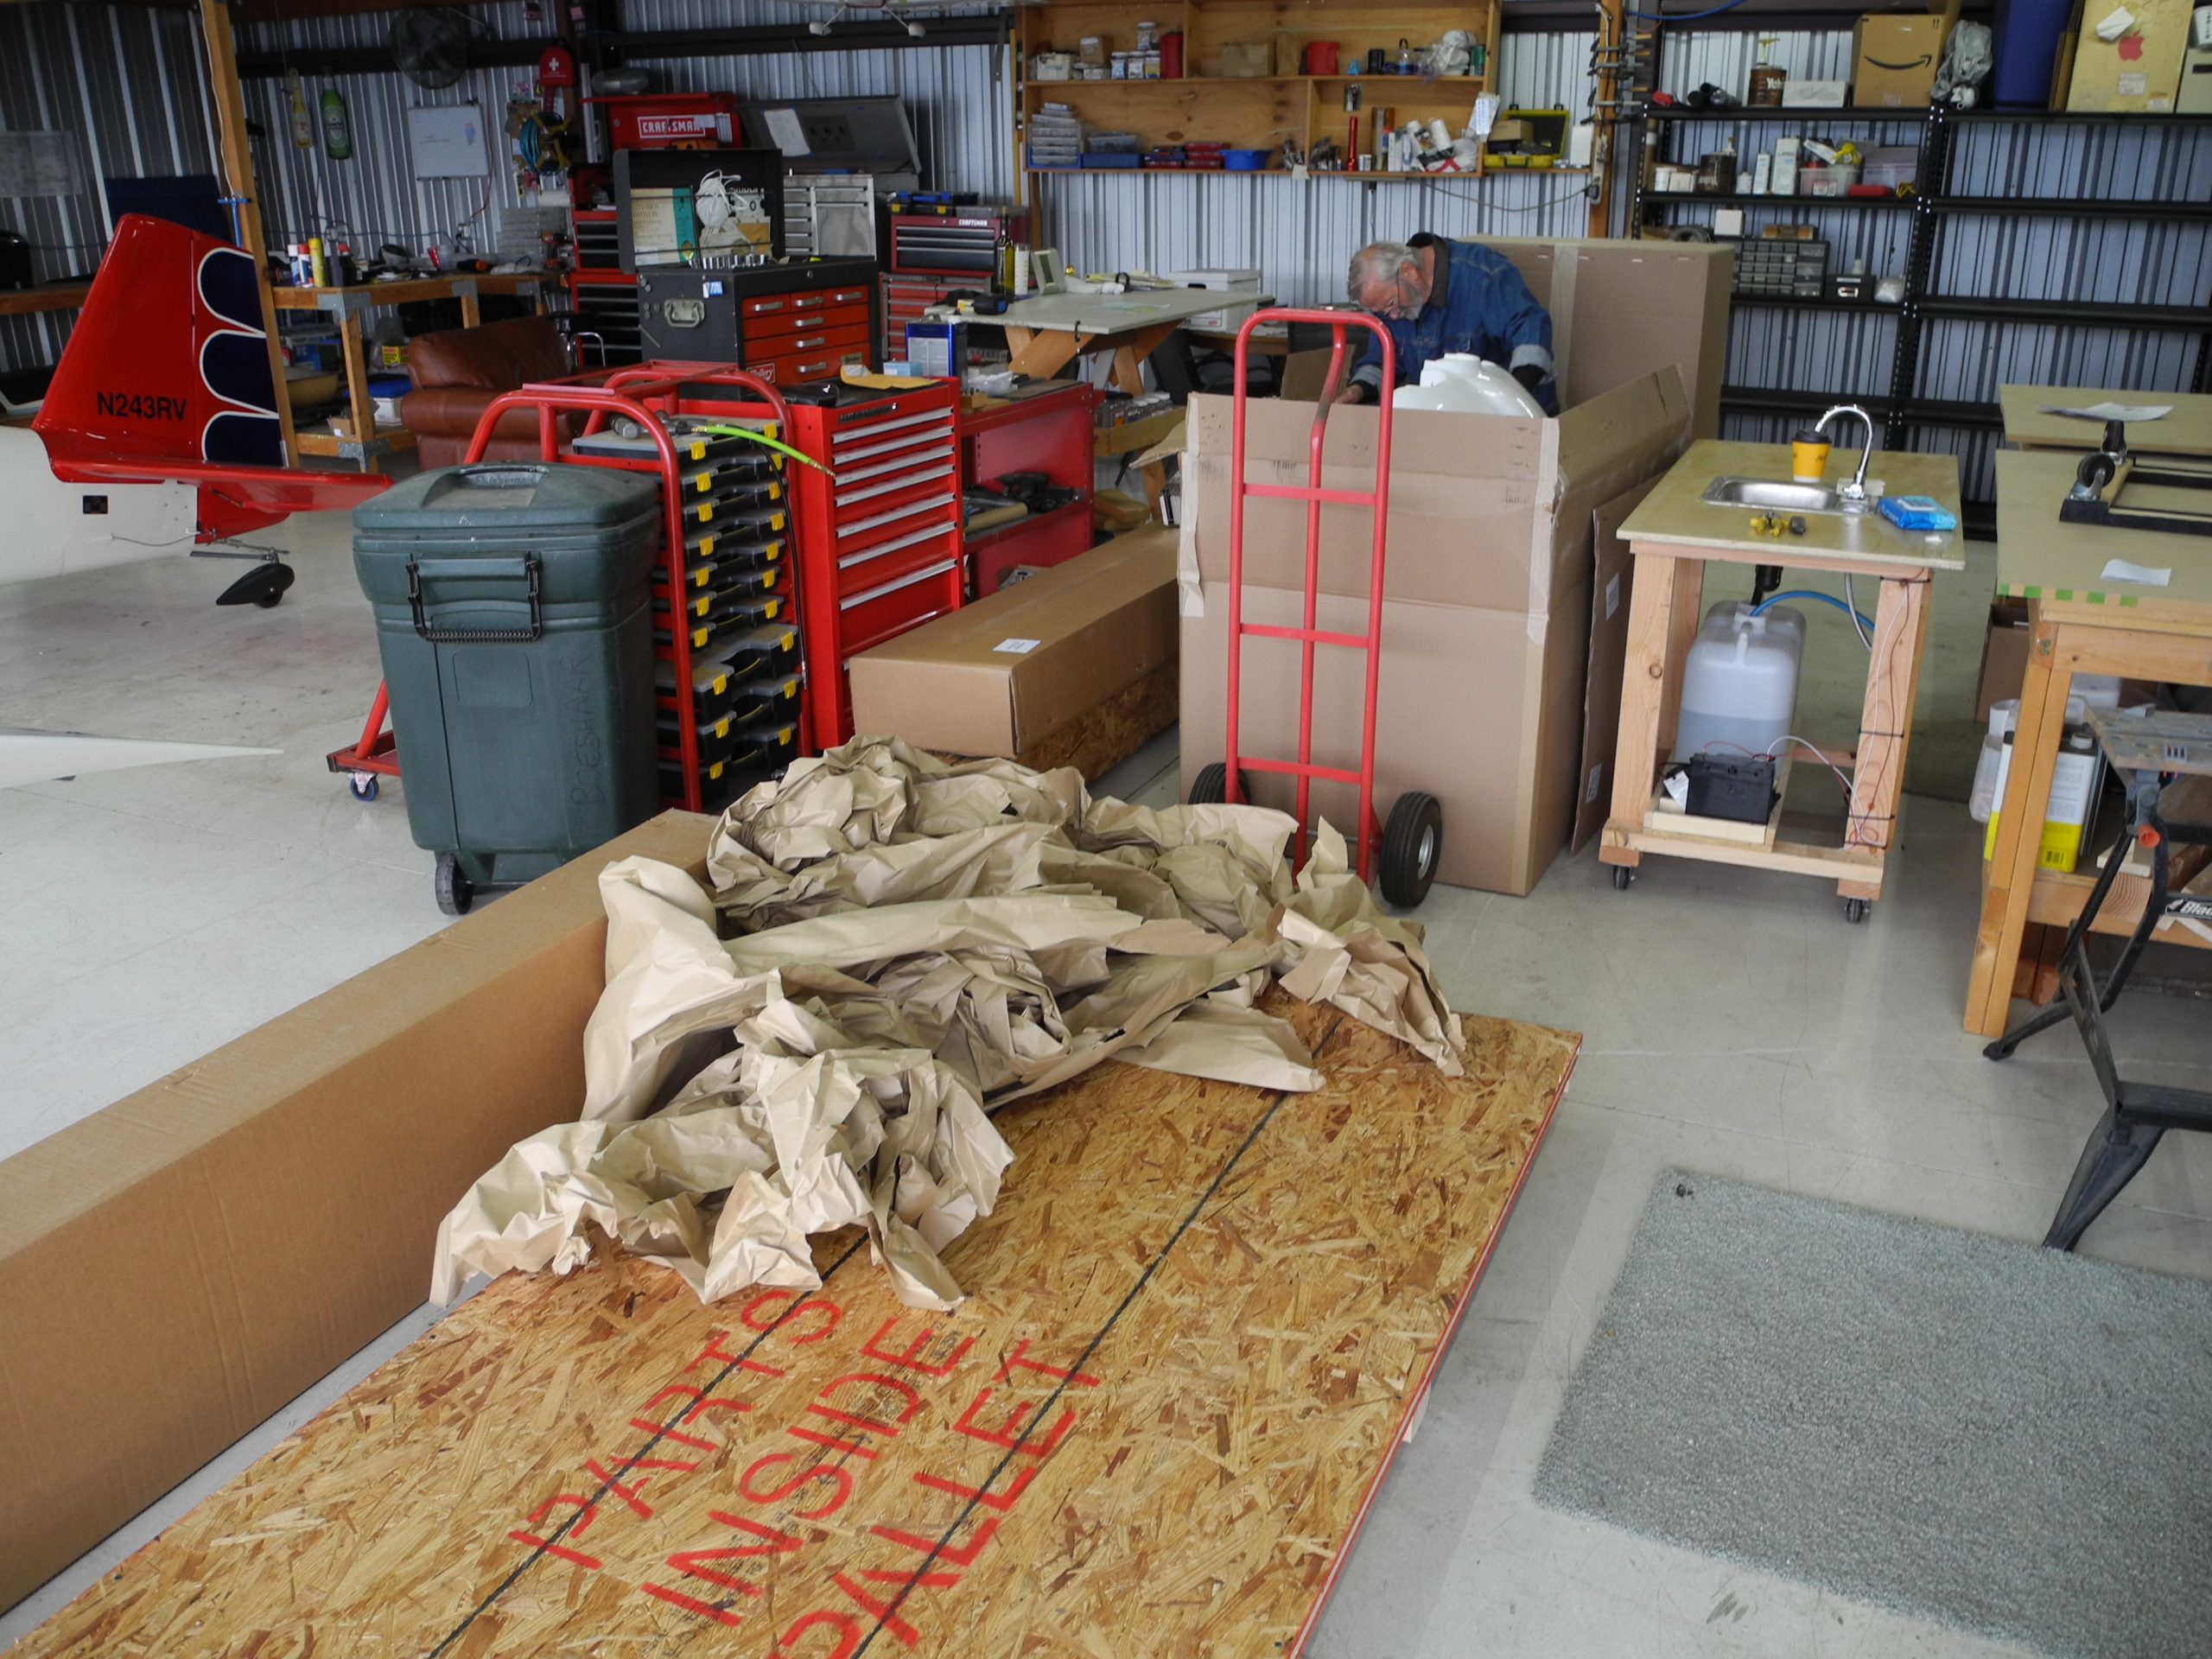
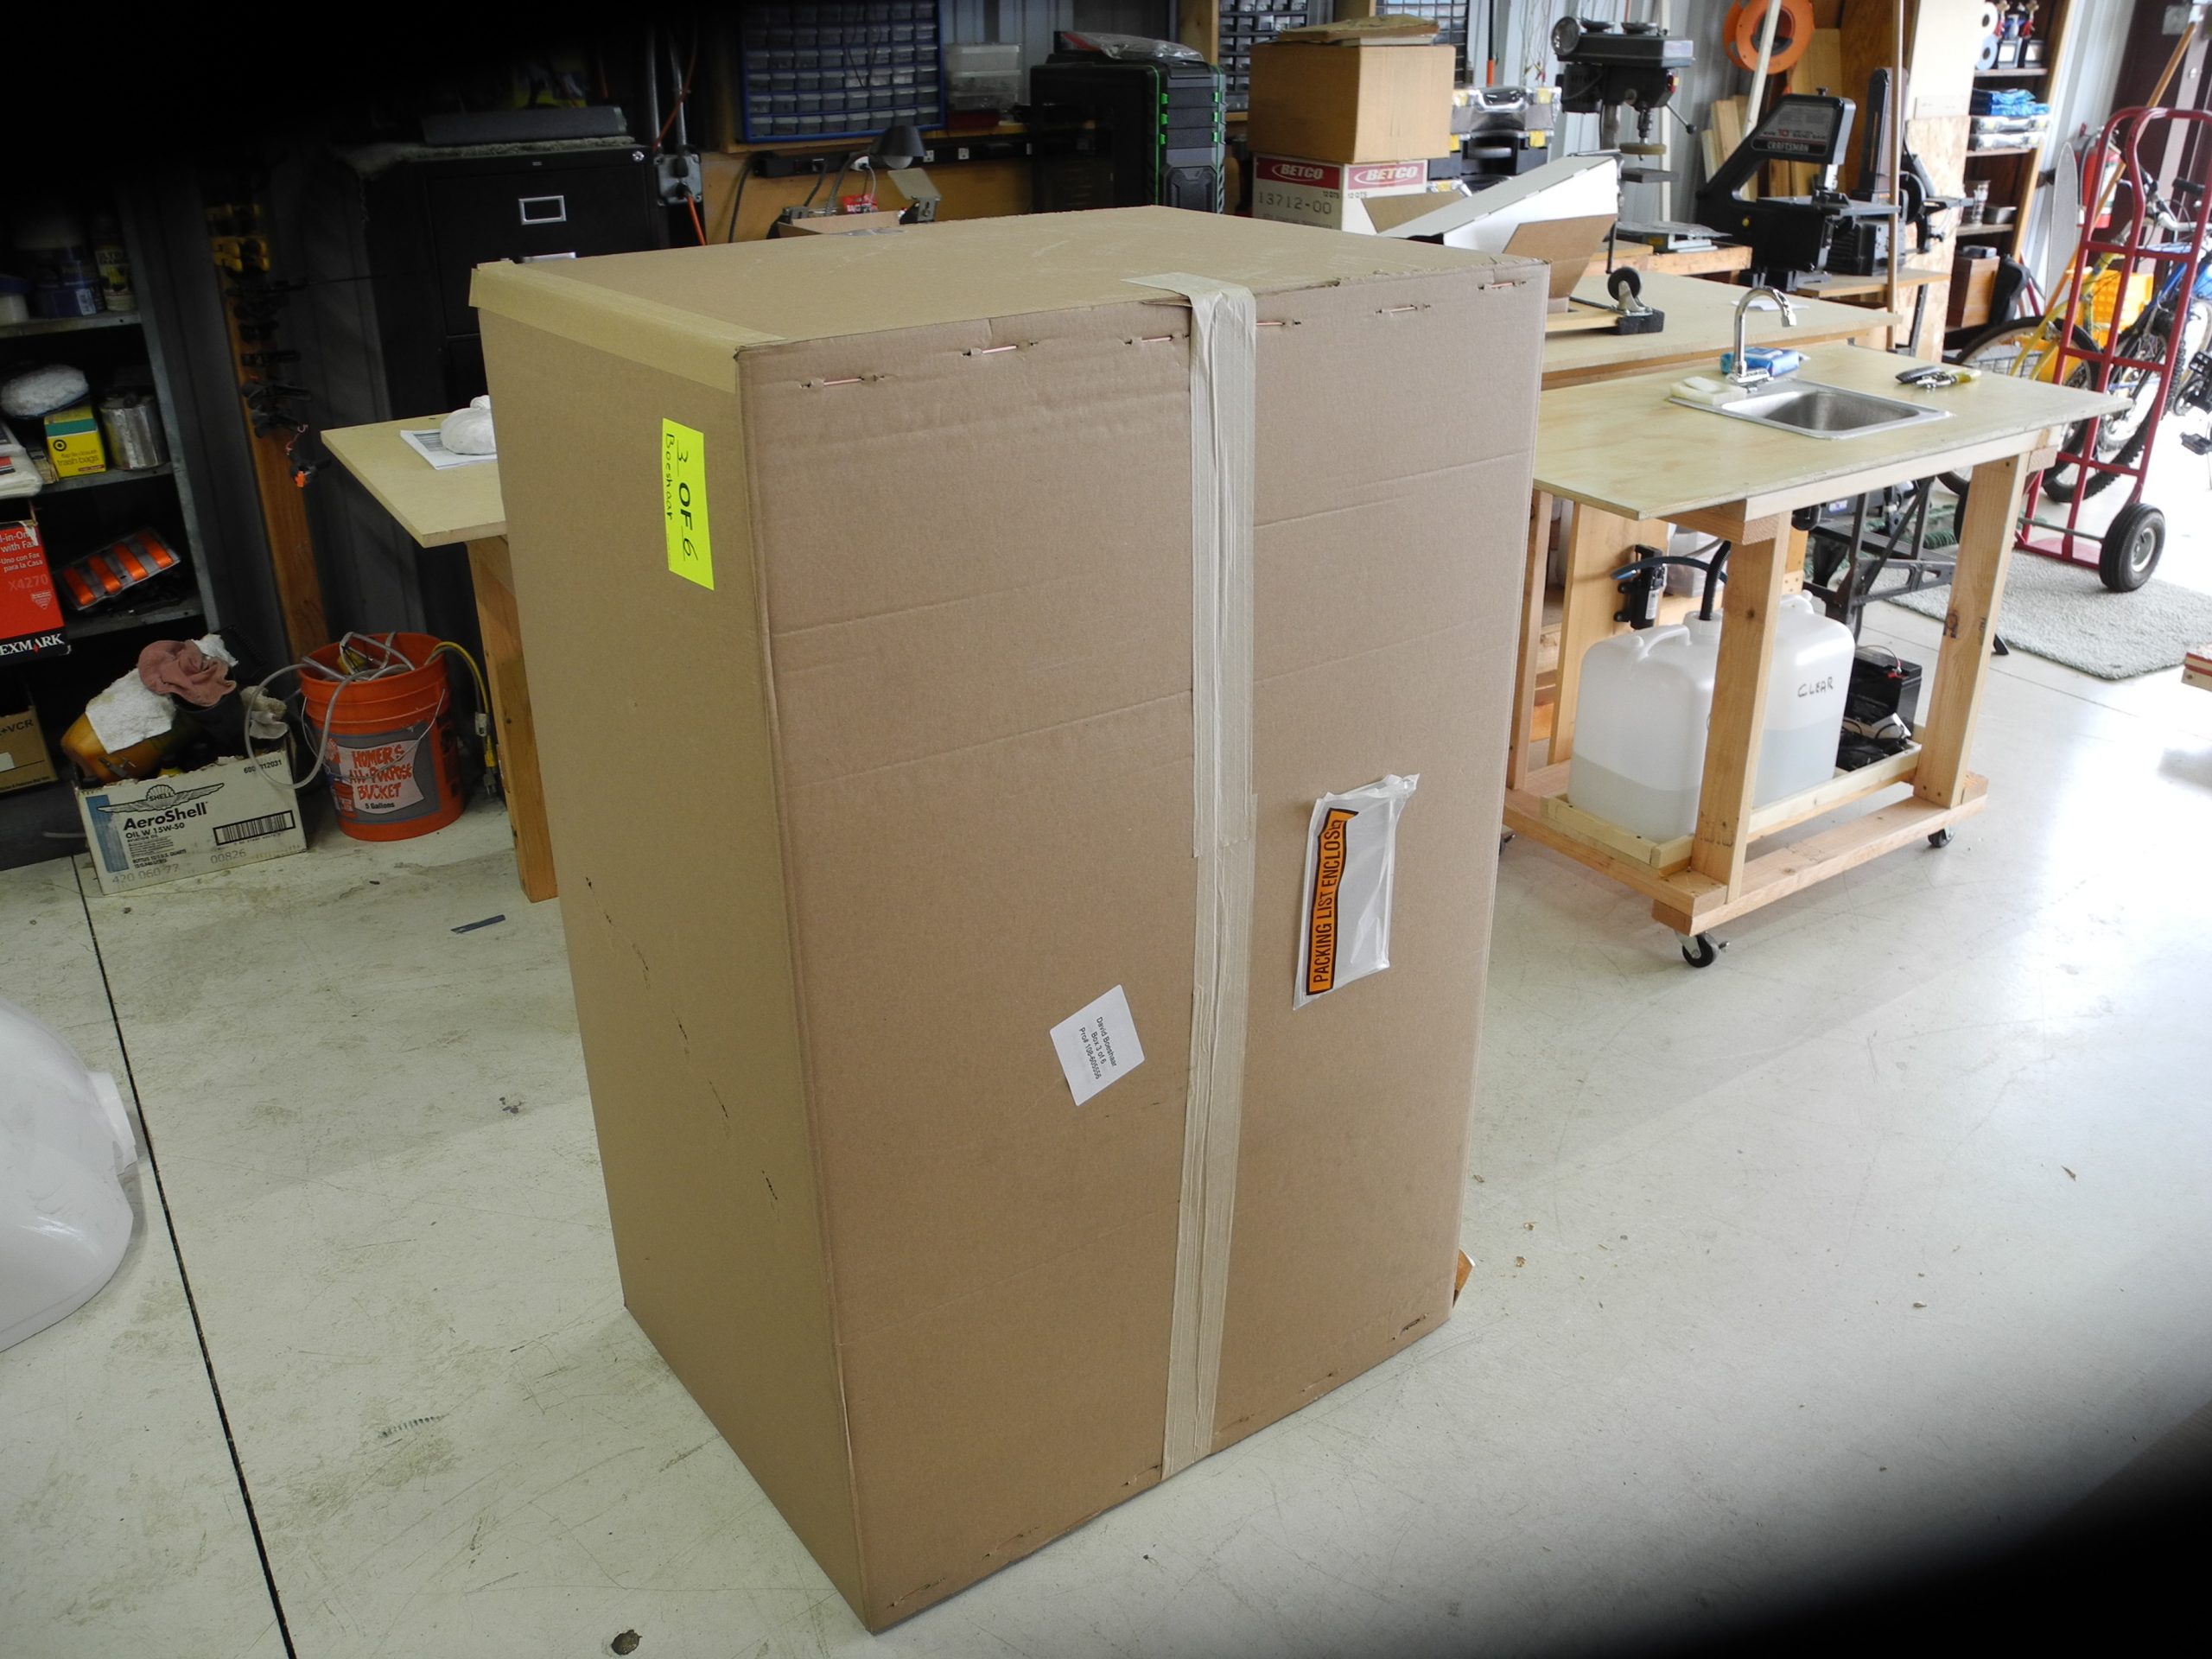
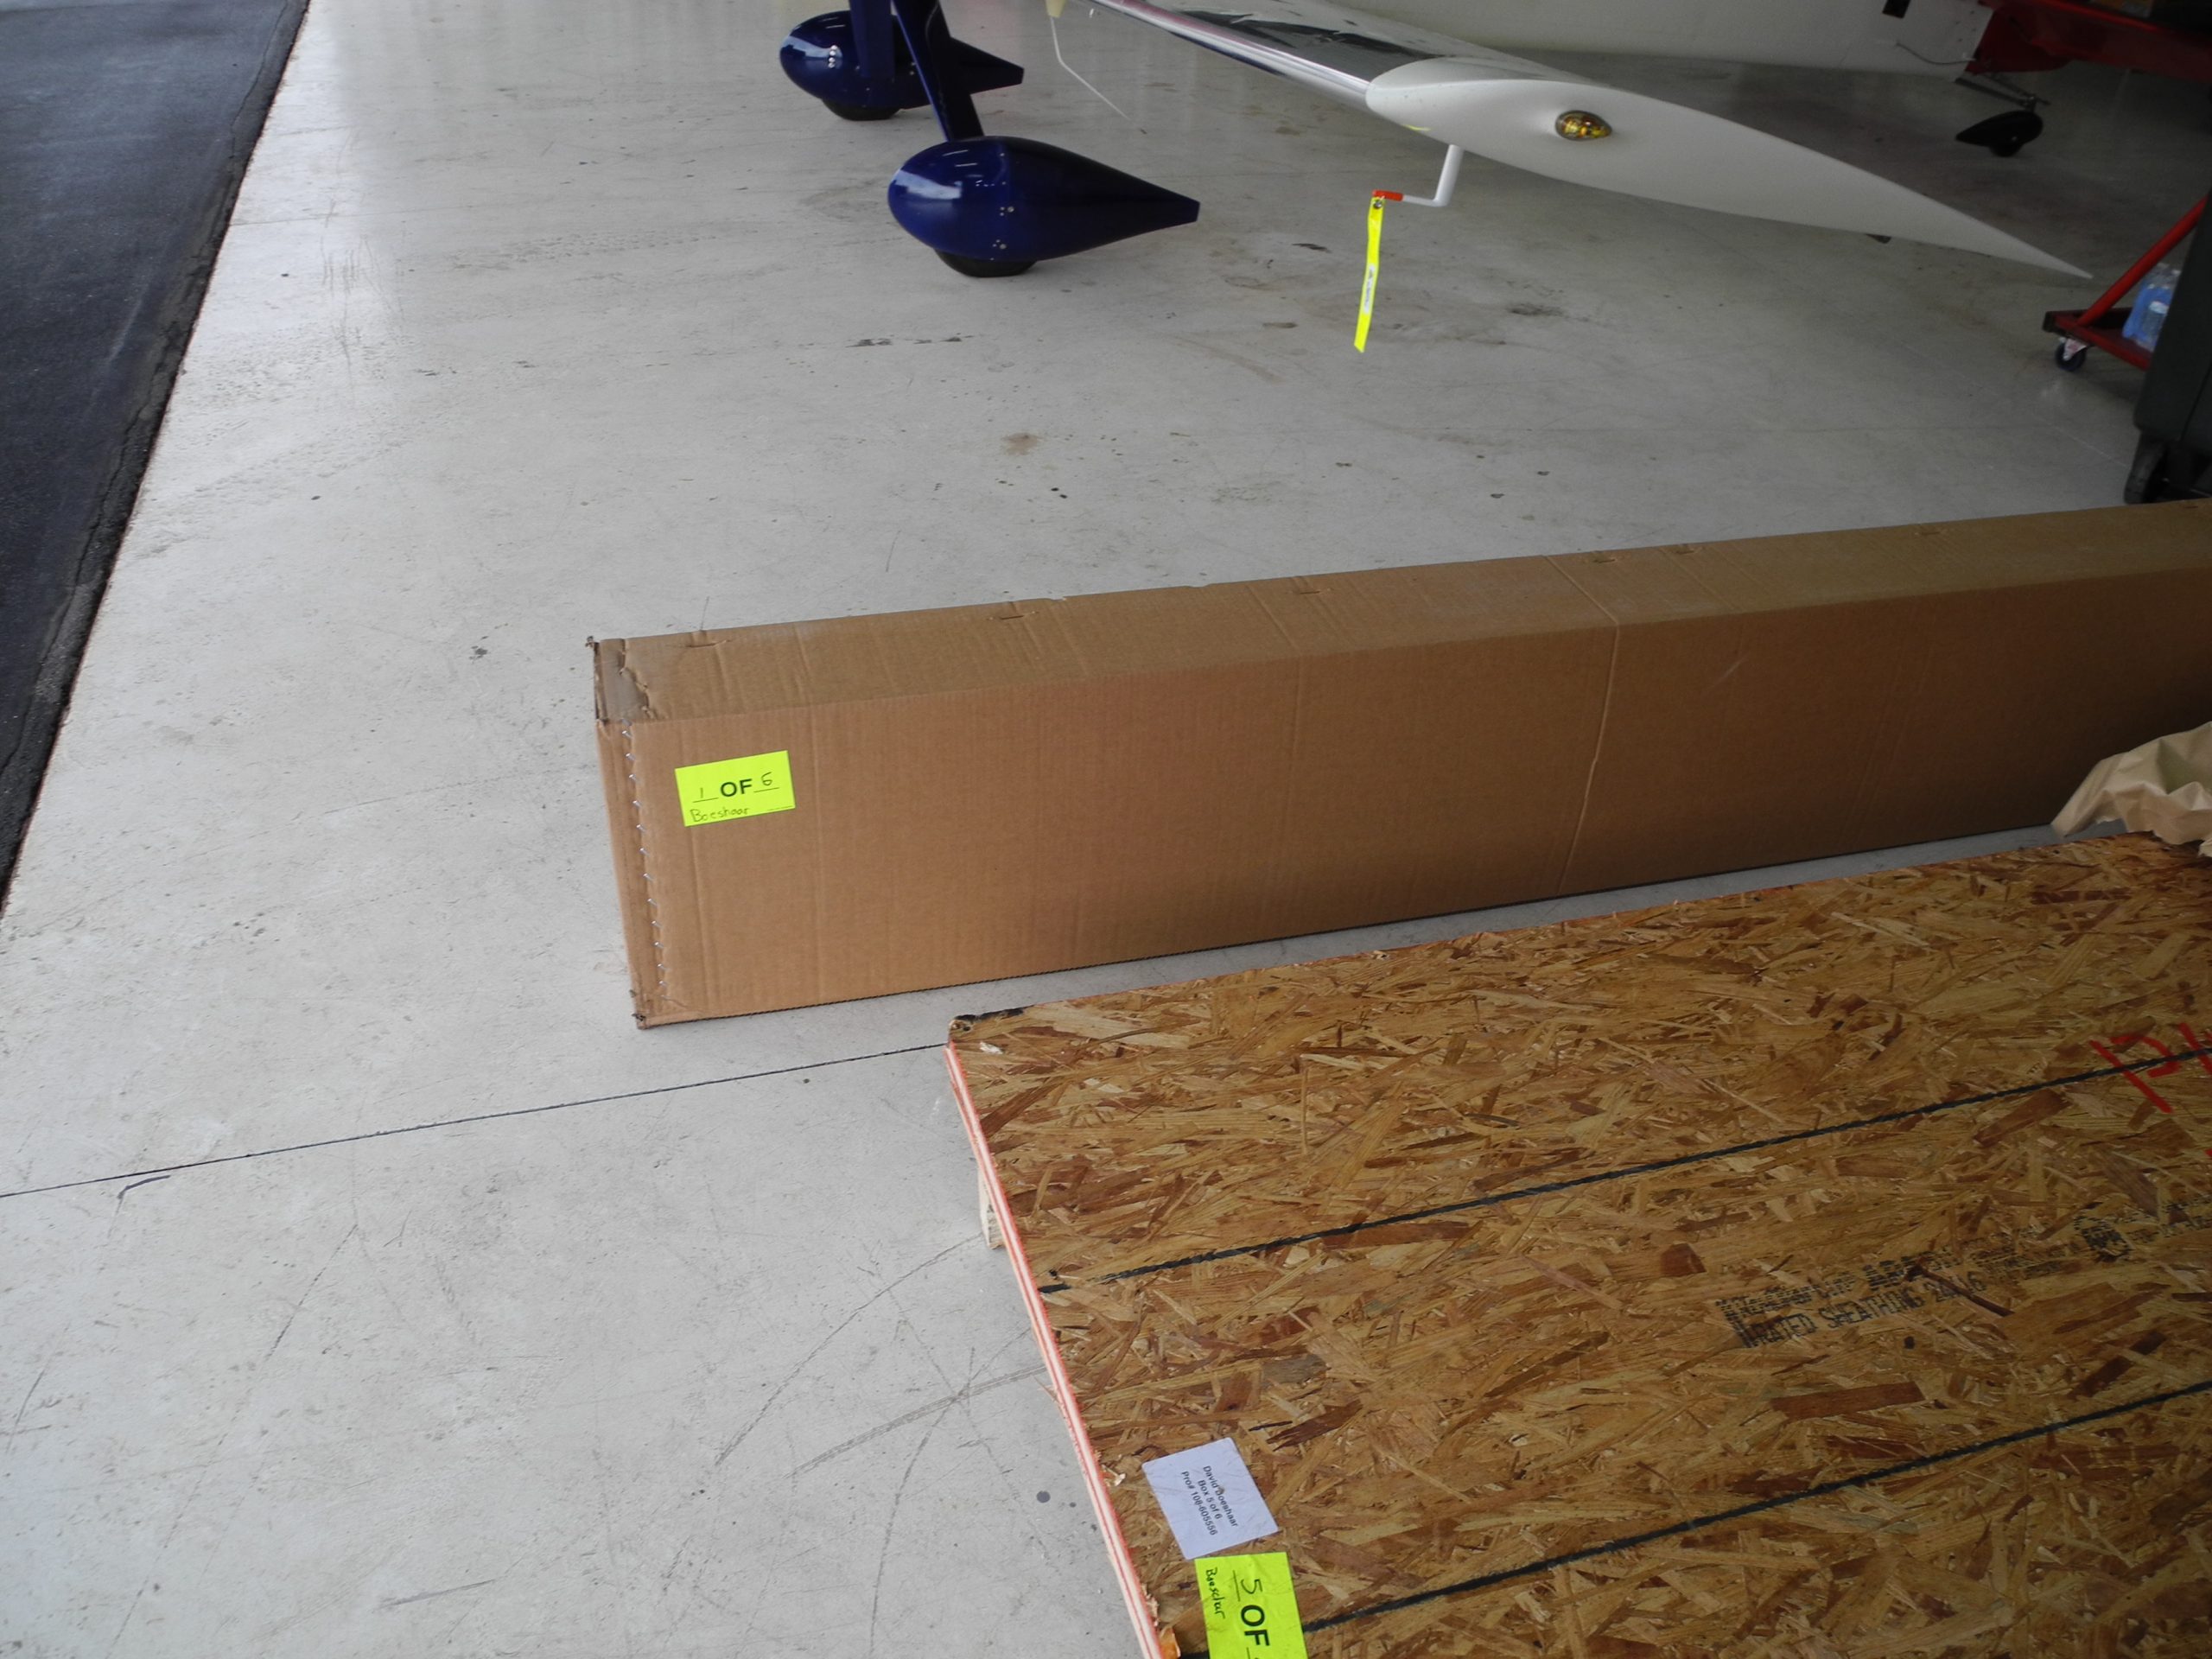
I see 6 boxes. All in pretty good shape. Box 2 was kinda clobbered on the top, but contents are OK.
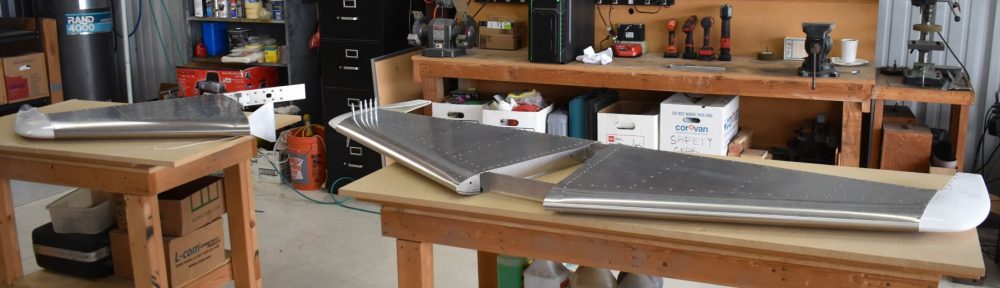
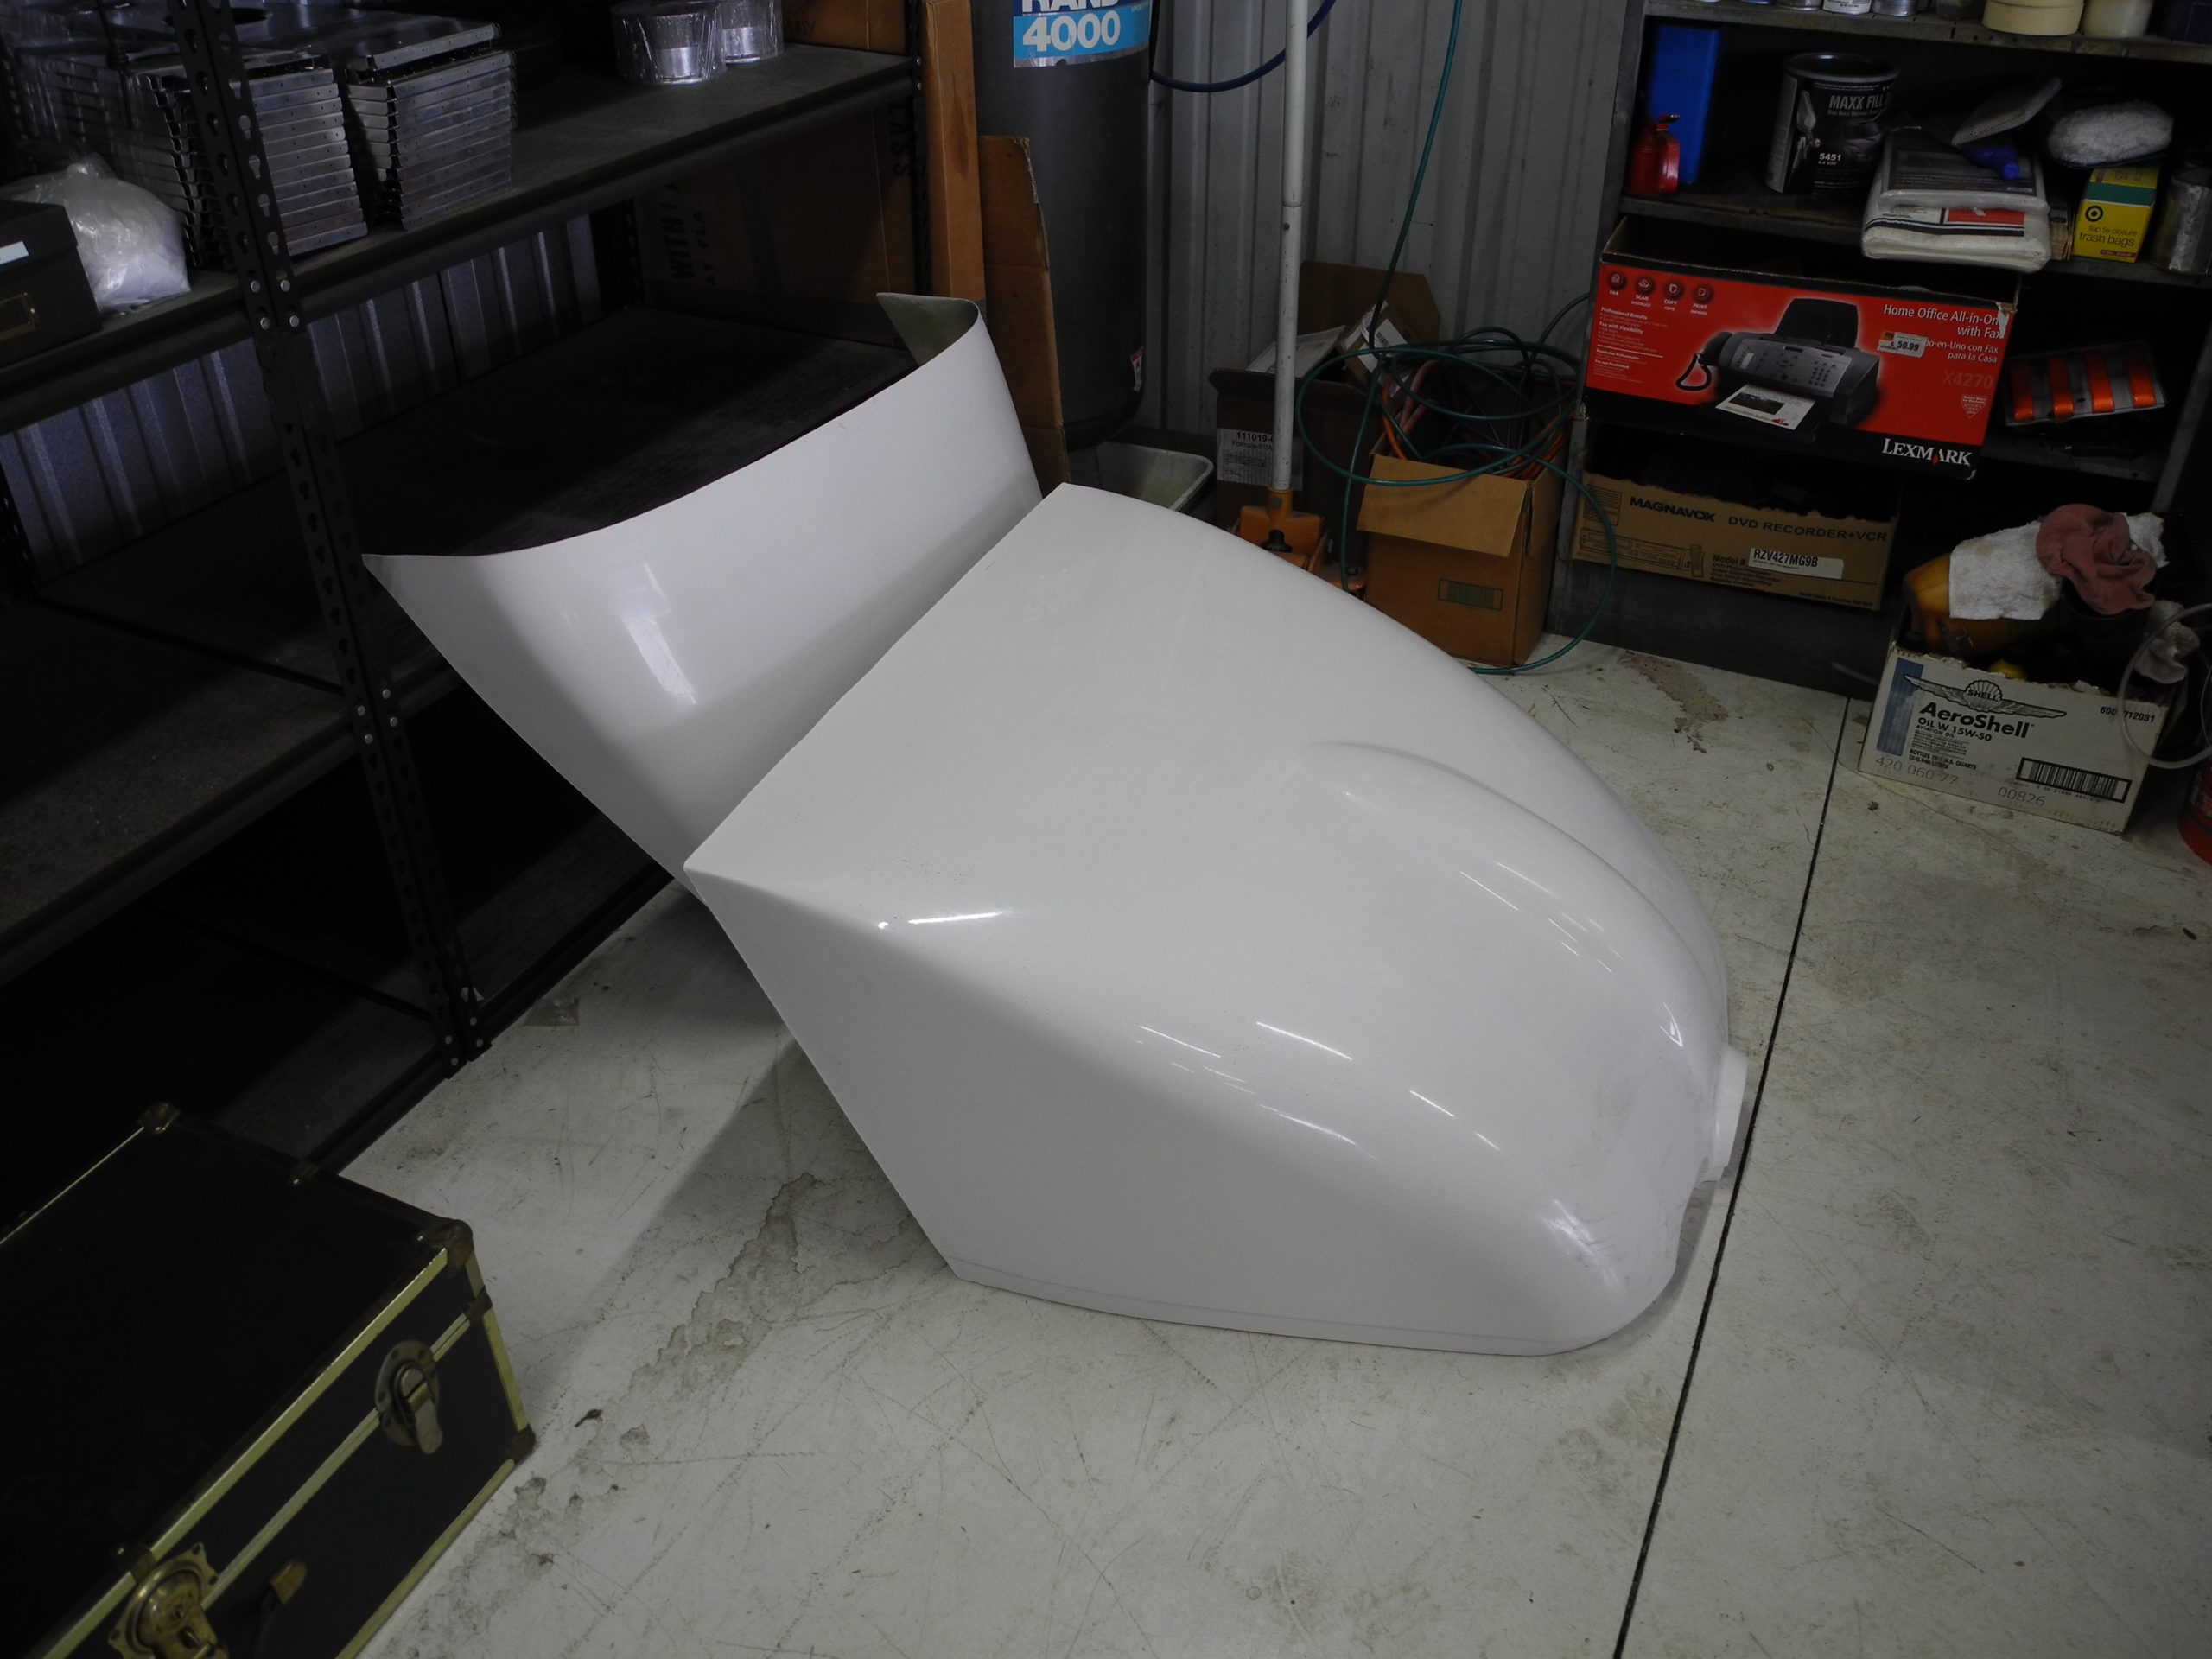
Some backorder stuff, but I’ll be able to get started with wings, no problem.

Does backorder stuff go to the airport or my house? I’ll email and find out.

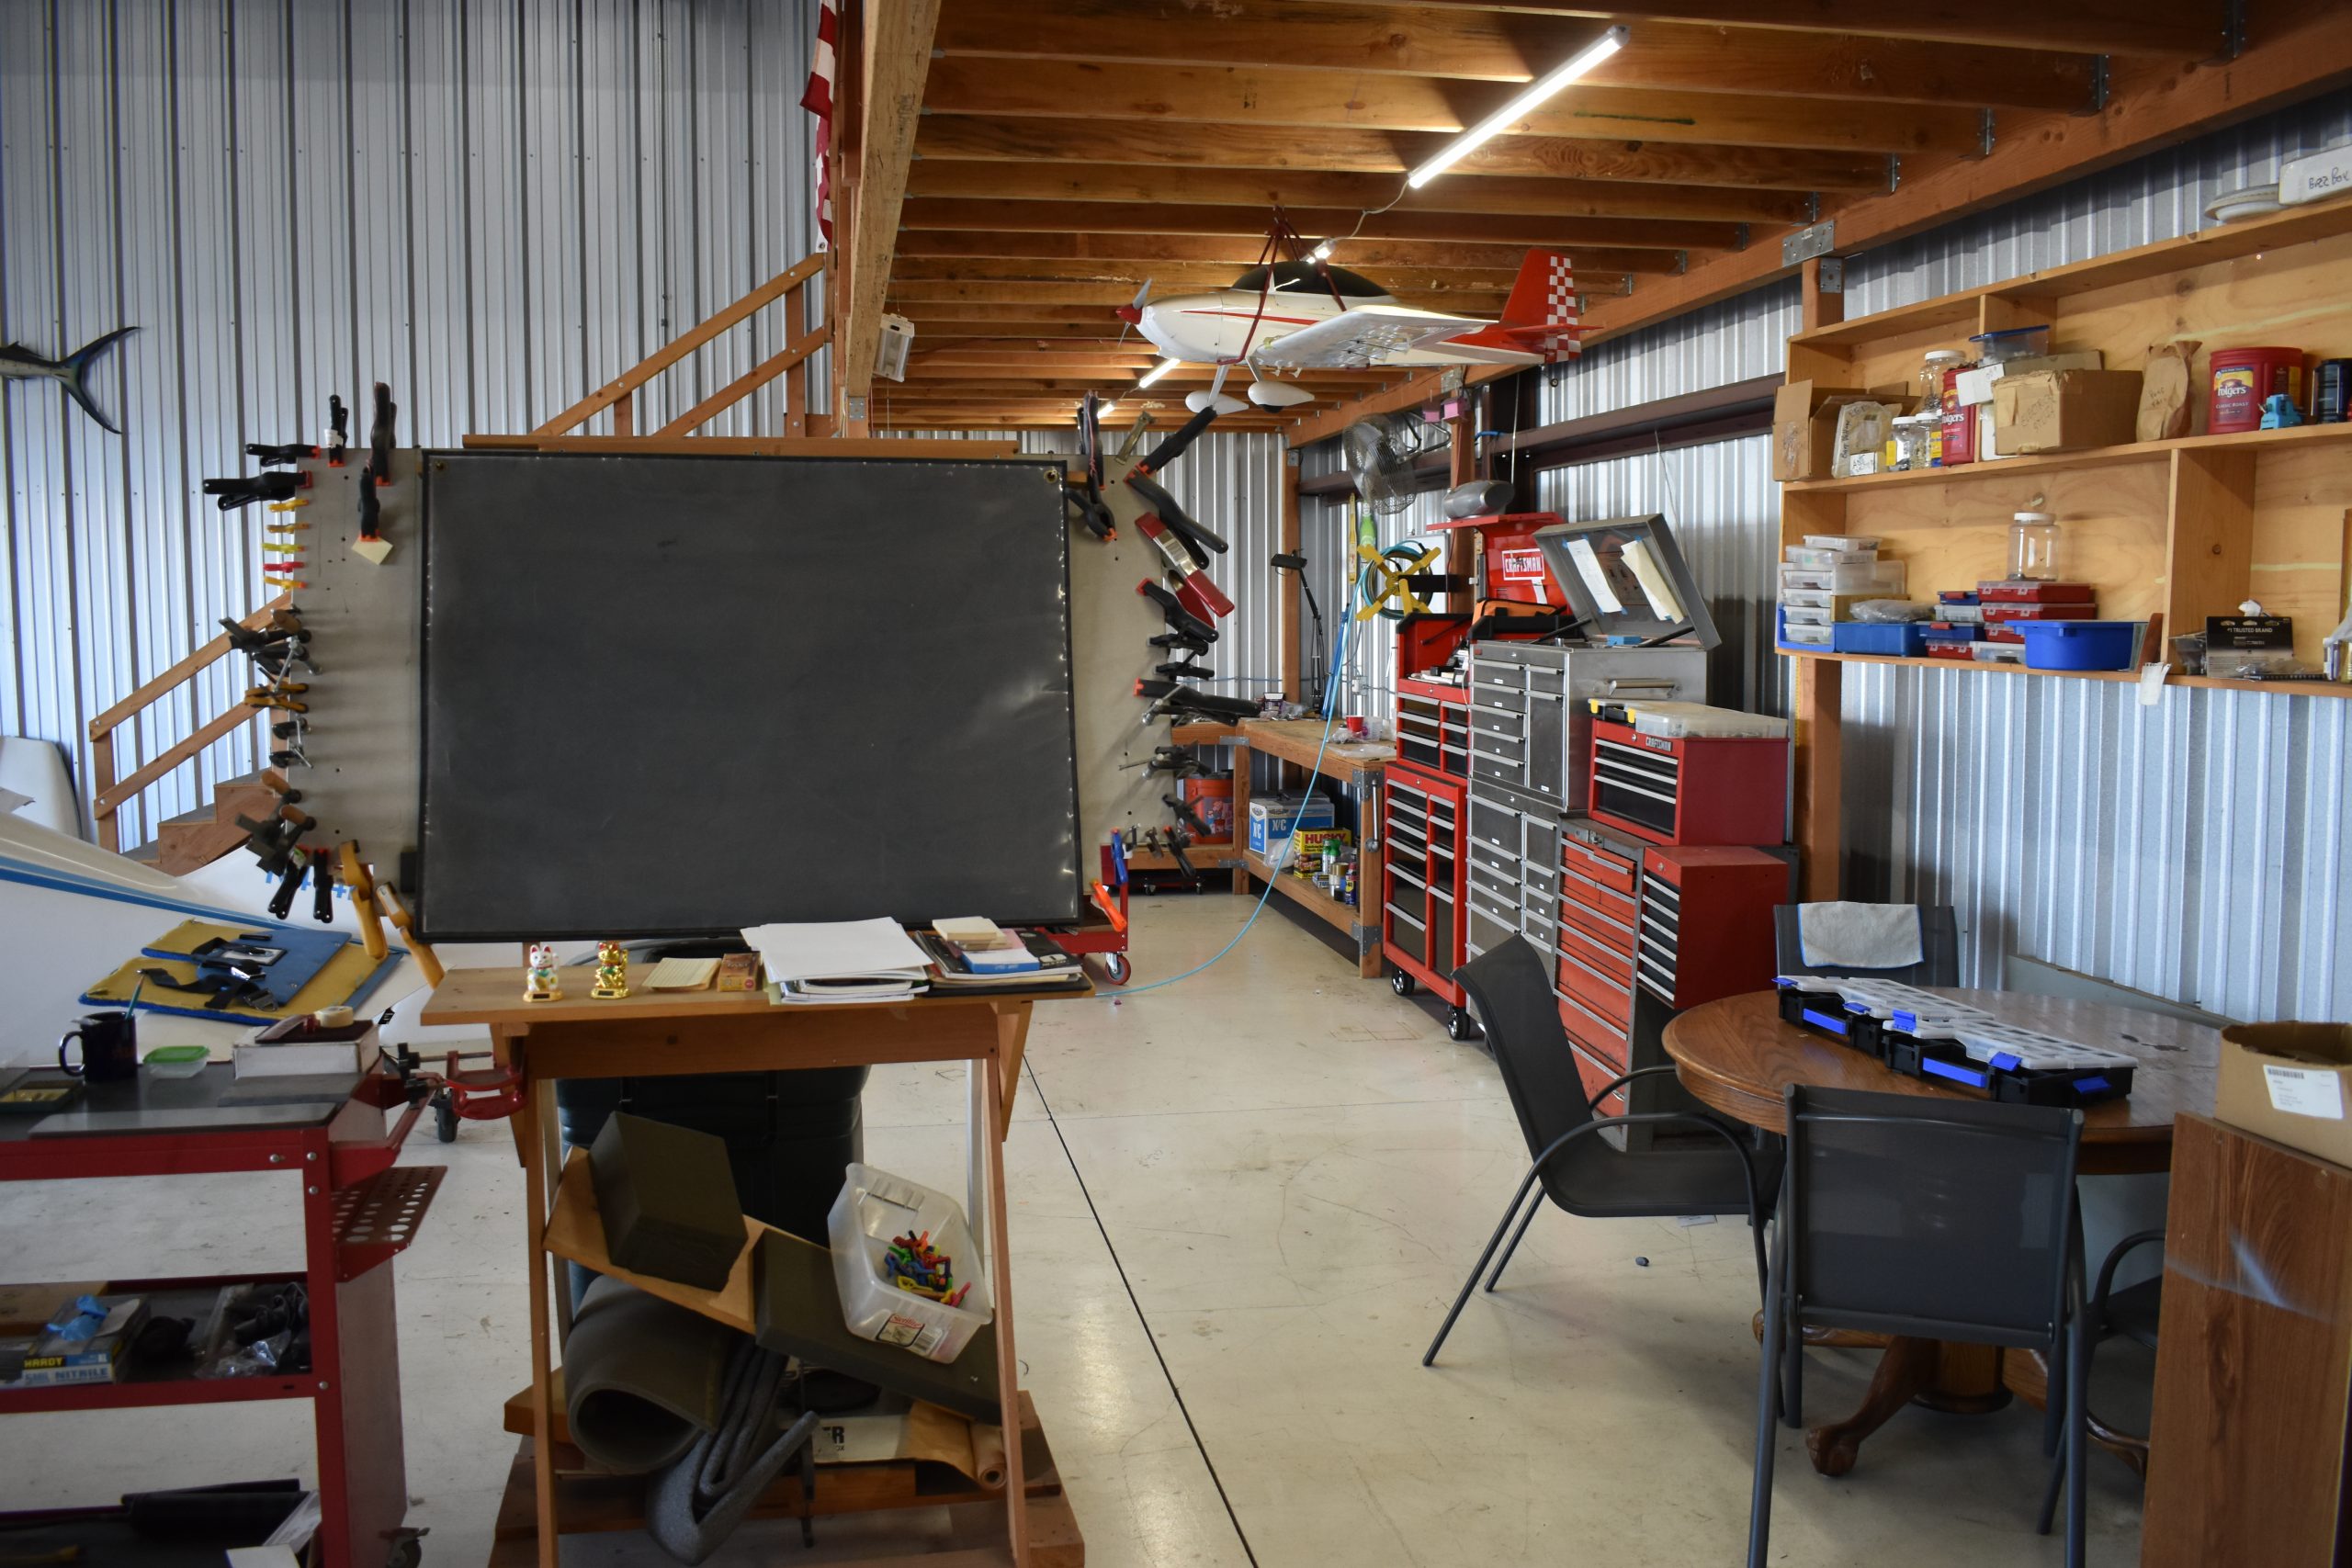
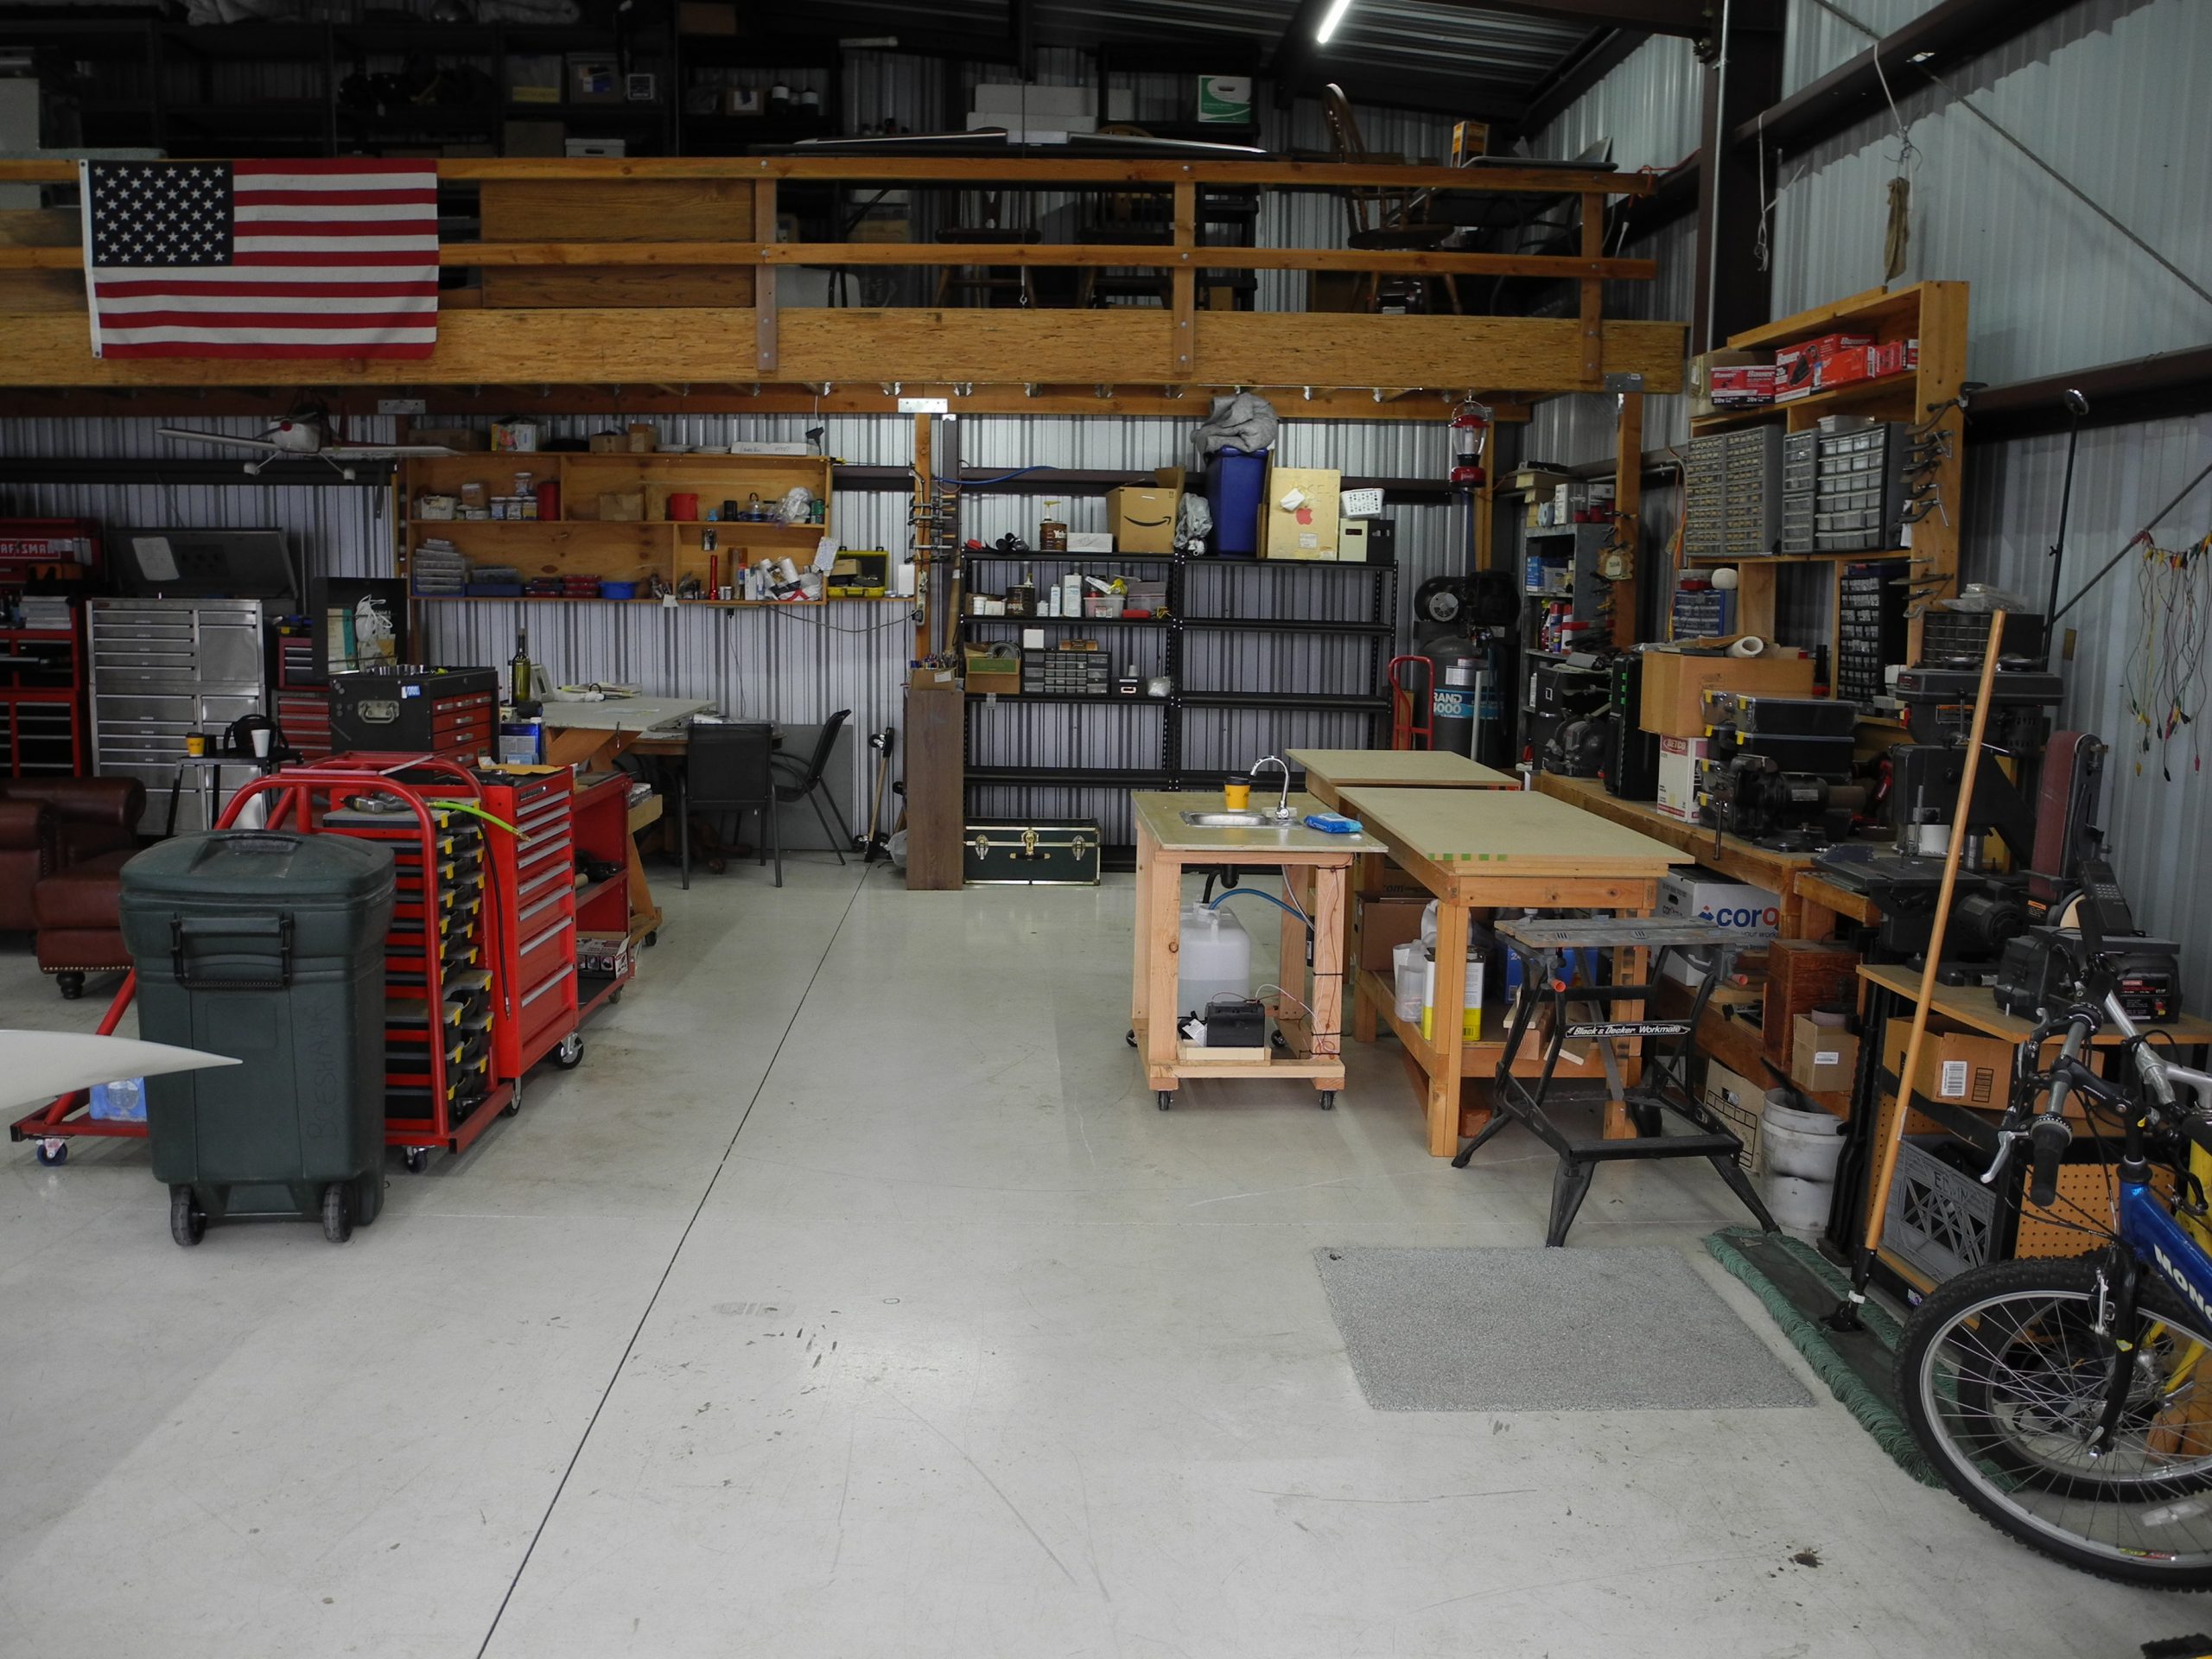
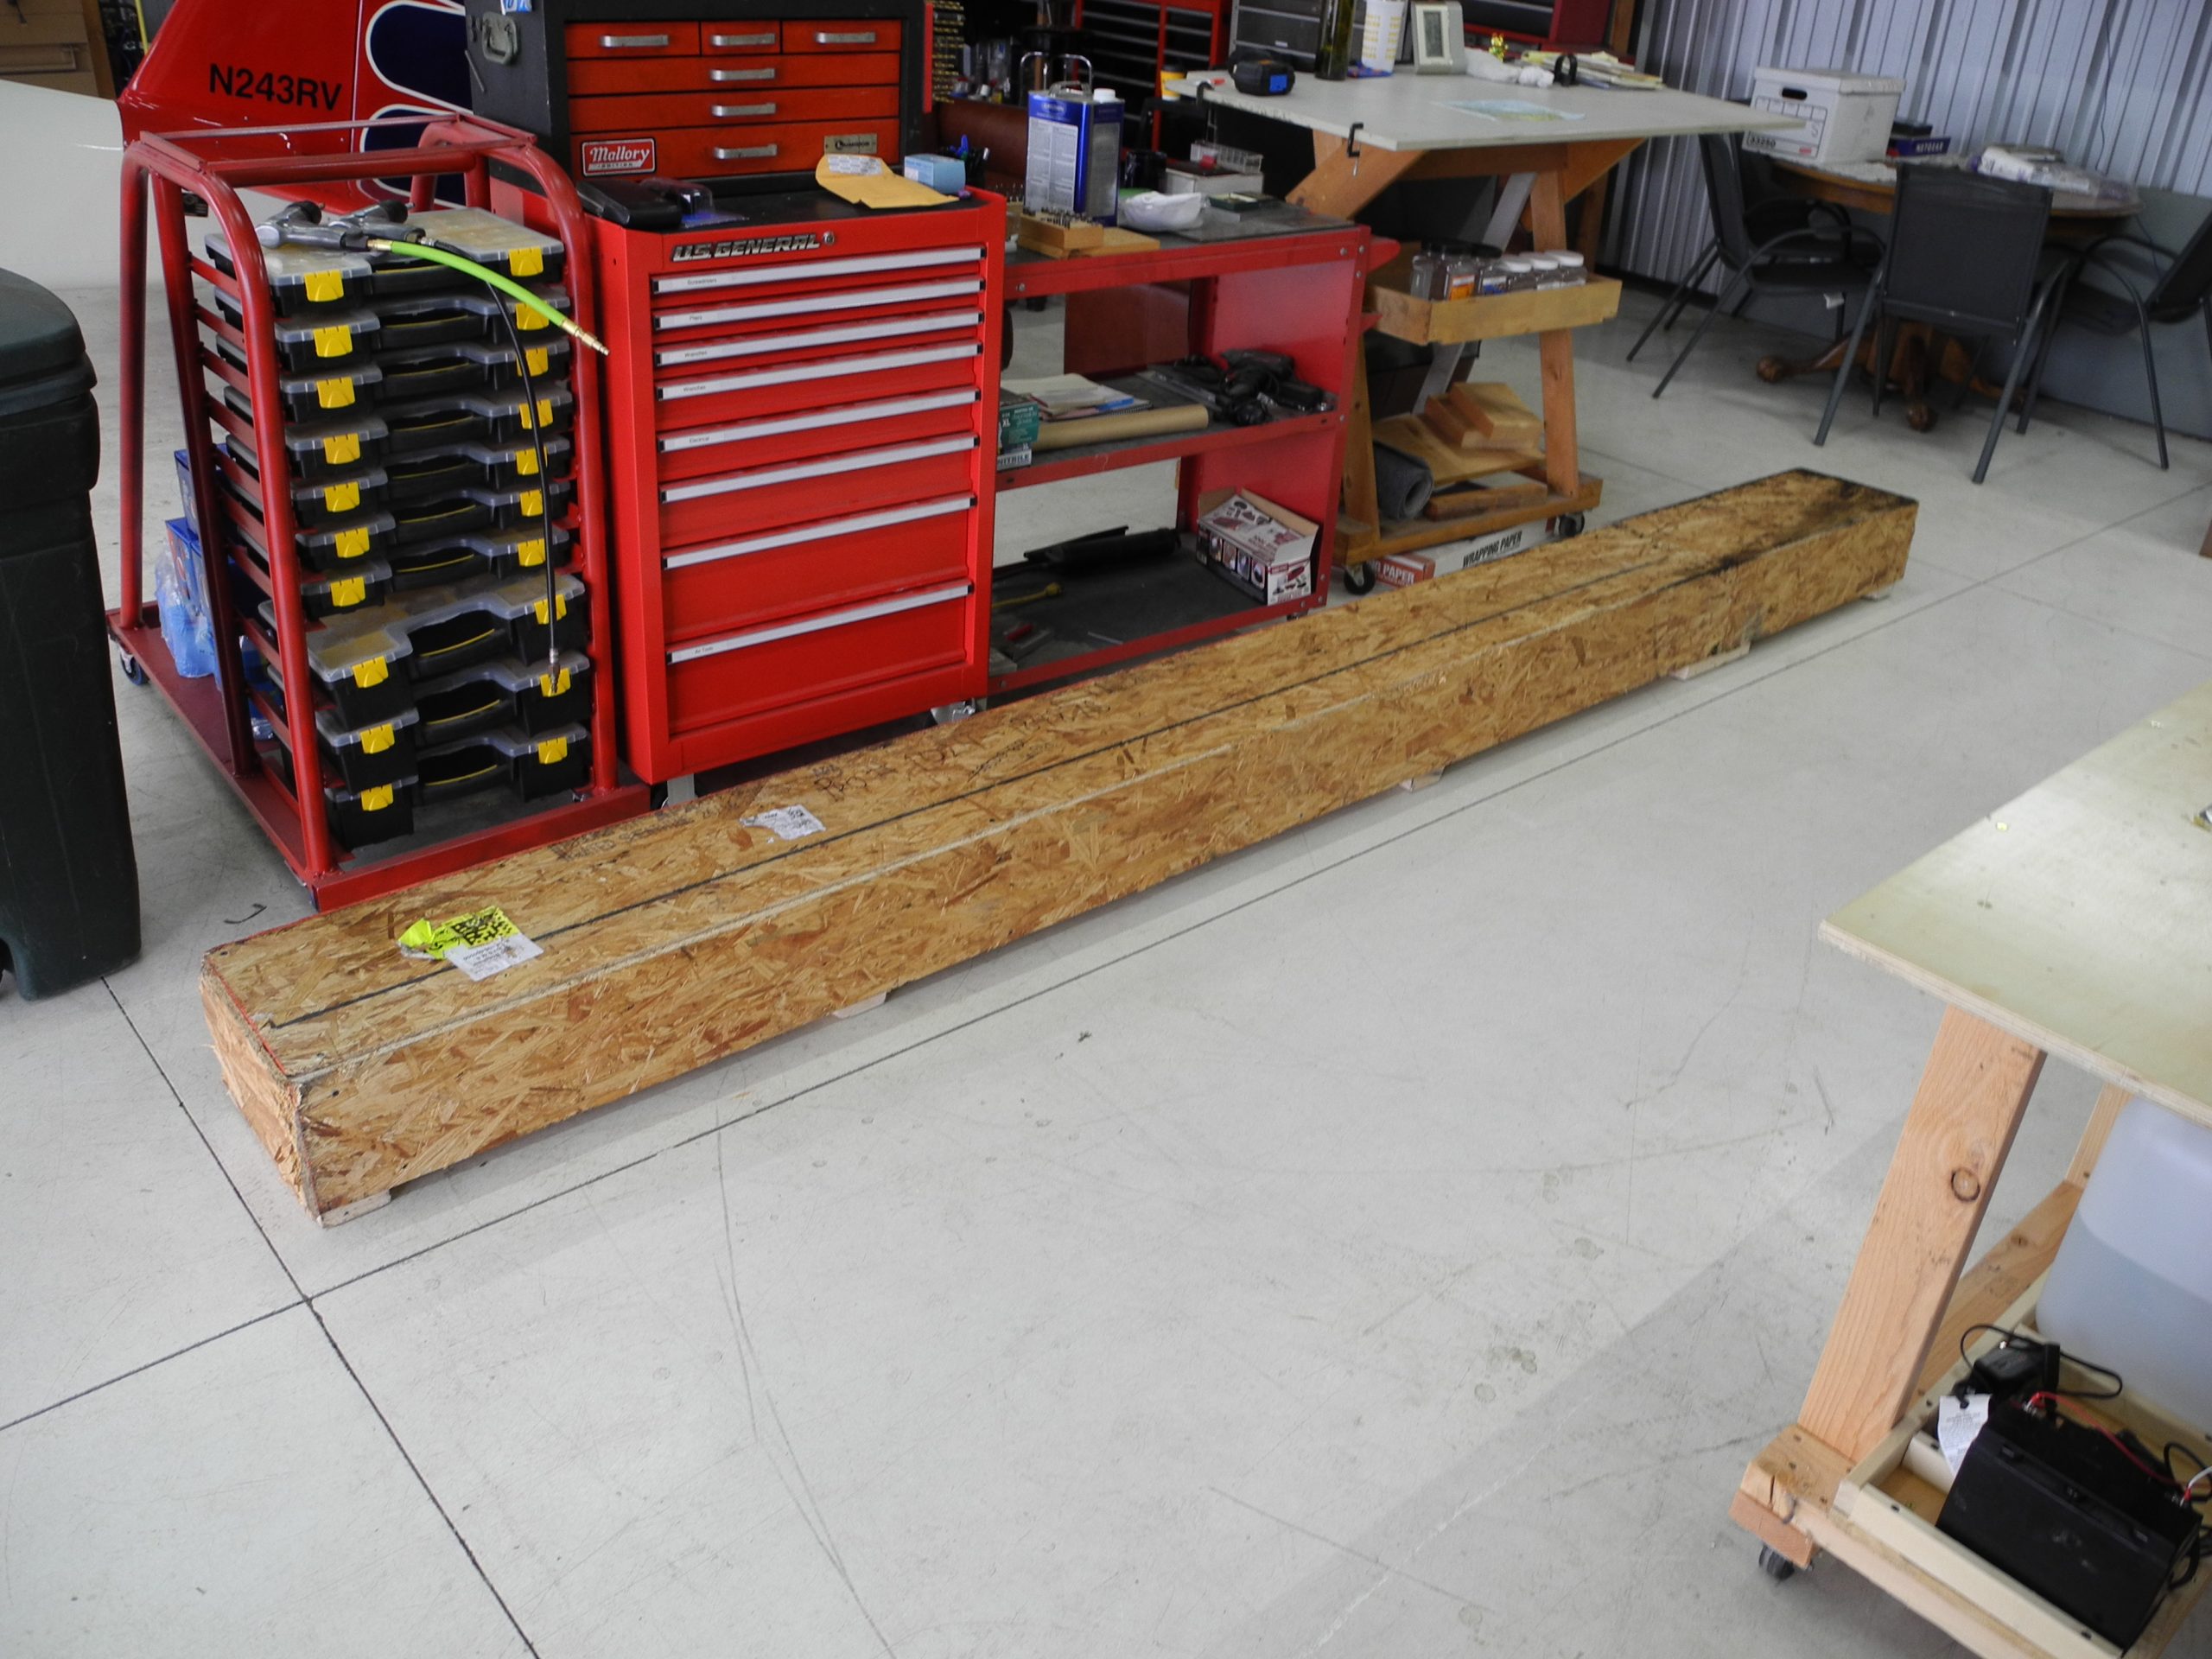
We were able to unload the truck just as the Sonex website says, and all boxes fit in the hanger, and we waved good bye to the driver.

Immediately we are starting the inventory that will take a few days to complete. LOTS of stuff to count and review (Do I need 4 rudder cables?) What is a 1/8 oops?

6 boxes to inventory. Yikes!
Off the truck, no forklift required.
Box 3 of 6
Spar

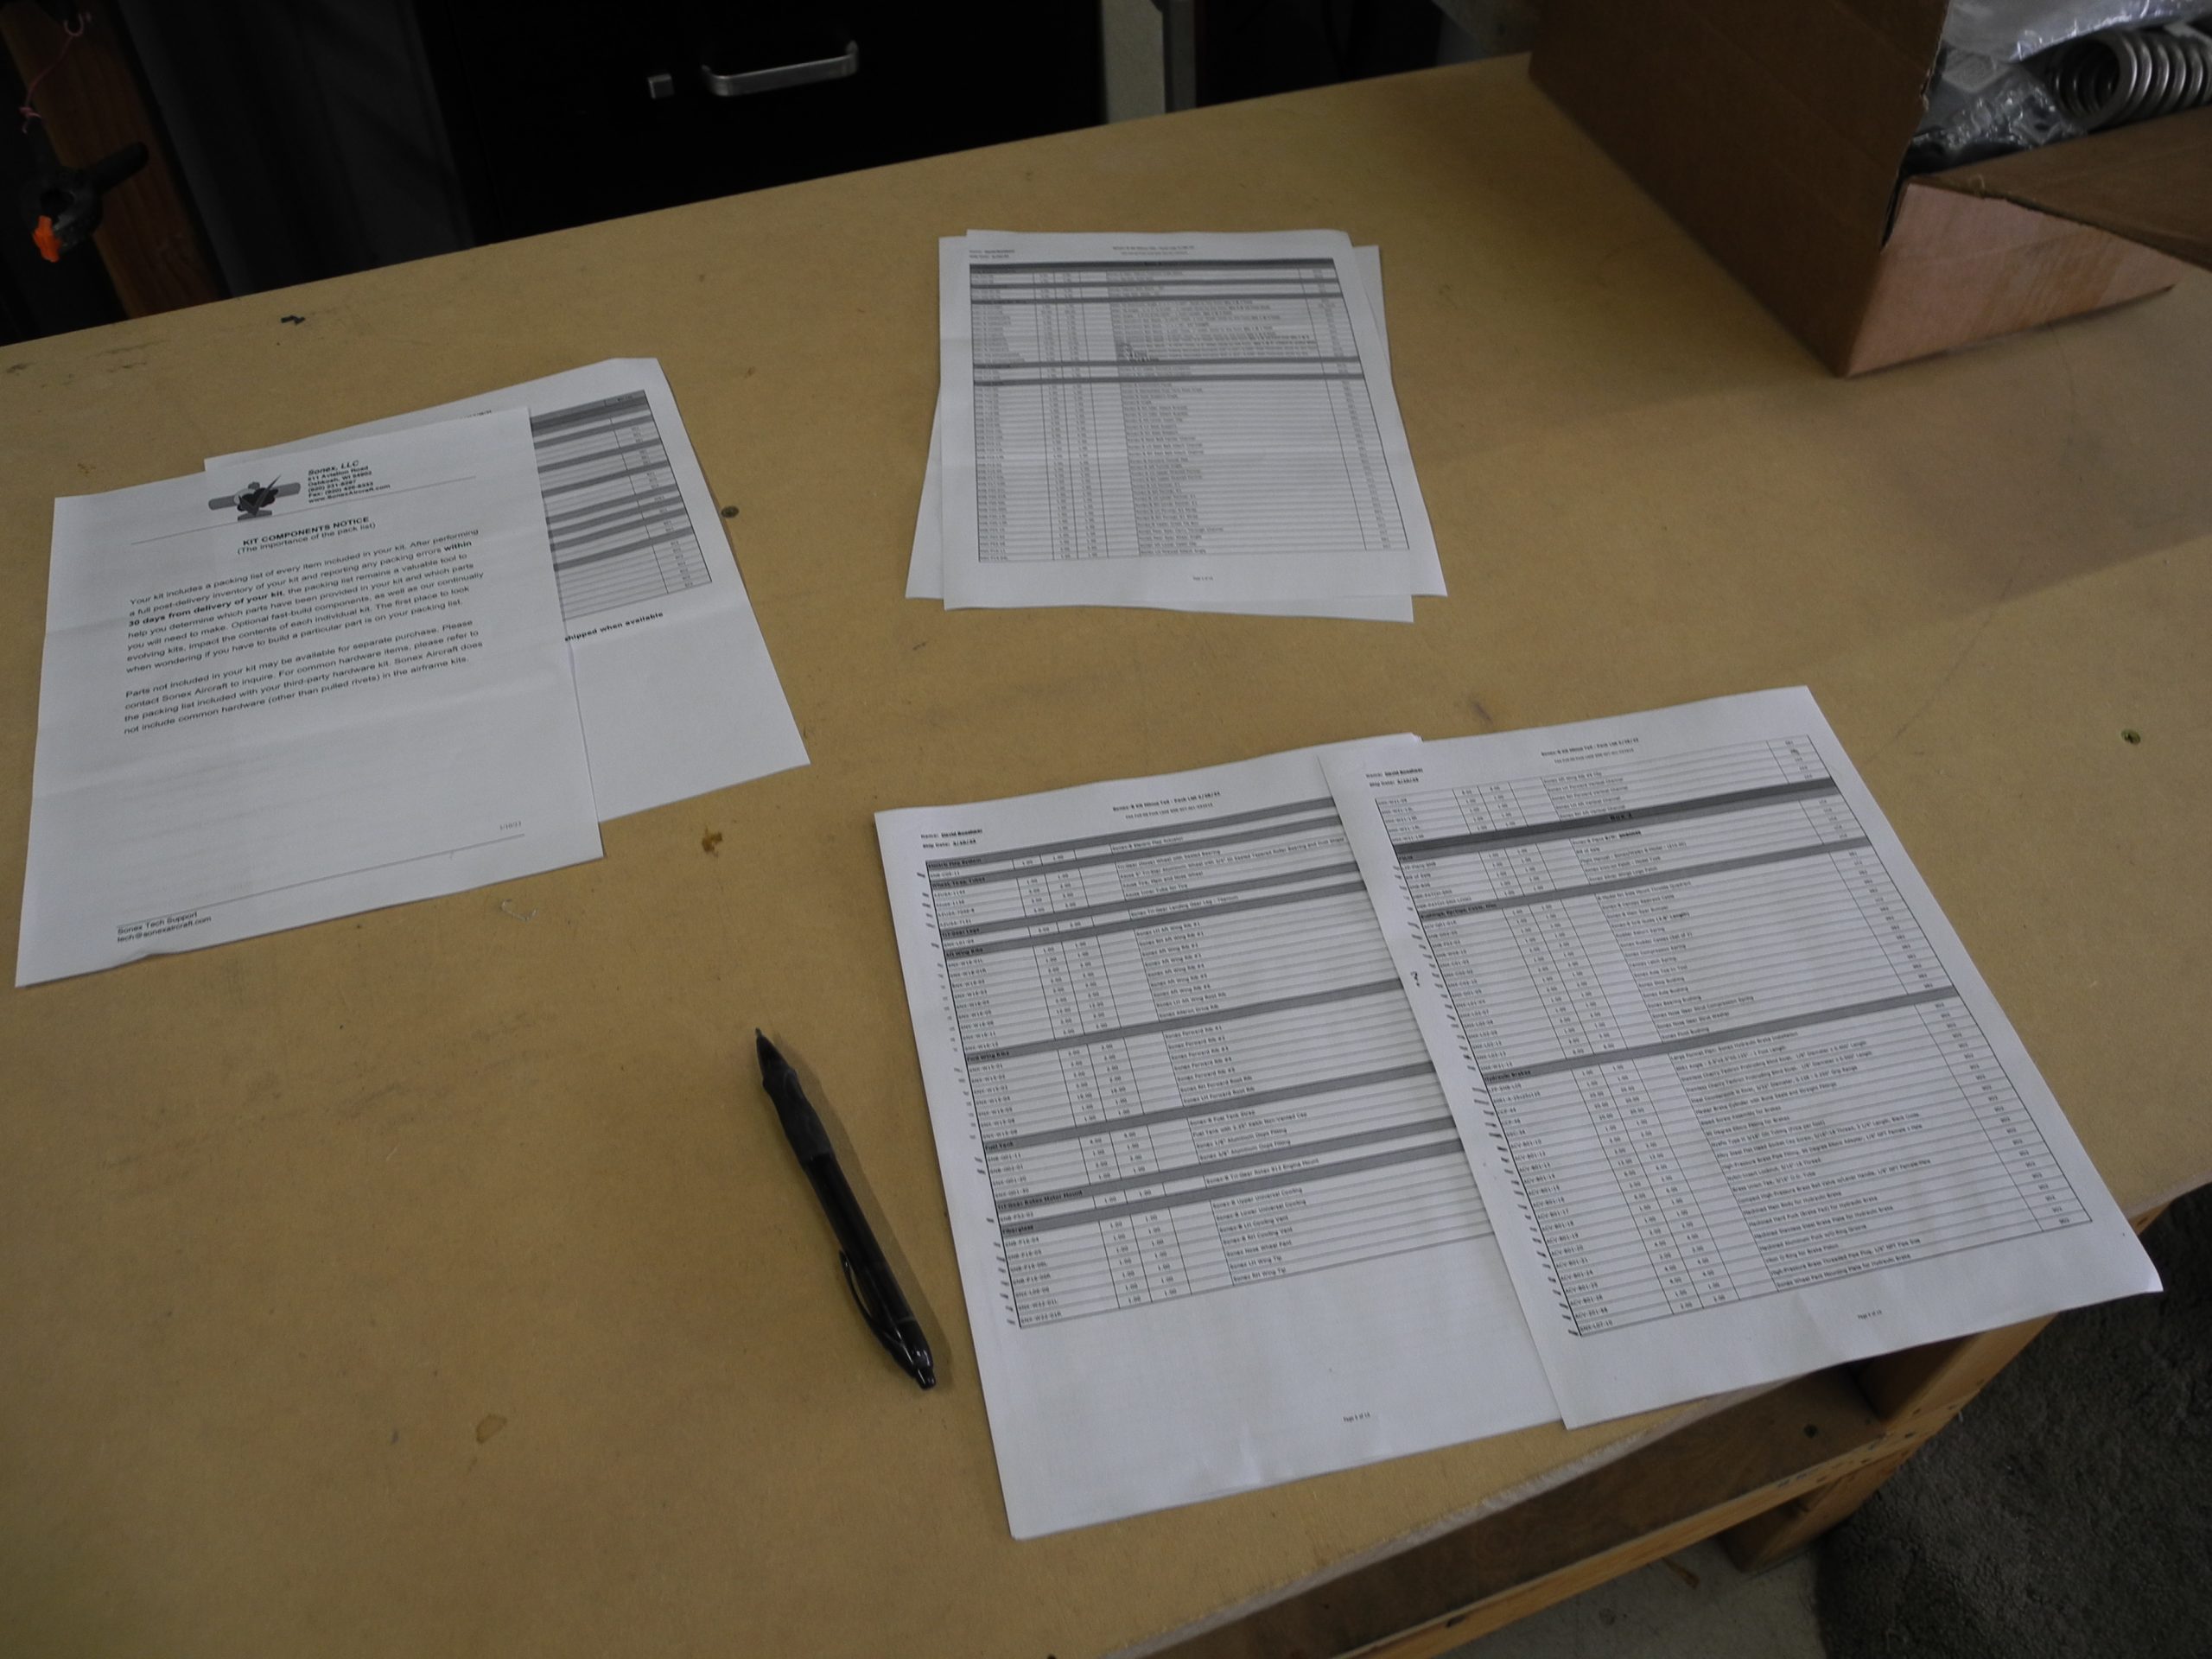
Great job with packing.

Where are the skins?
Here they are
Cowl

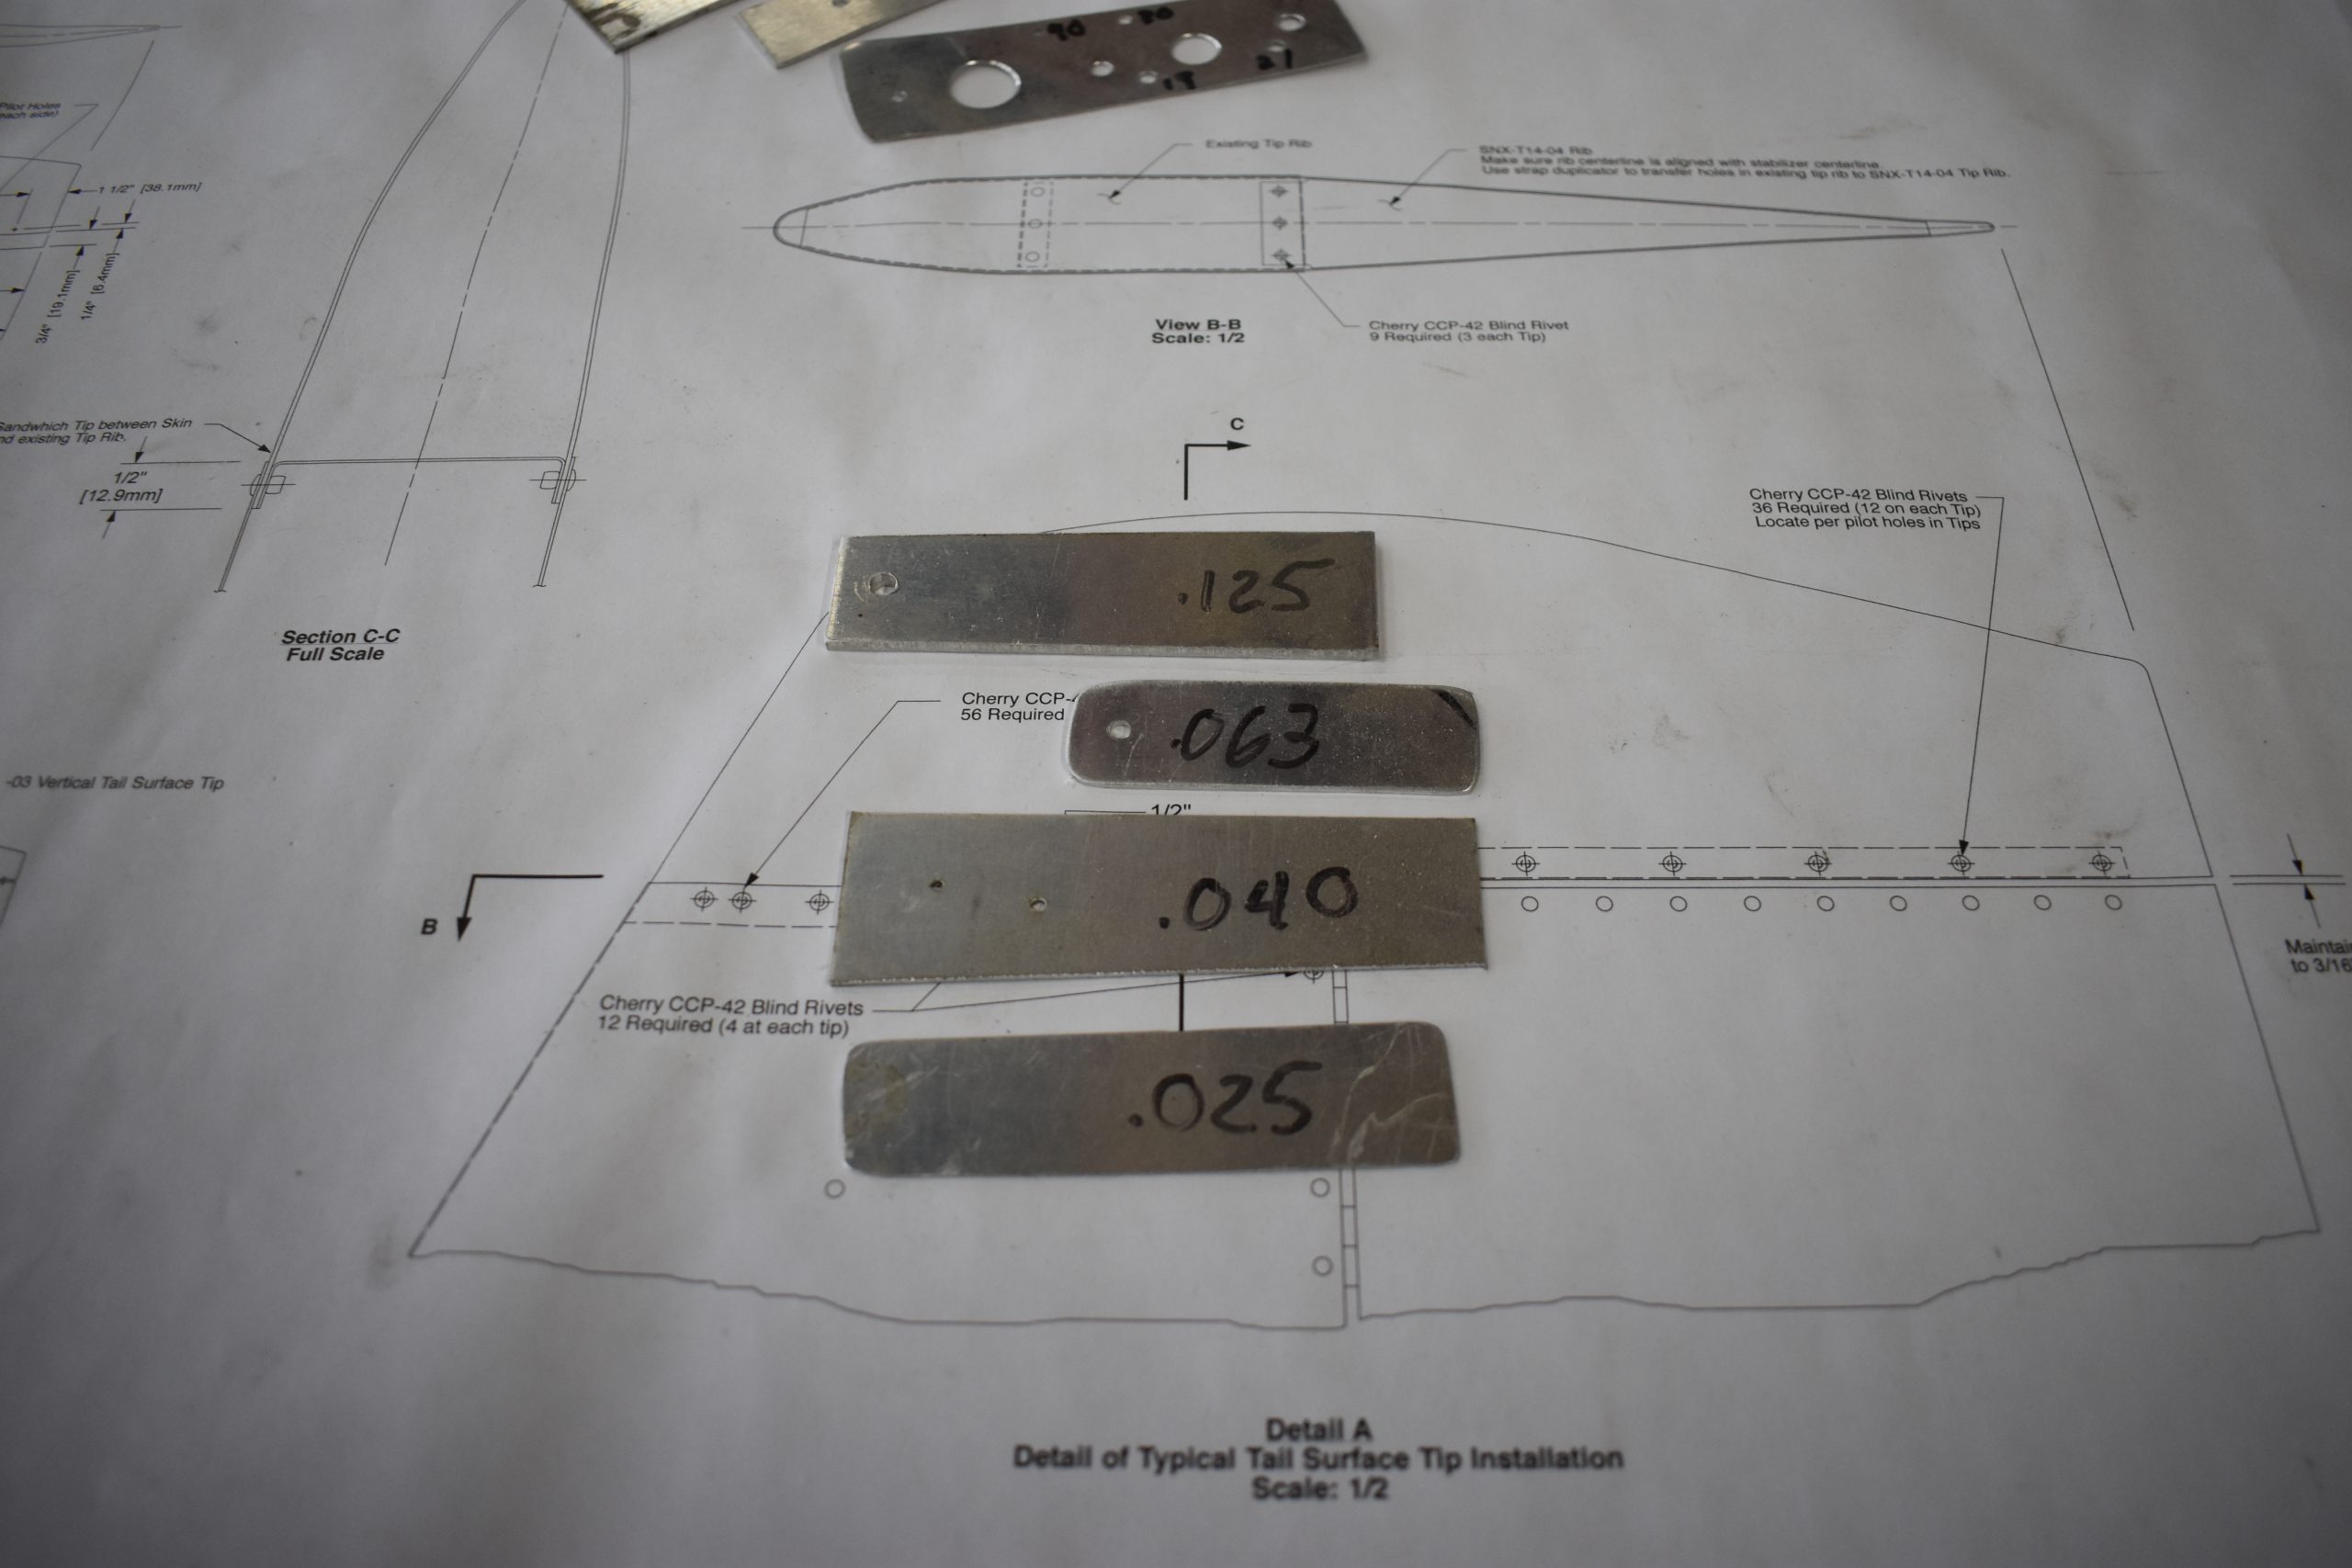
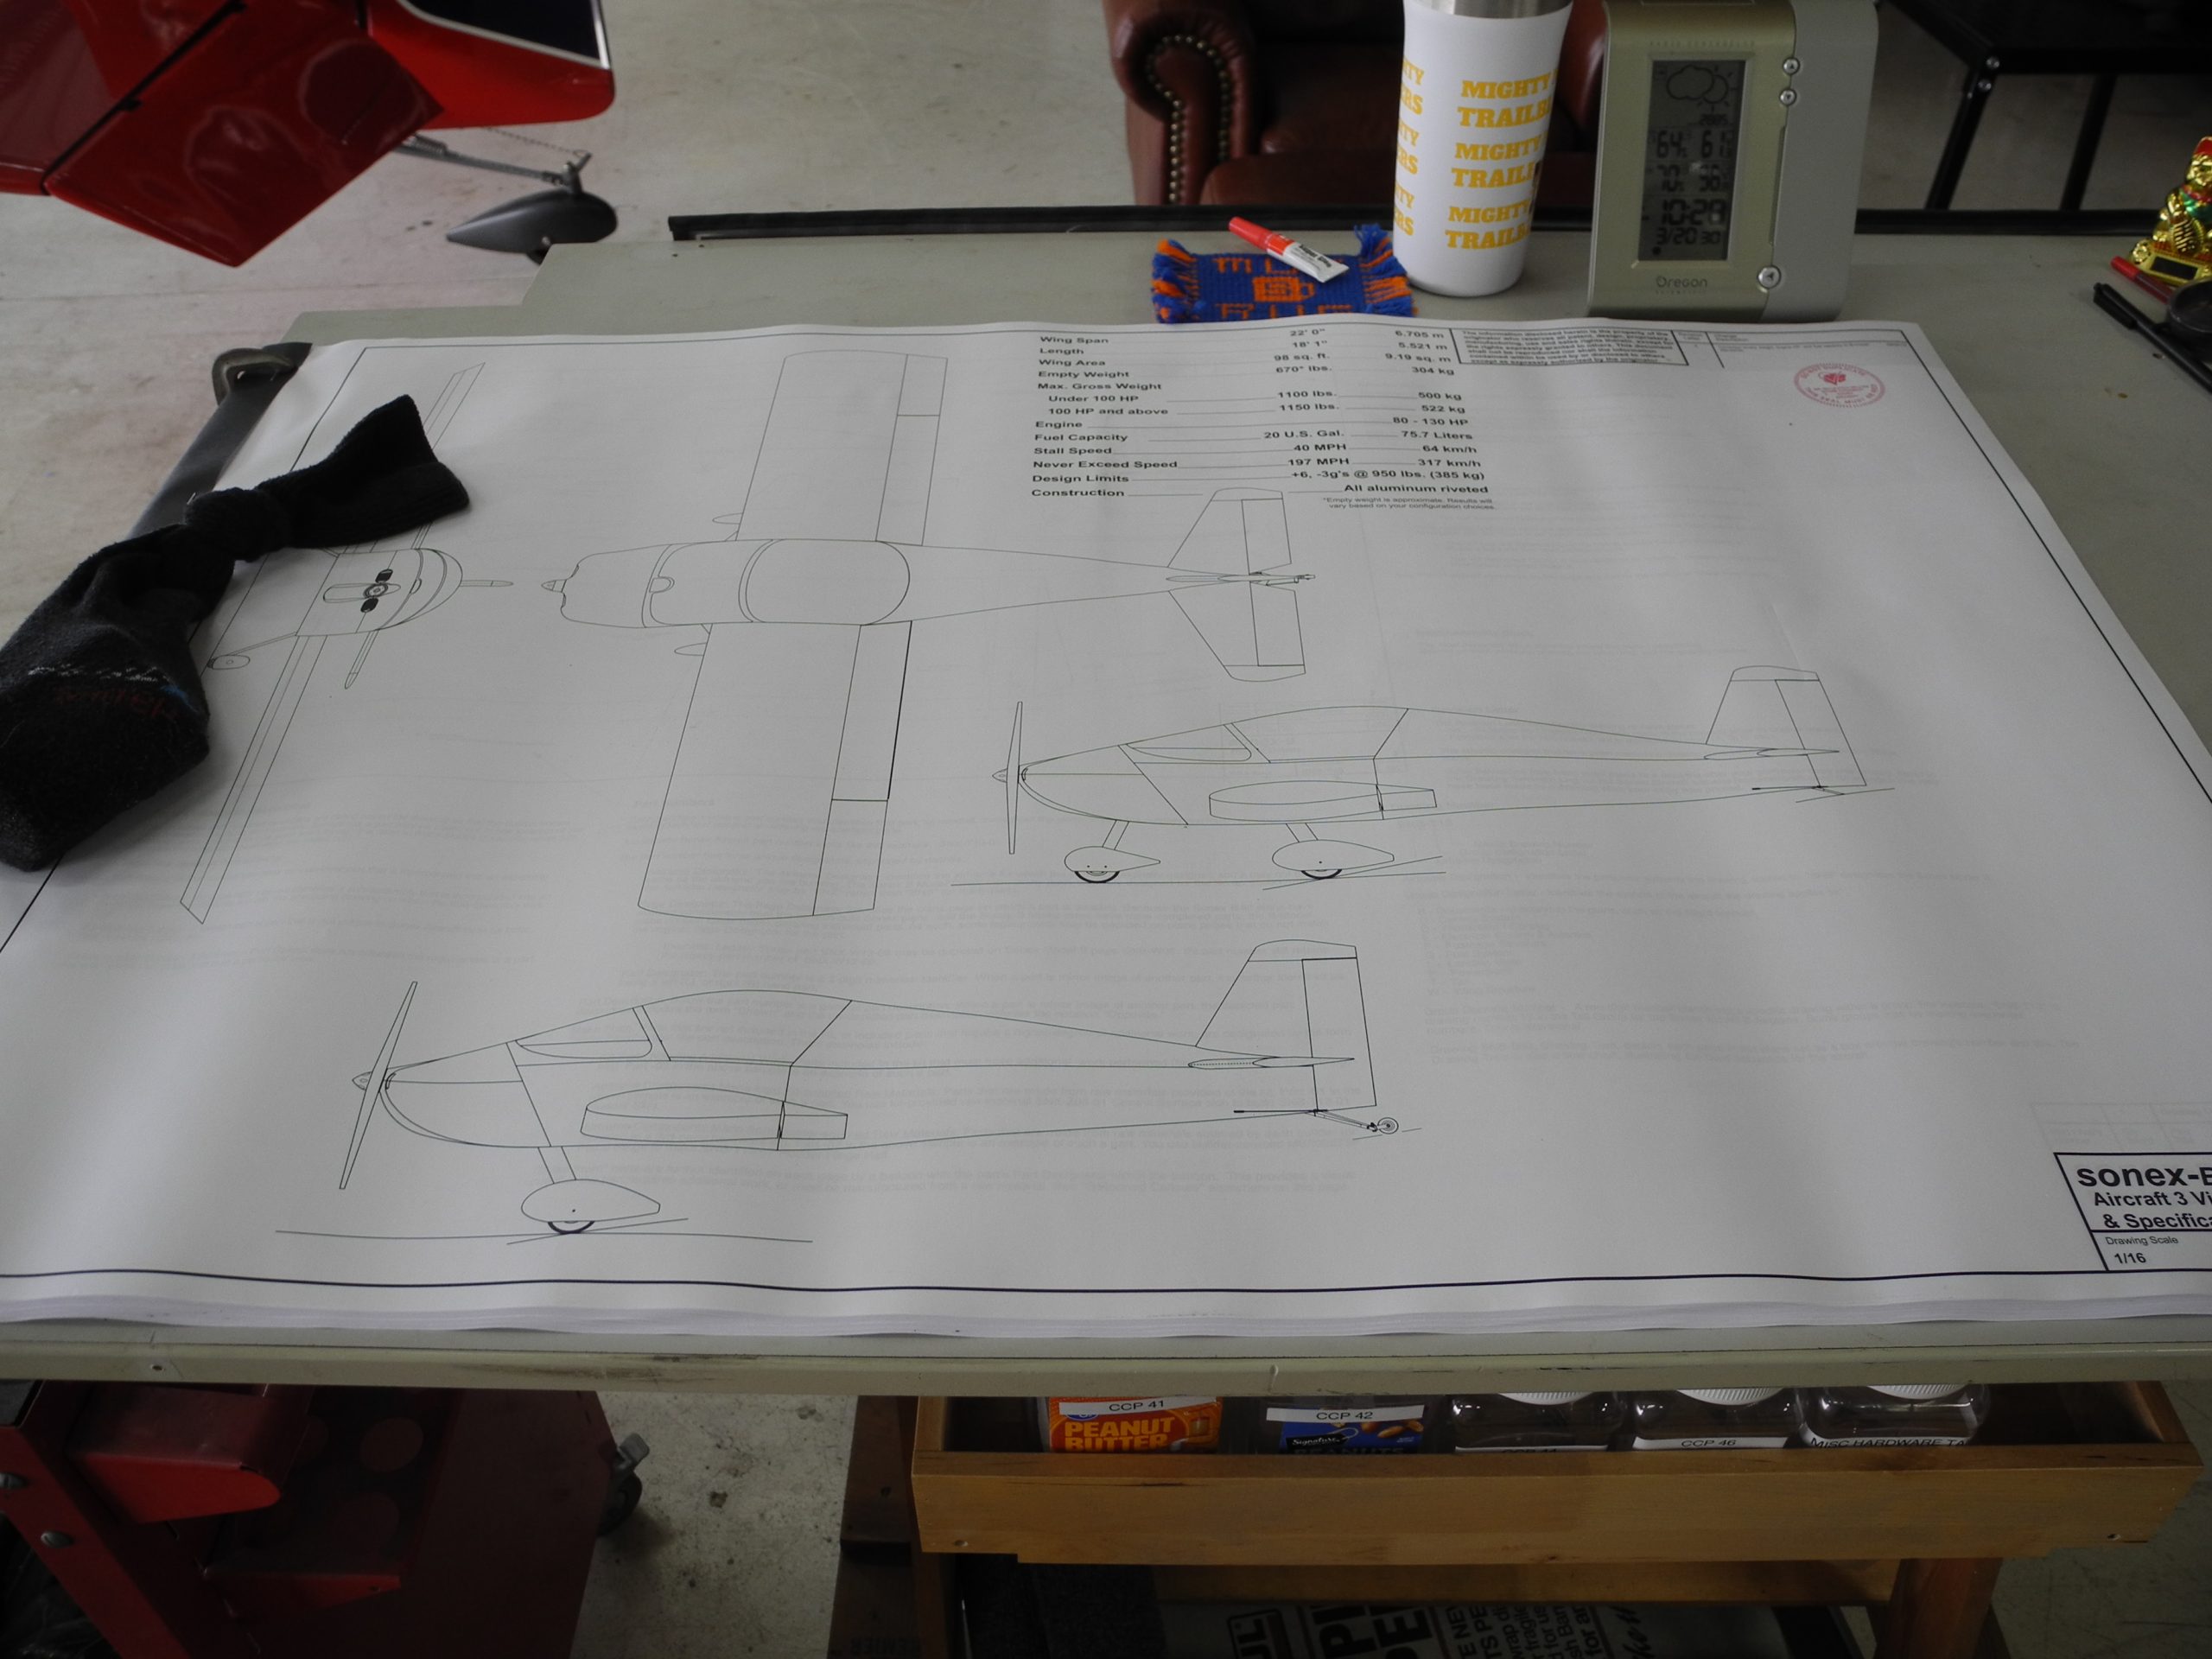
The plans are VERY intimidating. The entire airframe looks very complex. The Emp was easy, but this? Am I getting cold feet? Can I do this? So much to do.

And the plans! The plans are VERY intimidating. The entire airframe looks very complex. The empennage was easy, but this? These plans make War and Peace look like an evening read.

Plans

But then I remember. How do you eat an elephant?

One bite at a time.

Dkb

What to do?

What to do while waiting for your kit to be delivered? Why, build of course!

We do not have water in our hanger, but washing off parts is in some demand. While waiting for the rest of my airframe kit to be delivered I built a sink!

RV sink and faucet, 12 volt pump and a 12 volt battery and put the whole thing on wheels using scrap wood from around the hanger!

Two 5 gallon jugs (one for fresh water and one for gray water) round out the build.

We have an easy drain for the gray water (soap and water only, no chemicals) at the airplane wash rack and a close by spigot for filling the fresh water make this a useful project for the hanger.

Perfect

Make the counter top useful but not too big for the hanger.

Can you measure up?

Even though most modern airplane kits are pre-punched, pre-drilled, pre-bent, pre-welded and pre-machined there is still a signifiacnt amount of measureing to do. Do you need high presicion tools like micrometers? Not really, but a collection of good quality measuring tools will be required.

Note: I’m building in the backwards country of the United States and my kit came from the US. My measurements are in inches and feet so my tools are measured in these increments. If you are in a more advanced county, with your kit from there, your tools will probably be in metric.

Squares: You will need two: a large square (18 inches or more) and a small adjustable square (12 inches or less)

Quality tape measure: I suggest a small measure (12 feet or less) and a long one (25 foot)

Steel rules: I suggest three. I use a 48 inch with 1/8 increments. I have a 12 inch steel rule and finally a couple of 6 inch rules measuring increments of 16, 32 and 64th increments (you never really need 64th increments on a modern kits).

Caliper: I have a plastic 6 inch caliper and the plastic ones are fine for kit building. Don’t know how to read a caliper? Digital calipers are available at a relative low cost.

Protractor: A good quality steel adjustable protractor is cool, but a simple plastic one will do.

Bolt Gauge: A template to measure both bolt size and length is important. Plastic ones for both metric and SAE are available for a very low cost. The one you see in the picture is from Van’s Aircraft and came with my RV-9A kit. Many are available for under $15 USD.

Drill Gauges: If you are careful with storage and can read very tiny lettering on drill bits, you probably do not need a drill gauge. If you do need a drill gauge be sure to get two; one that reads fractional bit sizes and one that reads numbered bits.

Finally, marking measurements on aluminum can be done with blue or red sharpies. Blue or red ink will make sure you can clearly read the mark, and sharpie ink is easily removed from aluminum with acetone.

Success with tips

I thought I had trimmed away too much fiberglass from my horizonal stabilizer tips but I was able to do a little creative cutting and now have a pretty good fit. I just need to drill holes to final size and attach them. I’m still waiting for a new rib that I damaged. After that, the Empennage will be completed!

Nice fit!

I also epoxied on the tail light faring. Nice! Thank you Sonex Builder SP1 for the help.

Tail Light Fairing

Finally, a tip. As you build and get more experience, you will be able to identify sheet metal thickness on the fly. Until then, keeping a few samples around that are marked is very helpful.

Sheet metal samples

Empennage Almost Done…

As of today, the vertical stabilizer, rudder and elevator are complete. Pulls rivets and MUCH easier, and the parts looks beautiful! The horizonal stabilizer still needs a little work.

Sometimes things go wrong during a build. I trimmed off too much fiberglass AND cut through the end rib. *sigh*

No problem. Ordered new parts and will have the emp completed before the end of the year.

I also got a ship date from the company! Looks like the rest of the airframe will ship on or around January 20th. Tom and I are excited!

Plans Table

Having good access to plans as you are building is very important. So important to me, I built a custom plans table. It has wheels, and holds the plans for fast and easy access.

For my RV-9A build, the Van’s plans came in individual sheets, and could be loaded into clear protective sleeves and easy to cycle as needed.

The Sonex plans seem to come in a pad where the sheets are held together so you can flip through them. For the Sonex, I customized the plans table to allow me to clamp the plans tablet edge to the table and flip through them easily. The table is still on wheels and I added a shelf, maybe to hold rivets.

Even when building an all metal airplane, it is a good idea to have wood working tools and some scrap lumber around.

Horizonal Stabilizer Skinned.

The horizonal stabilizer is dressed for travel.

I made a goof with the elevator and needed to order new parts that will be required before I can align the elevator and horizonal stabilizer. After that, just the fibreglass tips I guess. Vertical stabilizer and rudder are completed and there are no more parts in the boxes!

Note the supports made from 1X4 pine board. These are tall enough to clear clecos during the build.

Blind, Pull, Pop.

The biggest difference between building an RV-9 and a Sonex are the blind rivets. Almost non-existent with the RV-9A, the blind rivet is the most common rivet type with the Sonex.

The blind rivet is also called the pull rivet or a pop-rivet (which is a registered trademark)

The original design was for riveting where the rivet was unavailable for bucking or squeezing. For the Sonex, it reduces build time significantly. We just completed skinning the horizonal stabilizer in just an hour. For my last project, this would have taken a day or two.

That said, there are some new tools you will need to build the Sonex. You can use a hand squeezer, but unless you want forearms like Popeye, and add a year or two to the project, you will want a power tool. Now there are two flavors: pneumatic or electric. The pneumatic type is available from your favorite aircraft supply or from Harbor Freight Tools.

For the electric, I bought a Milwaukee with the small battery (for lighter weight) and I bought two batteries. They do sell blind rivet tool adapters for cordless drills. These looks a little iffy to me but I have no experience with them.

You will still need a hand rivet puller for tight spaces, and I scored a VERY thin model at a garage sale for $5. Look for one with a small profile.

You should also get a close quarter rivet pulling wedge (about $25) that allows pulling a straight rivet at a slight angle. I got mine from cleavelandtool.com

OK! Back to work. For the RV guys, they usually say “Keep pounding those rivets!” For the Sonex guys, “Keep Pulling those Rivets!”