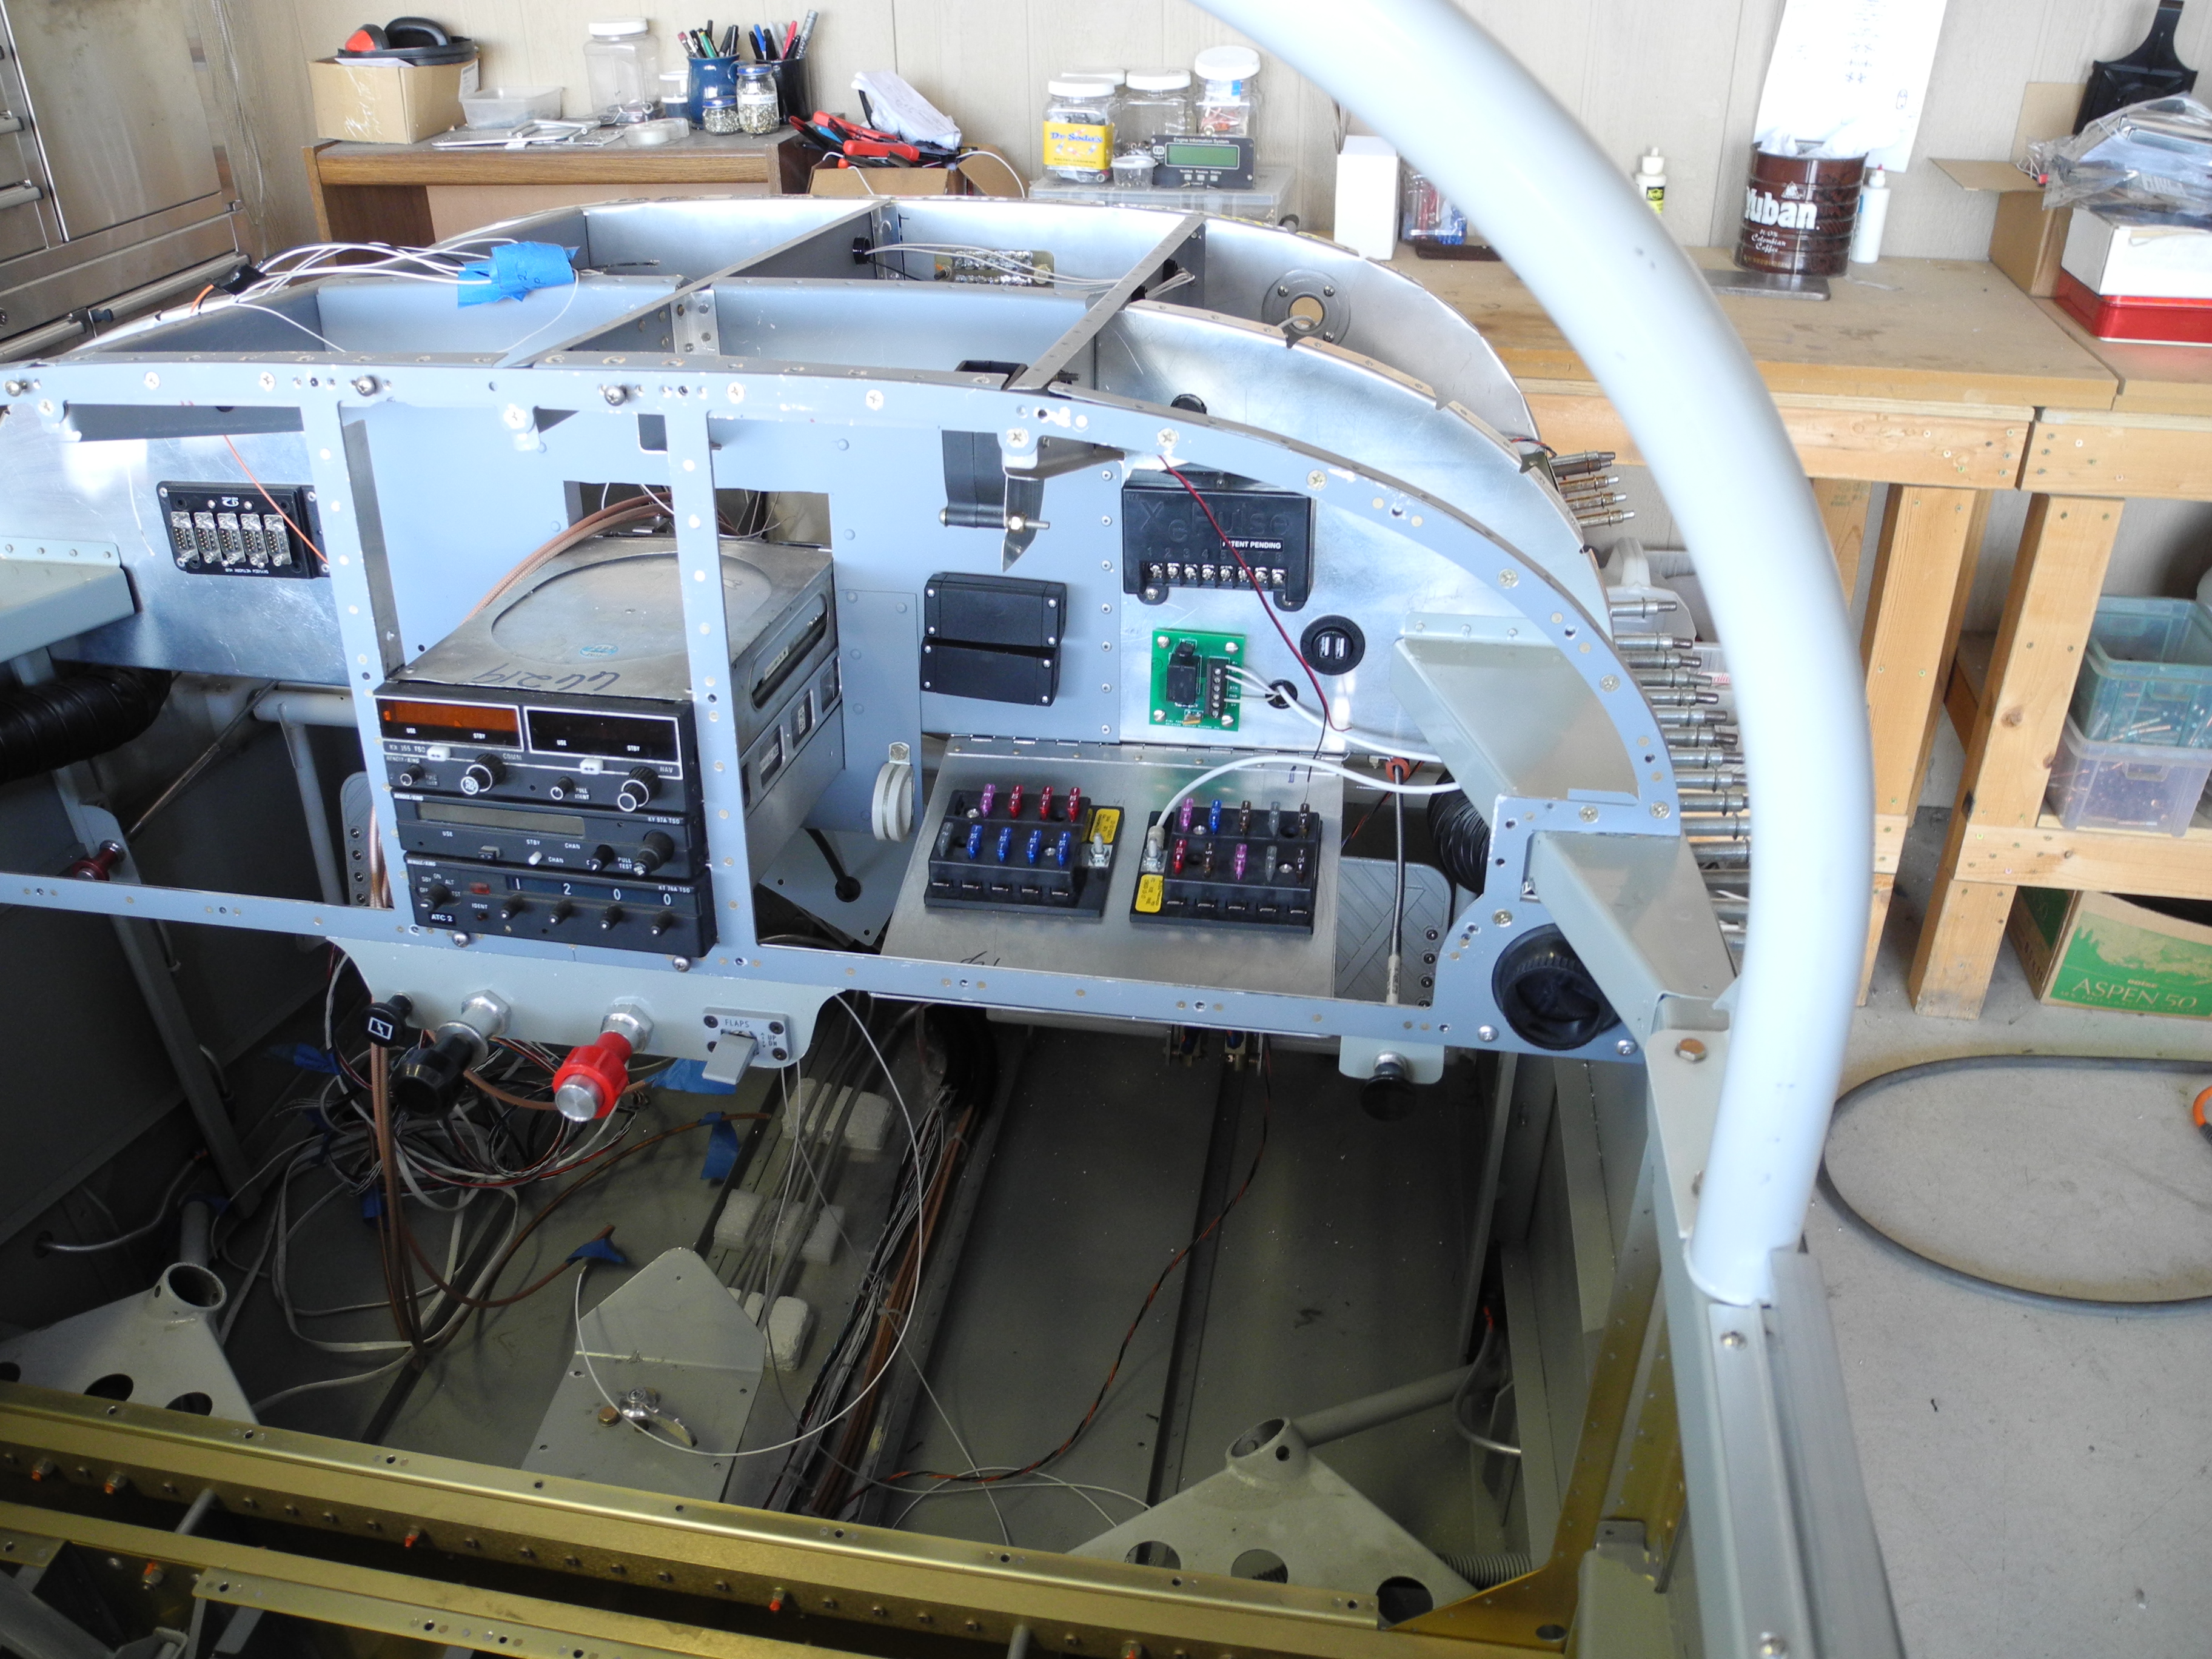
Wow. What a journey! Here is what we have today:
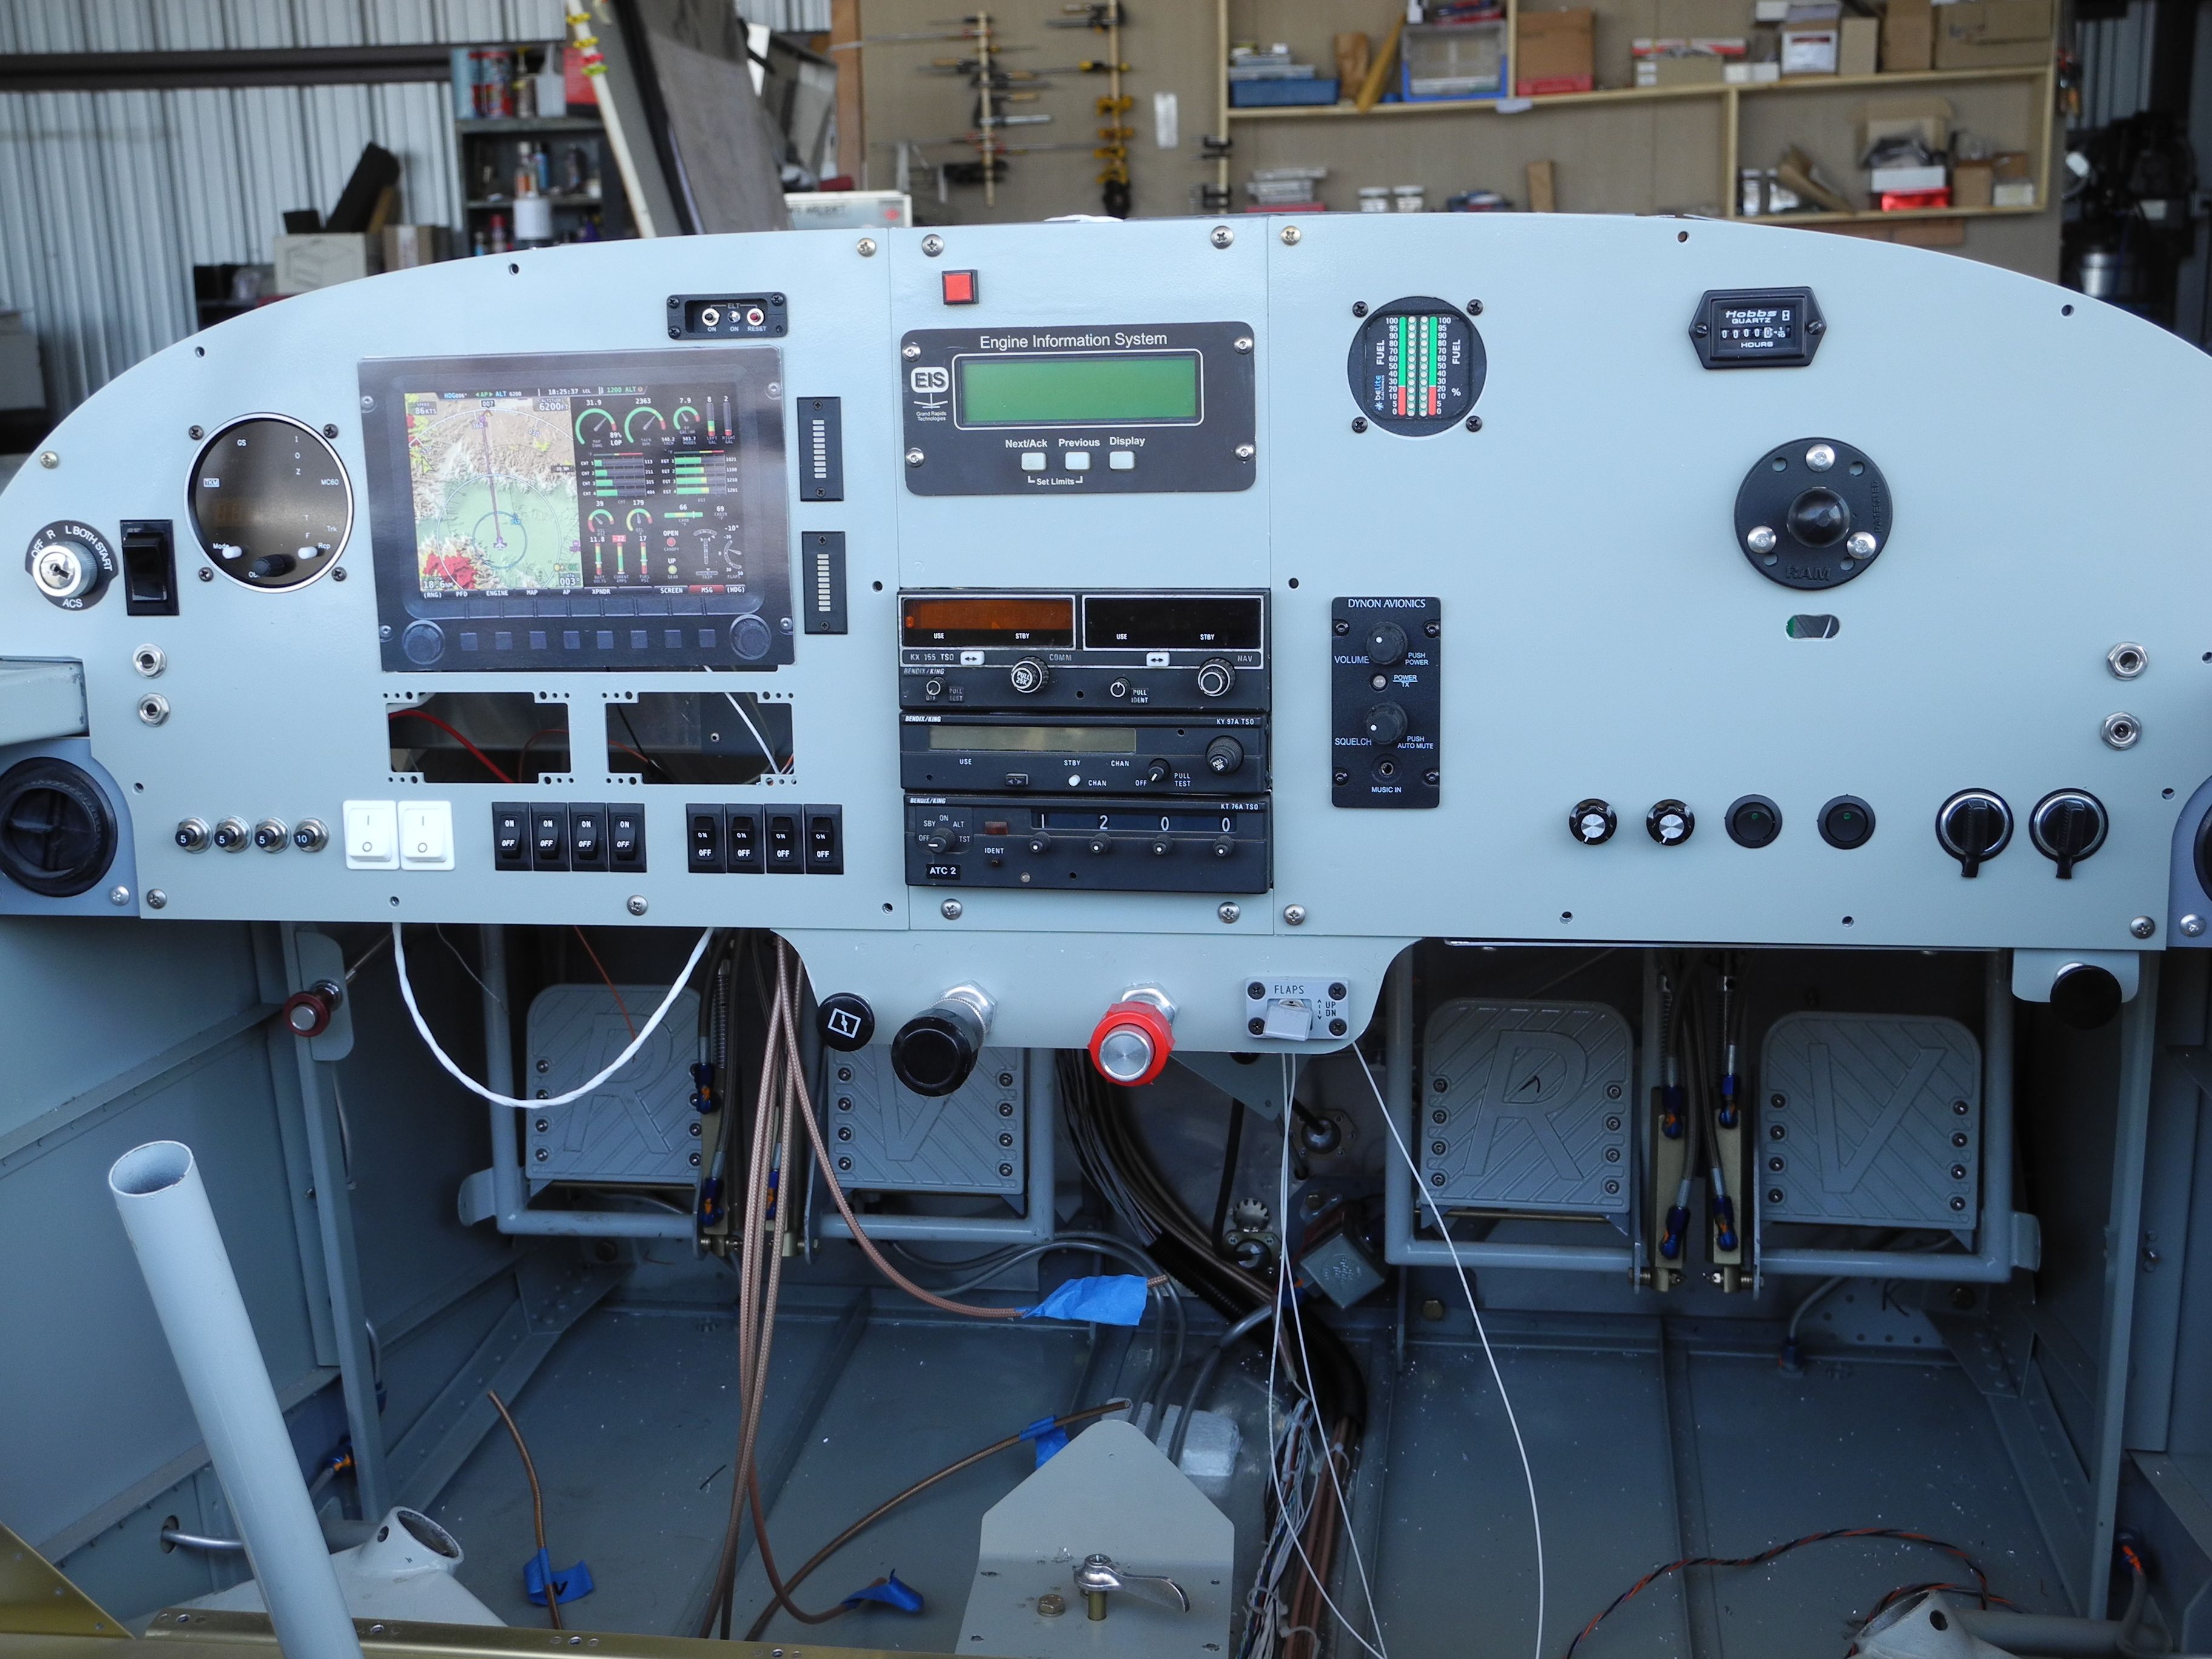
RV-9A panel
All the parts are in, but we are just starting to wire the stuff. Easy to say, tough to do (at least for me) But we will move forward.
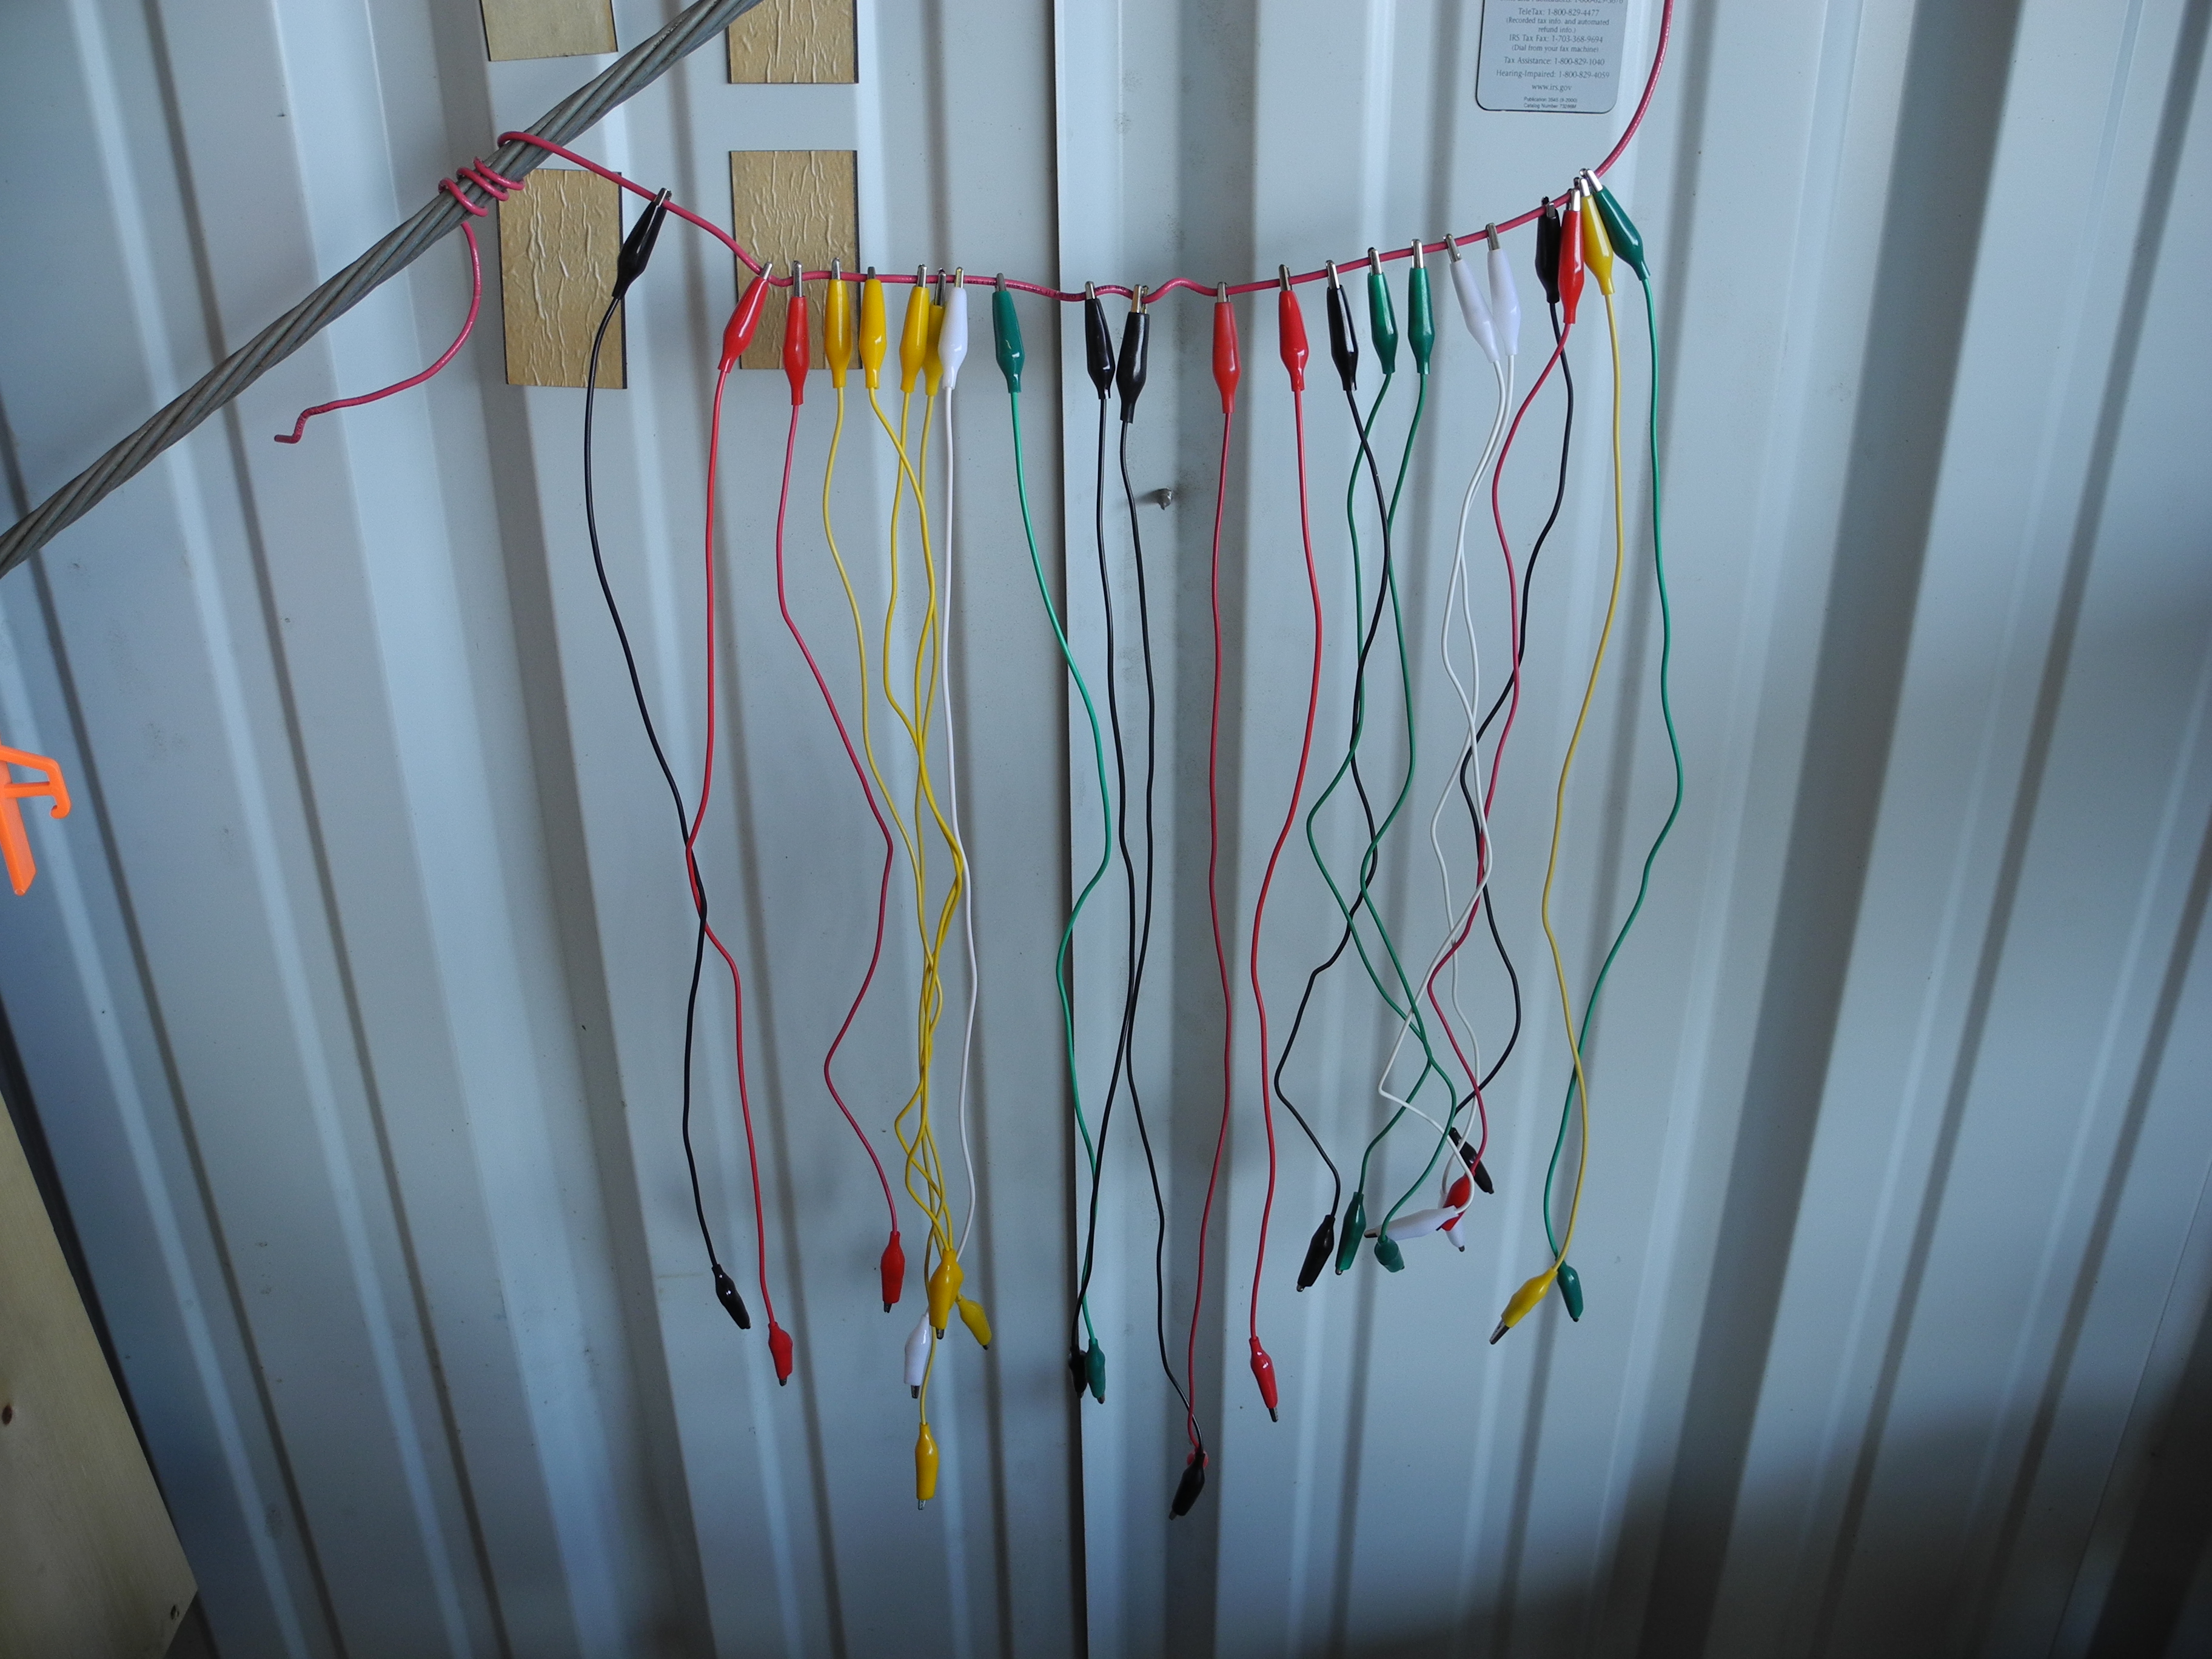
One of the design features will be the ability to pull the panel section (left, center, right) out a bit to work behind. To help with that, we have built extension to put in place while we are building to make sure the wires are long enough after installation. Here is how we did that:

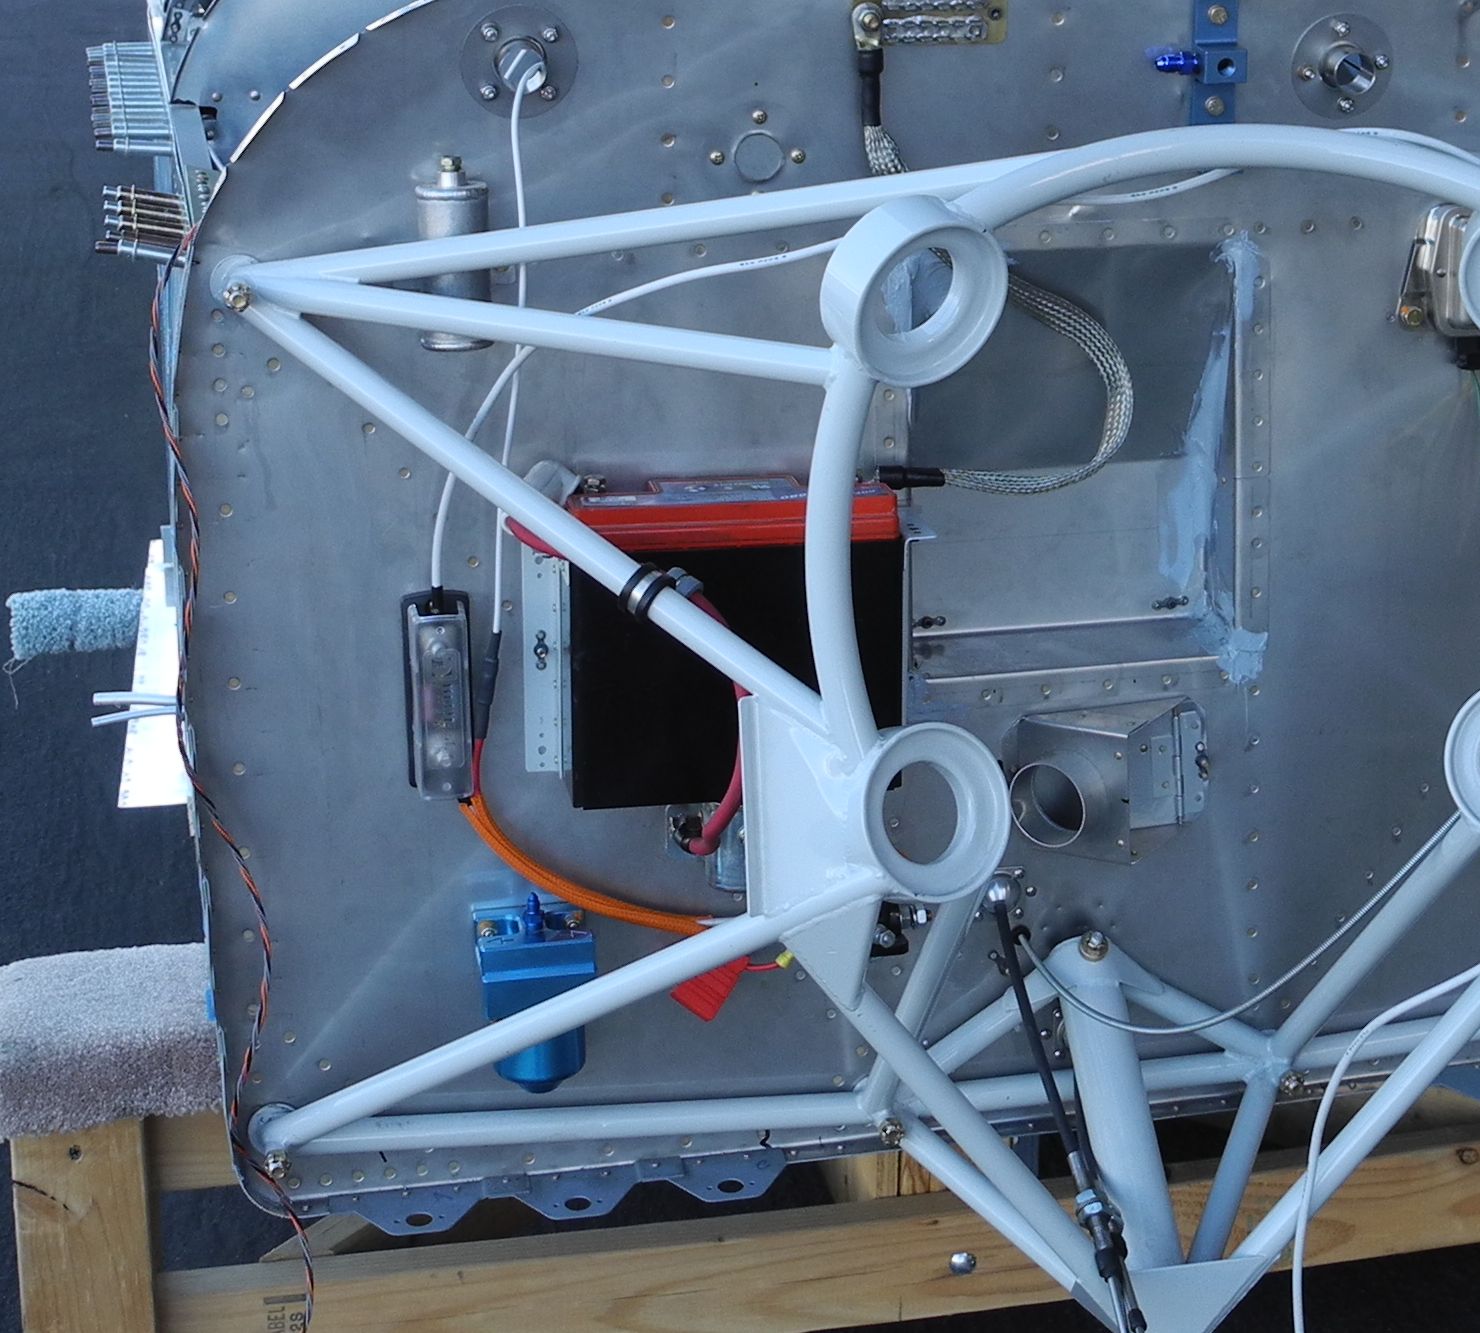
Working panel supports
These brackets are just to support the panel during construction. We will move the panel back, and anchor the wires when completed.