I’ve added pictures of stuff you build besides the plane. Stands, work benches and even sanding booths out of PVC pipe.
See the Pictures button in the menu bar at the top.
I’ve added pictures of stuff you build besides the plane. Stands, work benches and even sanding booths out of PVC pipe.
See the Pictures button in the menu bar at the top.
When I started the empennage, I saw some folks removing strips of the blue protective film by using a soldering iron and decided that the risk of scratching the skin was too great, so I peeled off all the protective film. What a mistake! Even with protective inserts in the emp jigs, the tail got pretty scuffed. OK, so now I’m on the wings, but the soldering iron route takes too darn long to mark and stripe, and I’m STILL afraid I’ll scratch the skin. So here is my hint of the day…
To remove strips of blue protective coating from the skins:
1. Be sure the soldering iron has only a smooth rounded tip on it. I took mine to the buffing wheel and made it real smooth.

2. Buy an aluminum yard stick. With a number 40 drill, drill three or four hold in the middle of the yard stick. One at the very end, one near the other end, and one about 1/3 of the way up the yard stick.

Aluminum Yardstick
Be sure to de-burr the holes.
3. Now you can anchor the yard stick in the skin, and use the soldering iron to melt away one or BOTH sides to leave a nice clean center line and remove the blue stuff.

Cleco the yard stick down
Wow! nice clean straight lines. Fast and easy, with less of a possibility of burning yourself, easy to do with one person with better control so you do not scratch the metal.
Cool.
-Dkb

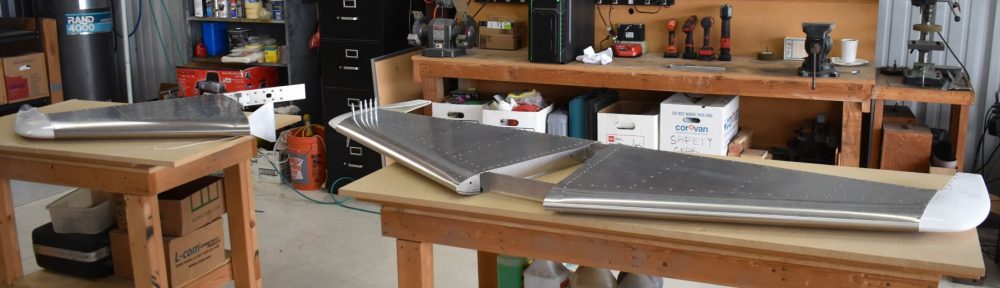
Blue film removed
Riveting with two people requires a good communications channel. If you have an agreed upon procedure, you will have a better final product (with fewer replacement parts).
Here is how Tom and I do it. Query, response, check.
There are LOTS of sites that will tell you about the tools required to build a plane. Besides a set of regular mechanics tools, you will need drills, deburring tools, dimplers, bucking bars, sheet metal tools, and a host of electrical stuff. Oddly enough, folks often forget to tell you about the other tools required: Wood Working Tools. When building an aluminum plane, you really need a small set of wood working tools. A good handsaw, or better, a circular saw, or better still, a table saw is required to build all the extra stuff you are going to need. I also suggest a Sabre saw for both the aluminum and for the jigs you will build. Be sure to keep your wood drill bits away from your metal drill bits. For my belt sander and disc sander, I avoid using the same abrasive discs for wood and metal.

Homebuilt Plan Stand