Back at the beginning…

The recent beginning:

The first ground wire

The first ground

It has been a long journey, and this is just the most recent step.  We are still working on the electrical, but we are getting the engine ready as well. We have finished the engine inspection, addition of all external hoses, clamps, gaskets, etc. We have purchased new or rebuilt accessories (Carb, Mags, Alternator, fuel pump, etc) and we just received the propeller. I originally went with a wood prop, but since that would add 15 hours to the Phase I fly-off, I decided to go with a standard Sensenich propeller.

We will soon be at 7 years of building, and here is where we started:

Empennage Kit for RV9A

Empennage Kit for RV9A

Happy Thanksgiving and keep pounding those rivets!

Major Milestone!

This has been a BIG week-end for us. We have finally built a stand to allow us to attach the motor mount, wings and landing gear. The fuselage stand was a re-purposed stand we had used before the rotisserie, and part of the wing stand. Here is a BIG hint: never throw out old lumber. You will be needing it again.  Here is what the new stand looks like:

new_stand

Also, for the first time, we were able to sit in the fuse and make airplane noises! Wow. I still have chills!

sitting in RV9A fuselage

Have a seat.

For folks building an experimental, sitting in it for the first time is a big deal.  I finally know how I will fit while flying.  I fit pretty well.  I need to lease a few pounds tho. *sigh*

Where do we stand?  Wings and done, Tail is done, flight surfaces are done, Instrument panel frame is done. Radios are mounted but not wired. Ready for motor mount, tail and wing install.

We are staring to wind down on the riveting, and I think I’ll miss that. To see the process, check out:

Riveting Wings on You Tube

We have the motor to install, lots of wire, and now all we need is the time.

More Later.


Five Years!

Today, Superbowl Sunday, Feb 3, 2013 is the 5 year anniversary of this project. As it just so happens, it was SuperBowl Sunday when we started as well.

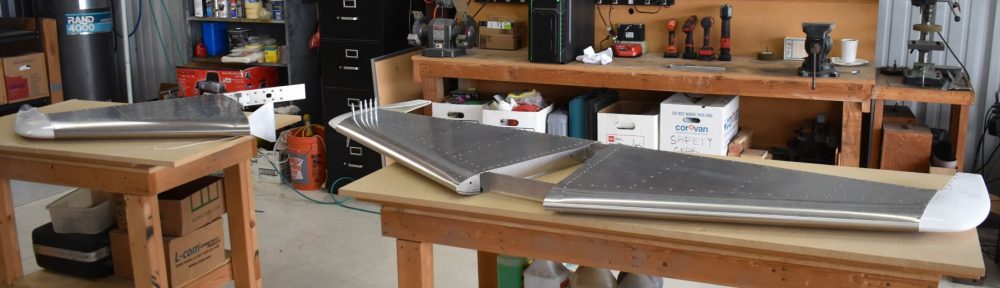
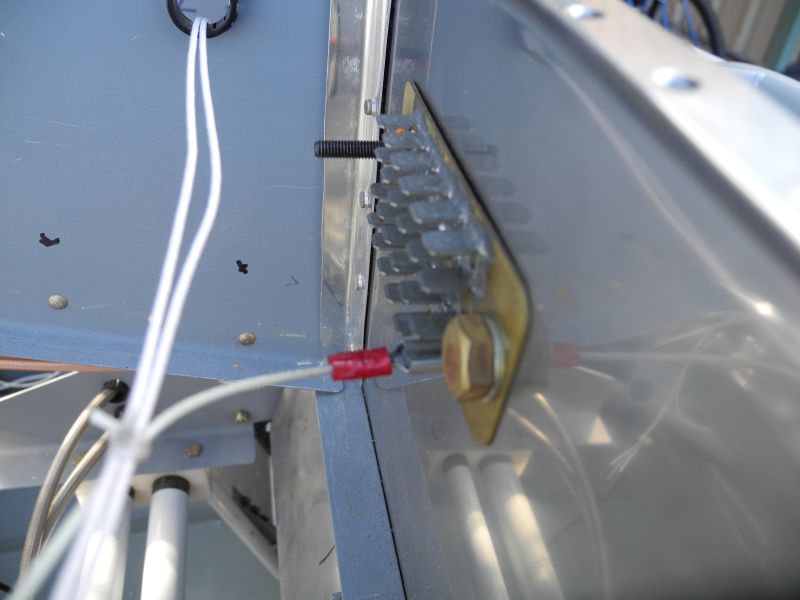
A lot of stuff has happened in 5 years. We completed the tail, wings, flight surfaces, gas tanks, much of the fuselage, installed the ELT and some wiring.  Here is what we completed yesterday:

throttles

We have purchased an engine, the finish kit, and some of the firewall forward. Since we began, I have three new cats, a new car or two (we keep cars a long time) remodeled a bathroom, re-did the upstairs of the house, kept my job, learned a bunch of new skills, both with the airplane and at work, and stayed married. We have many new friends in the Van’s RV community, and have watched some speed past us, and some fall by the wayside.

We are planning flight instruments and radios. My Key: Keep it simple to start. 2 comms, 1 nav, 1 GPS external, and of course the GPS in the EFIS. We are still planning on Dynon Avionics, but we will simplify the panel to start. One EFIS for now. IFR VOR Nav configuration and maybe an IFR GPS. We will see about that.  We have the transponder (King KT-76A) and the Audio panel.

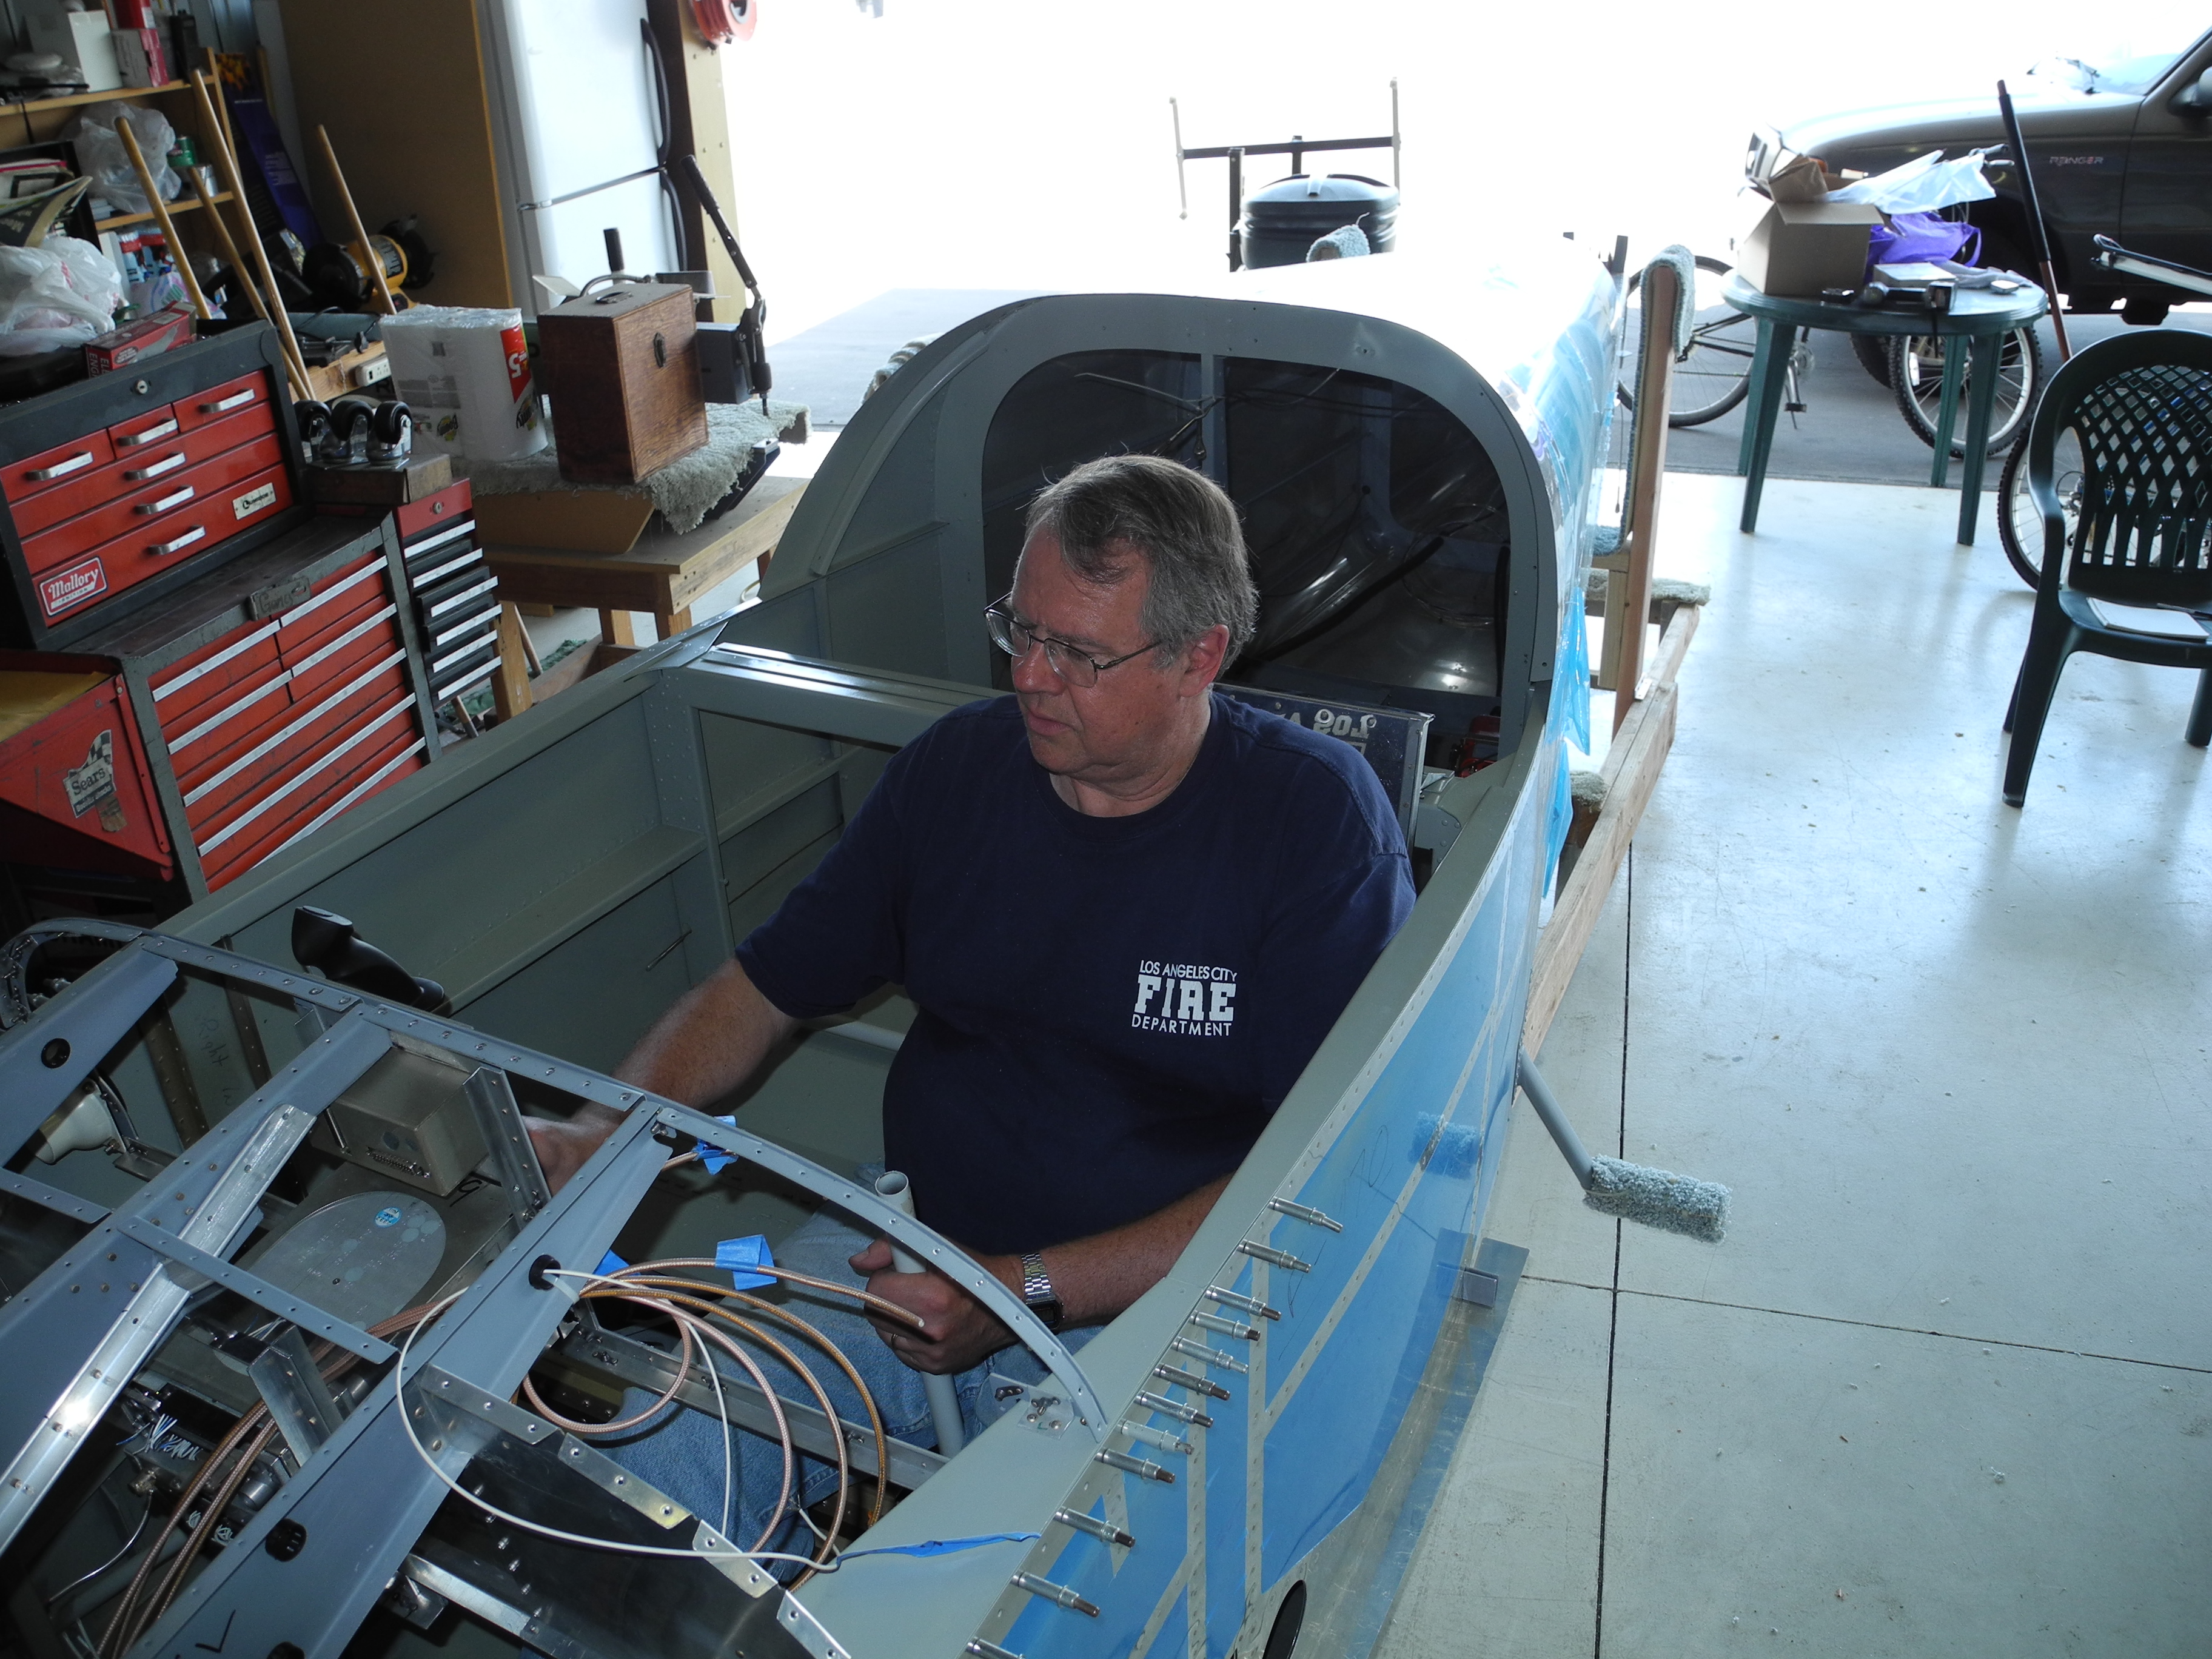
Tom and I still love to build, and we are not about to rush to finish now. We have been very careful builders, and the work we have done is top notch!

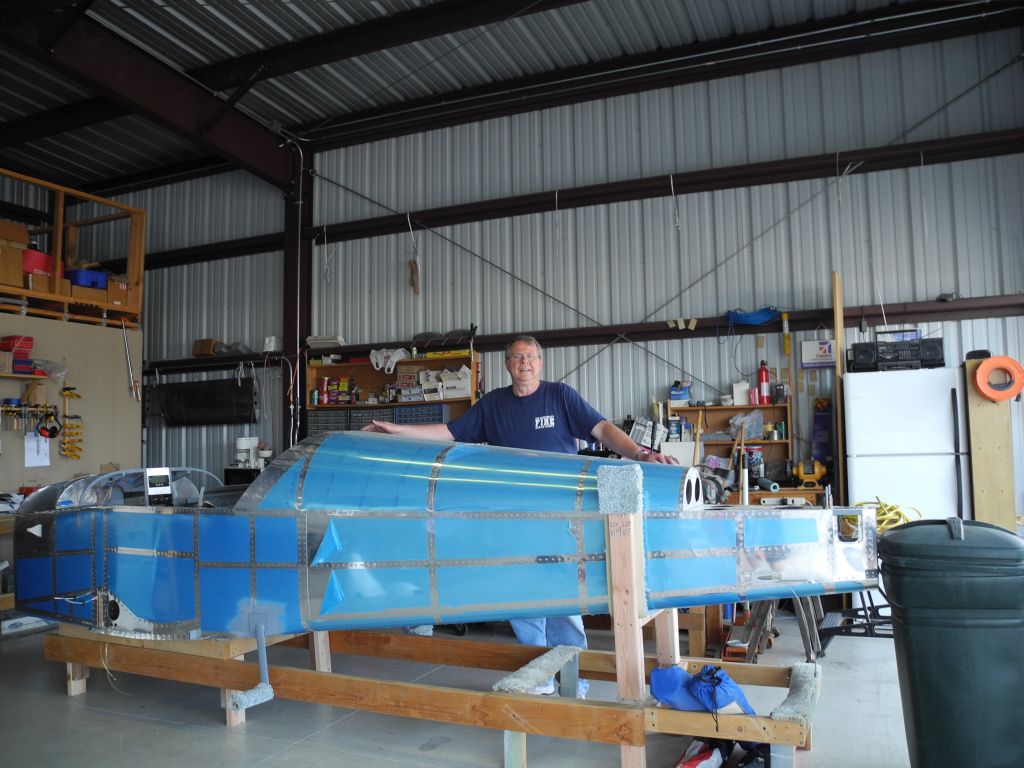
So, When will the plane be finished? Not sure. Still much to do, but the next phase is to get the fuselage off the rotisserie and on a cart for setting the wings.  Get the motor on and get the wiring done.

We’ll see.

Happy New Year!

Dkb


Panel Sub Structure

We are getting close to the time we will need panel $tuff.  Yikes!

Here is the panel superstructure.

Panel Support Framework

Panel Support Framework

We got the Affordable Panels three part panel, so you can remove sections for maintenance. Really a good idea.  AP sells two designed, the 1./3, 1/3, 1/3 design where each of the three sections are centered (the kind I bought) and one where the left (pilot side) is larger. I’m not sure I bought the rigth version, because the center support rib lands smack dab in the middle of the radio stack, and will severely limit the space available for radios. I’ll have to work on that.  This would be fine for a VFR only aircraft, or one that has lots of remotely mounted radio stuff.

Here is a Hint I got from Keith, a fellow builder: Put platenuts on the bottoms of the panel support ribs to add adel clamps later if you need them for wiring support.

In my opinion, you can’t have too much support for wire.  I also plan on lots of holes with snap bushings.

CC